I am a beauty professional based out of Toronto, Canada with a background in Fine Arts. Besides having a passion for fashion, make-up, cooking, baking, movies, music and culture; I also make and sell hand crafted skin/haircare with gentle natural formulas. My e-store is currently in construction so please stay posted by subscribing. Contact me anytime: shop@dreamecosmo.ca
I first heard about this trend two years ago when I was working retail with this girl who had taught English in South Korea for a year. This is a common thing people with a undergrad degree in the Arts do, but then most of them come back to North America somewhat jaded with job prospects and life in general. Anyways, so we worked together and she often complained about how ridiculous the make-up trends were there. The “gradient lip” trend was her favourite one to dis-credit. She said she hated the look of it, but I think she just hated cute ideas in general! But I digress. Basically, the trend involves painting your whole lips nude, then, just in the center, placing red so it looks as if you ate some ripe red fruit, and it had stained just the inner part of the lips. The motivation behind this trend is that it is supposed to look cuter and younger. So let’s put this to the test on me!
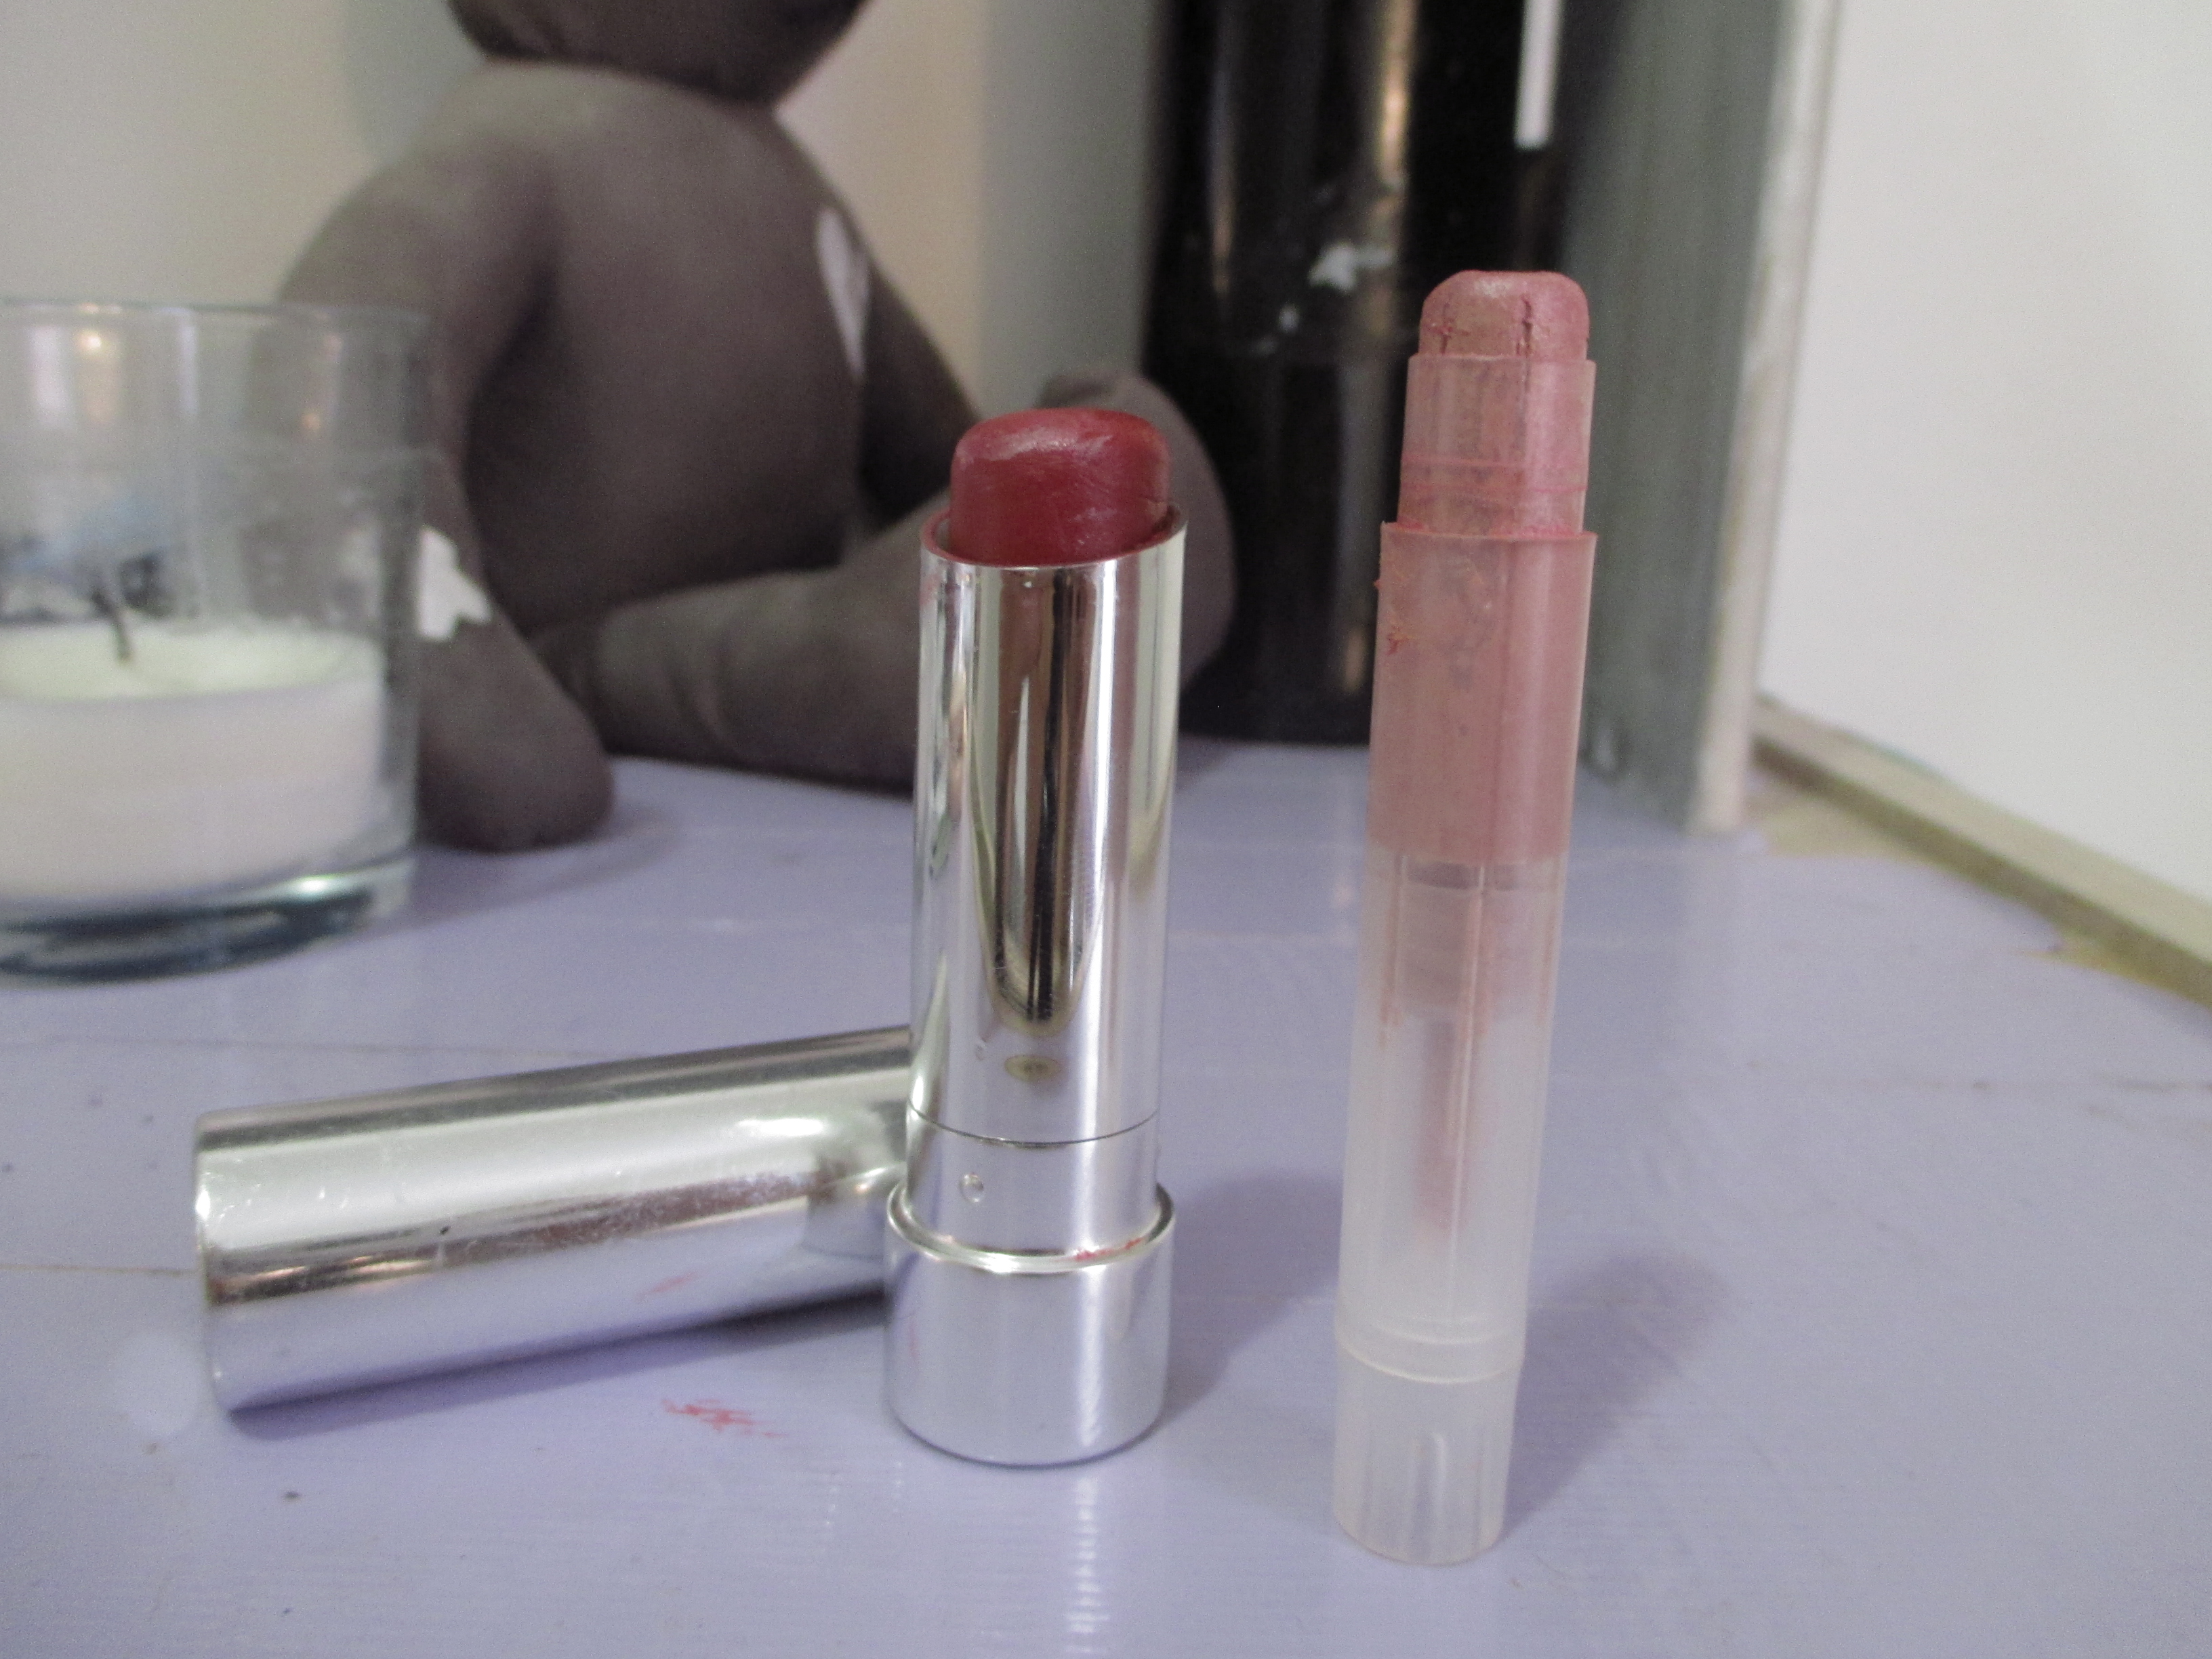
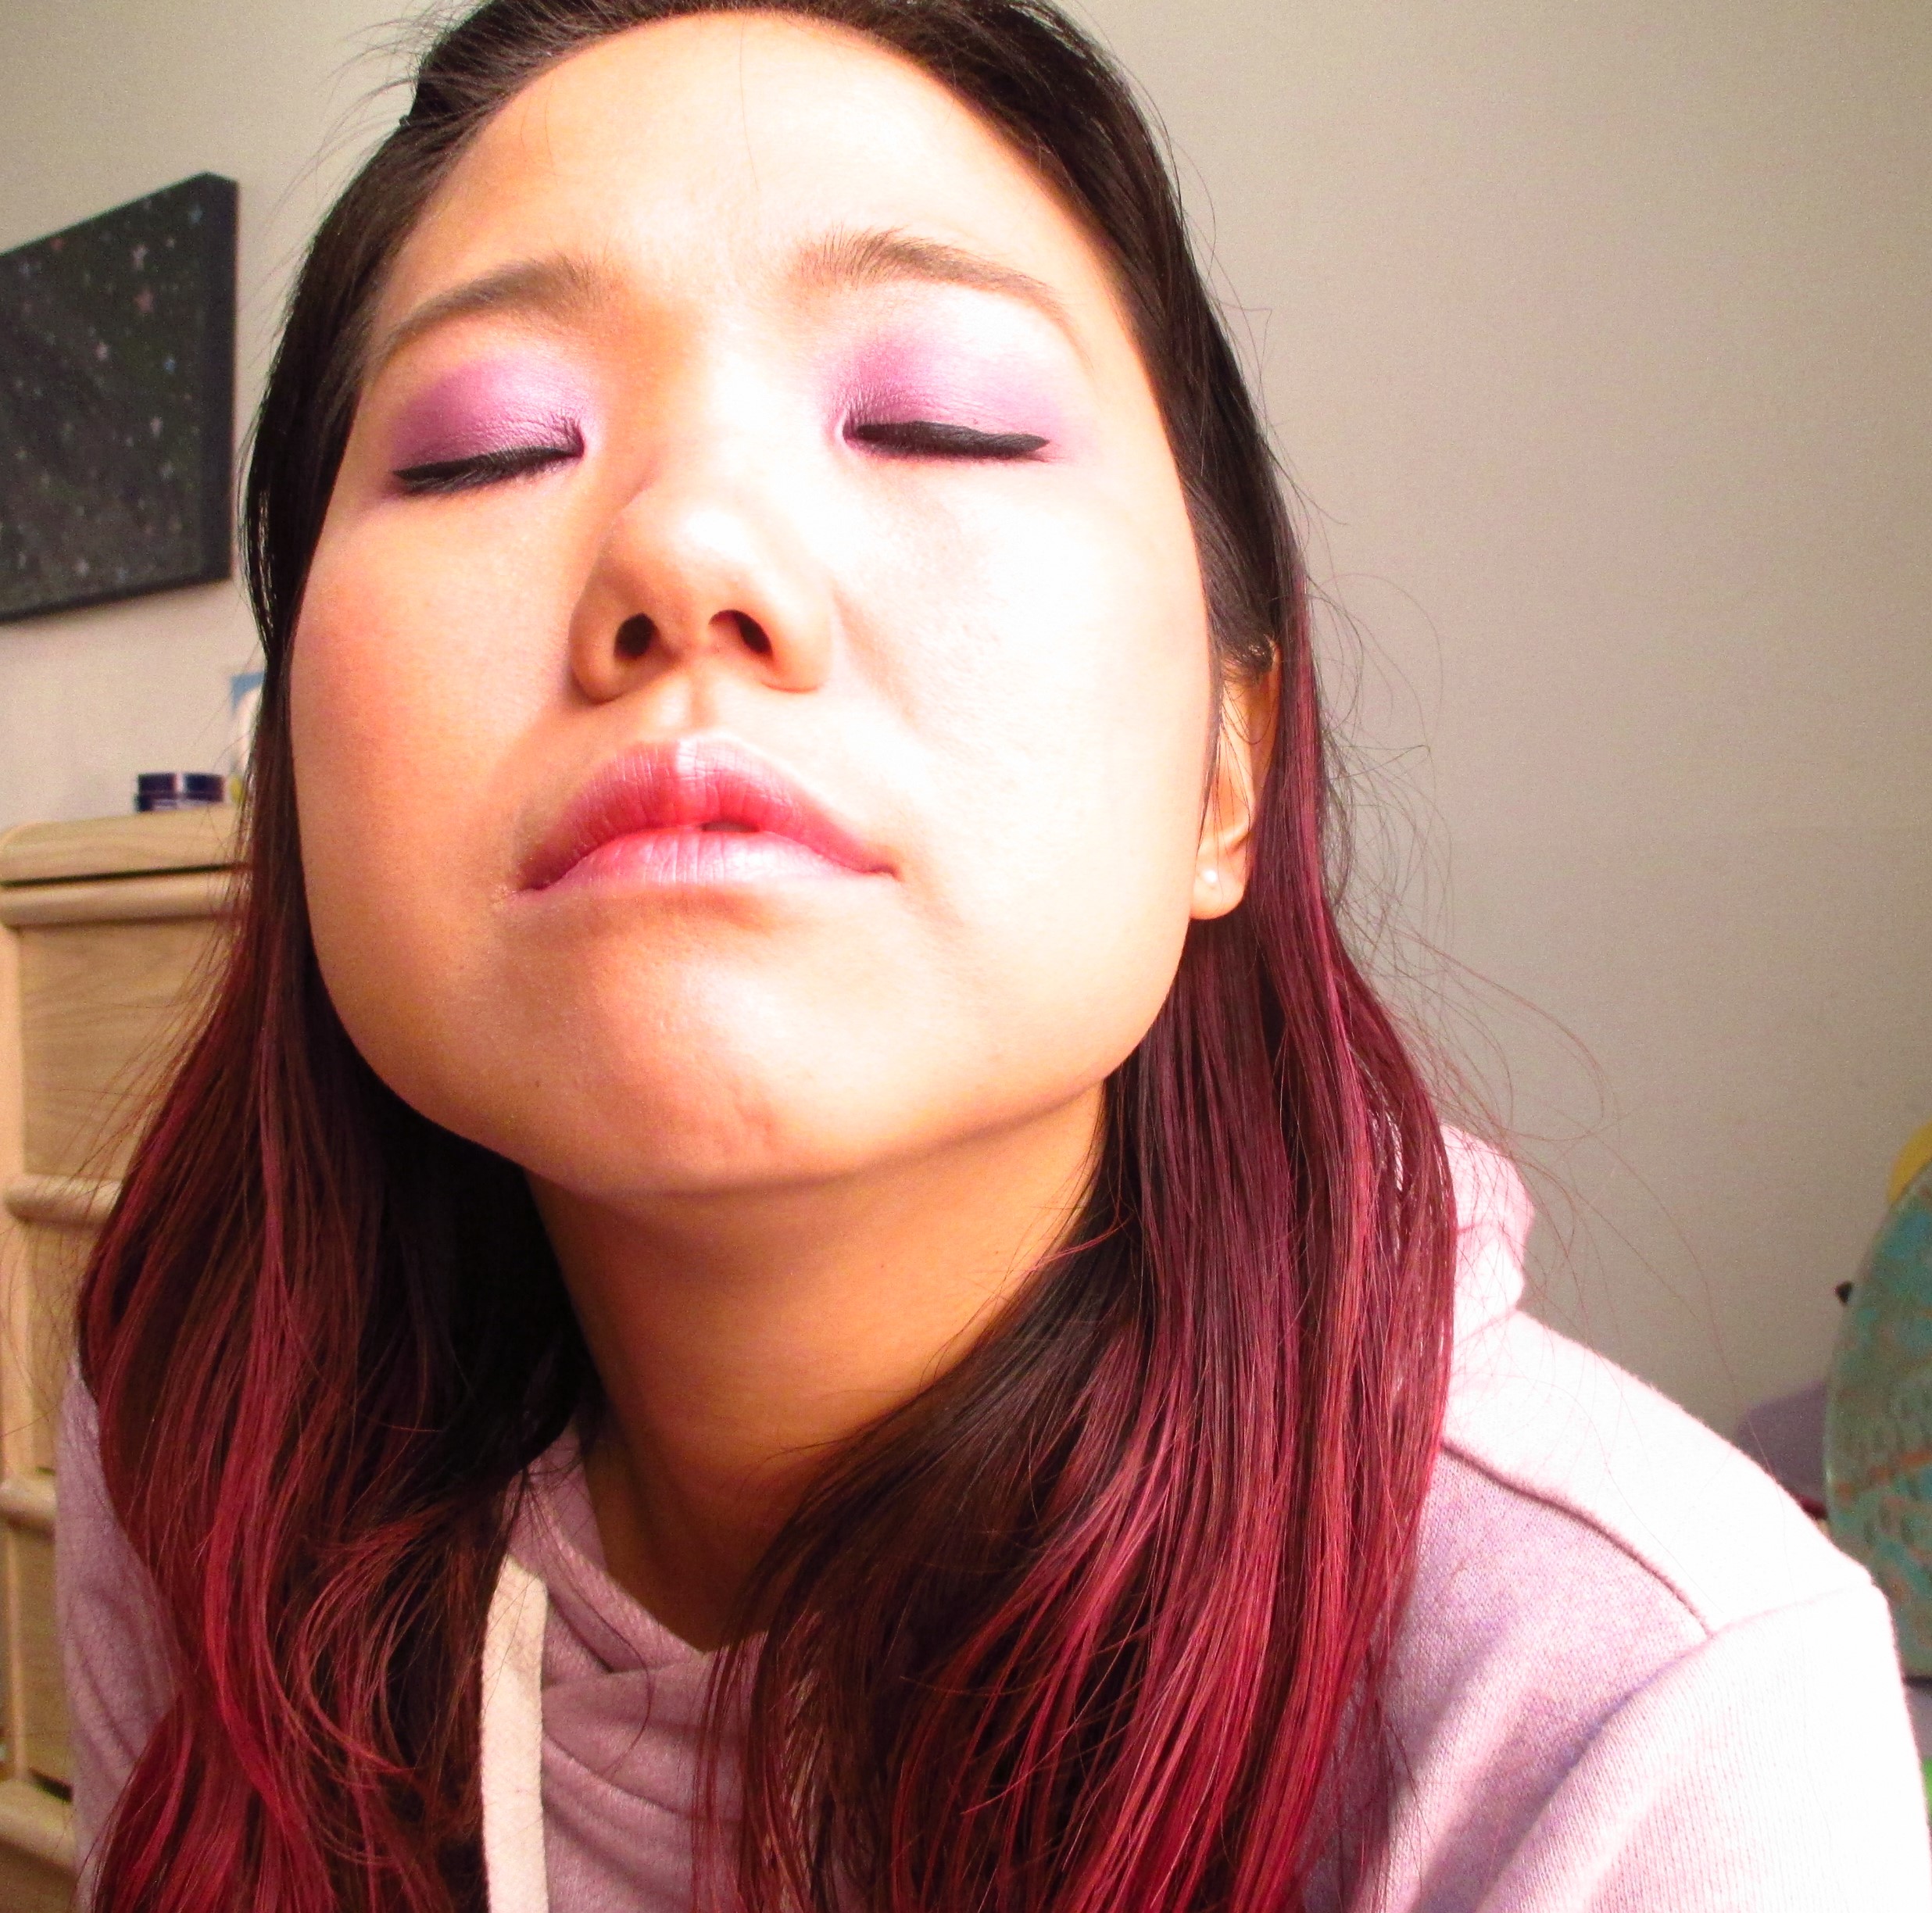
You need two lip colours to do this. Make sure they contrast each other enough. The main point of this trend is nude coloured lips, with a gradient dab of bright colour in the center.Come close for a kiss! ha ha. This is how it looked on me. I don’t know if you can see it. But it is indeed two toned, with the red in the center, fading out to nudey pink on the edges. Like?
How I find this look:
I can see why it might be a trend in Korea. There is something very natural about this red in the center lip…because that is where lips tend to be redder anyhow. When I showed this lip trend to my kid, he couldn’t tell I was wearing lipcolour! Another thing I like about this trend is that it’s an easy way to wear a bright red lip colour without looking like you’re screaming “look at my lips”! It is more subtle. And that’s why I like it. 🙂 My tips for getting a more defined gradient is to do the center part bright red first, then outline it with the nude lip colour to blend and smudge it. What do you think about it?
A year or so ago, I read on a beauty blog about rinsing your hair in a vinegar water solution after shampooing. And for some reason, I cringed at that extra step in hair care, and did not consider trying it. After all, I was already triple conditioning on top of other shower rituals that I had, so measuring out a vinegar solution ratio seemed too much, especially since I didn’t even know what it did. The article said to use apple cider vinegar mix it with water and pour it into hair after shampooing. The writer said it balances the hair’s ph. And since I didn’t know what that meant, I ignored this strange tip.
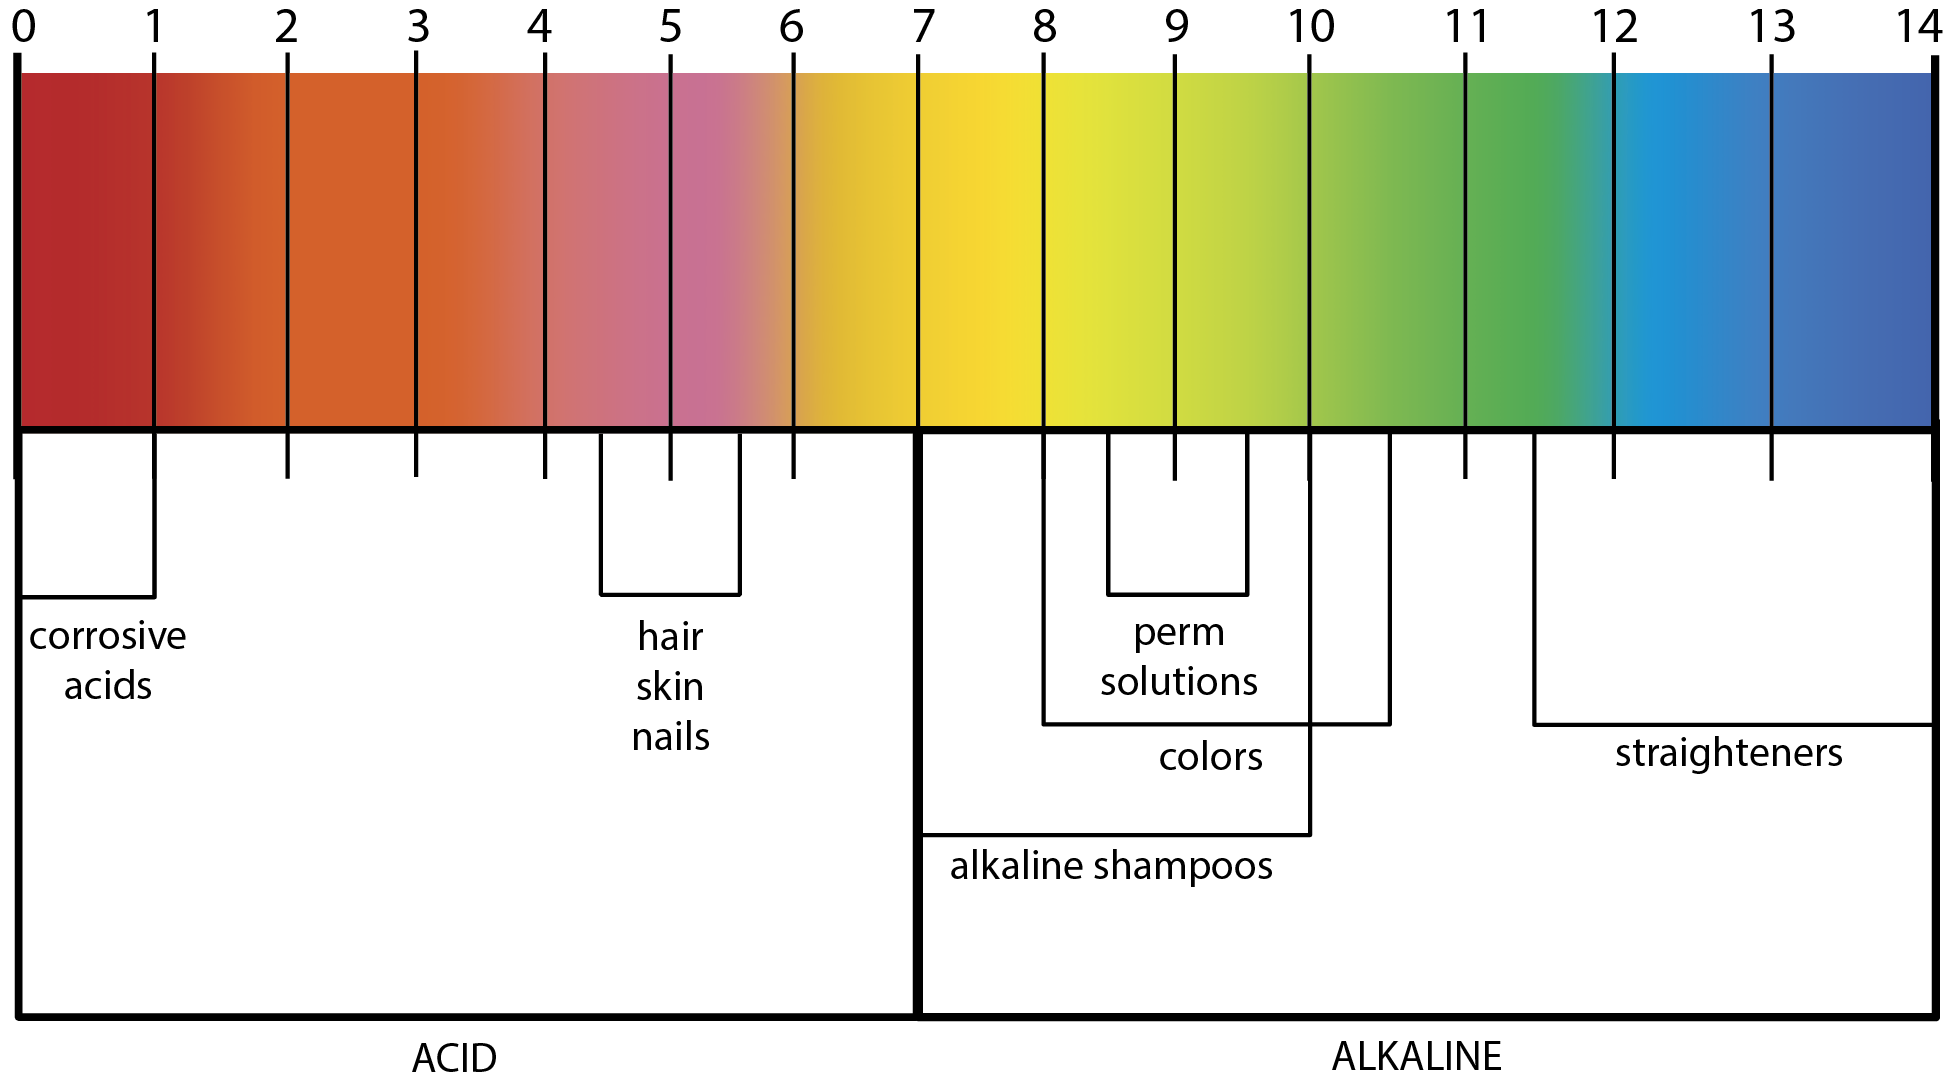
But more recently, I wanted to learn about rinsing with vinegar since I heard it can fix dull, limp hair. I had been noticing how my hair felt stringy and dry even when it was freshly cleaned. Adding too much products made it greasy and flat, so after more research, I was brought back to this simple home remedy. Vinegar does balance the natural ph of hair, since hair is naturally slightly acidic. After we shampoo, and rinse out our hair with water (neutral ph), our hair shafts remain slightly basic (because shampoo is basic), and that is on the opposite spectrum of acidic. So your hair is not really “happy” and reacts by being limp, dull, hard to comb and needing tons of product to keep it behaving. A vinegar rinse is supposed to cancel out what the shampoo did, bringing your hair back to its slightly acidic ph. Yay, science! But so what does balanced hair ph do?
I got this chart from the site menscut.com: It shows how hair and skin is not actually neutral like water, and how shampoos are slightly basic on a ph scale.
The results are supposed to be shinier hair, more soft and less dry. A vinegar rinse is supposed to also get rid of product build up too, but I find mostly what it really does is coax your hair cuticles to lay flat and relax, so that it actually looks and feel healthier! And less tangle-y. I find after rinsing and drying, my hair feels thicker and stronger like almost like virgin unprocessed hair. And I do use less leave-in products because it feels more manageable. Translation, vinegar rinses make good hair days even better. Infact, my own dad who never notices hairstyles, finally commented that he sees I have it dyed burgundy! I think I owe this to vinegar rinses because they are rumored to enhance and preserve the dye in coloured hair. So I would recommend this strange hair care trend indeed! (Don’t do it every shampoo, but every other…I hear that too much is not good? Correct me if I am wrong)
How I do a Vinegar Hair Rinse:
-2 and 1/2 cup of warm water.
-1/4 cup of vinegar (apple cider vinegar, but I actually use white vinegar)
Mix in a pitcher before your shower. After shampooing and conditioning, seal in your hair cuticles by pouring the mixture all over your head and hair all the way to the ends. Massage and bring the solution all the way to the tips of your hair. Leave on for a minute, then rinse out with a blast or two of regular water. I don’t want to rinse it all out, but I get out the excess because it does have an odor. However, after it dries, it has no scent. But don’t be caught in the rain because I find when my hair gets damp again, I can sometimes smell like fish and chips. Oh well, the results are worth it!
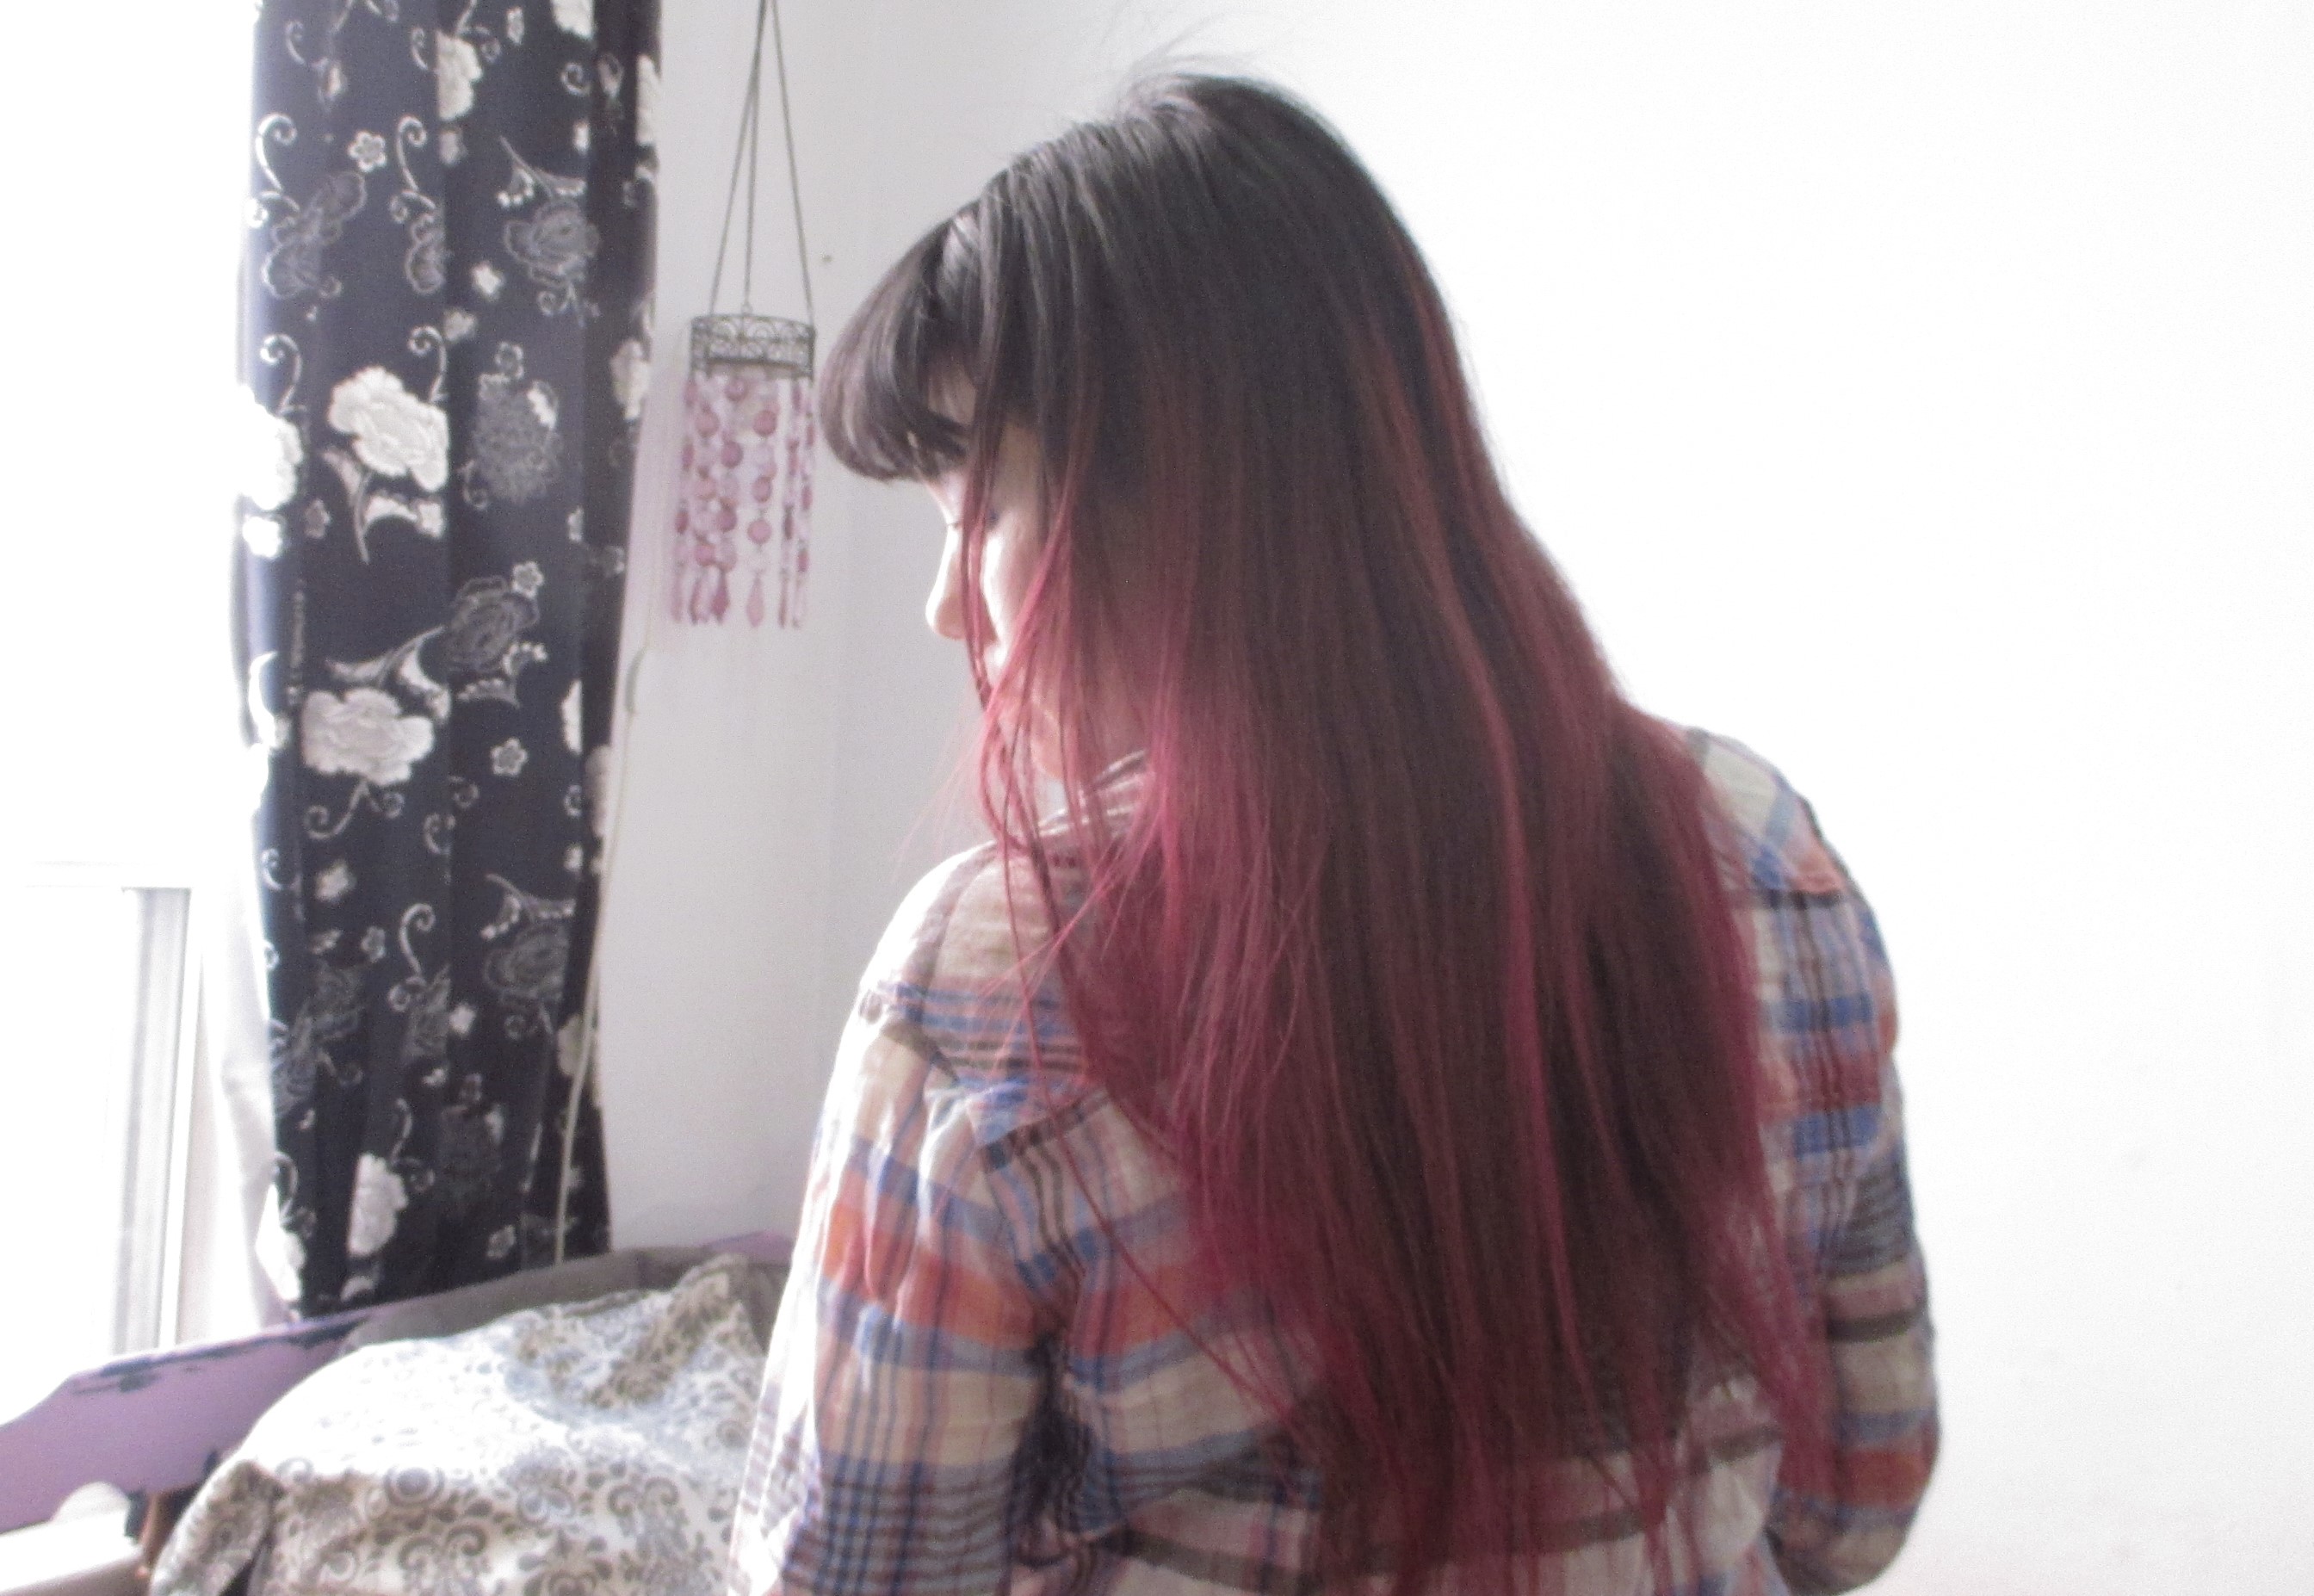
Look at my long strands! After using the rinse and drying, they are still untangled after a night of sleeping on with no products put in! That is usually impossible with my hair.
I have been known to make a big thing out of Halloween costumes. I participated in cosplay in the past as well as hand crafting my kid’s costumes every year. There is nothing more fun than making a whole costume from scratch! But this year, I wanted to give myself break. No dyeing white pajamas green (my kid was the Riddler once), no fantastical complicated face make-ups (I was a sugar skull one year), and no accessorizing to the nines like I had in the past. Just a really low-key, modest costing, costume requiring only store bought bunny ears. Boring? Not at all. I am going to don the ubiquitous rabbit costume this year, but as generic as this costume can get, I still wanted to make it cute, special and classy in my own way. Halloween bunny costumes can get so garish and trampy looking…so I have to reign it in with my own version.
The reason I choose the bunny rabbit as a costume is that my boyfriend already owns a tail coat, a top hat, and a cape. All he needs is a magic wand, and he’s a Magician. And in the spirit of being an enthusiastic girlfriend who likes couple costumes (kinda), I decided I will be his white rabbit that he has pulled out of his hat. So yes, we’re taking on the couple costume this year and walking down that road in dating. Ha ha. But really this is just going to be fun.
Materials for Costume:
1 set of store bought bunny ears: You could make your own, but it’s so much easier just to buy one for 5 bucks.
This is the only item you really need to buy, since making it may be difficult! Super fuzzy and cute!
2. 1 Fluffy, furry white sweater/top–There was a faux merino wool trend last winter, so you can find one easily still and probably have one!
3. White bottoms, tanks, pants, skirt…etc. Just stick to clothing that is the colour of your bunny!
Optional: Extra furry material. I lucked out this year and found a furry hat to cut up and make into a puffy tail, cuffs and neck tie. Can’t have a bunny without the fluffy tail!
It happened that I already had a furry merino sweater. So turning into a bunny was sweet and easy! I did make the tail though!
Material for Face Make-up:
Being a bunny is great, because you don’t need to spend a lot on stage make-up and prosthetics. Just use a good foundation, powder, shadow and line your eyes the way you would do a regular beauty make-up and add whiskers! Tip: Draw your whiskers not at your nose level, but slightly below, because that’s where the whiskers are on a real bunny!
This the the finished product! I feel that it was so simple, but still fun. And my boyfriend looked dashing as my magician.