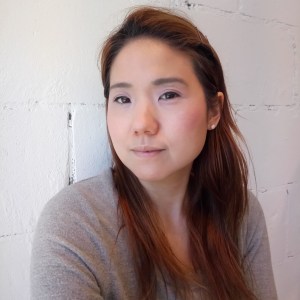
5 Common Make up Mistakes that We Become Blind to for Some Reason…

So we all know that girl. With the perfect skin and illuminous glow, the wonderful smile and sparkle in her eyes. And it looks like herself, not like make-up. We’ve wondered if she is an influencer or a part time model. We wonder if she wears make-up at all, because we can’t see it. This is the kind of make-up that is aspirational. The kind that is almost invisible. Makes us look like ourselves, but better. And I recently thought about some mistakes that we might be doing every morning when we do our habitual make up routine unknowingly, even after decades of wearing make-up expertly. These mistakes in application can be hard to spot, even for me, since I’m over 40 with a need for reading glasses! Investing in a magnifying mirror like I did when applying make-up will really level up the game when it comes to make-up application.. But here goes, the main mistakes we need to notice to fix:

  1. Uneven/unblended foundation: This is the look of something slightly cakey or dry on top of the skin. Cakey textures are hard to see sometimes because when we use a full coverage foundation, we see it covering up skin discolourations and we assume it’s doing its job. But coverage is just as important as invisibility. If the foundation is not applied evenly, or there is build up of it in an area, it will look cakey. Check the cheekbones, sides of the face, corners of the mouth: the coverage should be smooth, invisible. If not, smudge it out with a blending sponge or wipe off excess with a tissue. Sometimes having a moisturizer on the face prior to using foundation helps thin out and blend the foundation to be more invisible. Also be careful not to use too much setting powder because that can add an overly dry, unnatural matte texture. The finished foundation look should be slightly dewy and glow-y, as skin tends to look that way naturally!
  2. Spidery Mascara: This mistake looks like heavy spider legs, clumping and weighing down the lashes. I noticed some formulas of mascara, even in the same products, are inconsistent when it comes to wetness. If mascara is too wet, it will load on too much product and weight down the lashes in clumps. In cases like this, I recommend using multiple coats only before it dries, i.e. do one adequate coat (versus letting it dry a minute and then going for a second coat). Another thing I like to do is to use my clean finger tip and push up on the lashes after application, to pick up excess product, lift the lash as it dries and smooth out clumps.
  3. Blush that sits on the surface of the skin: This mistake has a powdery texture, can be overly matte, and has no translucently. It’s a blush look that’s okay for photos or full face make-up, but it’s a bit too unnatural for daily face looks. I used to think that I was using too much blush when my cheeks looked too pink in the mirror. And I used to use the tiniest amounts with the faintest pink colours, thinking that it’ll look more natural. But it’s not the shade, it’s the texture of the blush. Find one with a bit of transparency so that the skin is visible underneath it. It looks way more natural that way. I feel cream or liquid blushes tend to be more transparent and natural looking.
  4. Overly lined eyes: This mistake happens often and looks like bandit eyes! I can even see it in movie make-up sometimes too. It’s not flattering, it’s distracting. Dark and thick eyeliners lined entirely around the eyes can actually make them look smaller by diminishing the whites of the eyes. It’s better to tightline the eyes (a technique of just lining the lash line thinly, to even it out) And if there is a desire for some graphic definition of the eyes, just a winged liquid liner on the top lash line will do the trick. If only using a pencil liner, try to smudge and soften the eyeliner after application with a smudge tool, or clean eyeshadow brush: smudge both the top and bottom lids. For the bottom lid I always line it with a dark eyeshadow instead of liner so that it’s extra soft looking. And I still smudge it with my fingers too.
  5. Eyebrows too dark and defined: This mistake gets overlooked often, but it’s when the eyebrows are darkly filled in and opaque. They brows don’t have any dimension and look drawn in with ink or tattooed on. I don’t really like this look because it reminds me of the painted brows on a doll or mask. It doesn’t look real or natural. It looks too severe as well, hardening the face and the gaze of the eyes. Again, as with eyeliner, I think softness is the way to go. To fix this, use a powder/pencil brow colour several shades lighter than our natural hair colour. And smudge the brow application and comb it with an eyebrow brush for extra softness.
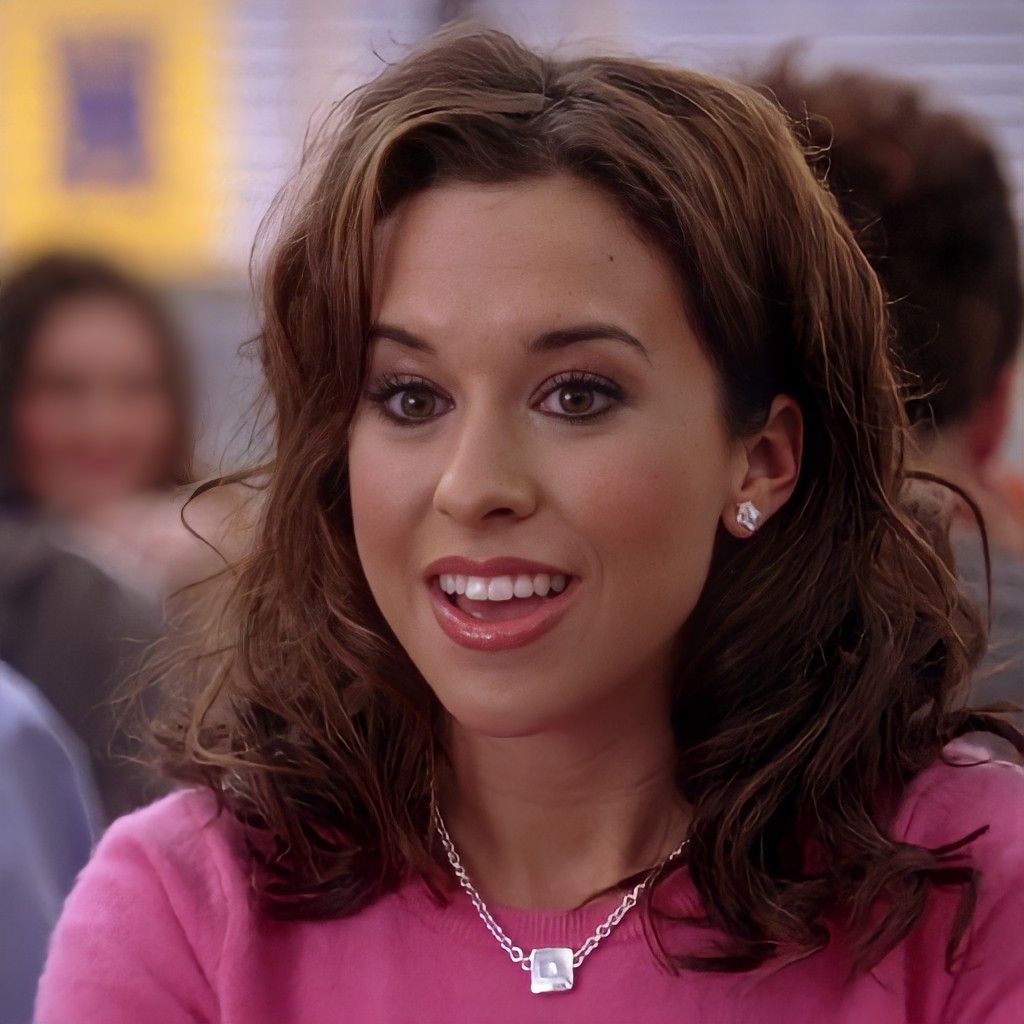
This is an example of cakey foundation and overlined eyes. While, not the worst, Gretchen here looks just overly done up. Mean Girls 2004, Paramount Picures.

So there it is, guys. The 5 most common make-up mistakes I always see. As a disclaimer, I think make-up and beauty is subjective sometimes…and if some of these mistakes are done intentionally to achieve a certain vibe, then all the best with their use! But if these mistakes are things that arise from years of wearing make-up and not noticing the tiny effects the wrong application or wrong products can produce, we can all pay better attention. After all, our busy lives are not an excuse for showing up with anything other than the appearance of being bright eyed and bushy tailed. Because we’re the “influencer” of our own lives.
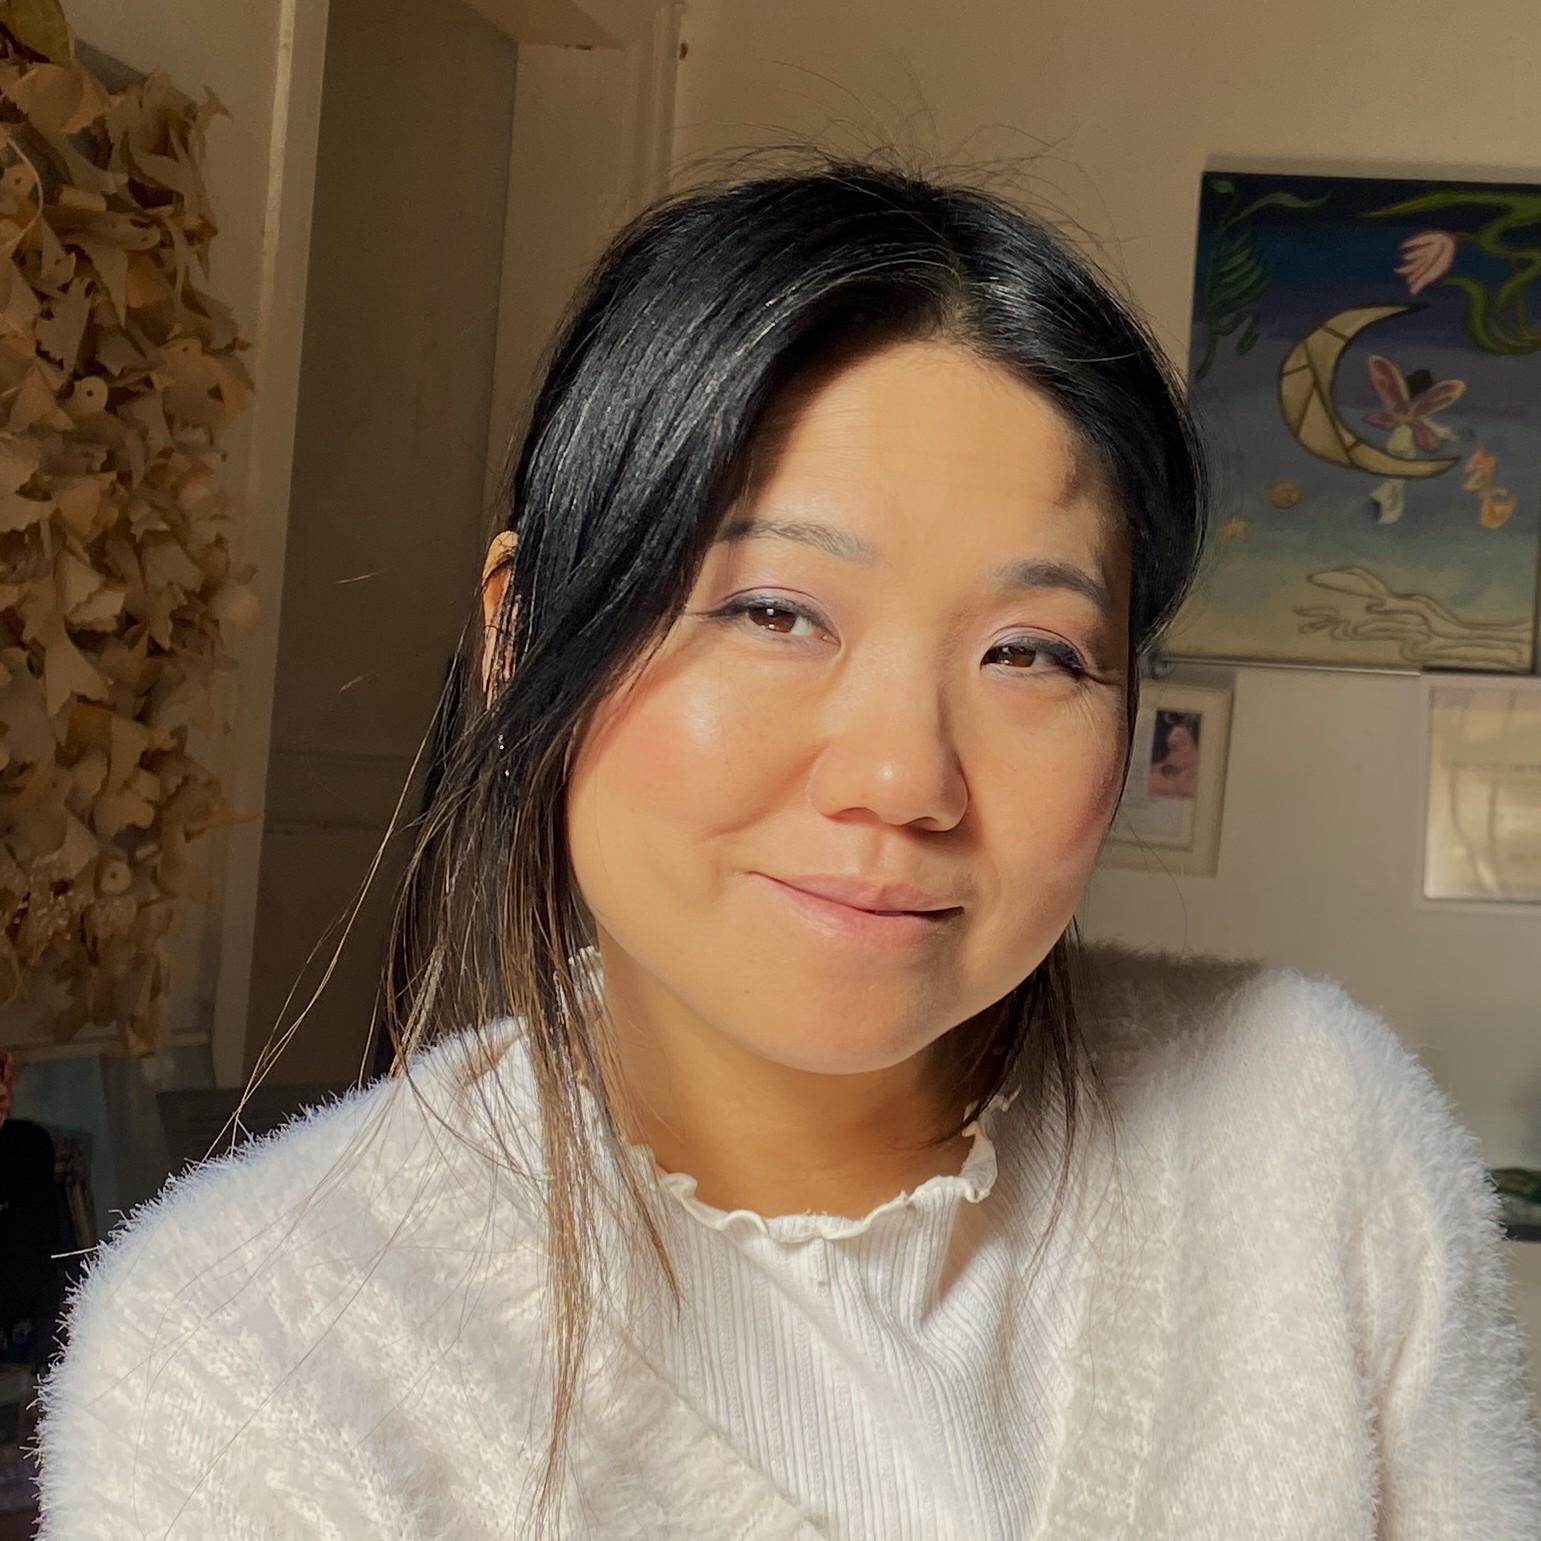
This is a clean make-up I do on a daily basis when I’m not going out or working. And I like it because it looks natural and uses my 5 tips!

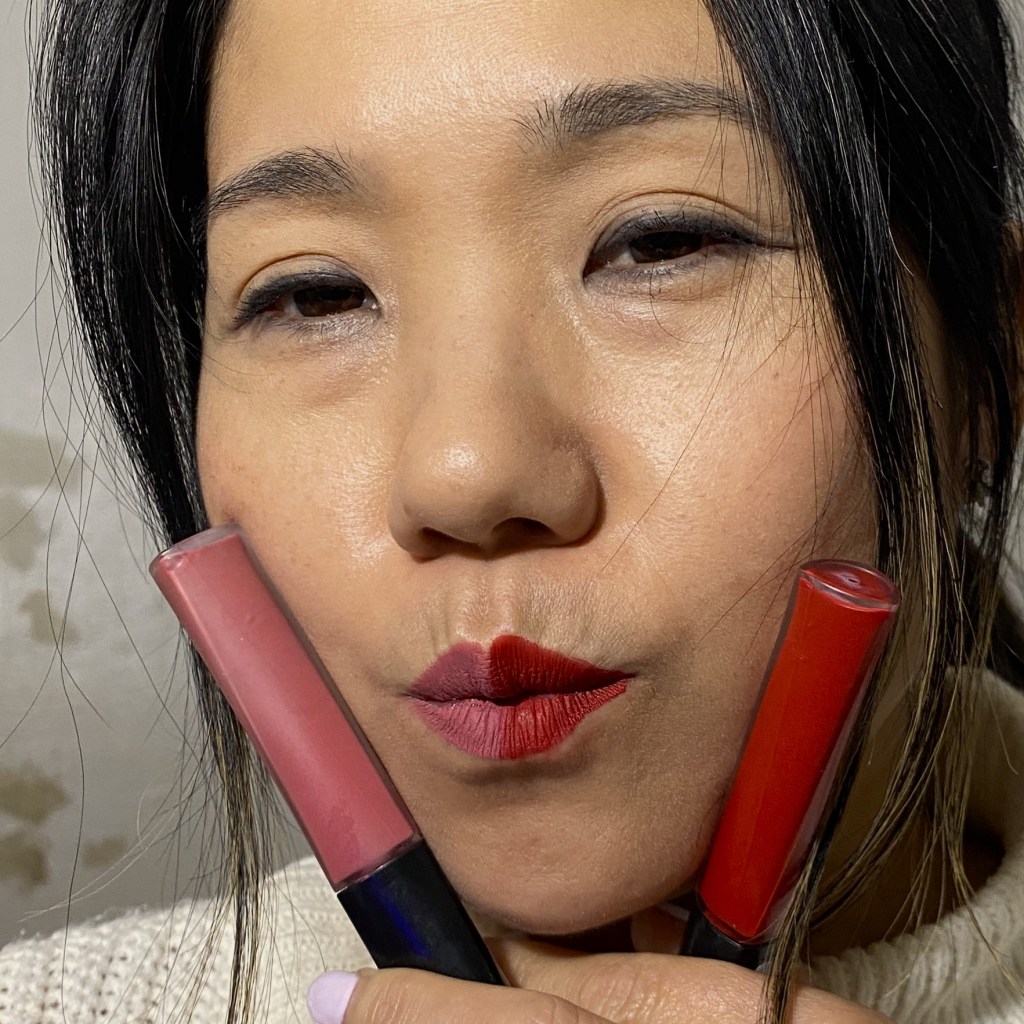
The only two shades of lipstick I need for getting polished fast and goes with any look!

It’s not easy putting on a full face of make-up every morning on a moving ship, and reporting for duty bright and early in the morning at the Spa (I’m a hairdresser on board ships). And as women we all know that lipstick shades and finishes come in such a huge array of choices. Every mainstream brand, whether designer or drugs store has too many options to choose from when it comes to lips. Here my my tips however, for making the colour decision fast, and always having a makeup look that works, so that mornings can be spent having that extra cup of coffee for who knows what a busy work morning will bring!

These are the two recommended colours: A natural mauve/pink and a bold, fashion red!

First tip, I recommend using long wear lipsticks only. Not only are they more economical because I’m reapplying lip colour less frequently, but also, they save time for that same reason. I can be confident that my lips looks good until lunch-time when it comes off. And then I reapply after lunch and I can repeat the feeling of confidence that it hasn’t smeared or rubbed off until the next break. All cosmetic brands now make long lasting lip products, (no budge), and it’s easy to find one in a variety of colours. There are also matte and gloss finishes to choose from. I feel for no budge lipstick, matte is better, just because it feels less like shellac on my lips. And I also feel glossy lips are distracting and less natural looking. But to each their own, of course.

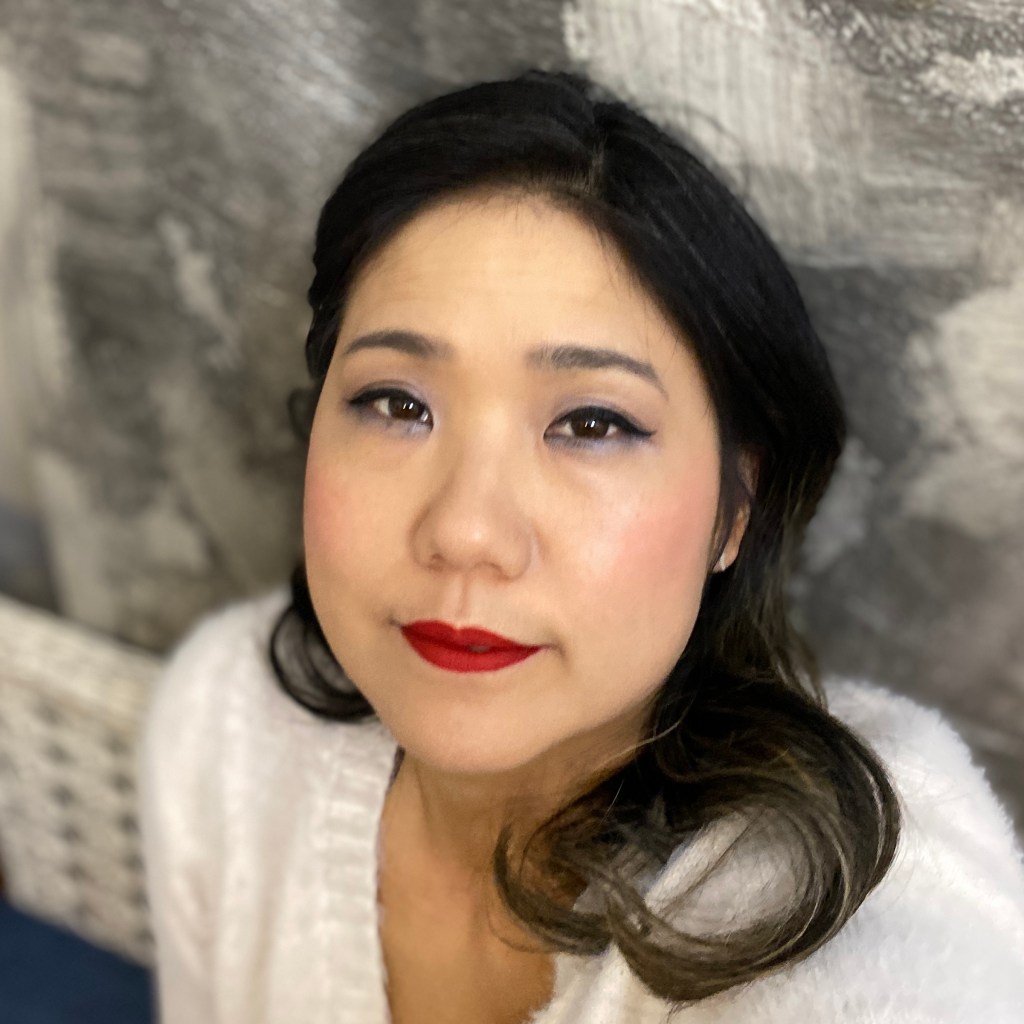
Now on to tips for choosing which lip colour to use for what look. One colour of lipstick I used often was a bold red to pair with nude/light eyeshadows and minimal make up looks. That’s right, the face needs balance, so if I were wearing a minimal makeup look on a given day, I would punch it up with a bold fashion colour! And a velvety red really brought the drama and I always had compliments when wearing it.

Nothing goes better with a statement red than minimal clean makeup!

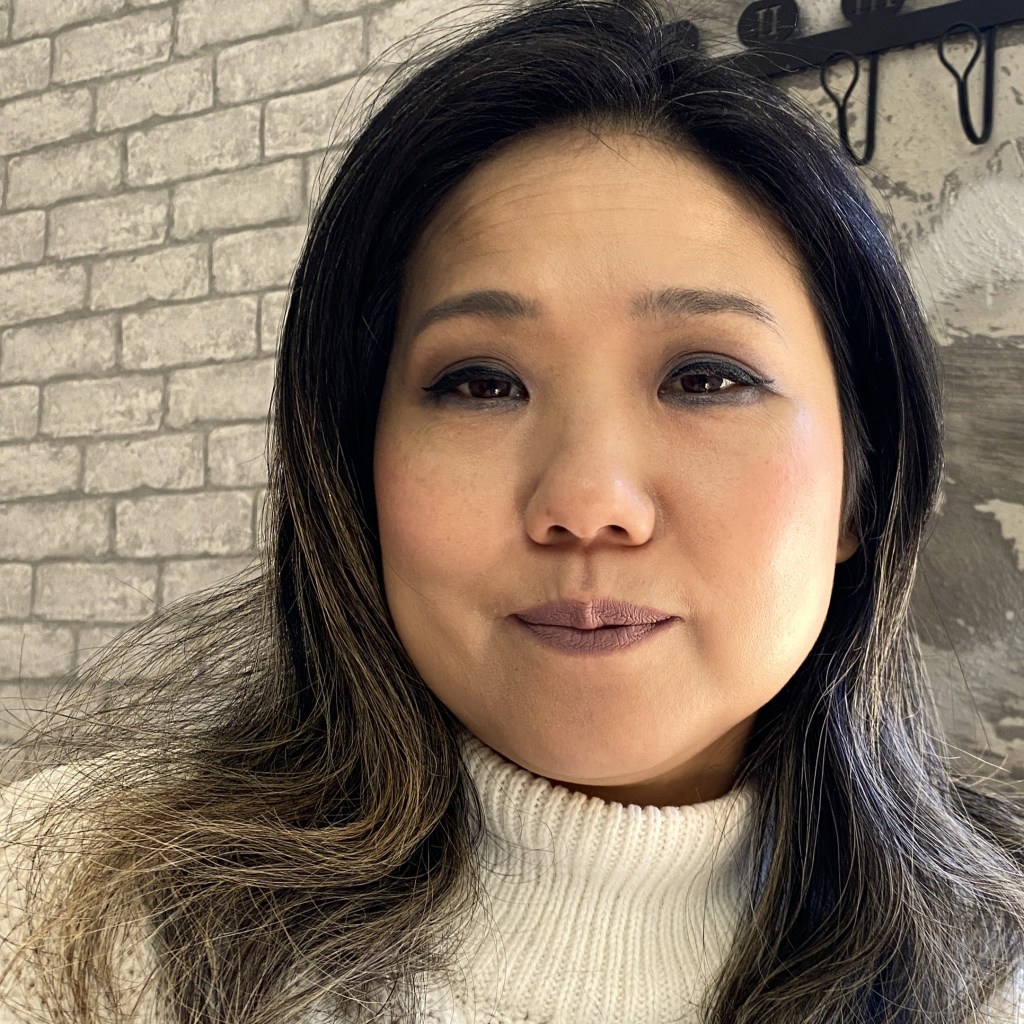
But I also received so many compliments on my smokey eye make-up! On days where I wore that look, the eyes were so dramatic that they didn’t need a loud lip colour to compete with. It would be too busy. So with smokey eyes or darker eyeshadows, I would pair the look with a muted mauve/natural pink lip. And this always kept the smokey eye makeup as the star. We always want one thing more loud on the face and the others more quiet. If we choose the lips, it’s getting the bold red, and they eyes stay natural. If we choose the eyes to be the focus, the lipstick colour has to be muted.

And with a smokey dark eye shadow, we’re going to have to have a muted lip colour. Here I was doing very cool toned nude. But a natural pink works also. Anything “quiet”.

What I love about these two lip colours is that it’s all the colours we need! And they can paired with dozens of makeup looks. It actually simplifies my makeup routine and helps me save time, while still looking put together. And that’s what I feel makes the best beauty tricks. We want to look effortless, but we also want it to be truely effortless. We can have style and taste come faster just from knowing which colour to use, and not because from over thinking from having too many options to choose from. Girls, I was rarely ever late on the ship, and also rarely ever wore the wrong shade of lip colour!

Some basic, but important Tips for Make-up Beginners

First: A Throwback of my Past Make-up How-to’s:

I write a lot of articles about different make-up looks, whether it be a natural or vampy look, or valentines’ day flirty eyes; I have fun expressing unique make-up applications. Here a few of my escapades with make-up and color:

This is from my article on how to do be-witching eye make-up! check it out here.

Very dark lined cat eyes for a fashion forward winter holiday look. Article here:

An 80’s electric eyeshadow look for a bold statement. Article here

What works for New Make-up Wearers?

My make-up looks are certainly fun if you want to change up your daily routine, but what about people who want to start wearing make-up and are intimidated by all the complicated/trendy tutorial out there? I think the best make-up looks enhance your facial features simply, and doesn’t change or hide them. Like making your eyes look brighter with a shiny shadow, or making your skin creamier with a bb cream… In essence, make-up is basically playing up what you have naturally, and it shouldn’t feel odd or awkward. It’s a fun form of self expression, and one of my favorite ways to show off. Here are some basic suggestions I want to give beginners who are starting to wear make-up.

Tip # 1: No substitute for Good skin

Before putting on make-up, one needs to take care of the skin. Cleanse, exfoliate, moisturize, and use an antioxidant nightly on your skin. When you have healthy skin, make-up can actually do it’s job properly. Check out my line of natural skincare to learn more.

Tip # 2: Use an SPF or SPF loaded foundation

The sun is not your friend.  UV rays and ultra violet light from the sun IS what causes premature aging and wrinkling, so wear a sun screen under the make-up. If that is too heavy of a base, find a foundation with higher than 15 SPF to help protect your skin from harmful rays at the same time as giving you coverage.

Step 3: Level of coverage in Foundation:

Be honest about the level of coverage you want.  There are three levels of coverage: Light coverage is a tinted moisturizer, with no powder, medium is a light foundation/bb set with a bit of powder, and full coverage is a heavy foundation and concealer set with powder. I tend to like a medium coverage for day to day, since that often means I can skip concealer for minor uneven tones. But if you want the flawless skin look, you will have to go for full coverage. All options are fine, but choose the one that you want, not the one that you think you should want. Just because you have been make-up shy all your life doesn’t mean you can’t have the flawless full coverage look. Be willing to experiment to find what works for you!

Step 4: Definition of the face:

Using a foundation will mute all your other features. Your eyes will look smaller after foundation application, your mouth will be colorless, your eyebrows non existent. Your cheeks without color. So this is the time to add back definition.The more products you use, the more defined your features become. My minimum staples for definition are eyebrow color, eye lid color, mascara and blush. If you want extra definition, you can add an eyeliner, liquid or pencil, contouring/bronzer, lipstick, false lashes…etc. But again be honest with the level of definition you want!

The Bottom Line:

I feel that when starting to wear make-up for beautifying effects, it’s really important to be honest with yourself and how much coverage/definition you want to present to the world. Take the time to figure out what level of “made-up you really want”. And just like when wearing fashion, you want to have fun while expressing yourself with your make-up looks! Having a positive attitude and a willingness to try new things will get you farther in anything, any day!

My day to day make-up look. Very minimal: Medium coverage foundation with a light powder, eyebrow definition, thin lined top lid and neutral eye shadows…no lipstick, but a bit of blush! My go to natural look…