Nail design: nude nails and a splash of colour

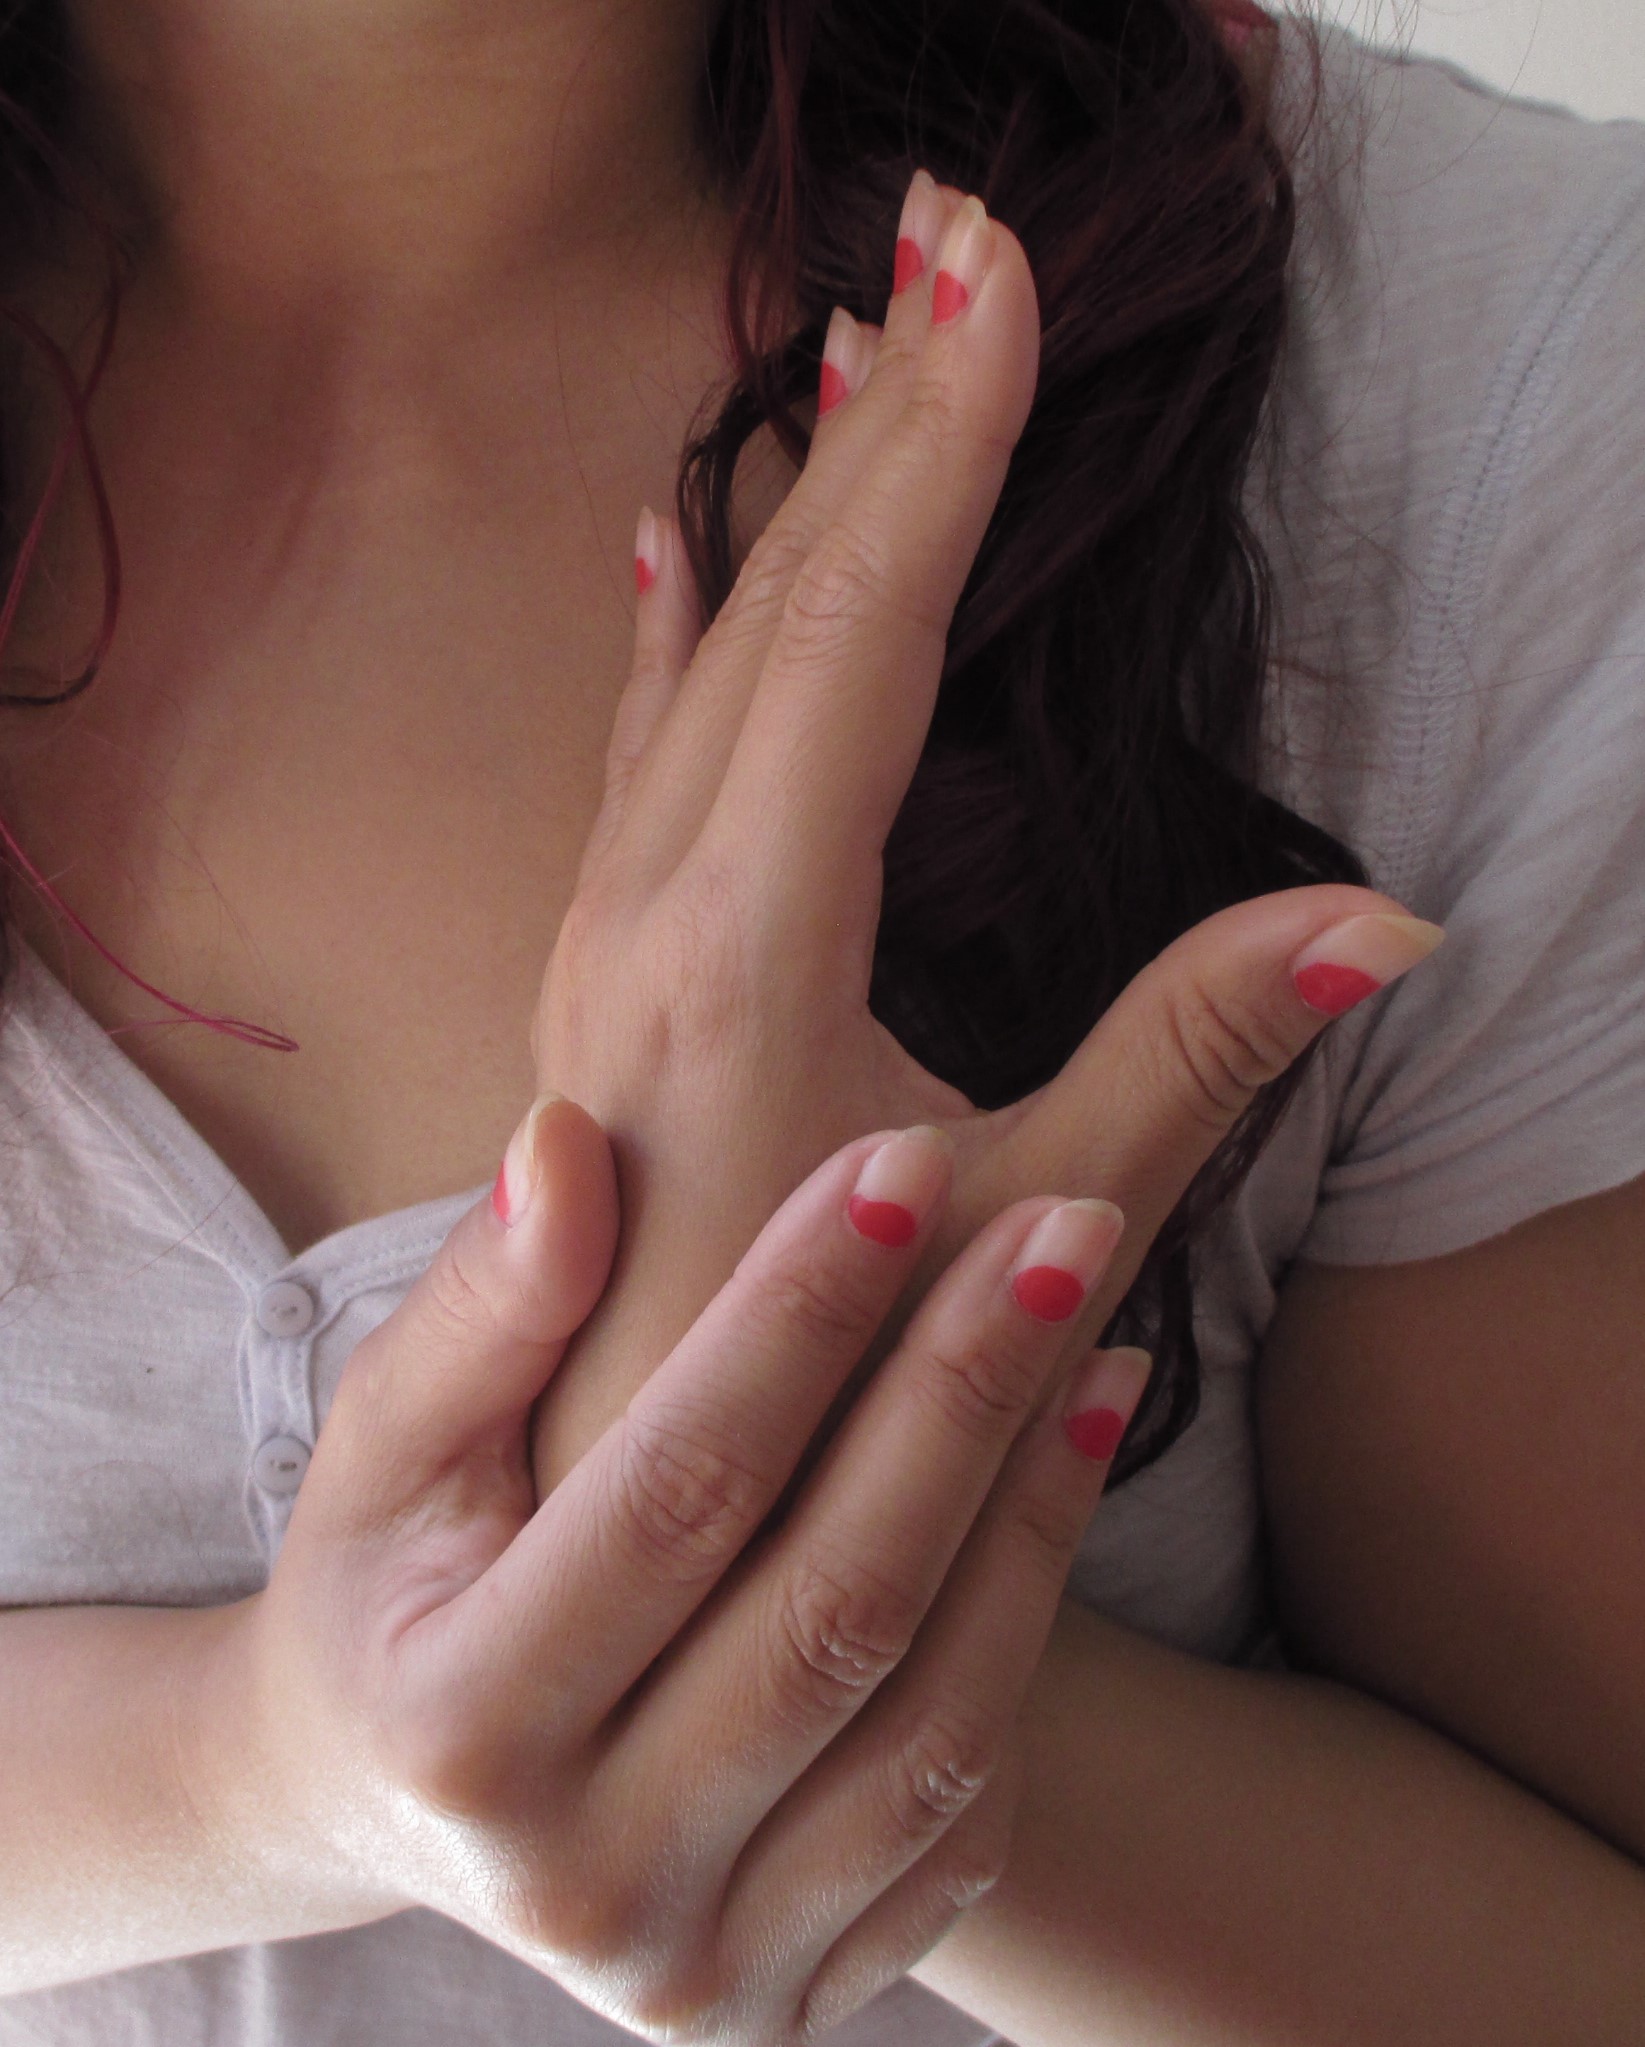
I saw this trend a while ago online in various fashion articles.  But only recently I tried to get it with a few trial and errors!  It is this way of painting each nail with colour polish only partially, so that the nude bare nail still shows up and is part of the look.  I think of it as a variation of french tips, where instead of just painting the tips of the nails, you work with other parts of the nail to create negative space and interest.  I think partially colouring your nails is super fresh looking, because it shows part of the bare nails, and hints at idea of being naked, natural.  It gives the nail a more graphic, designed look as well!

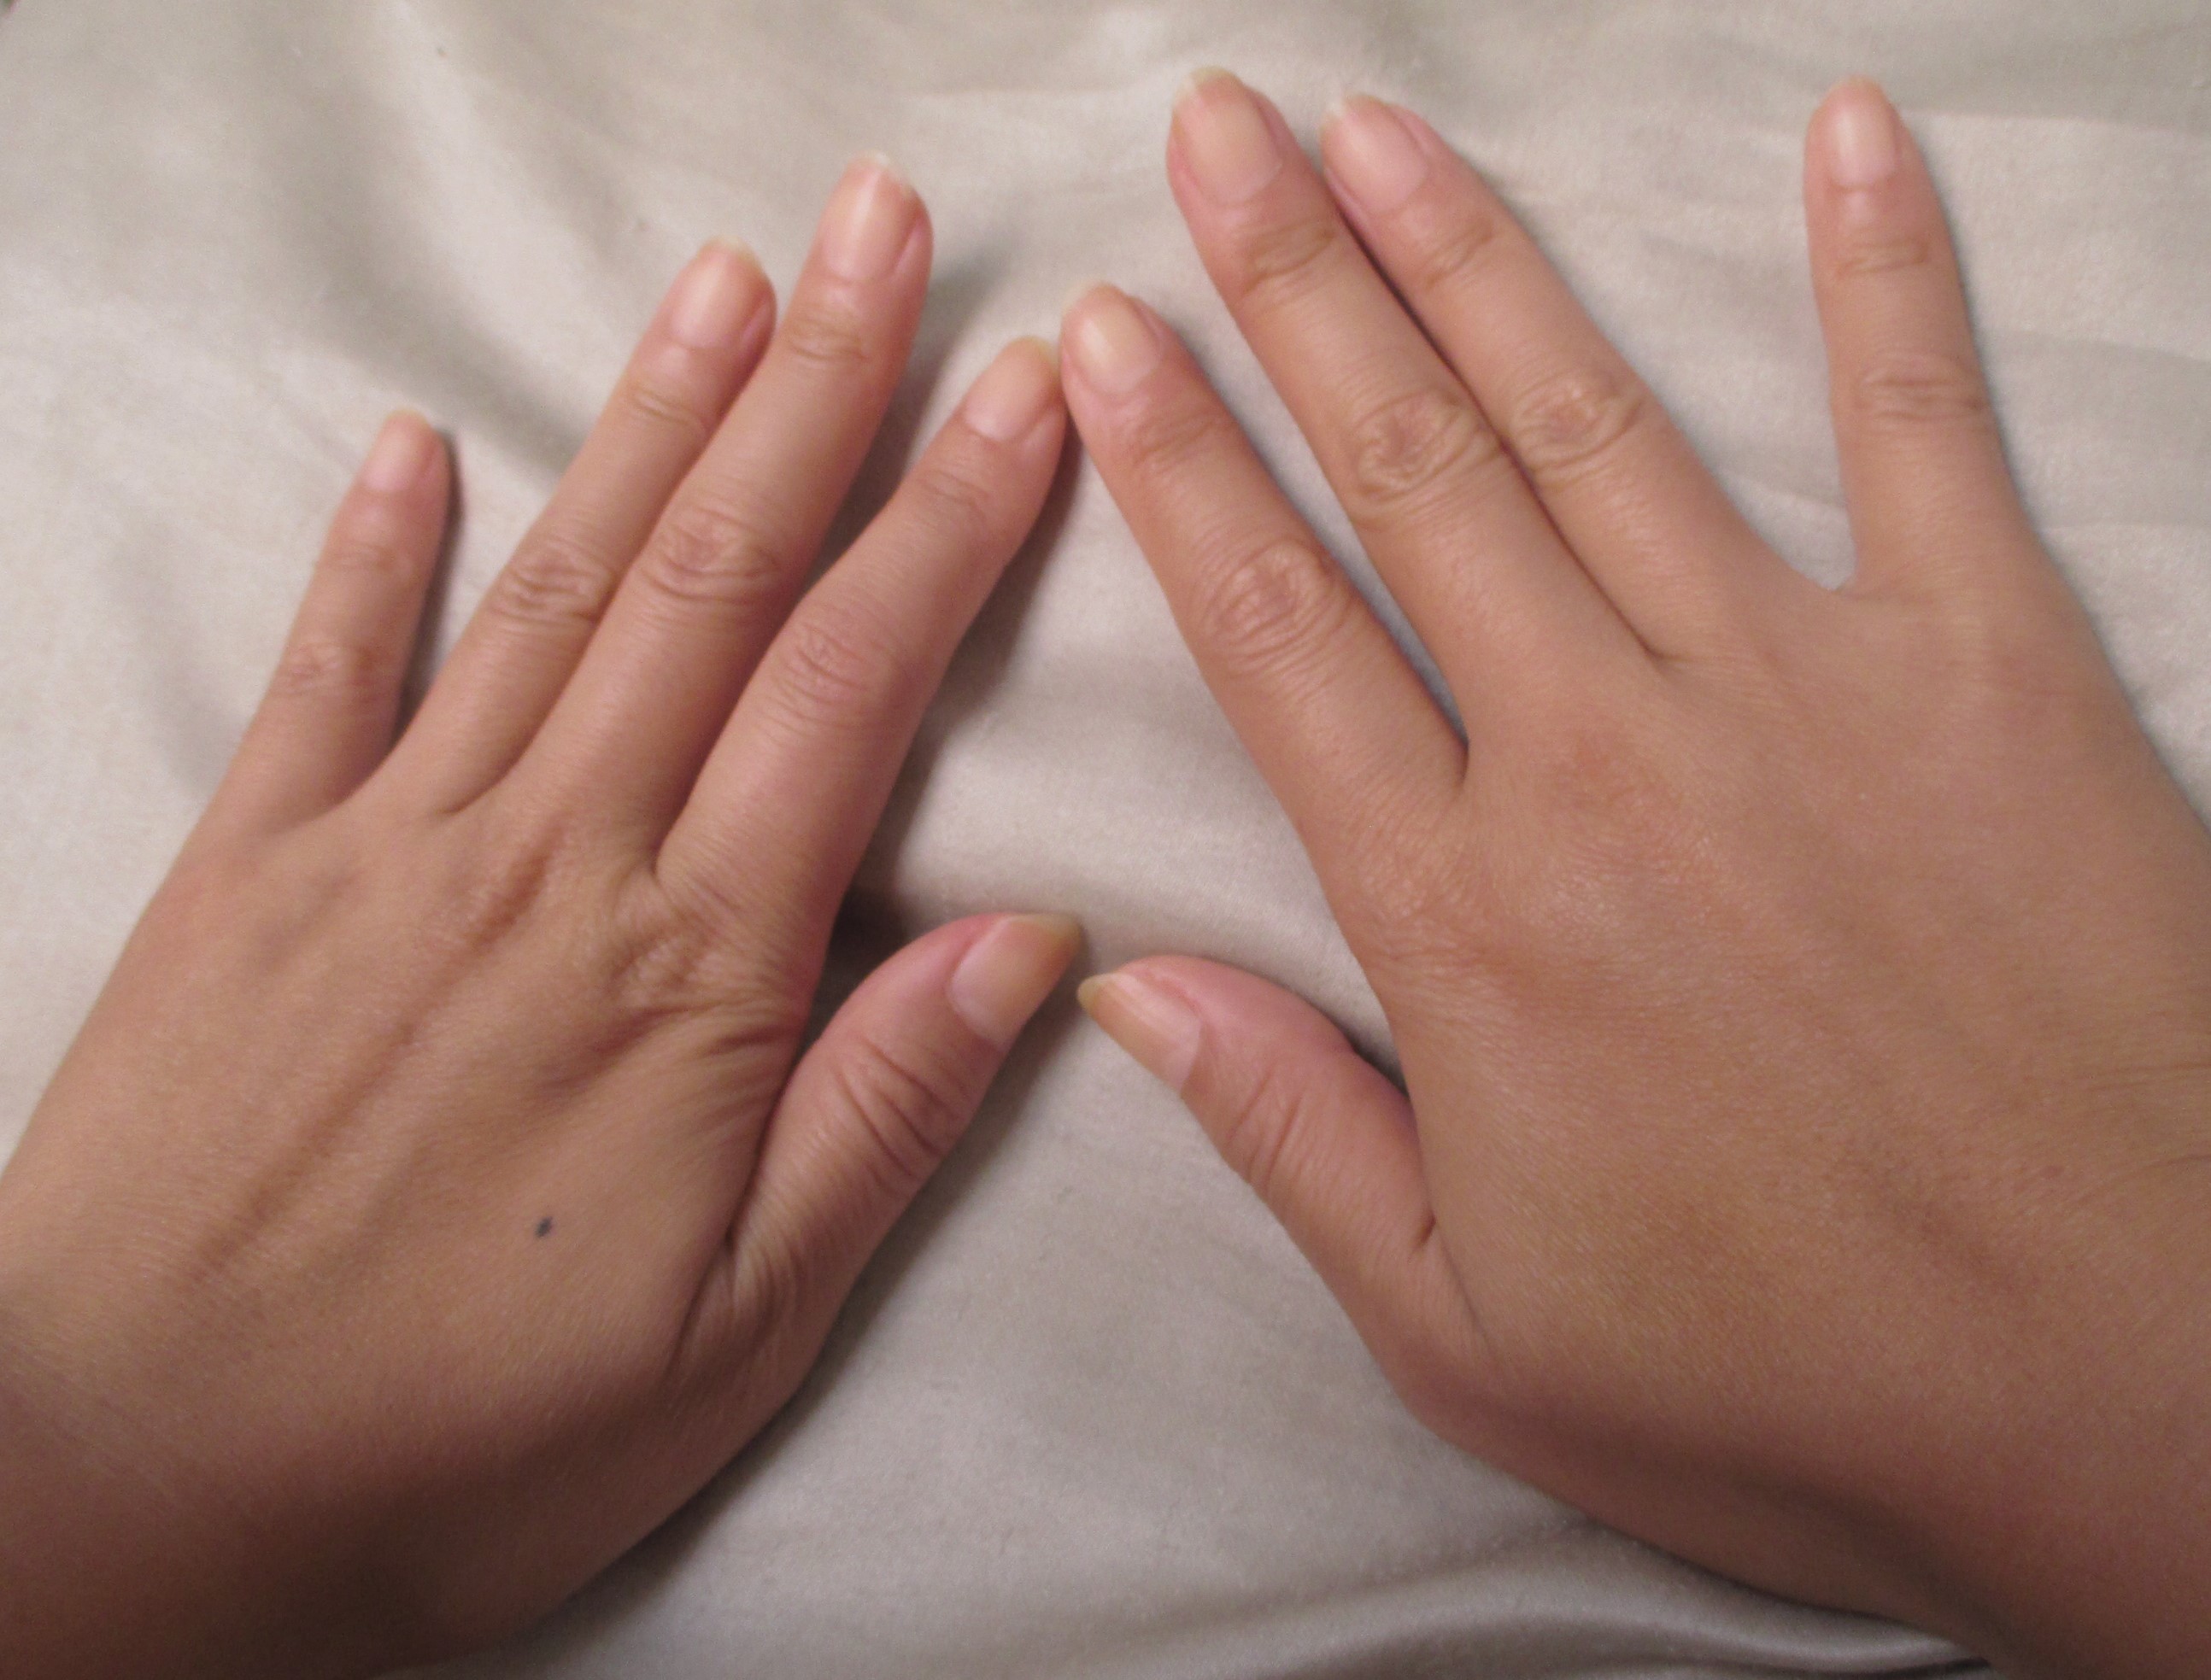
Hello bare clean nails! If you have healthy well-shaped nails, you really can skip polish and rock those! But adding colour never hurts!
Hello bare clean nails! If you have healthy well-shaped nails, you really can skip polish sometimes.  But I always feel I need a bit of polish, which is why the partial colour is great.  You get a bit of both worlds.

Steps to doing a Colour on Nude Nail Manicure

  1. Start with clean, well shaped nails.  This is an obvious must when trying to achieve this half painted look because your nude nails are actually the star of the show!  (I wash and moisturize my nail shaft for a day or two resting them without polish, to let it breathe and grow more healthy)
  2. Just before painting them, wipe your nails with a tissue moistened with water, to remove excess oils that can cause the chipping of polishes.
  3. Let your nails dry from the wiping.
  4. First paint your nails with a transparent base coat all over the nail shaft.  The base coat helps so much because naked nails don’t receive colour evenly, so it is like a foundation.  Base coats also smooth out ridges in the nail, just make sure it is transparent so the nude nail shows.
  5. Carefully paint the design in with the colour of choice.  I like to do the moons of the nail, which is the bottom half closest to the cuticle.  I do an arched shape.  I find middle-toned polishes to work the best with this look: ie. not too dark or not too pastel.
  6. Let the first colour coat dry, then do a second coat of colour, being careful to mirror the shape from before. (This step is optional: intricate designs are not easy to apply a second coat to)
  7. Put on a clear top coat All over the nail shaft to seal it in. I love to use a clear matte polish as a topper just because it looks super natural on an uncoloured nail.
So this is the finished product. A nude nail accented by a burst of colour! There are endless variations of the nude nail with colour! An single coloured stripe would also look cool!

Graphically designed and painted nails that show off the natural gorgeousness of the naked nail!  Try it yourself and let me know how you like it.  I’ve seen different variations, you can do a vertical strip, do a star shape or even dot nude nails with a few jewels.   The possibilities are practically endless.  Main point to do is remember to use a base coat and top coat for best results. 🙂

Summer skin care: sun protection is key!

I recently discovered summer skincare is very different from the rest of the seasons.  I think because in Canada, we really only have two months of summer.  UV rays from the sun are present and dangerous all days of the year, but there is something about summer that just scorches and you can actually feel its damage. In all the other seasons we can be indoors a lot, but not in summer.  I like getting outside, but I never really was a fan of the tanned look, and well, I am kind of afraid of the premature aging that is said to happen to from frequent tanning and sun exposure.  And even with vanity aside, developments of skin cancer are unfortunately proven to be higher for people who love the sun too much. 😦

This was an outdoorsy summer.  I was on a trip to beaches near Lake Erie, and it was not a good time to forget the hat.  I got baked on that trip.
This was an outdoorsy summer for me. I was on trips camping, trips to lakes and beaches.  So it was not a good time to forget the hat. I got tan lines all over my collar and the summer is only half done!

Staying away from the sun is easier said than done.  This summer is an active one for me.  I walk a lot everyday with my kid for errands and exercise, I also just came back from a weekend at the beach, and the previous weekend I had gone camping.  I see all these tan lines on my collar, and although I know that my natural sun block is protecting me to some degree, I am also getting a lot of sun exposure and sometimes I was forgetting to put it sunscreen on!  Yikes! (At least I have no shortage of vitamin D recently) But still, I have to be careful for the rest of this summer, because though I have been skipping heavy make-up, I can’t skip sun protection.

My 6 Summer Skin Savers:

1) My cocoa butter & zinc oxide sunscreen, SPF unknown, since I make it myself.  It goes on a bit streaky, but knowing it’s all natural makes me and my skin happy on blazing summer days.  It is a bit greasy, so it must be worn on its own, not under make-up.  And I spread it everywhere that is getting exposure.

2) Rose water skin toner.  Also all natural, since my toner is literally just rose water straight from any supermarket. I put the bottle in the fridge and dab it on with a cotton ball whenever I need refreshing on my face.  Toners are generally used after face cleansing. But you can use rosewater anytime your face needs a splash of actual moisture and it smells so wonderful.

3) BB Cream!  I know there is a bit of a debate over which is better: BB cream or foundation.  But for SPF protection, BB’s are unparalleled.  Most of them are 25 SPF and up, and that’s only one of the many things BB creams multitask at.  They also provide coverage and blurring effects for the summer days that you still need to look a bit more polished.  Soften bb cream’s heavier coverage by skipping powder and you get a natural dewy, slightly shiny look that is supposed to be “in” at the moment, while still getting the sun protection that you need. Also powder make-up can turn cake-y in hot weather–not the best looking.

4) A big straw summer hat. Worn not for fashion, but for a constant shade for your face. Not necessary the most cooling item to wear on top  your head during a hot day, but a MUST to keep your face and collar in the shade, away from intense sun.  I went strawberry picking during the weekend and without it, I would have been seared by the midday rays!

5) Best stay indoors during the hours of 11am-4pm.  Unless you have to, why do your outdoors activities under the hot midday sun?  The intense heat of the summer sun at that time also puts you at risk of a heat stroke.

6) Drink lots of water.  Skin does hydrate from the inside out too, so the hotter the weather, the more water you should be drinking.  I don’t like sodas or sugary drinks that much, so ice water is my go to for hydration!

Shying away from the sun is good.  I got in my hand my current bb cream from Holika Holika at SPF 30 and my sun hat from Ardene's for only $12, so there is no excuse not to shade yourself!
Shying away from the sun is good! I got my current bb cream from Holika Holika at an spf of 30, it has a natural coverage.  And my sun hat from Ardene’s was only $12! so there is no excuse not to protect yourself!

There is totally nothing wrong with sunning or tanned skin.  I don’t necessarily think pale skin looks better.  Mostly, I like to think about what is best for the health of my skin in the long run, which would appear to be less sun.  What are your favourite summer skin savers?


Taking a passport/ID photo is not as easy as it seems…

No smiling, no tilting the head, no posing, no hair in the face…etc. These are all the restrictions that come with the territory of taking an ID photo.  I used to think it was pretty simple, but now I realize the government doesn’t want you to look good, or look like you are having any fun in these photos.  In all seriousness, they want you to look miserable so they can capture the facial features of the face in a “no frills” kind of way.  As a result, a passport photo that you barely even like, and barely looks like “you”, becomes the representation of you for the next five to ten years.  Yes, you will have to look at it every so often, and see the unflattering lighting, how it hit your face at a bad angle, making you look not your best.  *sigh* It’s not that bad, or is it? Without sounding vain, wouldn’t you want to have the best photo you can get while still meeting requirements the government demands for formal IDs?  Here are some of my tips for making the best of a trying situation:

My Personal Tips

1. Don’t wear dark colours like black, navy or charcoal.  They weigh you down in spirit, which will weigh you down in the photo too.  I like to wear pastels and cheerful colours to reflect a lighter mood, to combat that downer feeling that taking a non-smiling ID photo can give.

2. Don’t smile, but think happy, relaxed thoughts.  Make your eyes smile.  This may sound crazy, but they can smile!  Look into the mirror prior the photo, breathe, relax, and look at your non-smiling expression.  I find practicing your “non-pose” can really help you see if you are making a weird face by default, or just looking too severe.

3. Wear your hair DOWN.  I can’t say this enough.  But for some reason, this makes all the difference.  Hair that is up makes your face look larger, because of the awkward cropping of all ID photos.  Not that a large face is bad, but in photos, smaller usually looks better in my humble opinion.

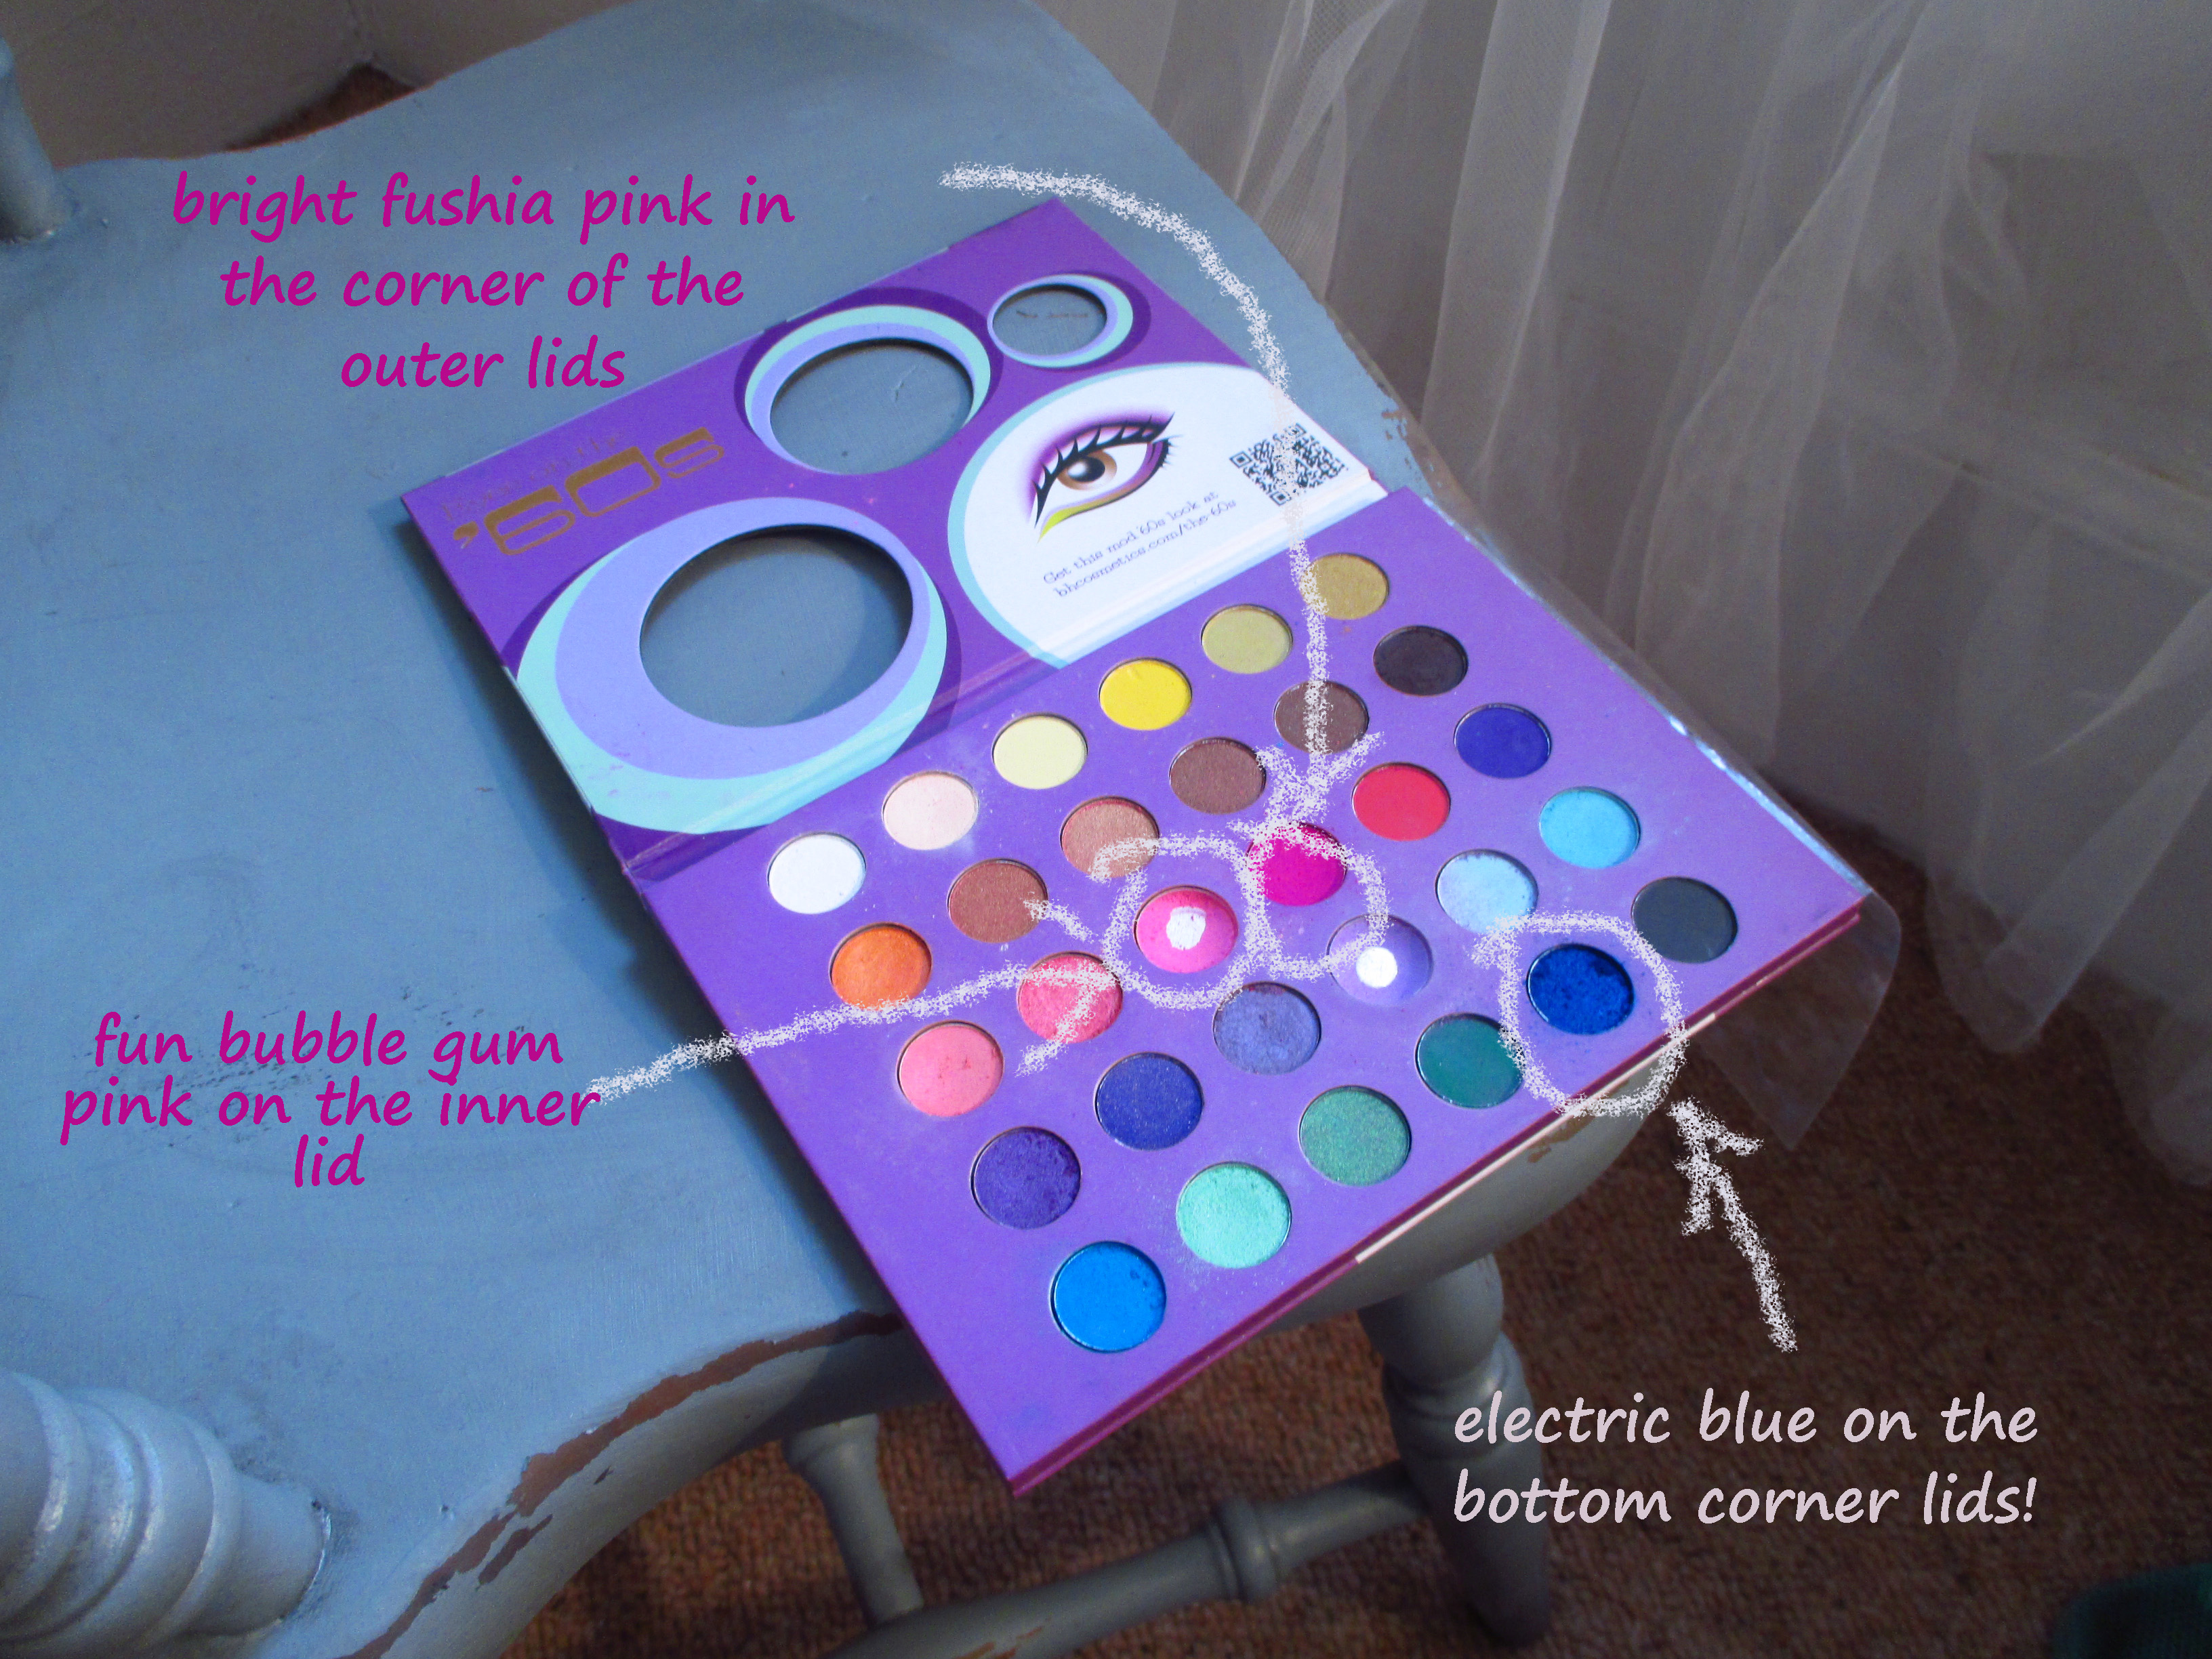
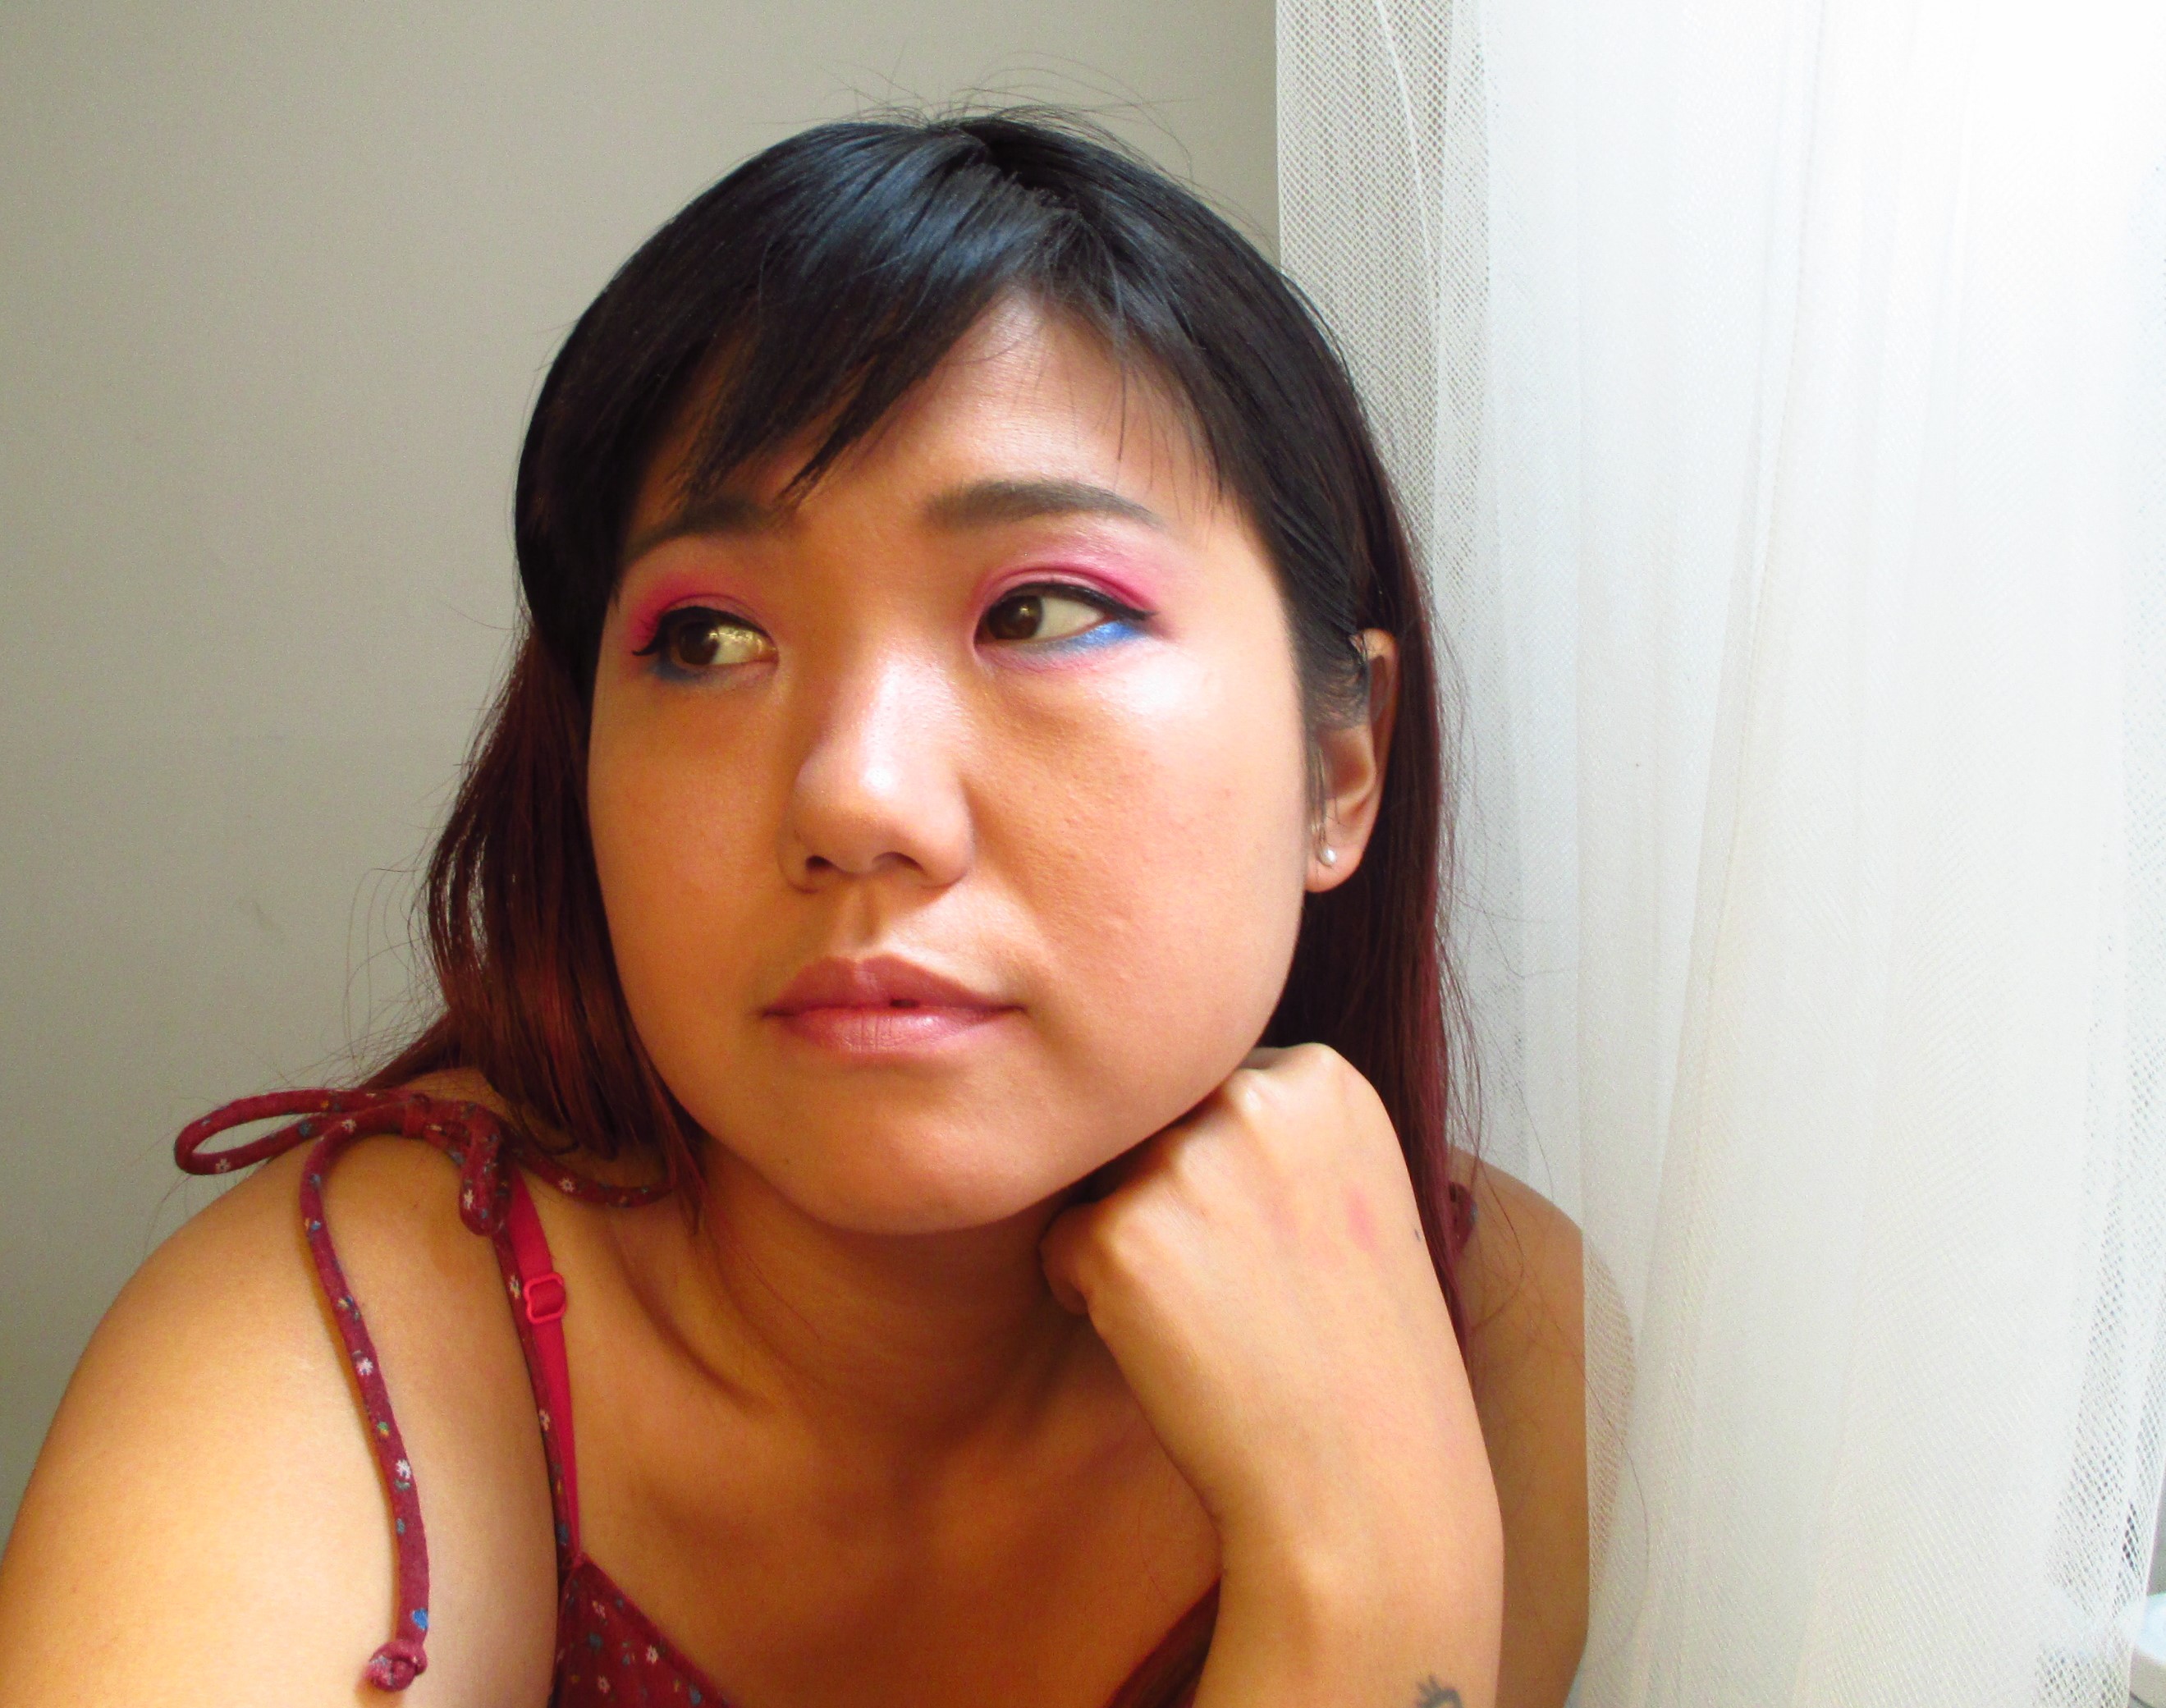
4. Make-up: Lots of people say to wear neutral make-up, and I kind of disagree.  I feel you ought to wear the make-up colours you feel like wearing.  So if you often wear bright eye shadows, why change to neutral for a passport photo? For my most recent passport photo I wore a bright fushia eye shadow in the corners of my lids and I love how they made my eyes pop!

5. Concealer and other tricks: I love the look of natural skin with its freckles and marks, and am not a big fan of concealer just because unless you have acne, what good is it really for on a day to day basis?  But for ID photos I would recommend it.  I saw the way those flashes magnify every flaw on the face…so use accordingly.  The day of my photo taking I had under-eye puffiness, so I used a bit of ice on it to deflate them before my photo.  Stay really hydrated to avoid water retention and bloat.  All these little things do make a difference to the end result.

What tips do you find help you take good government ID photos?  Is it just too much trouble to worry about these things and do you just don’t care when it comes to how you look on photo documentations?  Or do you think official documents should show a good photo of you most definitely?  During my recent photograph session, I remember a lady customer before me at the shop.  She was also taking her passport photo, and she walked into it with no prep, just dabbed some lipstick on before jumping into it.  The lady was so disappointed with her results, when the store showed her the proofs.  Don’t we all wish that it was just as easy as putting on lipstick!

IMG_2403 (2) edit
This is my new pic. It looked better in the proofs, but the reprint of it into the passport is very grainy. Still, I liked it, considering how I couldn’t smile, and the photo peeps took it in 2 seconds flat! Does it say “run away with me!”?  Hee hee.