I work in the financial district, but I’m still dying my hair purple!

*disclaimer*: This is how I lift and colour my black hair…but everyone’s hair is different and reactions vary.  Before attempting to colour process your own hair, please use precautions like gloves, or sample test hair.  Also, my instructions are for the brands that I use.  Be sure to read the label of your own products for instruction and always consult a professional if in doubt!

I always get people asking me about how I colour my hair to be a such a vibrant colour, (ie. punchy red) without bleaching out my naturally black hair. Most vibrant colour dye such as manic panic, adore…etc will not show up in black hair, not without bleaching out the natural colour first.

I, however, don’t need to bleach because I am not trying to get the bright, or pastel punk colours that “alternative” girls are sporting.  Bleaching is unhealthy for the hair, and because I am modest,  I don’t want all that attention over my hair colour.   Also at my age, it is harder to wear neon bright hair colours because I want a job that is not at a goth store or at piercing/tattoo parlour, no offense to those that have those jobs.  But still, I want to be different. So what I settle for is lightening my hair 2-3 shades to a honey brown colour, and then adding the vibrant colour to that.  That way, I get to stay a brunette, that shines a vibrant colour when my hair hits the light.  This process does not need bleach, but uses high volume peroxide mixed with an ash colour toner that lifts and tones in the same step!  Toning is the KEY.  Toning neutralizes the red/orange tones in dark hair that are in over abundance when one starts lightening hair.  If you’ve ever tried lifting dark hair, you’ve probably been horrified to see that it turns an ugly rusty orange colour when in mid process.  Not pretty at all.  Not only is this orange/red pigment ugly, it interrupts the way we perceive any colour you put on top.  Toner helps mute this effect. I went to art school, so this is how colour works.  Vibrant tones are cancelled out by rusty colours.

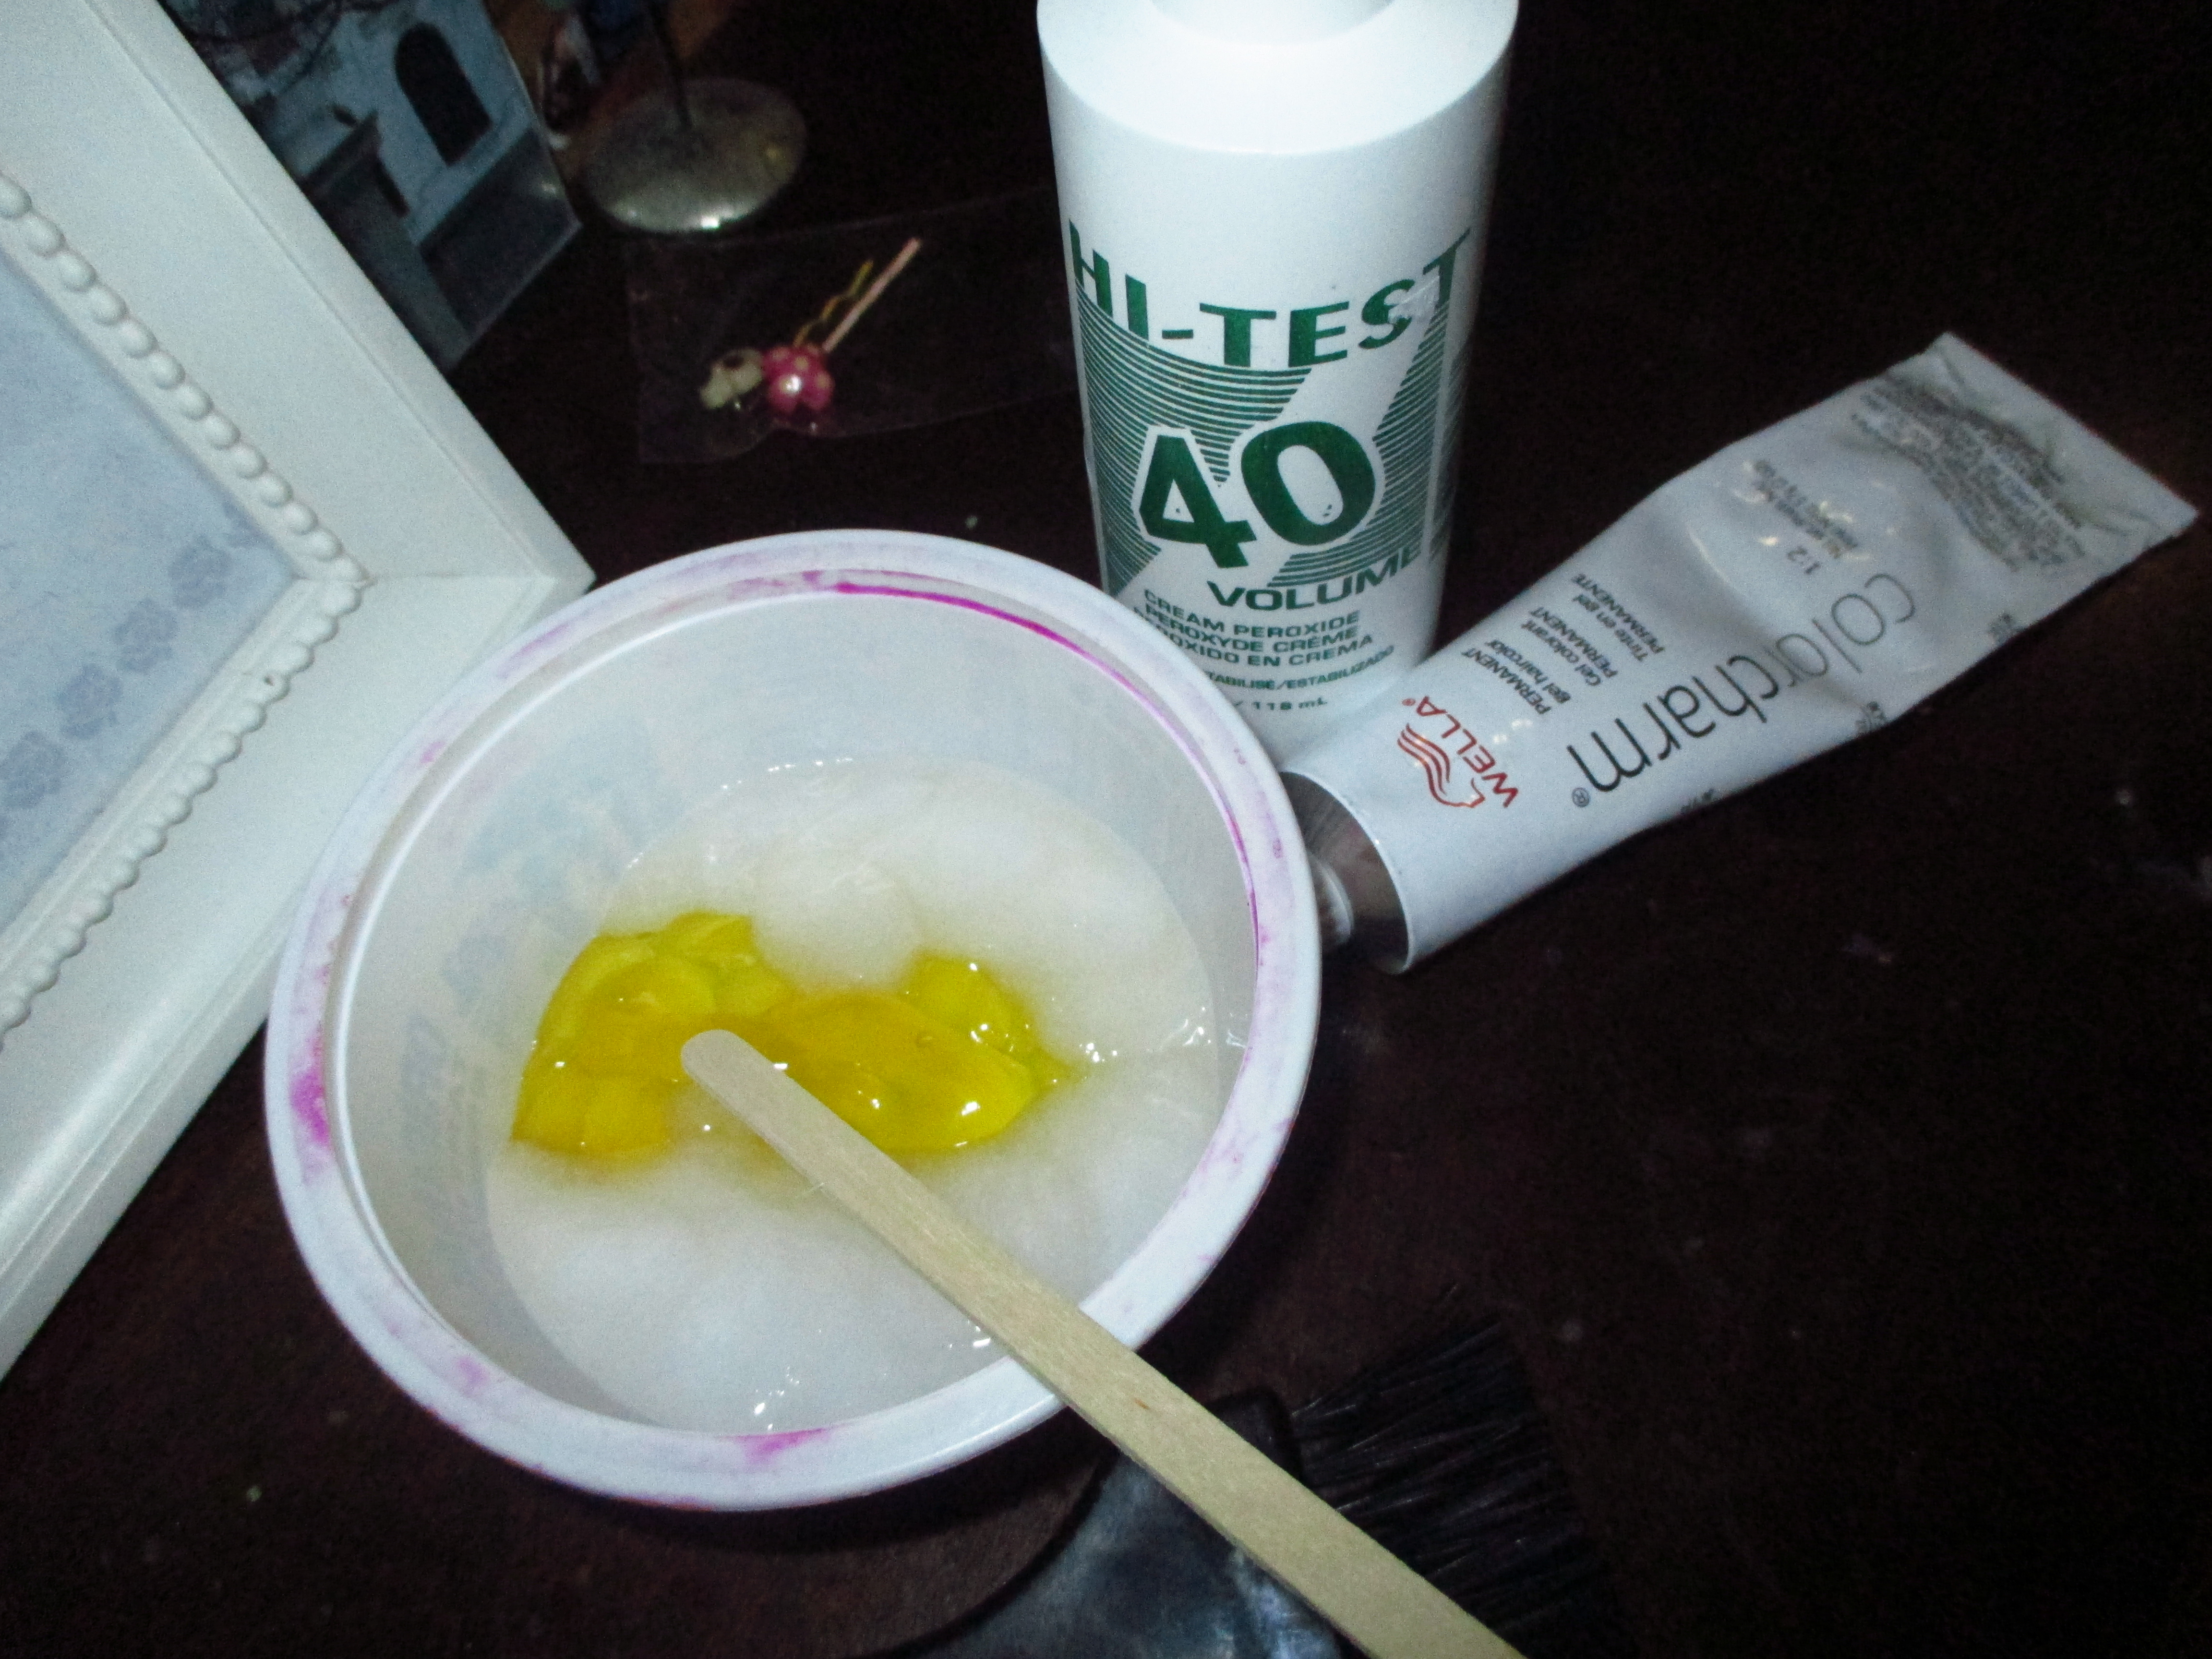
This is what you will need to lighten and tone.  Don't forget gloves!
This is what you will need to lighten and tone. Don’t forget gloves!

I do my roots with 40 volume peroxide, which is the strongest I’d recommend, mixed with Wella Colour Charm gel in Ash Blonde.  The ratio is 2:1.  (This combination of gel colourant mixed with peroxide is similar to what you find in the pharmacies prepackaged.  But getting them separately at a barber/beauty supply gives you more control over the performance and quality of the product.  So try not to get those “boxed colours” if possible.  And you save money too.) Then I applied it to my roots.  The dye turned dark blue, which seems odd, but trust me, that is the toning process happening.  In half an hour, I’ll wash off the toner to reveal a beautiful honey brown, almost blonde colour.  Yay, no roots!

Section out hair and apply to those untimely roots!

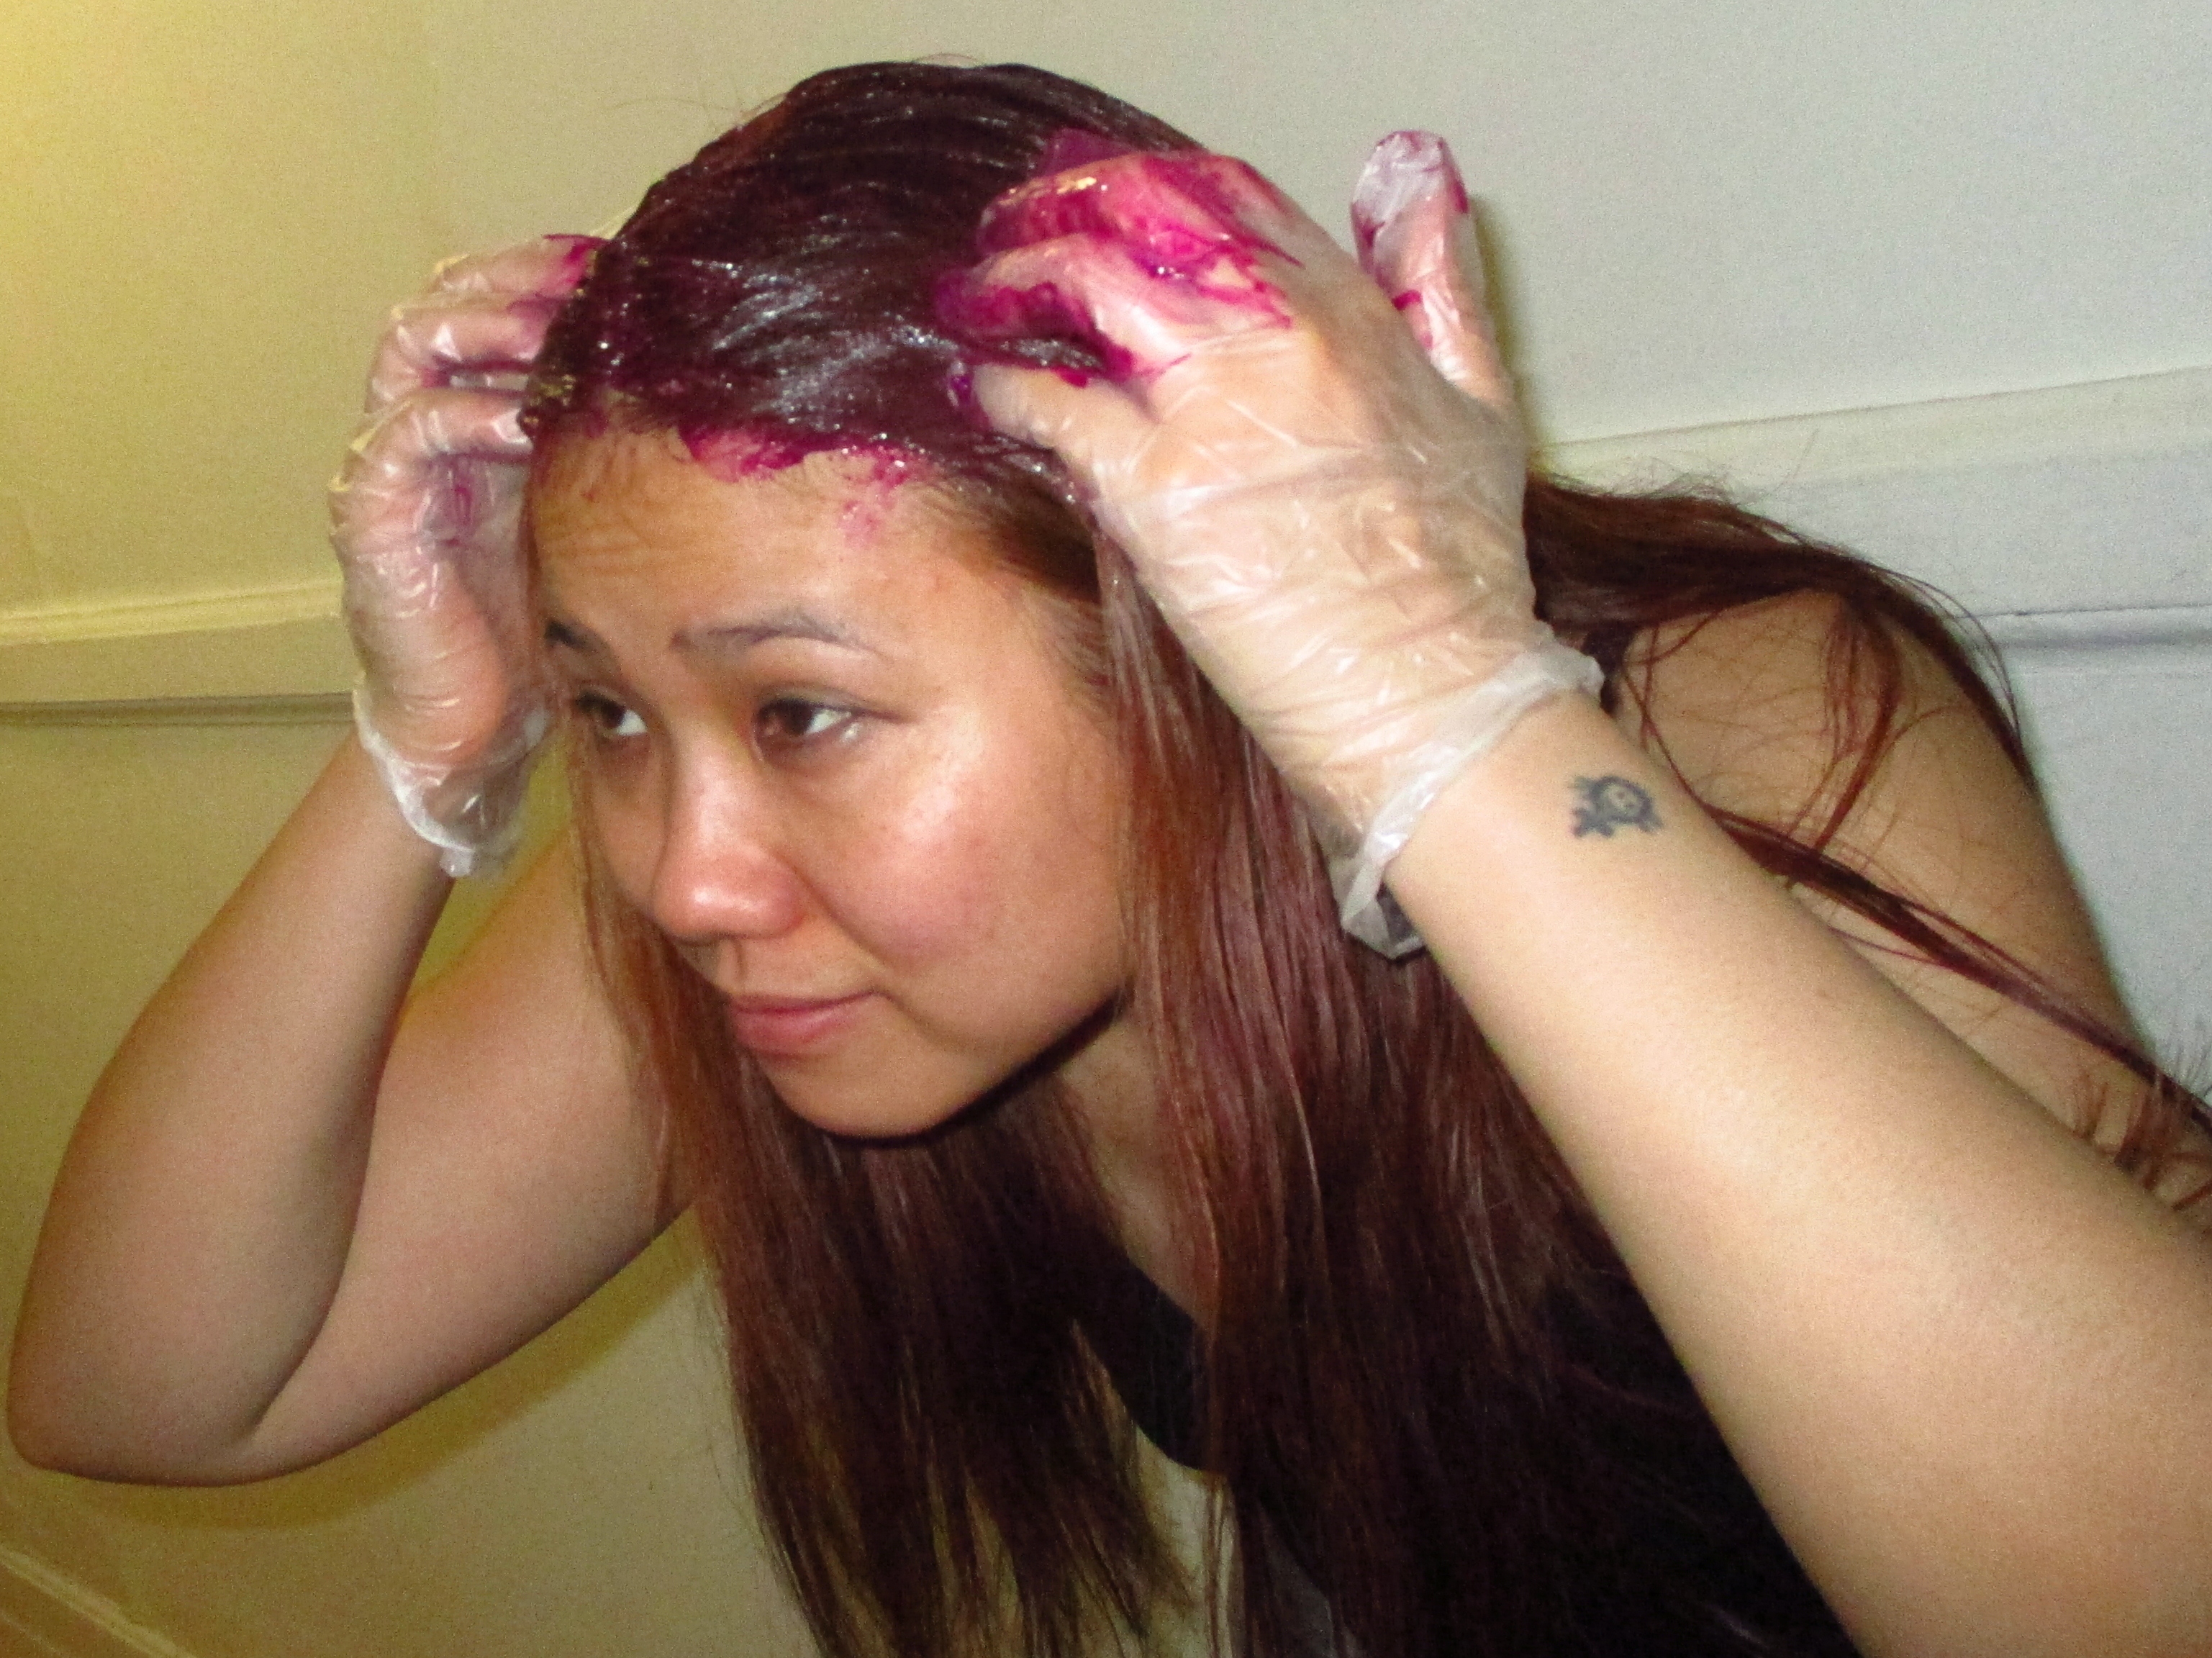
After shampooing the toner and peroxide out, I skip conditioning and lightly towel dry my hair.  It is important to skip conditioning, because most vibrant colours don’t use peroxide to penetrate the hair, but instead use conditioners to.  Leaving your hair clean and thirsty for conditioning makes vibrant colouring stick better.  The brand that I use is Adore.  I’ve been using a bright pinky red the last few times, so this time I changed it up with a redish purple colour called Violet Gem.  I mix the dye with conditioner to get the right consistency and to stretch it out.  Then I apply it all over my hair.  Since there is no peroxide in the colouring, it actually feels nice going on.  And it smells pretty good too!

IMG_0444
Purple mess! but after you wash it out, it’s worth it!

I leave it in a plastic cap for about an hour, treating it with heat from a hair dryer occasionally to help it set and absorb into the hair.  After an hour or more, I rinse out the Adore colour and am left with a rich burgundy purple colour!

The thing to remember when colouring hair is that your hair dictates how the results will end up.  Adore’s violet gem colour is actually a very mid toned purple colour.  But I noticed that my hair has a lot of trouble absorbing blues and purples into the strand, even after processing with toner.  Sometimes, to get the results you want, you may have to experiment…and some colours turn out better than others.  My first trial of using Violet Gem disappointed me because it was not as intense as I wanted and washed out quickly…so I repeated the step of using Violet Gem colourant on shampooed hair again the next day with a less diluted, more concentrated colour and got better results!  Always be willing to experiment when trying things at home…and redo if nessesary!

yay, I'm a purple haired goddess now!
yay, I’m a purple haired goddess now!

Why is winter fashion so gloomy, especially on Valentines?

I have not been clothing shopping lately.  Mostly because…well, I am trying to save and also, I spent a lot recently on a super cool vacation with my kid.  But sometimes, you can’t avoid shopping…I have to say that as a girl, not to look too shallow, but it is just expected for us to be on top of trends and have something new to wear, especially on Valentines day.  So recently, I justified using my dusty visa card in search of something romantic, fun, and uplifting for this upcoming couple’s holiday.  The only problem was that there was so little out there to buy.  Everywhere I looked was gloomy…clothes were all black, grey, and brown.  Prints were unflattering.  There was nothing with lace or crochet, and nothing sweet with sparkle, or a vintage quirkiness. What’s wrong with TO during winter?  What’s wrong with Queen Street West…which is supposed to be the pinnacle of fashion in this city?

Ahh, Toronto's equivalent to New York's Soho
Ahh, Toronto’s equivalent to New York’s Soho

I went to H&M, Aritzia, some cute korean boutique, Mendocino…etc.  And nothing was catching my eye.  I finally gave in and went to Urban Outfitters, which I was trying to avoid, because I shop too much there.  But I was able to find this really cute salmon pink cable knit crop sweater.  I’m thrilled!  Finally a little colour to brighten up my mood during this crazy winter.  And come on, it’s Valentines day.  Doesn’t anybody dress up all cute in hearts, red and pink anymore?  Even the most jaded, unenthusiastic Torontonian and muster up some cheer for this once a year sweety-pie love fest, no?  Retail fashion, you need to zone in on that…

I’m in cute/sweet sweater mode this Valentines.  The weather is cold, so why not put on a comfy sweater…it is possible to be romantic in this bulky winter clothing staple.  I think the key is in colour.  This is the sweater that I got at Urban Outfitters yesterday:

The colour is a bit bright for my taste, but  it is cutely cropped and made of breathable cotton cable knit!
The colour is a bit bright for my taste, but it is cutely cropped and made of breathable cotton cable knit!

Pair it with a pencil/tube skirt and go a more feminine route.  In this photo I paired it with some printed leggings for a more fun look.

My next photo is a wool sweater I scored a couple of weeks ago at Black Market.  I think it fits Valentines because it’s a muted baby pink, with some pretty stitch detailing on the neckline.  Very sweet and demure.  Also cropped, so it works with high waist-ed skirts…

This sweater has a vintage vibe, because it is vintage.  I actually used scissors to crop the sweater!  No hemming necessary because the wool doesn't fray.  Sweet DIY.
This sweater has a vintage vibe, because it is vintage. I actually used scissors to crop the sweater! No hemming necessary because the wool doesn’t fray. Sweet DIY.

What do you think of my choices of wardrobe Valentines?  It doesn’t scream sexy, but it’s pretty fun and low-key.  And believe it or not, they were actually hard to find in a fashion forward city like Toronto…

Give your face a winter break with a toning/moisturizing mask

yay for simple ingredients!

It’s really easy to neglect the face in the winter and rely on make-up to cover-up flaws, dullness and dryness of the skin.  During the winter, all I am in the mood to do is hibernate, even my social life takes a backseat.  Now that I know Valentine’s day is creeping up, and that my boyfriend wants to do something with me, I am forced to start making an effort at proper skin maintenance during these cold dark months of the year.  How does one rejuvenate mind, body and spirit during this time?  A vacation would be great, only my trip to Florida last month was a total disaster in terms of weather.  I got no sun at all during a week of uncommon rain and cold in what is supposed to be “the sunshine state”. So now back in freezing Toronto, I have to work at being fresh faced when I am actually far from.

This is where facials and face masks come into play.  I recently discovered the skin loving ingredient kaolin clay.  Kaolin is a white powder with which you can do many things.  It has a smoothing, absorbing effect when used in cosmetics, similar to talc, but it is all natural.  Make a DIY face powder with it, add it to your dry shampoo…use it to tone your skin in a mask.  For an easy face mask, I decided to use half a banana mashed with yogurt, then add a dash of honey, olive oil, and vitamin e oil.  Thicken with a couple of tablespoons of kaolin.  Better than Lush fresh face masks?  Definitely, it’s more gentle, and much more affordable.

At Home Facials:

Doing facials at home is great.  I find it much more convenient than going to a pricey spa.  It’s pretty easy, but it’s better to do this when no one is around or looking, cuz it looks kind of weird doing it in process.  But your face will thank you.

1. Cleanse your face with a mild face cleanser and exfoliate.  (I use a homemade face scrub with equal parts honey, olive oil, and sugar!)

2. Steam your face gently.  Boil about an inch of water in a pot over the stove.  Remove from heat once it boils.  Add some essential oils, or flower waters to the hot water.  Carefully put the pot on a table and lower your face just above it to receive the steam.  Keep it there for around ten minutes to open your pores and let out impurities and deep down dirt.  Rinse off with warm water/a gentle cleanser again.

3.  Apply your face mask thickly and evenly, avoiding your eyes.  Let it sit for at least 10 minutes.  Give it more time if needed.

3.  Rinse with warm water.  Pat with a warm, wet face cloth.

4.  Tone your face with a bit of rosewater/toner on a cotton swab.

5.  Moisturize with your favourite face cream.  

It seems like a lot of work, but your skin will thank you.  You will have smaller pores the next day, a more even skin tone, and a better glow to your winter ravaged skin!