This summer when Suicide Squad came out, it crossed over into the Batman universe with characters like Harley Quin and the Joker. The premise of the film was super villains joining forces to complete a mission that could save the world…sounds more pulled together than the film’s execution of the story…but visually it was still a treat.
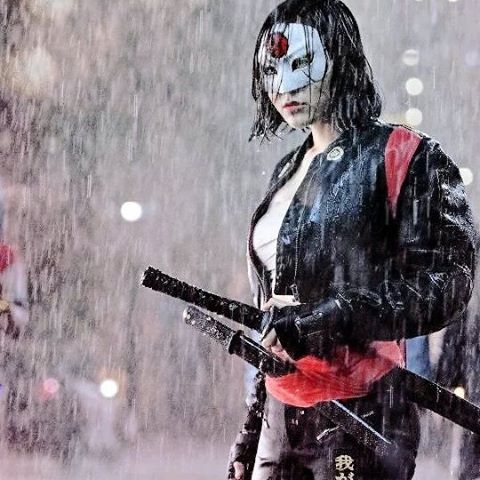
I am not really into super heroes that much…but the year before I did a simple Tomie costume, a character from a manga series by Junji Ito…so I couldn’t resist making another Japanese inspired costume when I found out there was a Japanese hero in Suicide Squad: Katana! Forget Harley Quin, one of the most done of female costumes of this year, but the character of Katana; a deadly and strong willed woman of honor who has superior samurai skills was the way to go for me.
Suicide Squad looked great visually, and the costumes had a street vibe interpretation!Karen fukuhara, an new unknown actress took over the role well.
The back story on Katana is is that she was originally the daughter of a great samurai, who while being trained in the skills of fighting, also won the hearts of two brothers. They both sought her out, and in the end, she chose the more honest man to marry and have kids with…leaving the rejected brother to be jealous and turn even more evil. There was a dual between the brothers and Katana’s husband was killed by his evil brother, and the children died in the resulting fire. After she lost her husband and kids, Katana became a force for good, using her magic sword (who still possesses her husband’s soul) to fight evil as a means to cope with her tragic loss. Katana has worked with Batman, Birds of Prey and for the movie Suicide Squad she was Rick Flag’s body guard. Anyways, enough about her back story, let’s take a look at my costume.
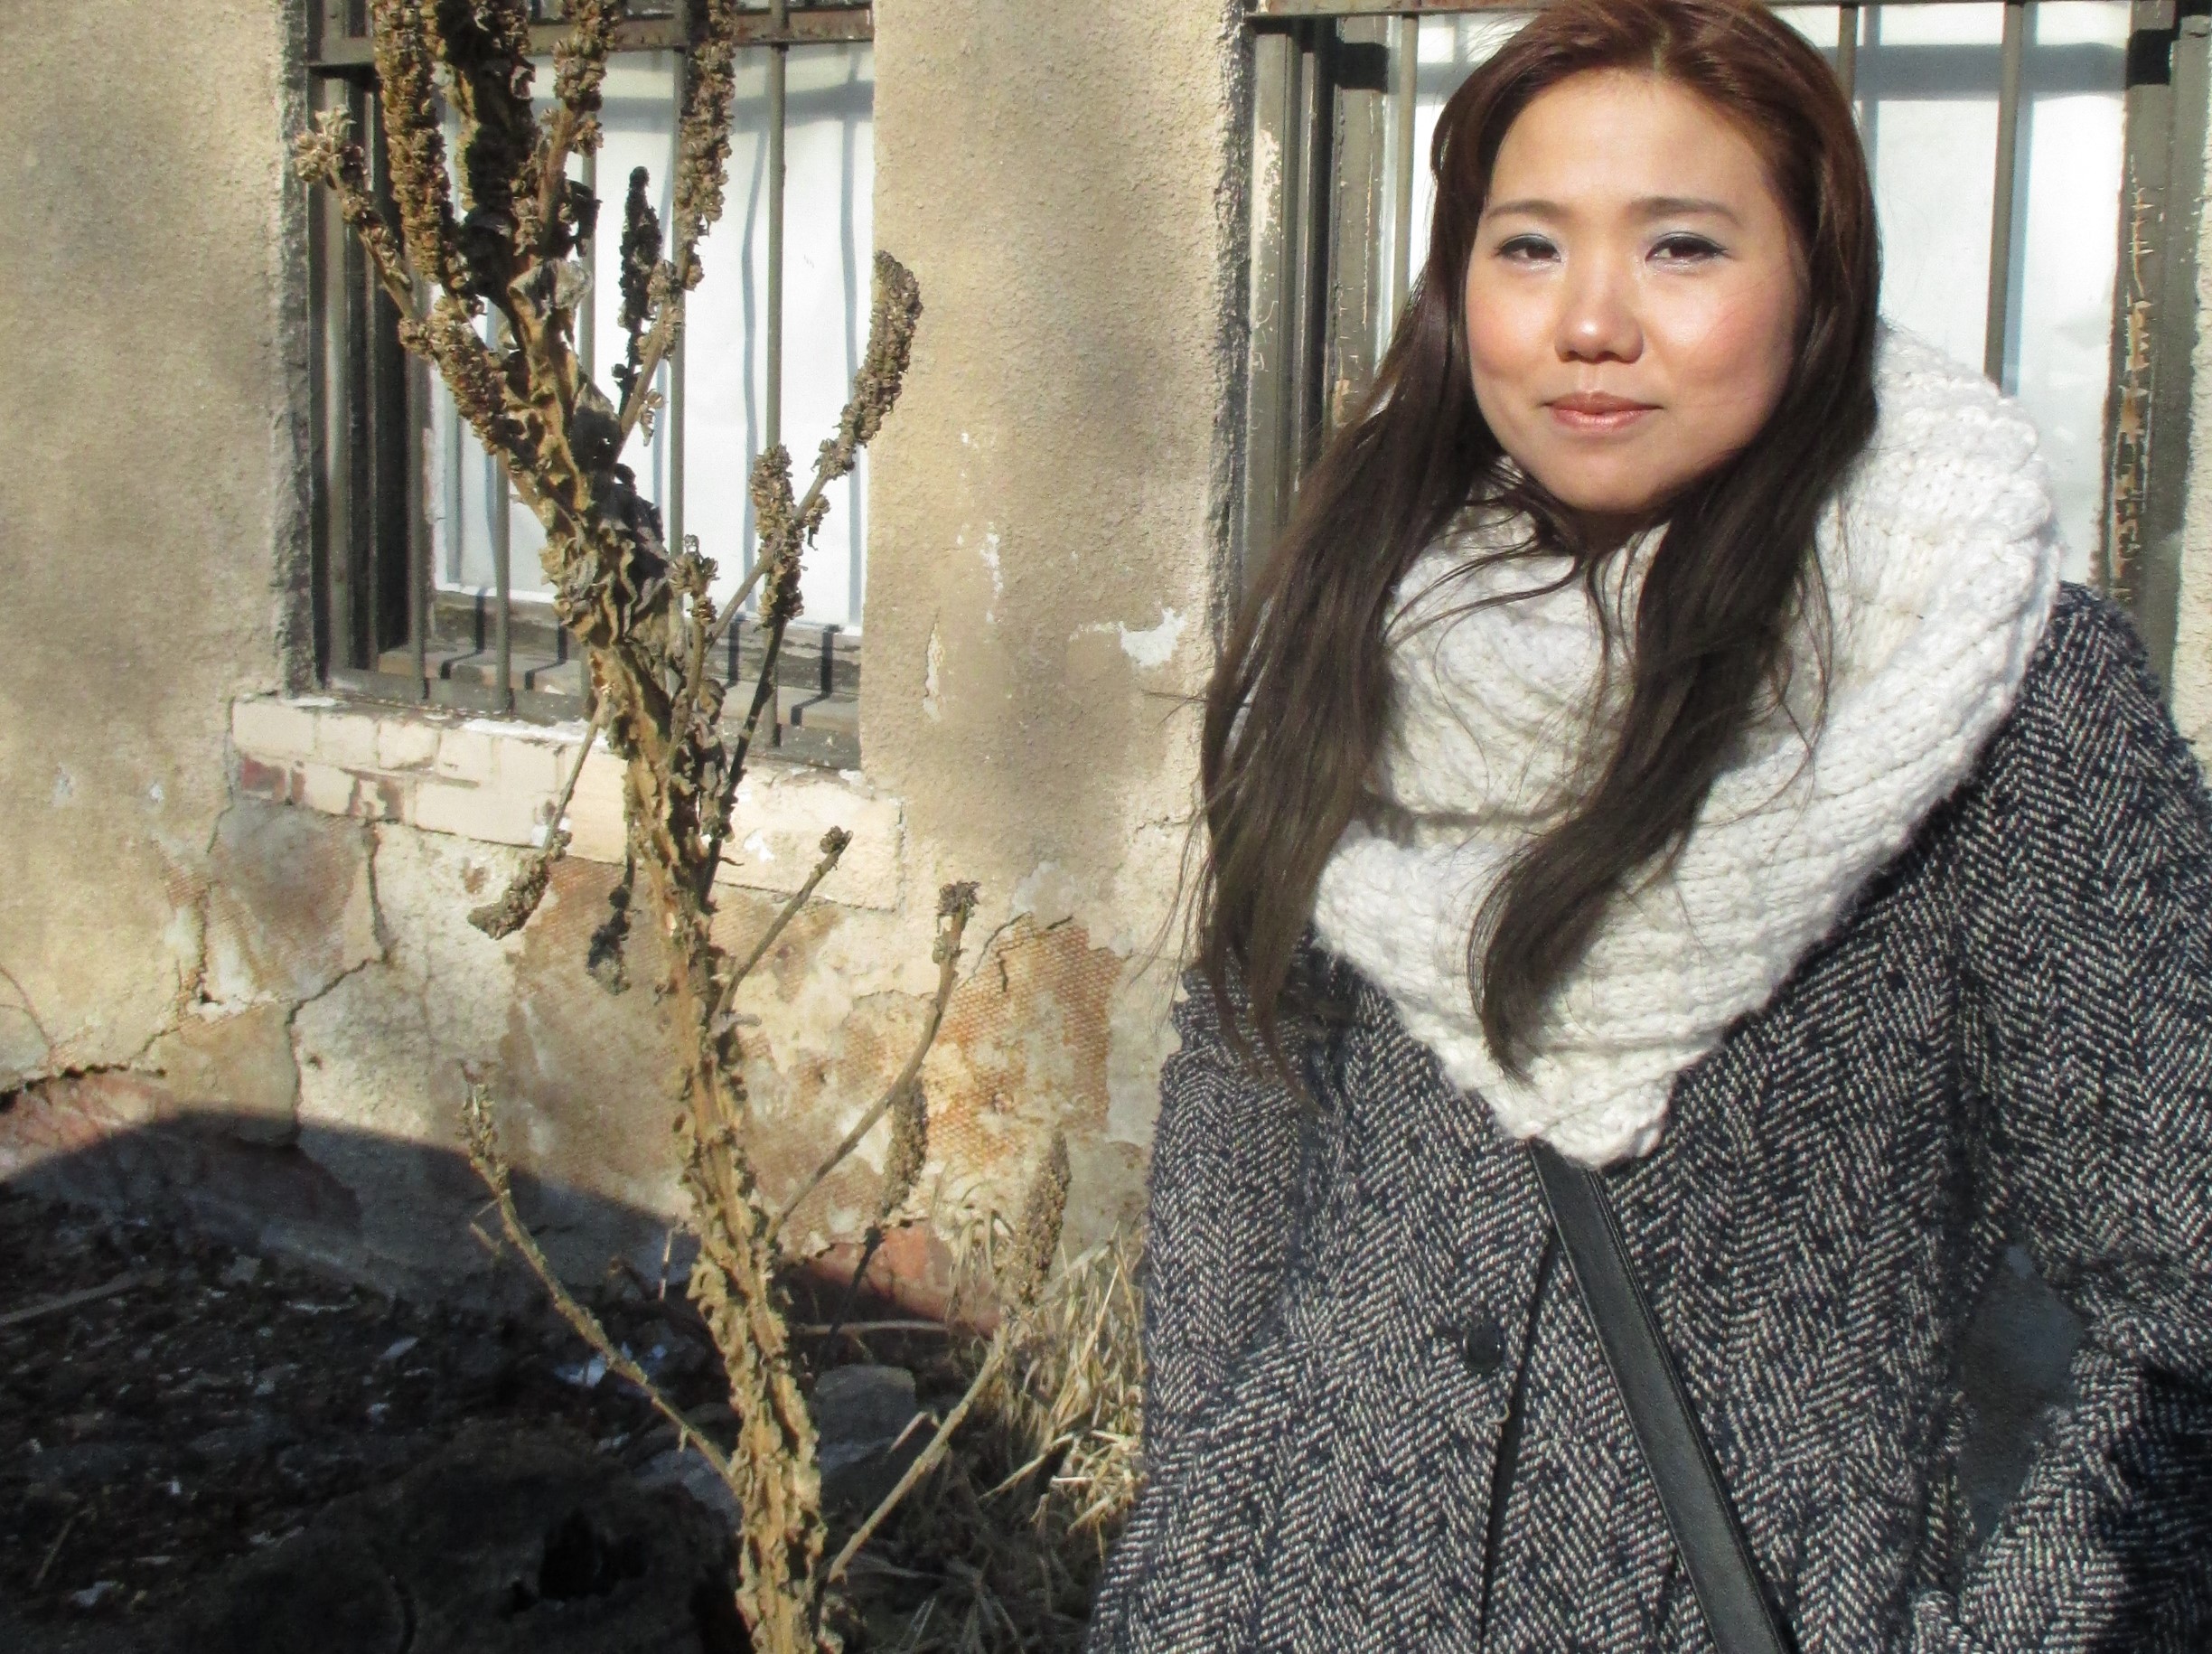
This is my take on Katana from Suicide Squad. Am I menacing?
I made this costume mostly with clothes I already had. Such as a white tank/top, tight black jeans/pants and a black bomber style jacket. I pinned it in on the bottom to create a cropped effect. I also already had the sword from a previous costume (Kyo from Black Bird) The only thing I actually bought was the white half mask, the red sash, and gold metallic paint for the flowers. I painted the red dot on the mask with red nail polish and reshaped and cut the eyes to resemble Katana’s mask more. Then I painted gold petal shapes on duct tape and then cut them out and stuck them in a flower pattern in the bottom right corner of the jacket. Then I looped the long red scarf around the arms of the jacket and pinned in place. All in all, this costume only cost me $10 for the scarf, paint, and plain white mask! I had everything else! But it was really fun getting to be Katana for a day on Halloween.
What DIY costumes have you made in the past that was both cheap and made use of things you had?
I grew up as a girl, so it was hard to avoid seeing all the fads diets, the pills, plans, everything marketed at women to buy into and believe some product that would make you slimmer. The problem with big business using vanity to dupe us and get an extra buck has always been there. It seems to be a way for companies to grab the last dollar you have at the bottom of your messy purse…As if life wasn’t hard enough with everything to juggle, but we also have to constantly weed out false marketing scams and claims of companies bent on taking advantage of the situation. What a hard sell! But I know we’ve all fallen at least once for any of these product claims. Wouldn’t it be great to find something that really works, is healthy, simple and DIY?
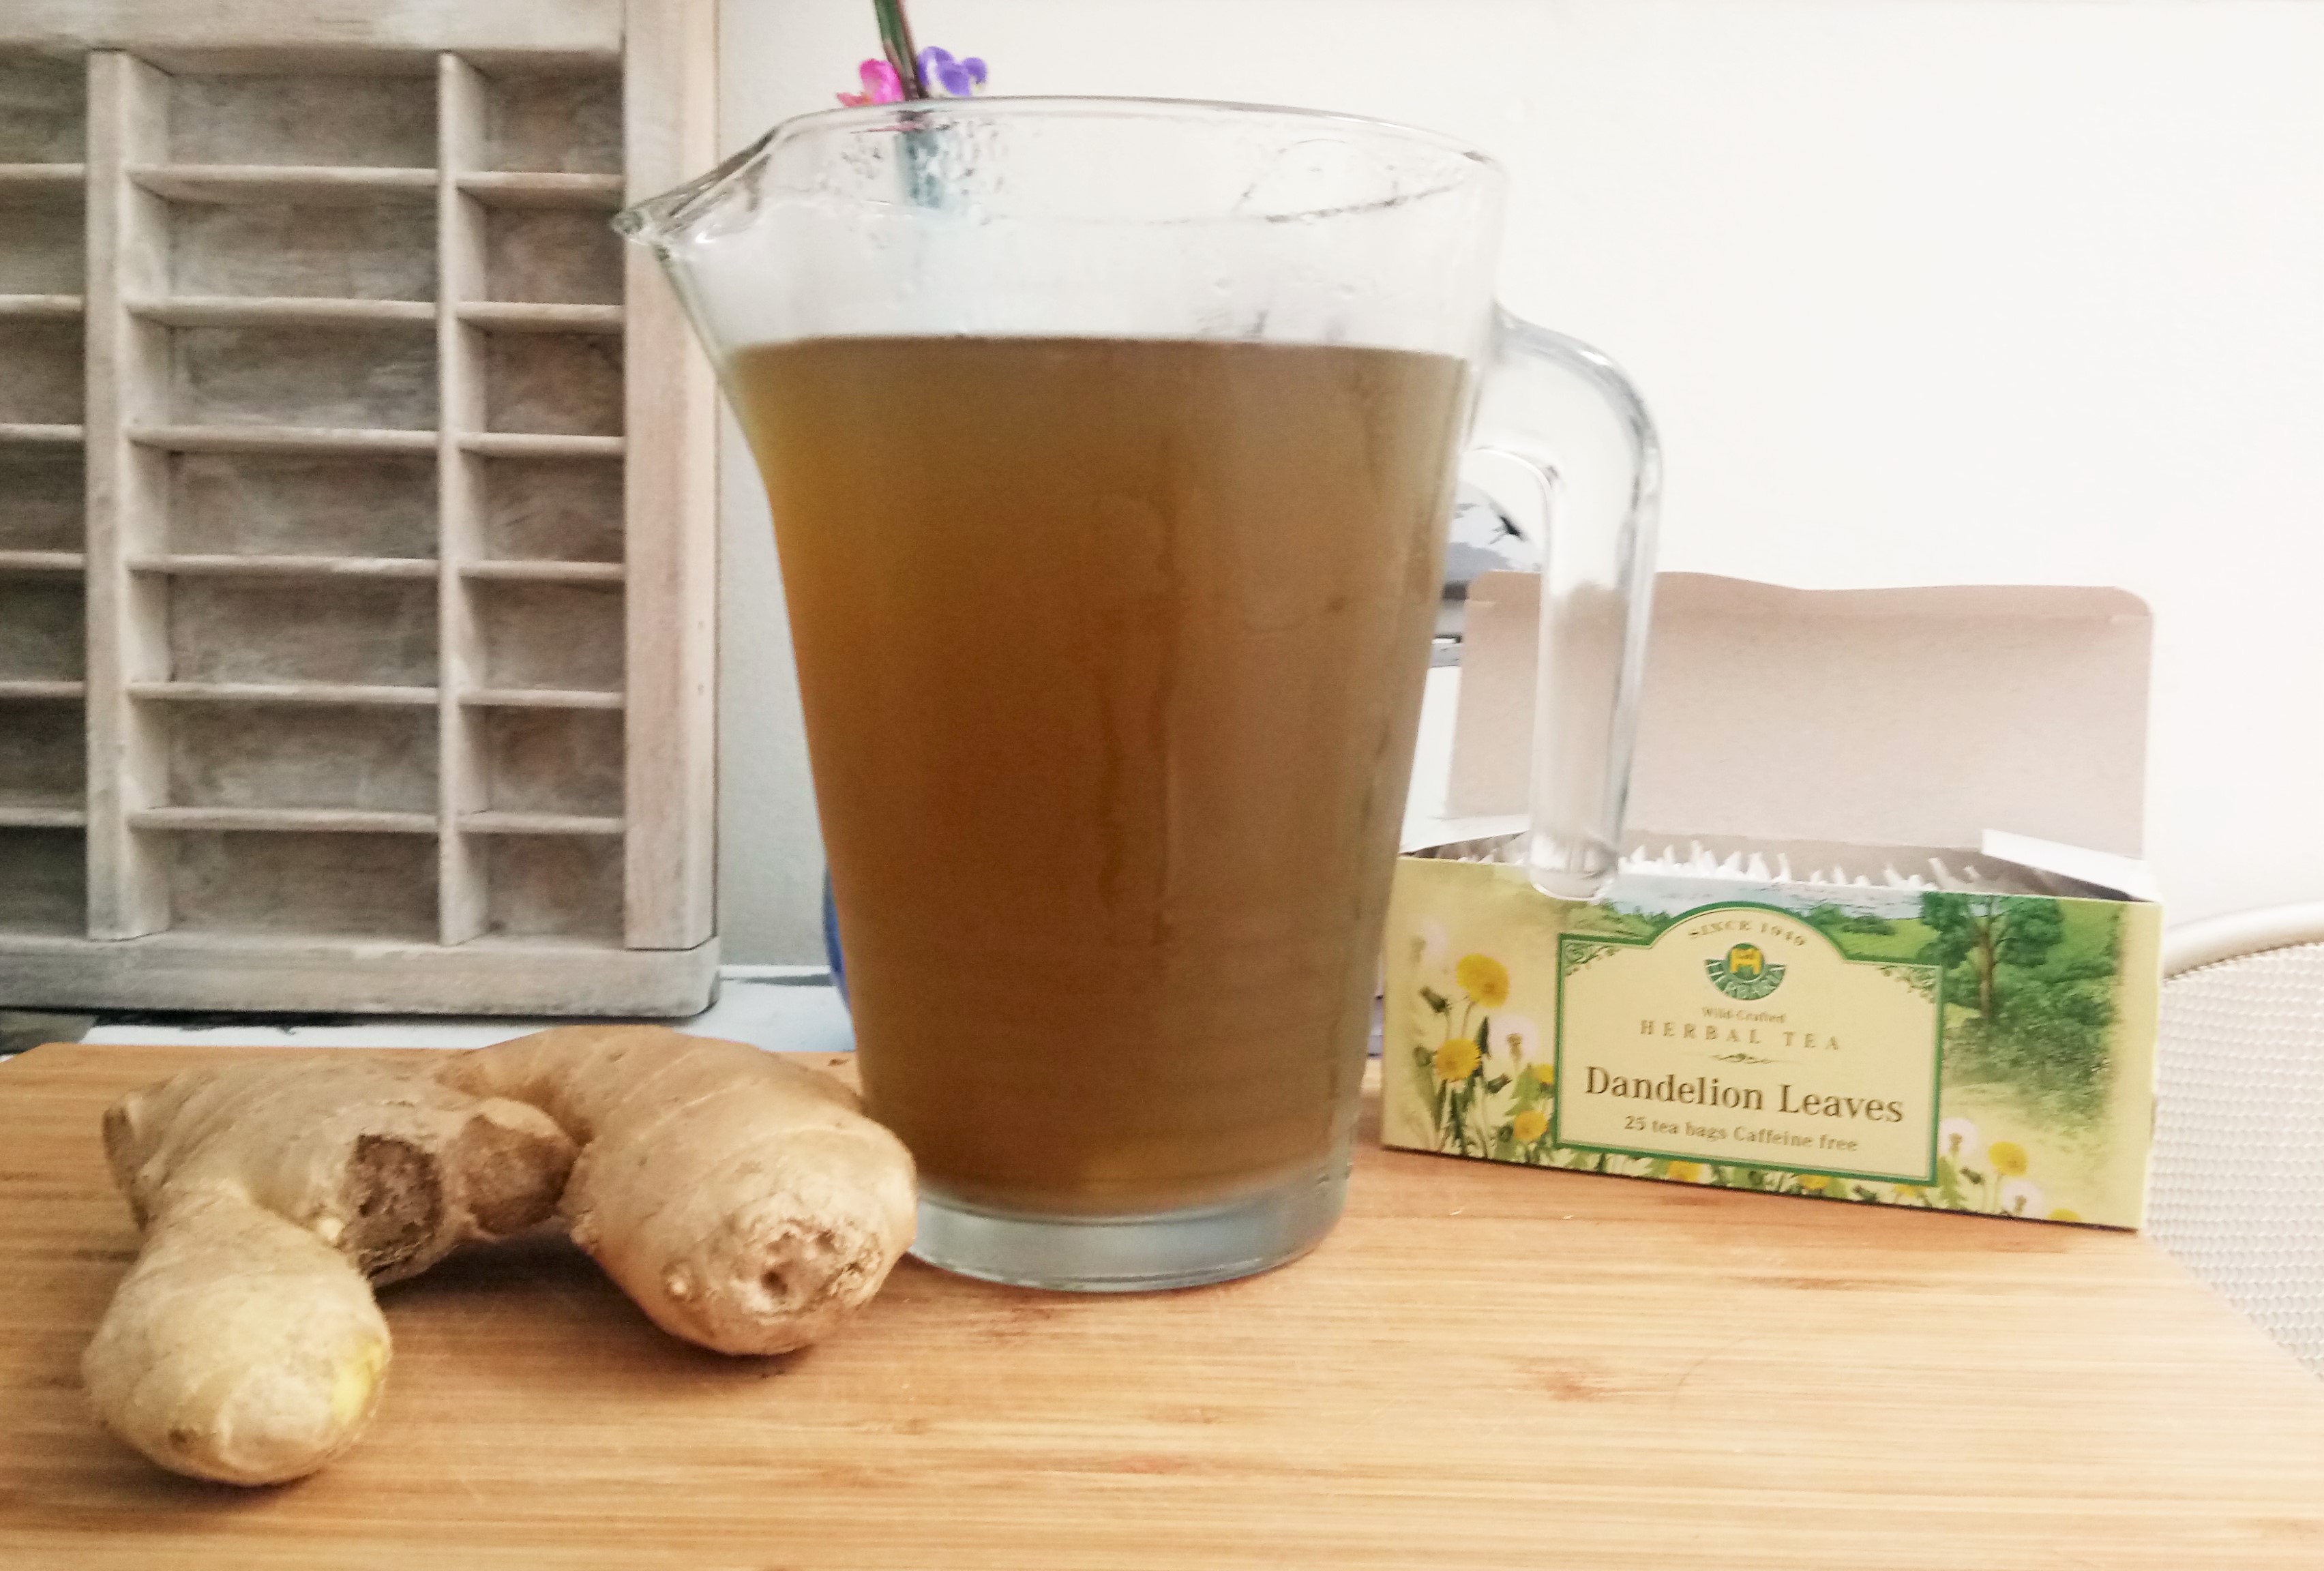
So recently I concocted something I believe to be the real deal. All natural, detoxifying and healthy. I’ve made an awesome tea drink with simple ingredients that can fight the bodily malfunctions that add short term gain to the frame. Things such as water retention, bloating, gas. These are huge factors in the difference between having a slim pretty day, and a bloated chubby day. And I will share this recipe with you, because, you know…we’re friends! 🙂 Best thing of all? It’s caffeine free!
It looks kind of murky, like pond water; it is greenish brown in colour! It tastes kinda bitter and spicy, but it works!
Recipe for my “Slim Down Tea”
1/4 cup of finely sliced ginger root (fresh)
2 bags of herbal dandelion leaf tea (find it at health food stores)
1.5 liters of fresh cold water
Start to boil the water in a a small/medium sauce pan
Slice up a knob of ginger finely. I like to do 1″ long thin slivers of ginger because I think the ginger really releases all its magic into the tea when it is cut finely.
Place the sliced ginger into already turned on pot of water…wait for it to reach rapid boil, then lower the heat to a gentle, but rolling simmer.
Simmer the ginger for 15-20 min. Any longer and it gets kind of bitter and burned, too soon and you don’t have the ginger spiciness in it.
Turn off the heat. Drop the bags of dandelion leaf tea into it, and cover the pot with a lid, while steeping everything for another 30 mins.
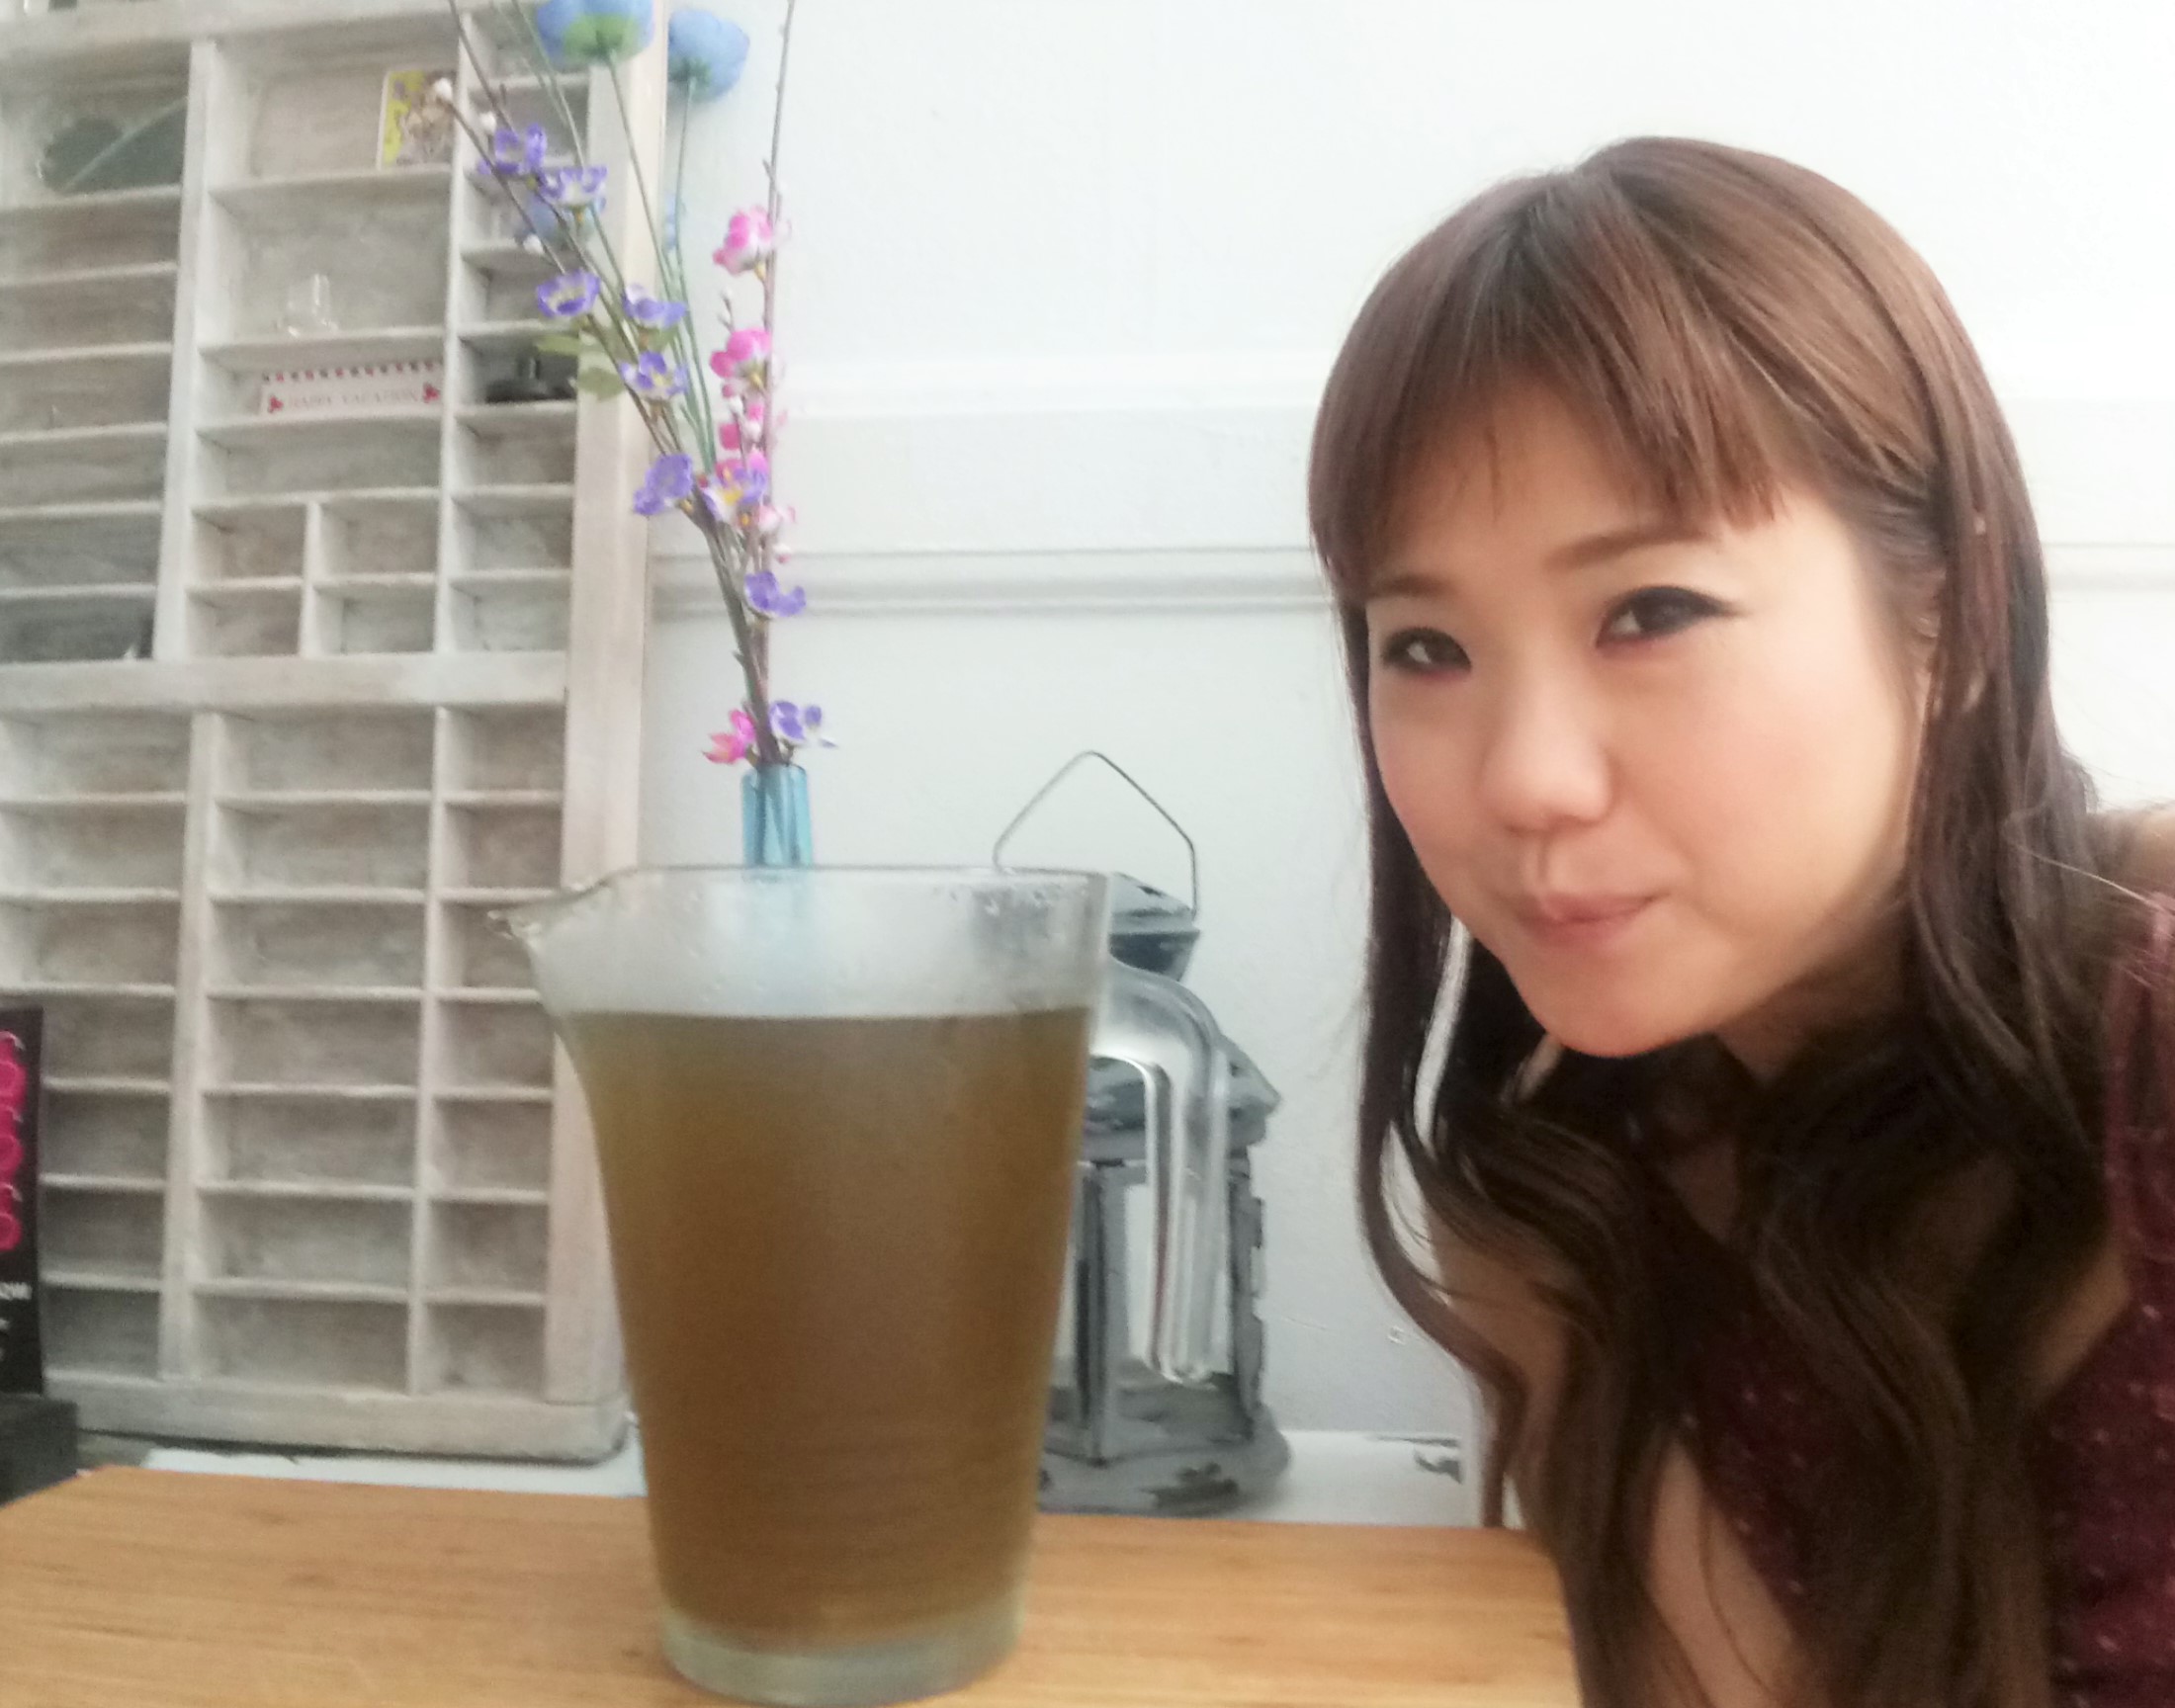
Remove tea bags and strain the tea with a spoon while pouring into a pitcher. Refrigerate and enjoy for up to 1-3 days!
Why does this concoction work? The reason is because ginger is a soothing cure all to stomach pains and digestion problems. It can also control bloating to a minimum. It is also super good for you! Antioxidants! Dandelion leaf is a natural diuretic and aids in helping your body shed excess water, discouraging water retention and also providing potassium, a mineral which many people lack day to day. Put these two plant powers together and your stomach and body will be thanking you, and you will feel a difference. I like to take this tea cold, in the afternoon to evening…and also all day before any big event! What tricks do you pull to give you an extra edge against feeling pudgy?
Yummy! I have a tendency to retain water like crazy, but little tricks help me.
I like doing things myself, and for the longest time, I used to go to hair dressers to do my haircuts, my colouring…etc. But for the last couple of years I have been doing everything myself. And I’ve learned so much from this. It wasn’t easy. Doing your own hair means making a few mistakes here and there, and taking time to correct it. But don’t fret. Doing your hair yourself also means you get what you want, and you don’t have to pay hefty fees to stylist that sometimes make mistakes too! They are professionals, but they are not flawless.
Back to Brown
I recently decided I wanted to go lighter than my natural black again. I used to rock a dark blonde way back when, but this time around, I decided I wanted to do an ashy light brown instead because it is healthier since it is less levels of lightening. My hair had grown out at the roots and was virgin black hair to my ears, and below was pre-lightened brownish hair stained with a tinge of purple from when I rocked purple hair. So here begins my misadventures. I want to tell you right off the bat that if you have hair that is not uniform in chemical treatments, this is where colouring gets tricky. I mean really tricky. But still, I am not bowing down to the professionals yet.
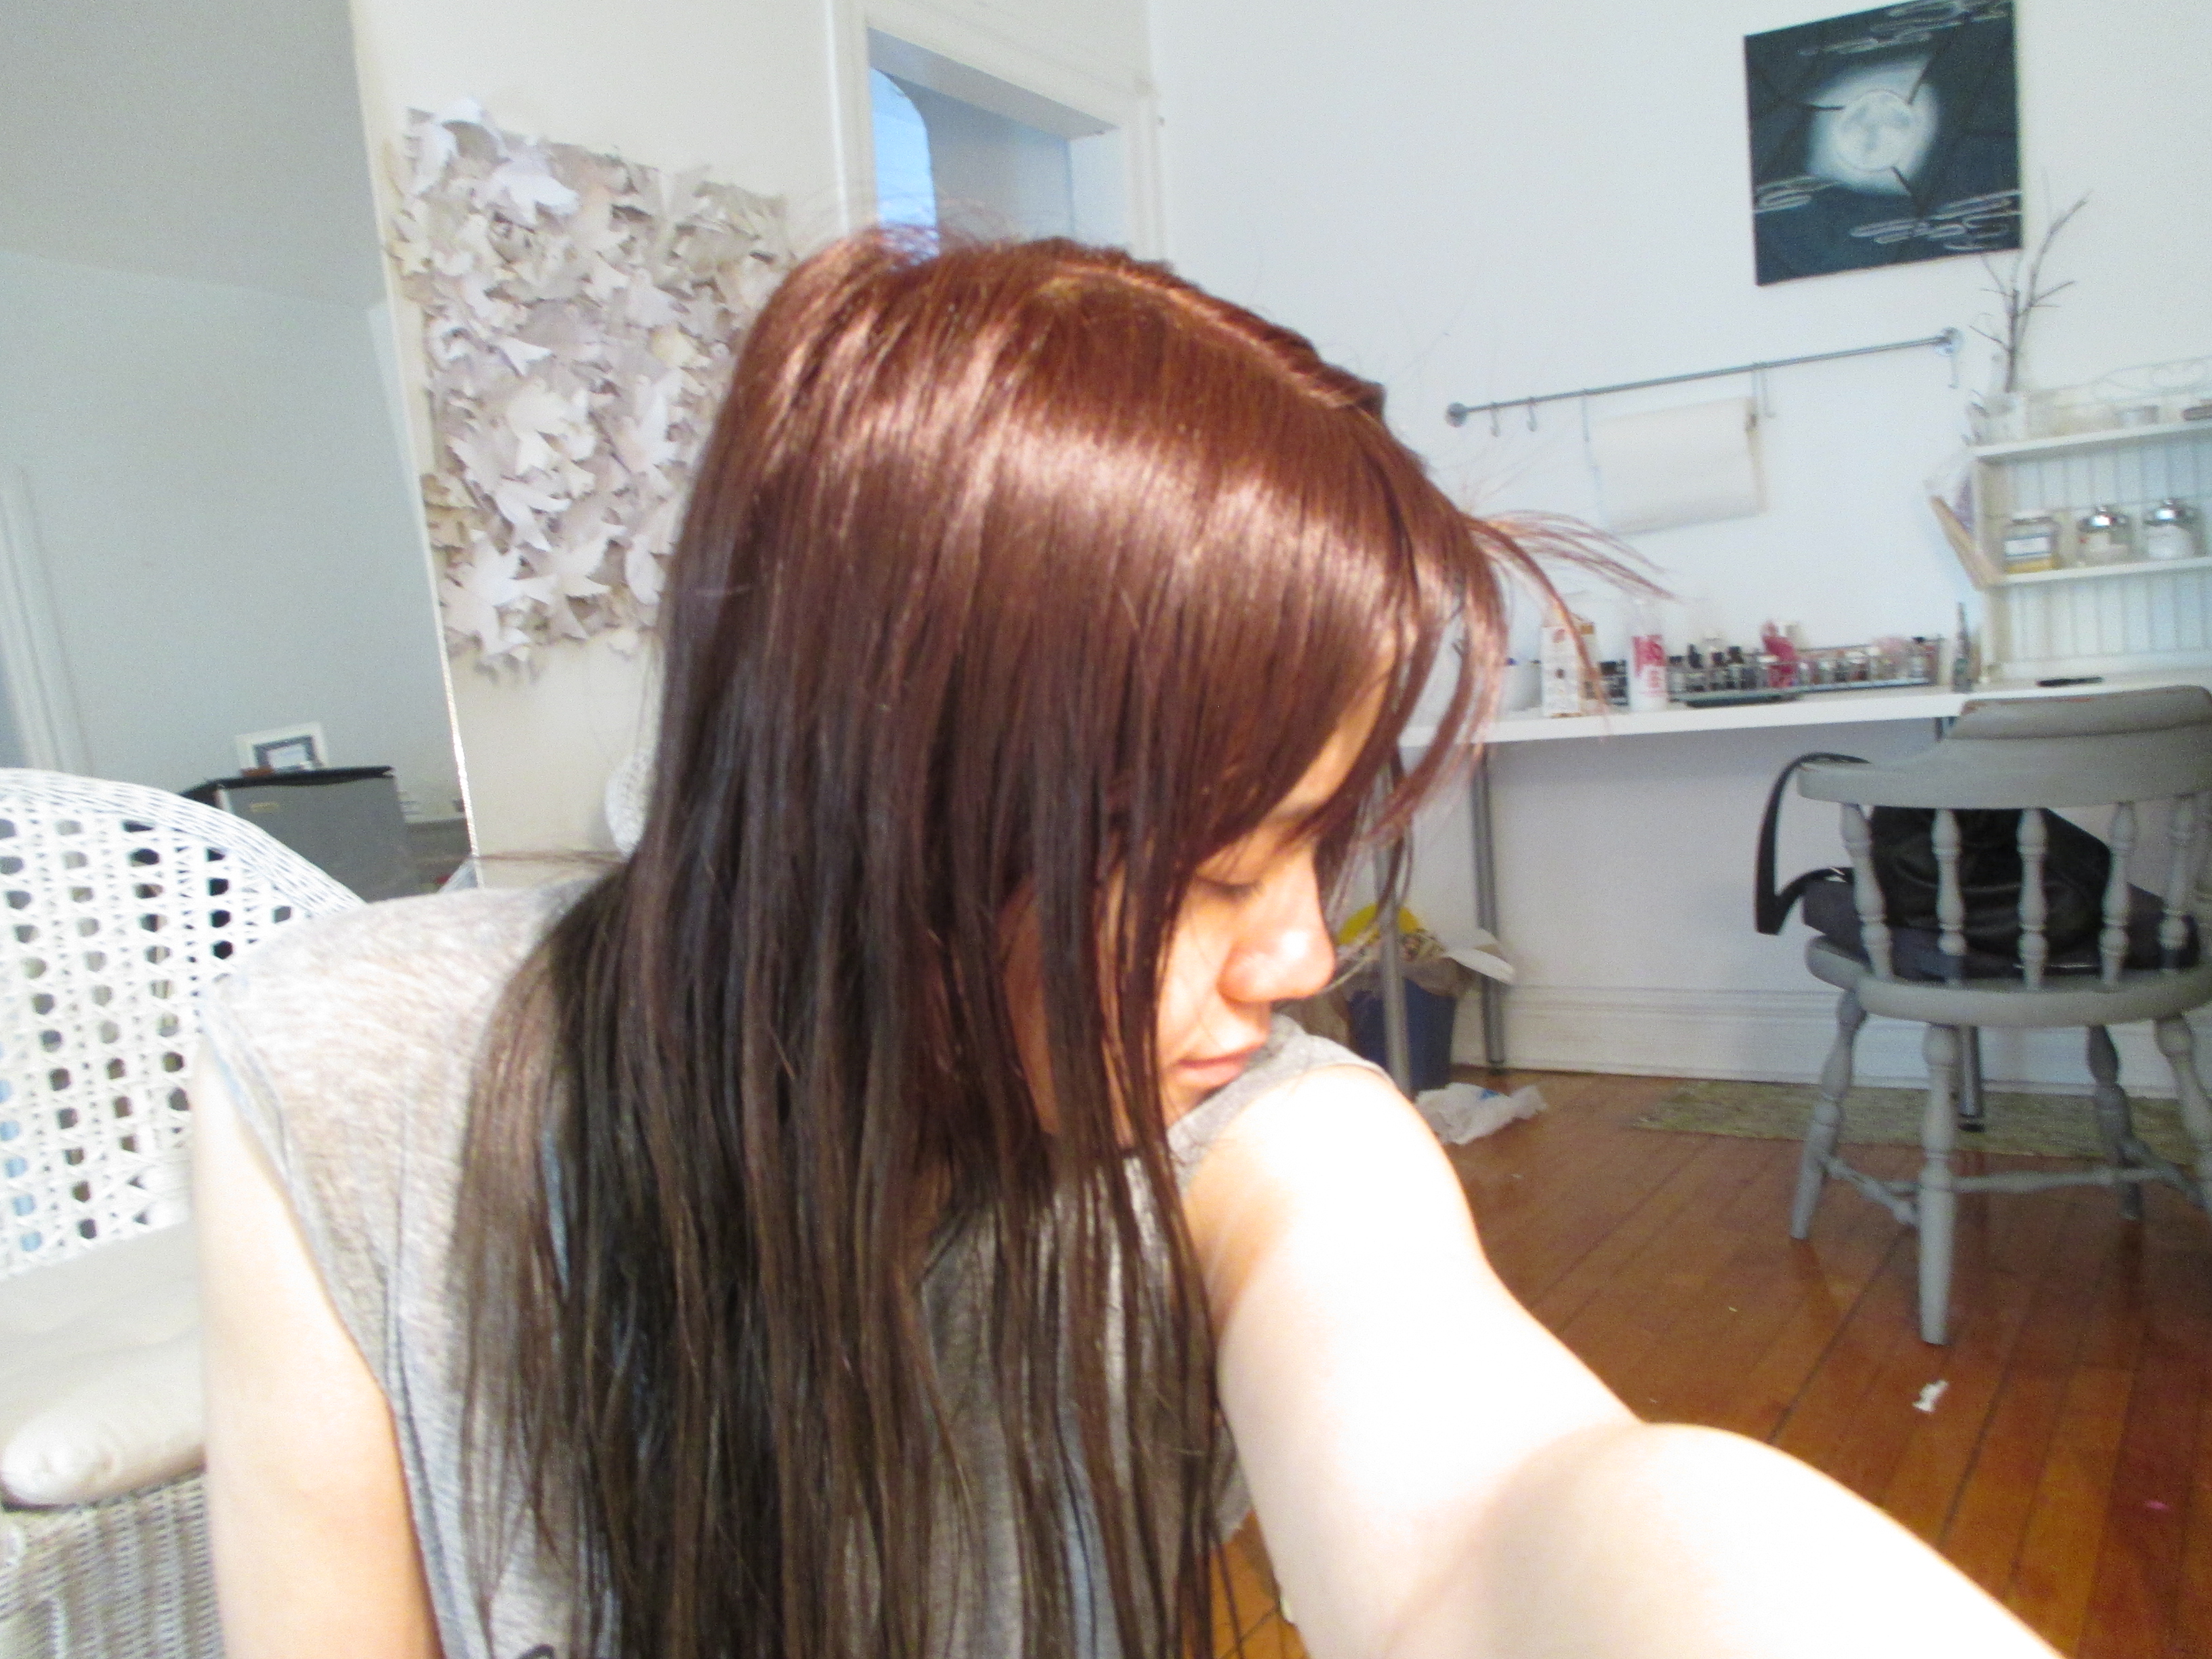
So I grab the light ash blond colorant I always use when I used to do a dark blonde. It has a base of dark blue toner, to combat any orange colours in hair that arrive when trying to lighten hair. I know this time I was aiming for brown, but I still wanted the toning effect to get rid of excess brassiness, so I thought the same colorant can be used, but to get brown, I would just use weaker volume peroxide for less lift. Okay…so guess what? I was right about using a weaker peroxide, but wrong about the blonde ash toner in my colorant! It saturated the middle shafts of my hair–the parts of the shaft that were the most porous, and when I washed out the colorant, I had stained the mid sections an ashy green! I also still had some purple tint on the very ends, and my roots were a warm brown colour, because it was healthy virgin hair that resisted the stain of the ash green. I basically had 3 colours in my hair! Not what I wanted at all.
I don’t know if you can see it. Photos are deceiving. But my midshaft was green, my ends were ashy, and my roots/top was a warm brown!
Trying to fix Tri Coloured Hair!
So not happy, I start researching how to get rid of the greenish part in my hair. I figured that I could live with a bit of uneven hair colour tones, but just not ashy green. I heard remedies from bleaching again, to ketchup, to salt! I decided on using a lemon juice soak to get it out. After an hour of soaking the bottom half of my hair in a mixture of lemon juice and conditioner, I washed it out to find little to no change.The ash colours were still there. And I was still unevenly coloured.
After the lemon juice: I still had a lot of ash to my mid section, and if anything, the lemon juice just lighted everywhere. Still tri-coloured! Yikes.
Emergency Box Colouring:
I don’t usually use box colour kits from the pharmacy, but waking up to tri-coloured hair was bothering me a lot. Warm roots, grey/green mid-shaft, and greyish purple tips was driving me mad. I walked to my corner pharmacy to fix this once and for all! Two boxes of colour kits since my hair is long. I figured where I had gone wrong was in using a colourant with a ton of toner in it to begin with. The ash blond colourant was made for people who were aiming for blonde, not brown, so there was no darker colour but bluish toner to fill in areas that I had pre-lightened before, therefore staining it green. The science of hair colour finally hitting me in my face. Every hair color has a tint of either red/gold/green. But there is also a base colour of different concentration depending on how dark you wanted to go. Ash blond does not have any base colour. Where as if I wanted brown, I would have to use a brown base especially where I had pre lightened before! Too complicated for words. After the redo in a light golden brown colour from the store, the green was finally covered. But then a new problem presented itself. Dull brown hair!
I got rid of the greeny part in the middle, but now the ends were stained darker than the top, making the colour flat. My roots/top was also still warmer than the bottom!
Clarifying to remove the over dye:
I put lemons into my hair again to remove the over-dye. When hair has over dye in it, the strands are too saturated, they can’t shine because of it and are weighed down. This is when one can use different remedies and products to remove some of the dye. I used lemons, because I had some, but I think clarifying shampoo works too. After this I shampooed twice. The result the next day was this:
My ends are still darker, but at least it doesn’t look like a different colour in the middle. With more shampooings, I think the colour will lift a bit more to be more even.
So at the moment I am rocking a slight reverse ombre, which is lighter at the crown, and gradually darker in the ends, which is not the worst thing. If it really bothers me, in a few weeks, after my hair has rested from all the peroxide, I can always lighten the ends and recolour. But my main point is still true. DIY hair colour may require tweaks done over the course of several weeks to give your hair a rest. So no, the professional stylists have not won, but I know now to have a bit more respect for how hard hair colour chemistry can be.