Using a matte top coat on manicures remind me of meringues…

There is no cookie or confection that is more elegant and simply yummy than meringues.  The ultra light texture of crumbling sweetness dissolving into nothingness on your tongue is devine.  For those of you that have never eaten one of these things…you gotta try it. At least once.  Bonus points of this dessert is that it is definitely fat free, and flour free.

When I lived in Paris many years ago, patisseries were super common there.  Pastries, cakes and baguettes at every bakery on every corner. No donuts at all.  No Wonder Bread.  You could have every baked confectionery at your finger tips…and over there it was not “fancy” to do so on a daily basis.  It was routine every day living.  How I miss the French and their relative ease at achieving everyday classiness as the norm.  I discovered meringue cookies there, and developed an appreciation for this simple and sweet cookie. My problem was when I moved back to Toronto, I could not find meringue cookies anywhere.  It was back to pasty flavourless donuts, and overly sweet over the counter candy.  I had to teach myself how to make these things. (This post is about nail jobs, and I am getting there, trust me.)  And after many failed attempts at creating meringue at home here, I finally perfected a recipe that works.  Making meringue is a little trickier than regular cookie dough because it relies on timing to get the fluffiest volume of egg whites.  Here is my recipe:

They look fluffy, but are crisp, light and super sweet! Kinda like crunchy cotton candy!

Pretty and Pretty Easy Meringue Cookie recipe:

egg whites of 6 large eggs

1 and 1/2 cup of sugar

1/4 teaspoon of cream of tartar

1/2 teaspoon of vanilla extract

1/2 teaspoon of almond extract

Preheat oven to 200 C.

Step 1: Separate the egg whites.  Do this while they are cold from the fridge, and do it MOST carefully.  Even a speck of egg yolk will prevent your whites from reaching peak volume.  Leave it in a bowl to warm up to room temperature (1 hour approx.)

Step 2:  Beating.  This part is very important and is what making meringue is all about.  Timing is key here.  Start with a medium/low speed and beat the eggwhites with an electric beater until it is foamy.  Not stiff enough to hold any peaks. Add your cream of tartar, and continue beating medium/slow until the second stage which is soft peaks.  This is when your egg whites are starting to stiffen and turn whiter.  Soft peaks hold when you pull up the beater. This is when you slowly add the sugar, bit by bit, giving time for each spoonful to incorporate into the egg white mixture and add even more structure and stiffness to it.  Keep beating and adding the sugar at a steady rate. About a tablespoon for 5-10 seconds, until all the sugar is in.  Add your vanilla and almond extract.  Let it reach full volume by beating at medium/low for a minute or two.  And when you feel it is at max stiffness, stop and enjoy the beautiful white fluffy batter.

Step 3: Using two spoons, scoop a dollop of the batter and slide it off with the other spoon onto parchment paper lined baking sheets.  Make sure they are irregular shaped and not perfect, because they bake out beautifully.

Step 4: Baking/Drying:  Meringue cookies are not really baked.  They are actually drying out in the oven, hence the low oven temperature of 200.  Some people bake meringues at a lower temperature for longer, but I find 200 C for 2 hours in the middle racks is perfect. Turn off and leave alone for at least an hour…feel free to experiment a bit with time until perfect.  ENJOY!

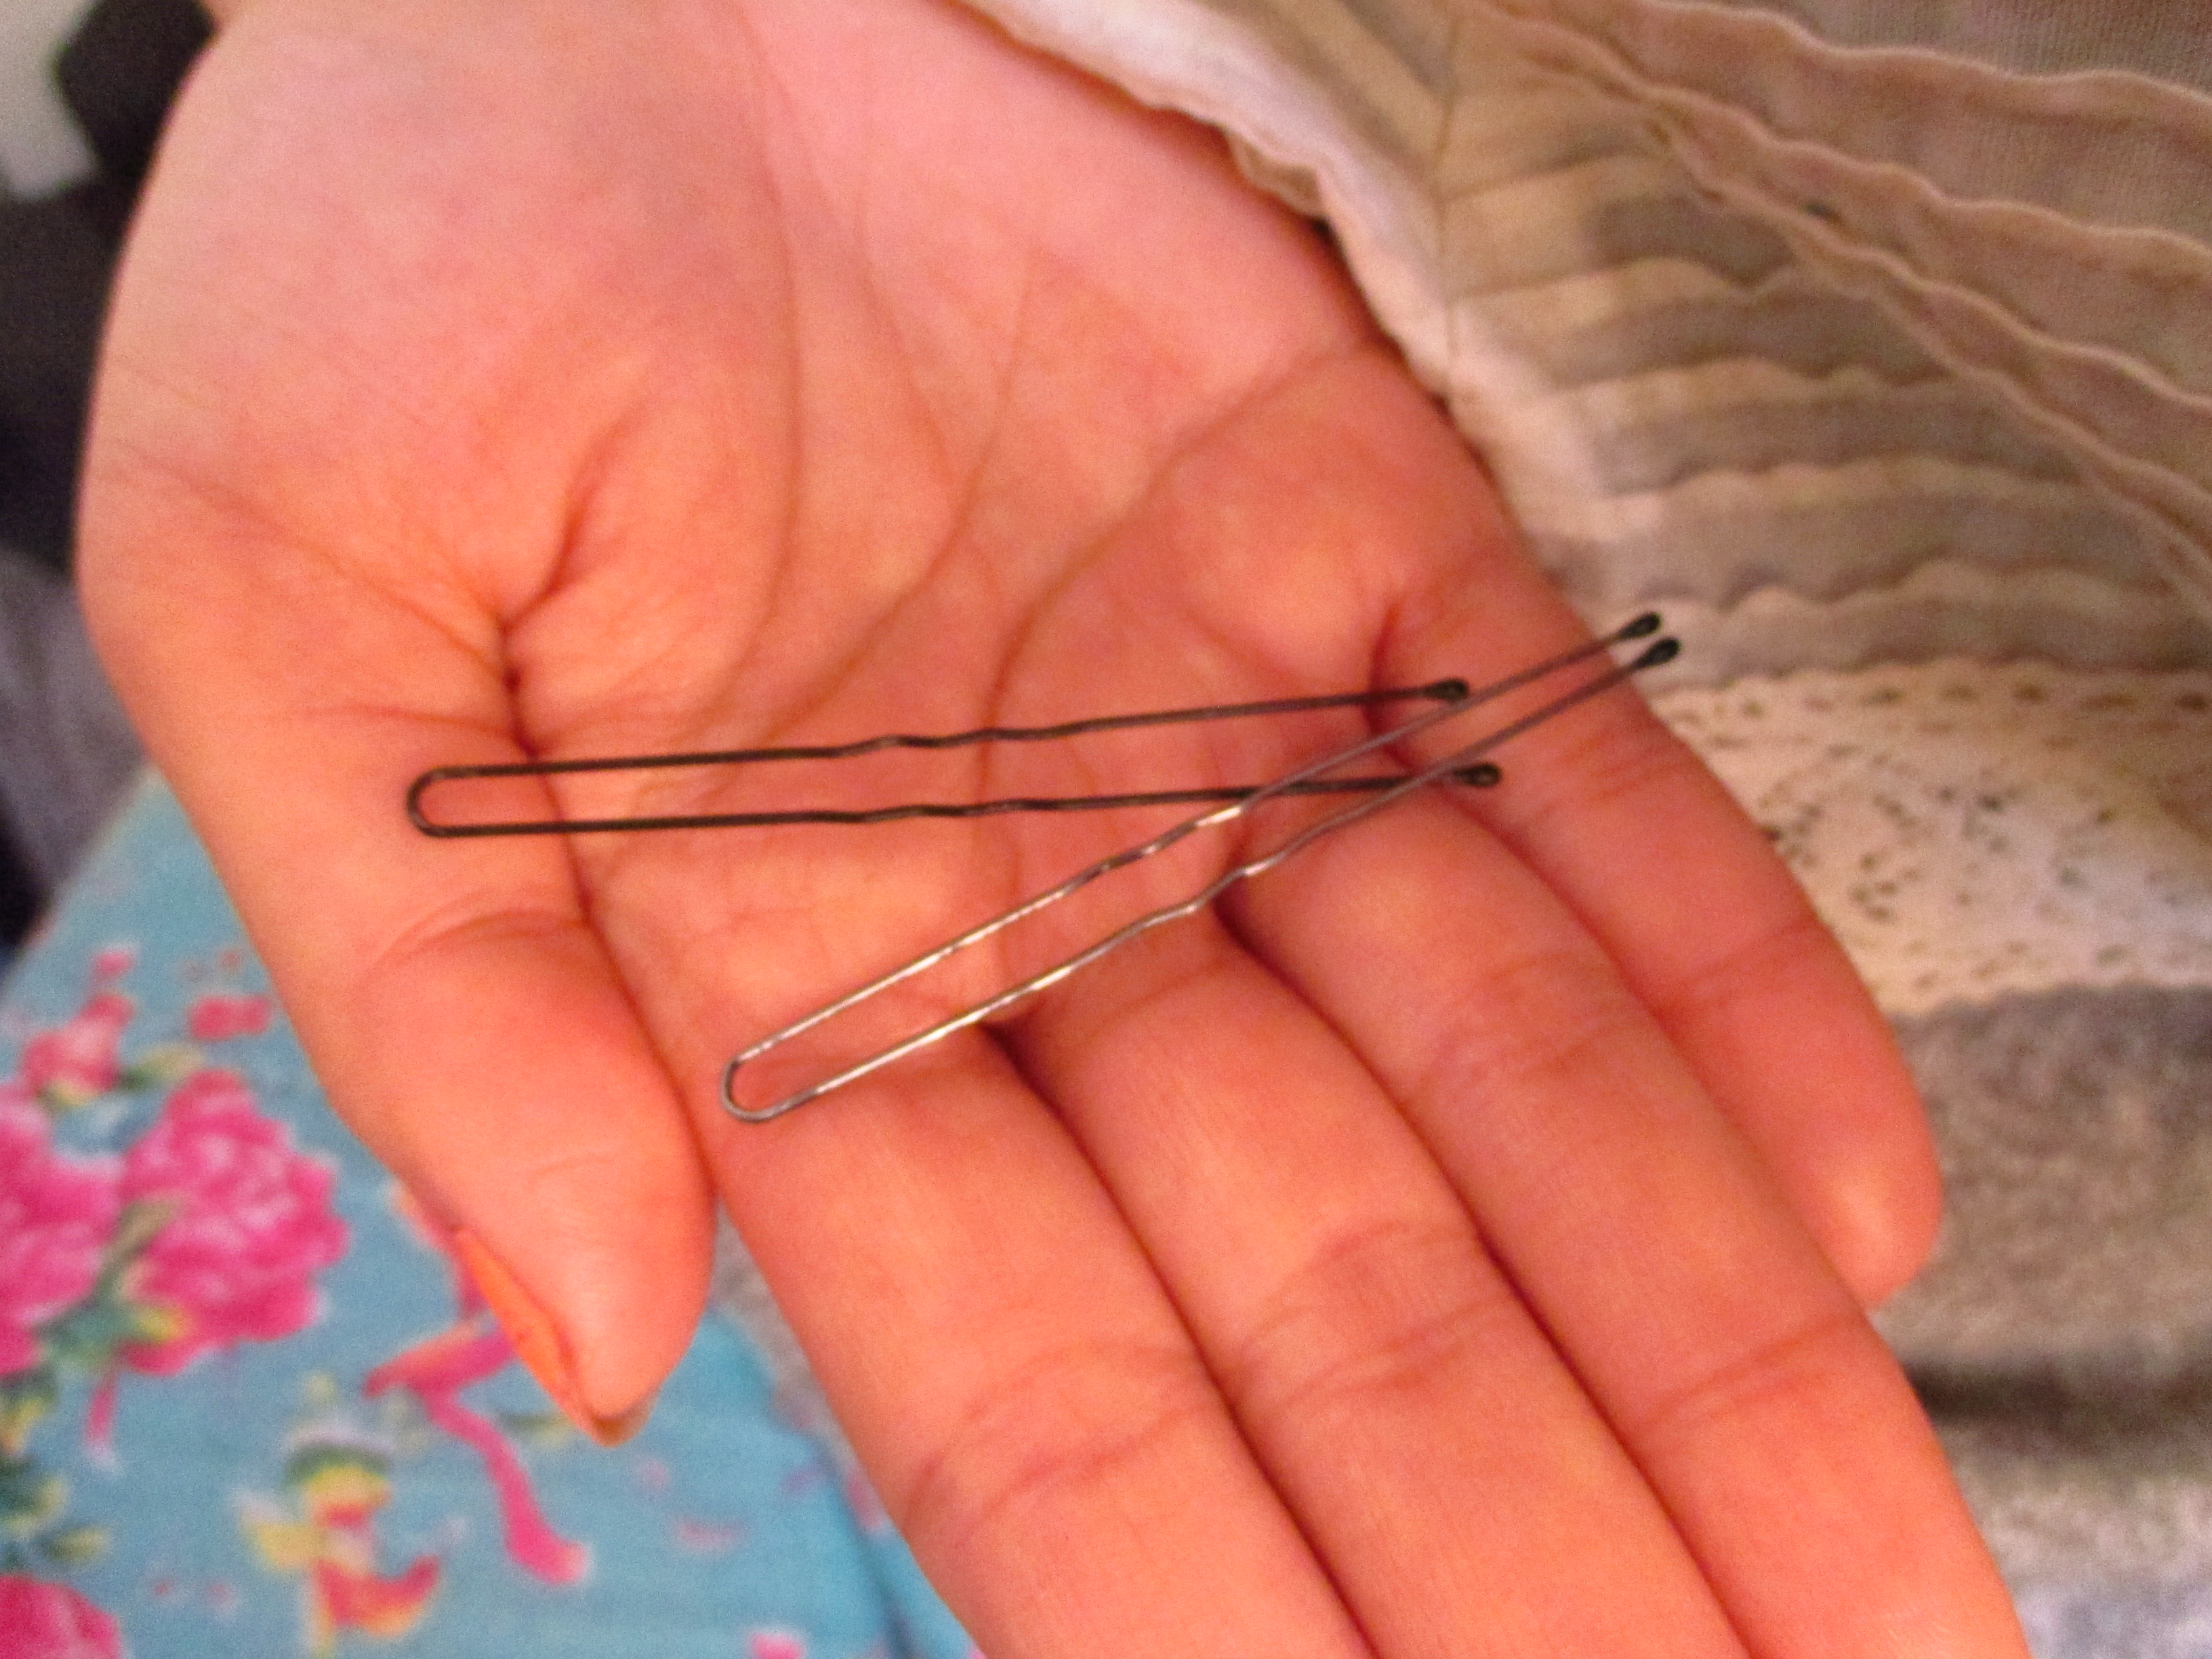
These cookies are so delicious on their own or with whipped cream and fruit.  A lot of people put a bit of food colouring into them so that they take on all shades of pastel colours.  My recent nail job was inspired by the meringue because matte pastel nail colours really remind me of the sweet and smooth texture and prettiness of this cookie.  I recently matte top coated my nails in pastel colours of pink, blue and white.  Meringue inspired fun with nails!

Yummy pastel colours remind me of candy and meringue.  Use a matte top coat...
Yummy pastel colours remind me of candy and meringue. Use a matte top coat…


The mystery of the “top knot” bun

As a  child I remember loving the Nancy Drew series…nothing intrigued me more than a good mystery and following it out as the teen-aged sleuth Nancy solved it.  The current mystery I have been trying to solve is about why every girl has been sporting a hair style known as the “top knot” these days. So I recently made an effort to make one of these things and two tired arms later, from combing my hair in an upwards direction, I finally understand.

In case you didn’t know, a top knot is a really, really high bun.  The kind that is so high, the round “bun” part is actually on the top of your head, and all your hair is pulled upwards along the face.  I had to ask myself why it has become so popular, and the go-to style for casual elegance and put-togetherness amongst women everywhere.   Because for some reason, a regular lower bun is granny-like, and unglamourous, maybe even too cerebral? But the higher top knot is alluring, fashionable and fun. Why is this great divide happening between where on the head you gather the bun?

After some thought, here is what I think:

~ Top knots are like an instant face lift.  Pulling the hair up, and out of your face has a gravity defying character that flatters and lightens up facial features such as the eyes, fore head and cheek temples.  It pulls everything up a bit.

~putting a bun at the top the head is dramatic, and adds height to a person.  It e-longens the face, making it seem slimmer and more delicate

~Because the bun part is on the top of the head, it doesn’t stick out in the back and doesn’t interfere with the line of the back of the head.  It’s smooth all the way down to the neck and swan like.

I gather and comb my hair up into a high pony tail.  fasten with an elastic.
I gather and comb my hair up into a high pony tail. fasten with an elastic.
coil the hair in a bun shape around the base of the pony tail.  Tuck in ends underneath the bun. arms tired yet? Mine were.
coil the hair in a bun shape around the base of the pony tail. Tuck in ends underneath the bun. arms tired yet? Mine were.

The second part of this mystery?  Why are top knots so hard to do in hair?  I have thick, ultra straight hair that really wants to go down in direction. The idea of making it go up is foreign.   My arms always get so tired combing my long hair in an upwards position, to wind into a bun.  But a few things really help tame hair so that it will get into place for top knots:

These are french pins.  They do not pull or tease hair.  They work by weaving through different layers of hair!
These are french pins. They do not pull or tease hair. They work by weaving through different layers of hair!

-have slightly dirty hair, or hair that has not been washed, using dry shampoo helps.  I find the added texture in your hair makes it grip as you are pushing it up.

-use french pins because they work, and do not pinch and pull hair the way bobby pins do. (French pins are awesome and so easy to use.  Ask me if anyone needs a tutorial!)

-Forget hair donuts (those spongy, foam donut shaped bun fillers used to make top knots), they are way too unnatural looking and uniform, if you get them to work–not everyone has thick enough hair to cover the hair donuts!

Am I right about why there is all this rage over the top knot?  What has been your go to hair style that never lets you down whenever you wear it?

Curling irons fail at giving effortlessly natural waves!

I read an article a while ago about how to achieve waves in your hair that didn’t look super perfect, and avoided the “glamour shots” look that is so not desirable.  For those of you that didn’t grow up in the subarbs around Toronto, Glamour Shots was this boutique/salon/photo shop that briefly set itself up in malls in Canada I believe during the 90’s, or sometime near there.  This was when looking like a model or actress was a female fantasy, and getting done up at the photo boutique was supposed to be as close as you can get to “looking” like a Hollywood siren. Only the makeovers were very laughable.  Just overdone make-up, and very tight spiral curls, and unflattering bedroom clothes that seemed to add ten pounds to your body and face.  Maybe because 10 pounds is close to the amount of make-up they smeared on a client.

Anyways, getting back onto topic, for many years after the fad, I’ve adored texture and wave, and have used curling irons to occasionally fulfill my need for wavy hair drama.  I resorted to using a thicker barrel curling iron, so that the waves would seem more natural.  But the results were still quite done up, and larger curls sometimes meant less defined pretty waves. What I craved was that look you get with hair that is naturally wavy, like you had just gotten out of bed, and it was effortlessly full of texture and drama.  Mermaid waves, as it is called.    This is impossible to get with a hot iron.   The only way I could get mermaid waves was to use sea salt spray (I make my own), then tie my hair into tiny little buns and wait for them to dry.  The problem with this was that it took a lot of time to dry without damaging heat from a dryer.  The solution was to get curls while sleeping, when no one would see me in this altered state of scrunchied strangeness.  By using soft small scrunchies to hold my hair in buns, I was able to sleep after sea salting my hair, and I would wake up with gorgeous flow-y curls that were messy and natural.

How to use scrunchies for natural heatless waves:

1.  Use them to hold your buns!  After spraying sea salt spray evenly in you hair (check out my homemade sea salt spray recipe), twist your hair into a couple of tiny LOOSE buns.  I usually do four buns for more defined curls, but you could also do one big bun…tie down your buns with your scrunchies!

Not a pretty hairstyle at all!  But do at at night when no one is looking!  I made my own scrunchies!
Not a pretty hairstyle at all! But do at at night when no one is looking! I made my own scrunchies!

2.  Go to sleep and let the night do its wonders. Because of a looser bun and soft scrunchies, this curling way is actually comfortable enough to sleep in.

3.  In the morning remove the scrunchies to reveal a natural curly wave, not overly done up and hot-iron looking at all!  I feel this curl looks best after 2 days, when it has had time to relax.  Enjoy the texture and wave, and don’t let anyone know your curls aren’t natural!

After a few days, the curls relax and look uneven and undone.  Like you fell out of bed with wavy hair!
After a few days, the curls relax and look uneven and undone. Like you fell out of bed with wavy hair!