Movie Make up Inspiration: The Love Witch (2016)

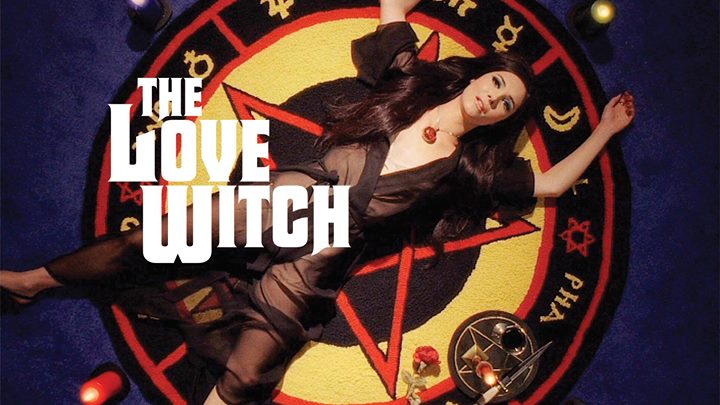
I think almost everyone knows that I like horror movies quite a bit, but what I even like more are genre b movies mixed with art house, such as Anna Biller’s 2016 feature film The Love Witch that is half satire and half homage to the campy melodramas of the 60’s.  Visually, you almost can’t tell it was made a few years ago, with its rich popping colours that compete so much with the a sharp dialogue to tell the story of love, attraction, revenge, and “magick”.  The movie centers around a young woman named Elaine, who was jilted in love by her former lovers and husband. Elain is on a mission to take control of her life by means of joining a witches coven that teaches her to use potions, rituals and magick to get rid of her abusive husband.  After that, Elaine moves to a small idyllic town to get a fresh start, and to also find “love” by any means, including seducing and casting spells on the local men.

Spellwork and bold colours make this film a magical delight to look at.

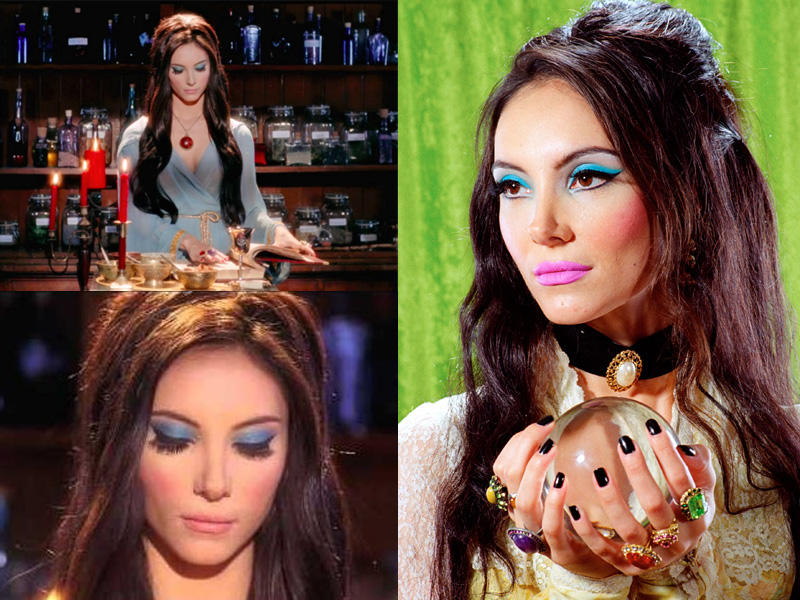
I adore how the movie is so female centered and encourages that we sympathize and root for the femme fatale protagonist who is also over whelming her victims, um, I mean “dates” with her powerful magic–to the point to death sometimes…But is it her magick at work, or just the craziness of love in general?  Treat your senses to the richness of it’s look, and then decide for yourself.  Is it inherently feminist, since it is about a women deciding to control her love destiny, by any means? Or sexist since she uses her foxy looks to get what she wants?  It’s all up for debate, but one thing is for sure, The Love Witch can also stand alone for a piece of visual art.  And I am just digging the fashion and the make-up!  That retro/vixen/glam/goth look is soooo gorgeous.

Samantha Robinson plays a young witch, the love seeking Elaine. I have a crush on the hair, make-up and fashion she dons in this movie.

How to get this retro glam make-up:

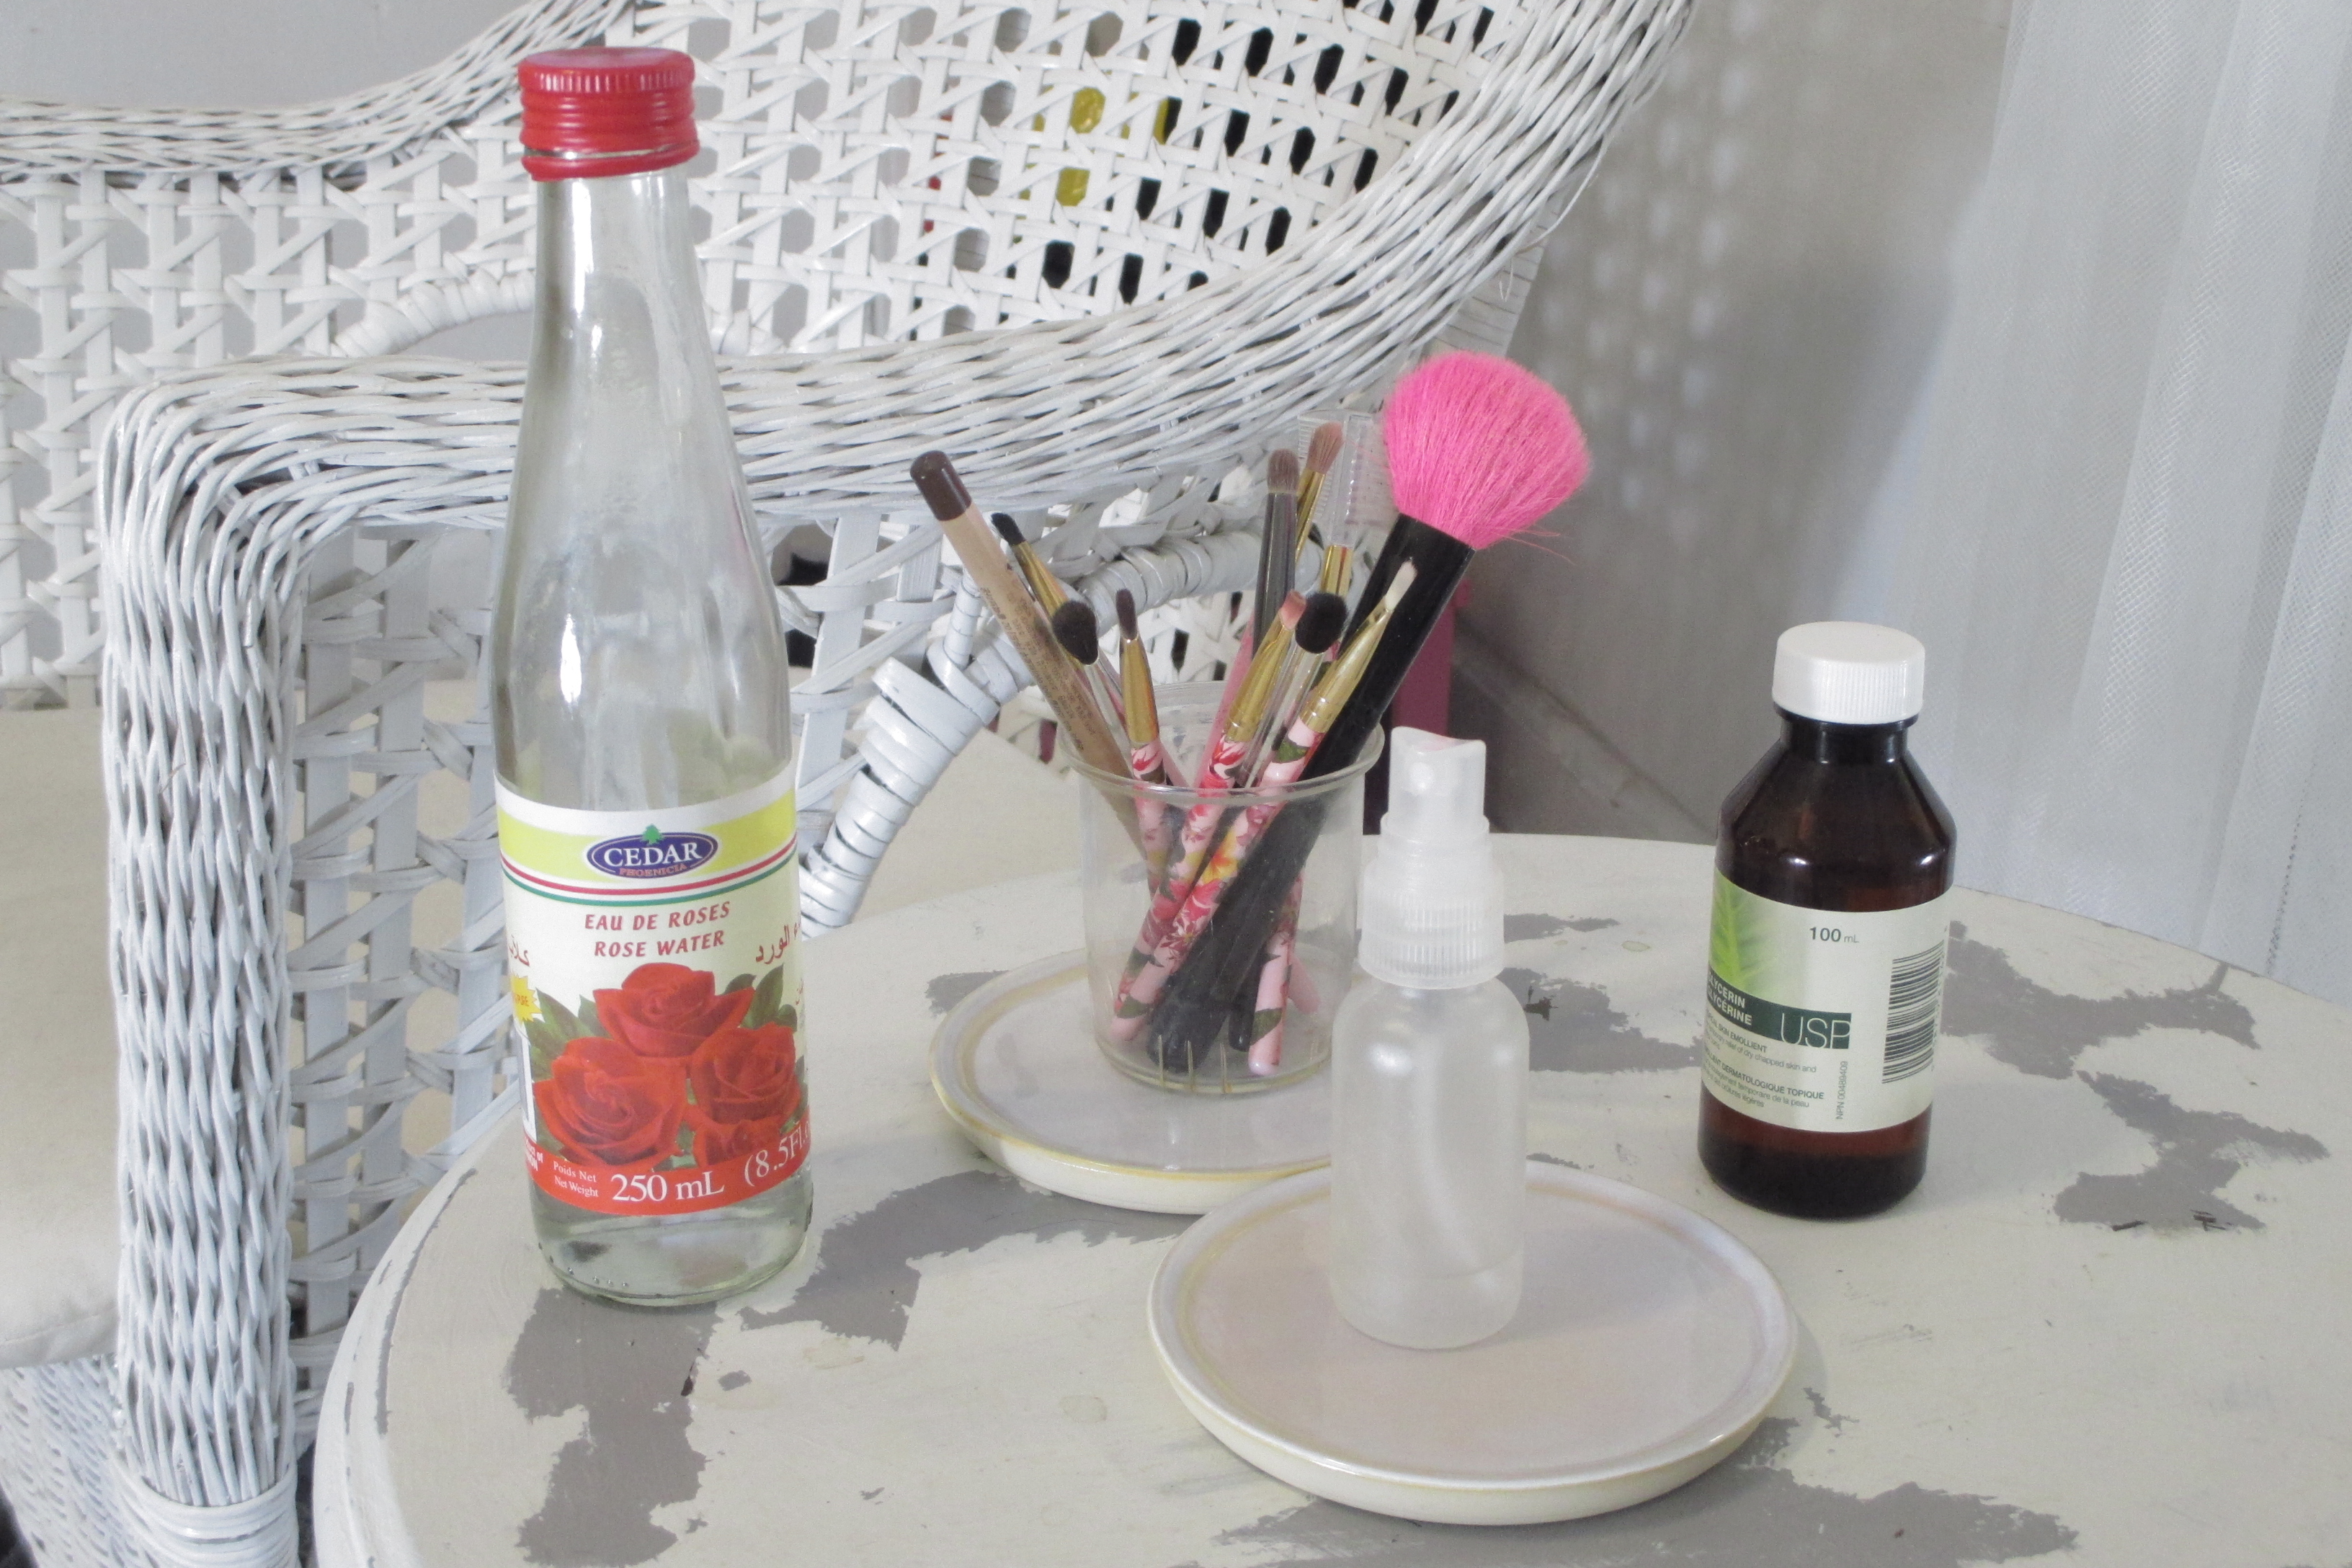
Step 1: Prep the face:

This look requires smooth, creamy even pale skin.  Almost porcelain like.  I find bb creams to do the trick since they often lighten your skin tone and give you a really matte finish. (most do at least, don’t get the “dewy” kind).  Set bb/foundation with a light powder.

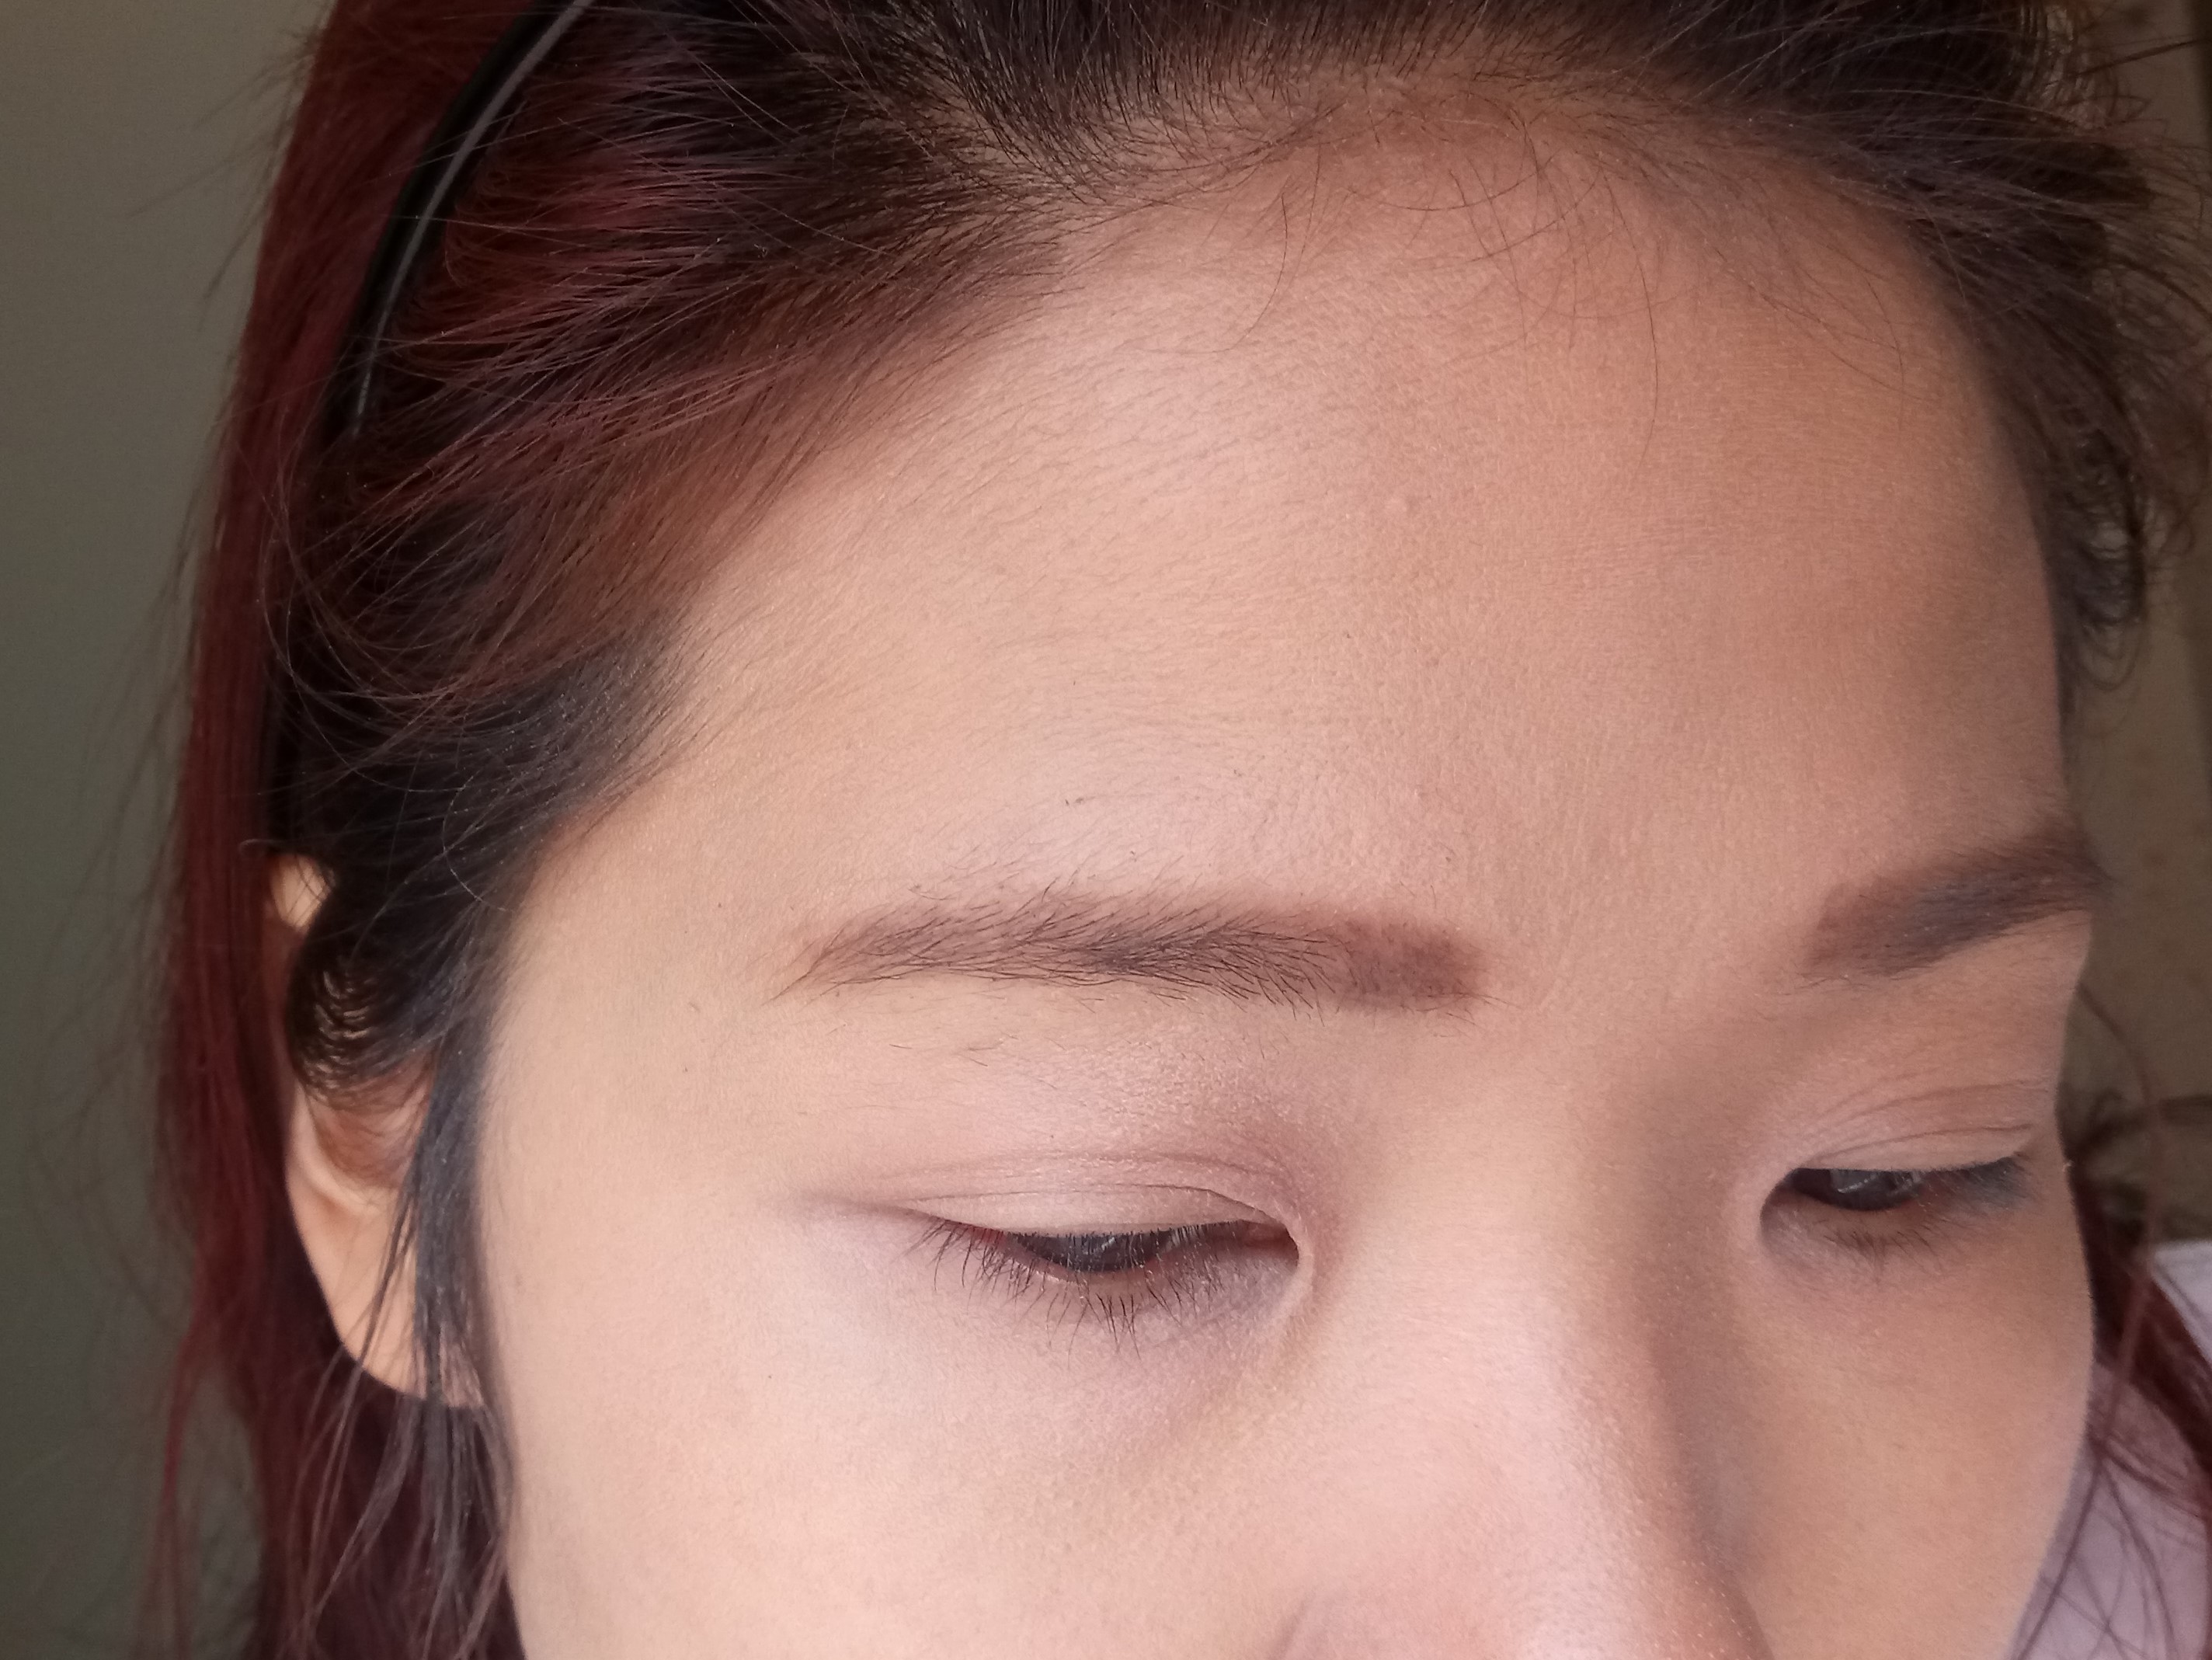
Step two: Define eyebrows:

They should be as dark as your hair, slightly defined, with medium thickness, softly blurred with a eyebrow comb. Draw them with a slight arch, to give a bit of retro drama!

After prepping face, I drew in my eyebrows with a soft brow pencil. make sure you comb it to get it even as possible.

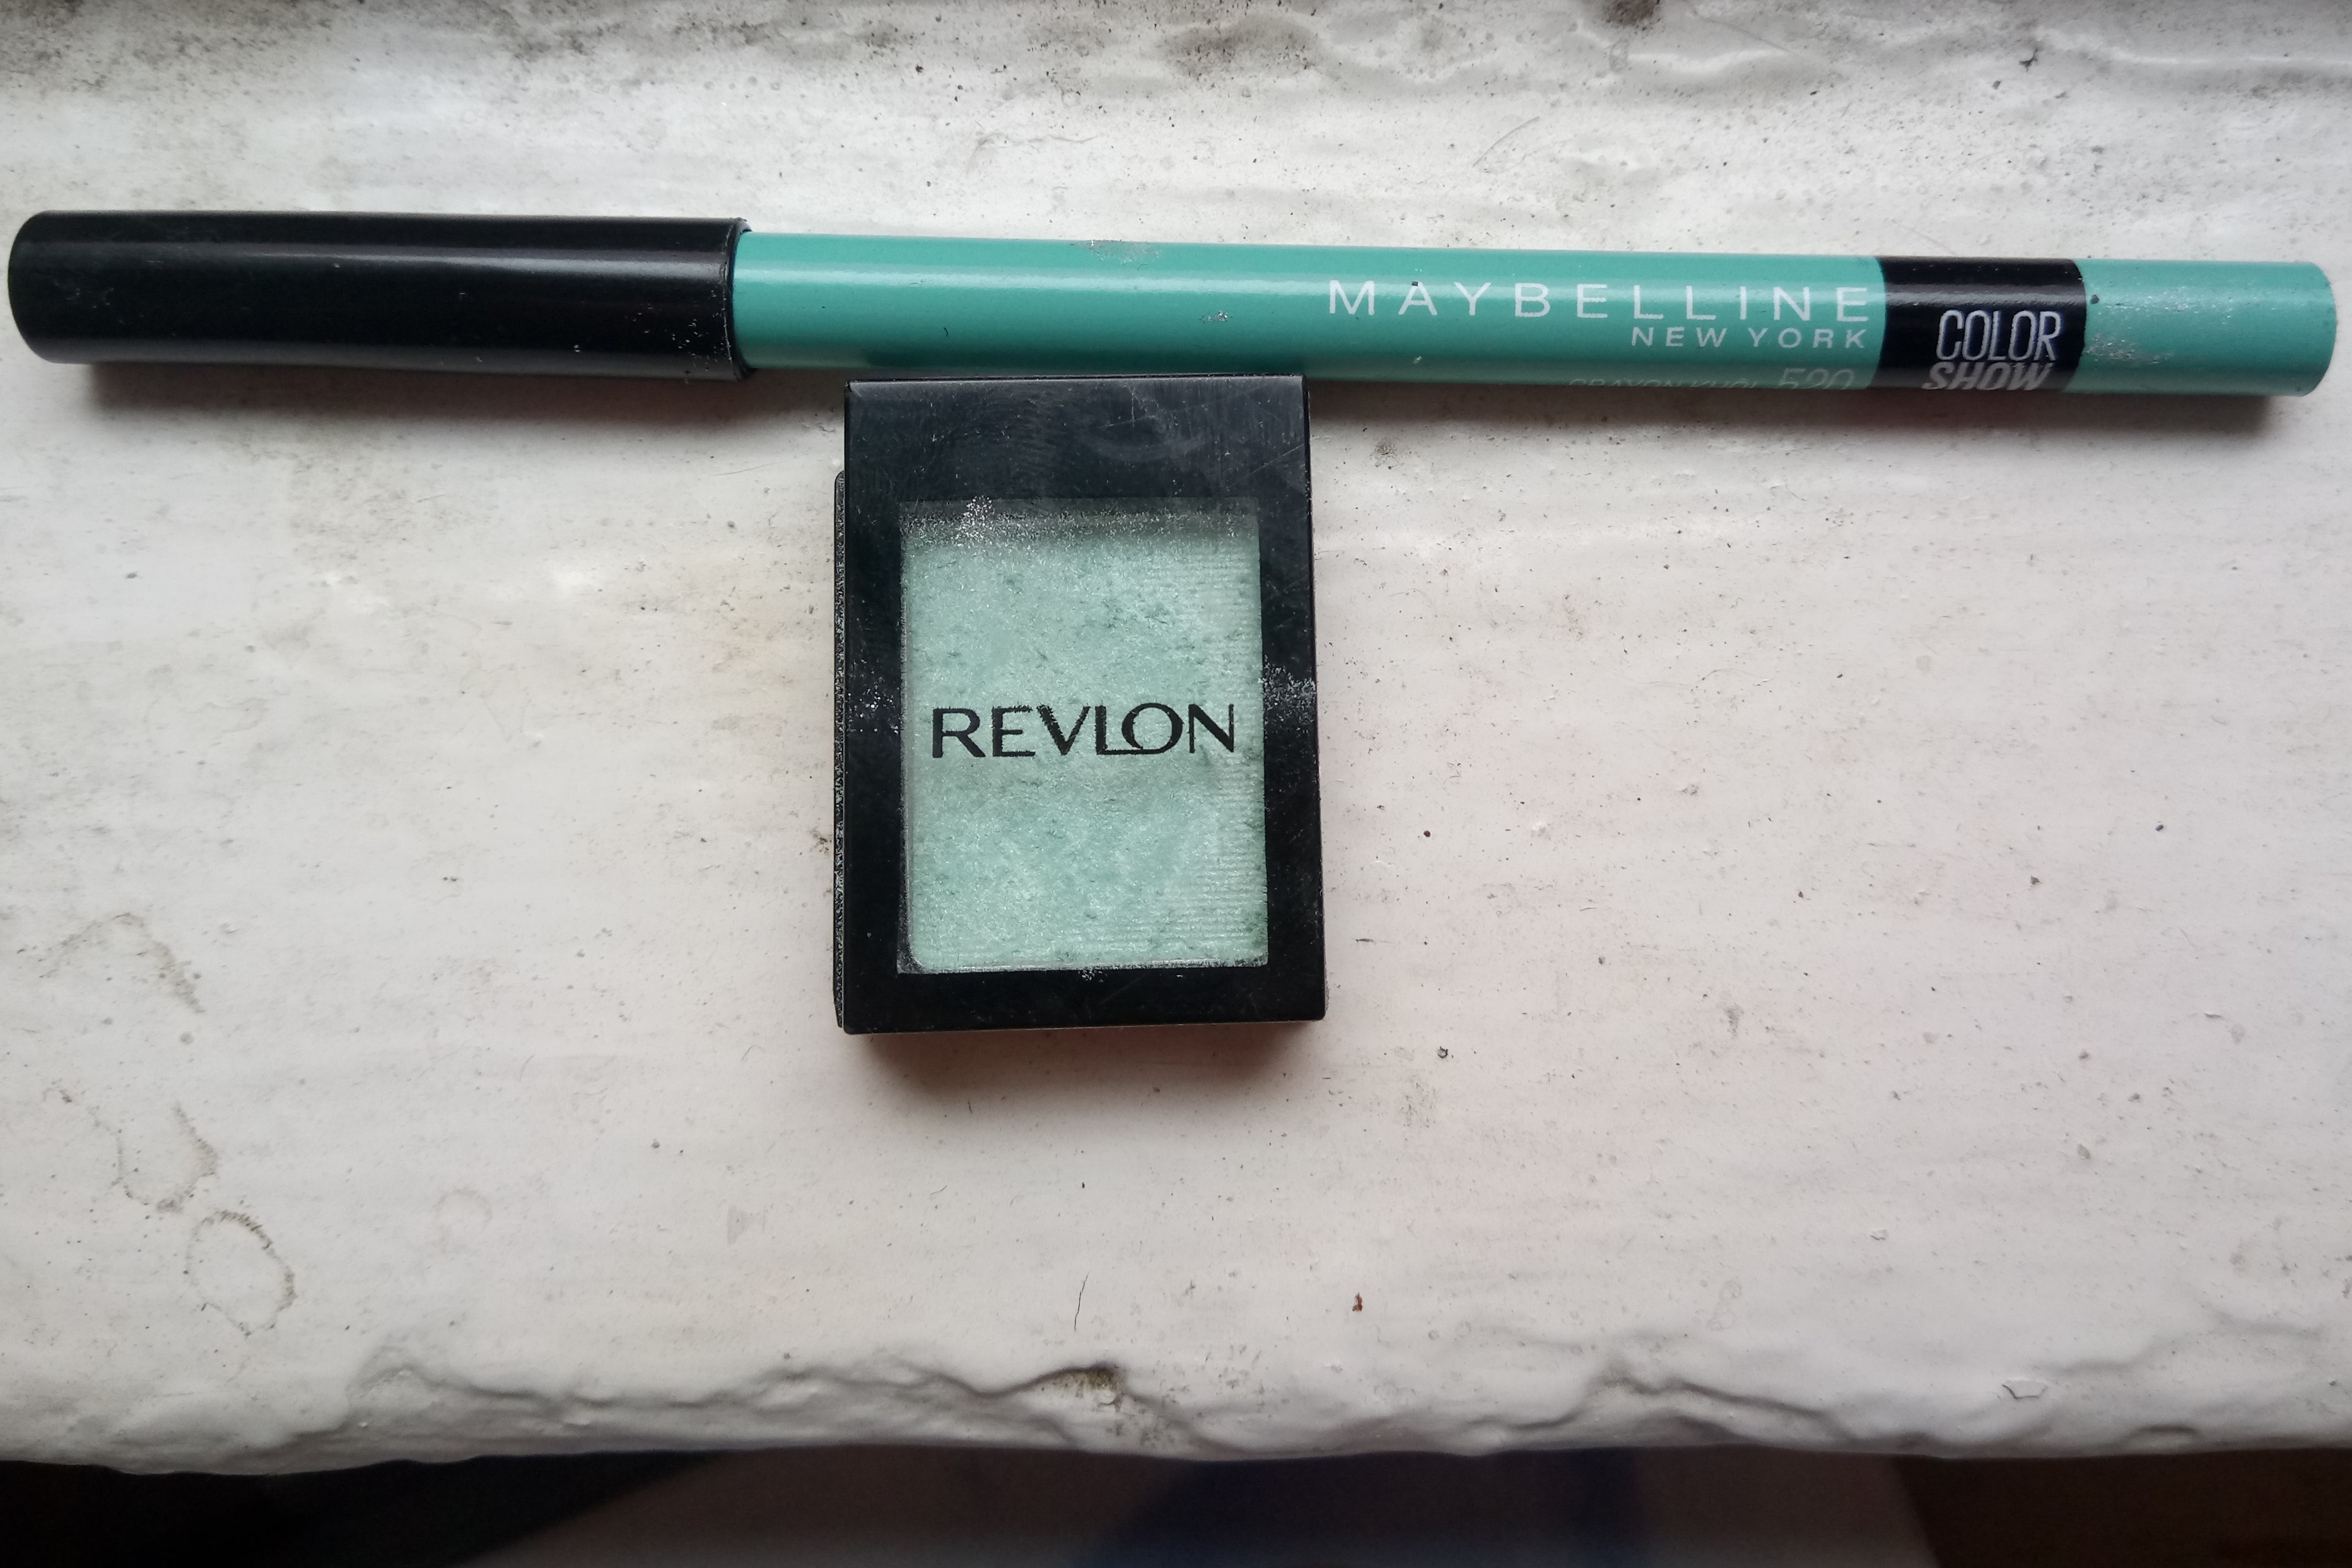
Step three: Find a pretty turquoise eye pencil or high pigment eye colour

Powder eye shadows will not work, because they are too subtle.  You wont be able to see a turquoise coloured powder on your lids, since your skin tone also kills some of the blue/green colour. Instead of using heavy primers and shadow bases on your lid, simplify by finding a soft eye pencil in the right colour.

This is the pencil I found and it’s a gorgeous celedon colour, slightly lighter than the torquoise that the love witch uses…the shadow is to set it.

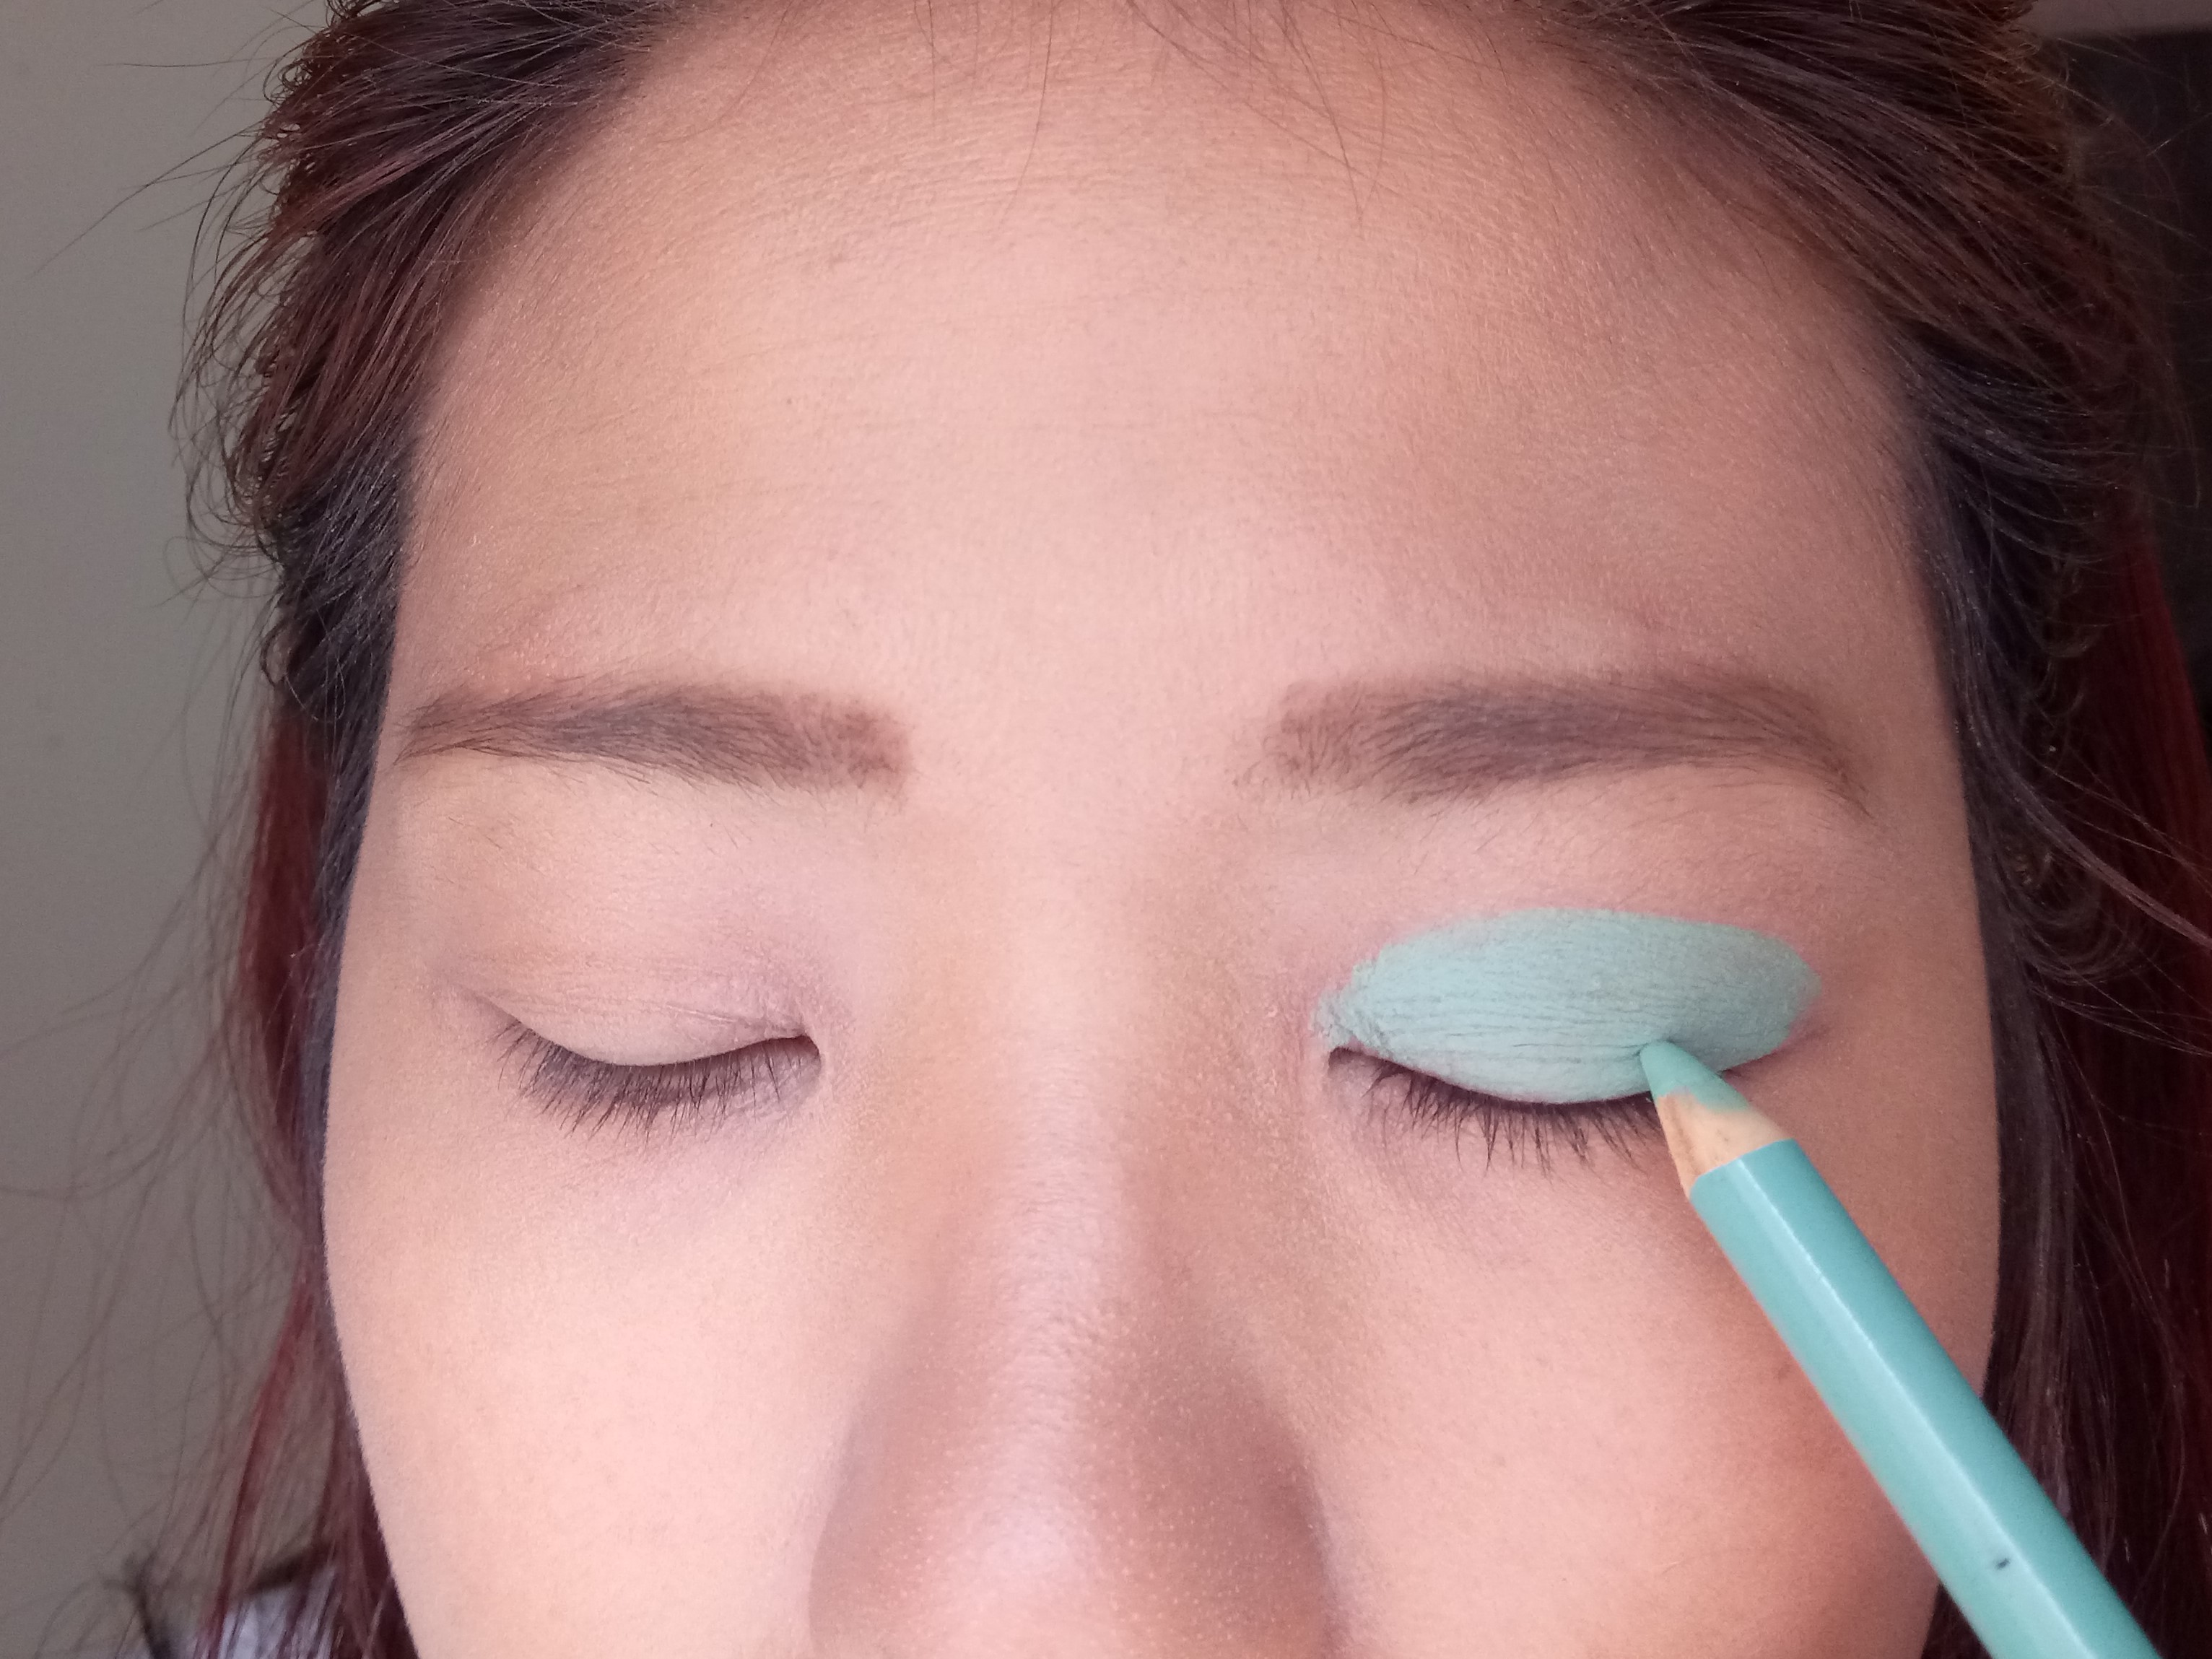
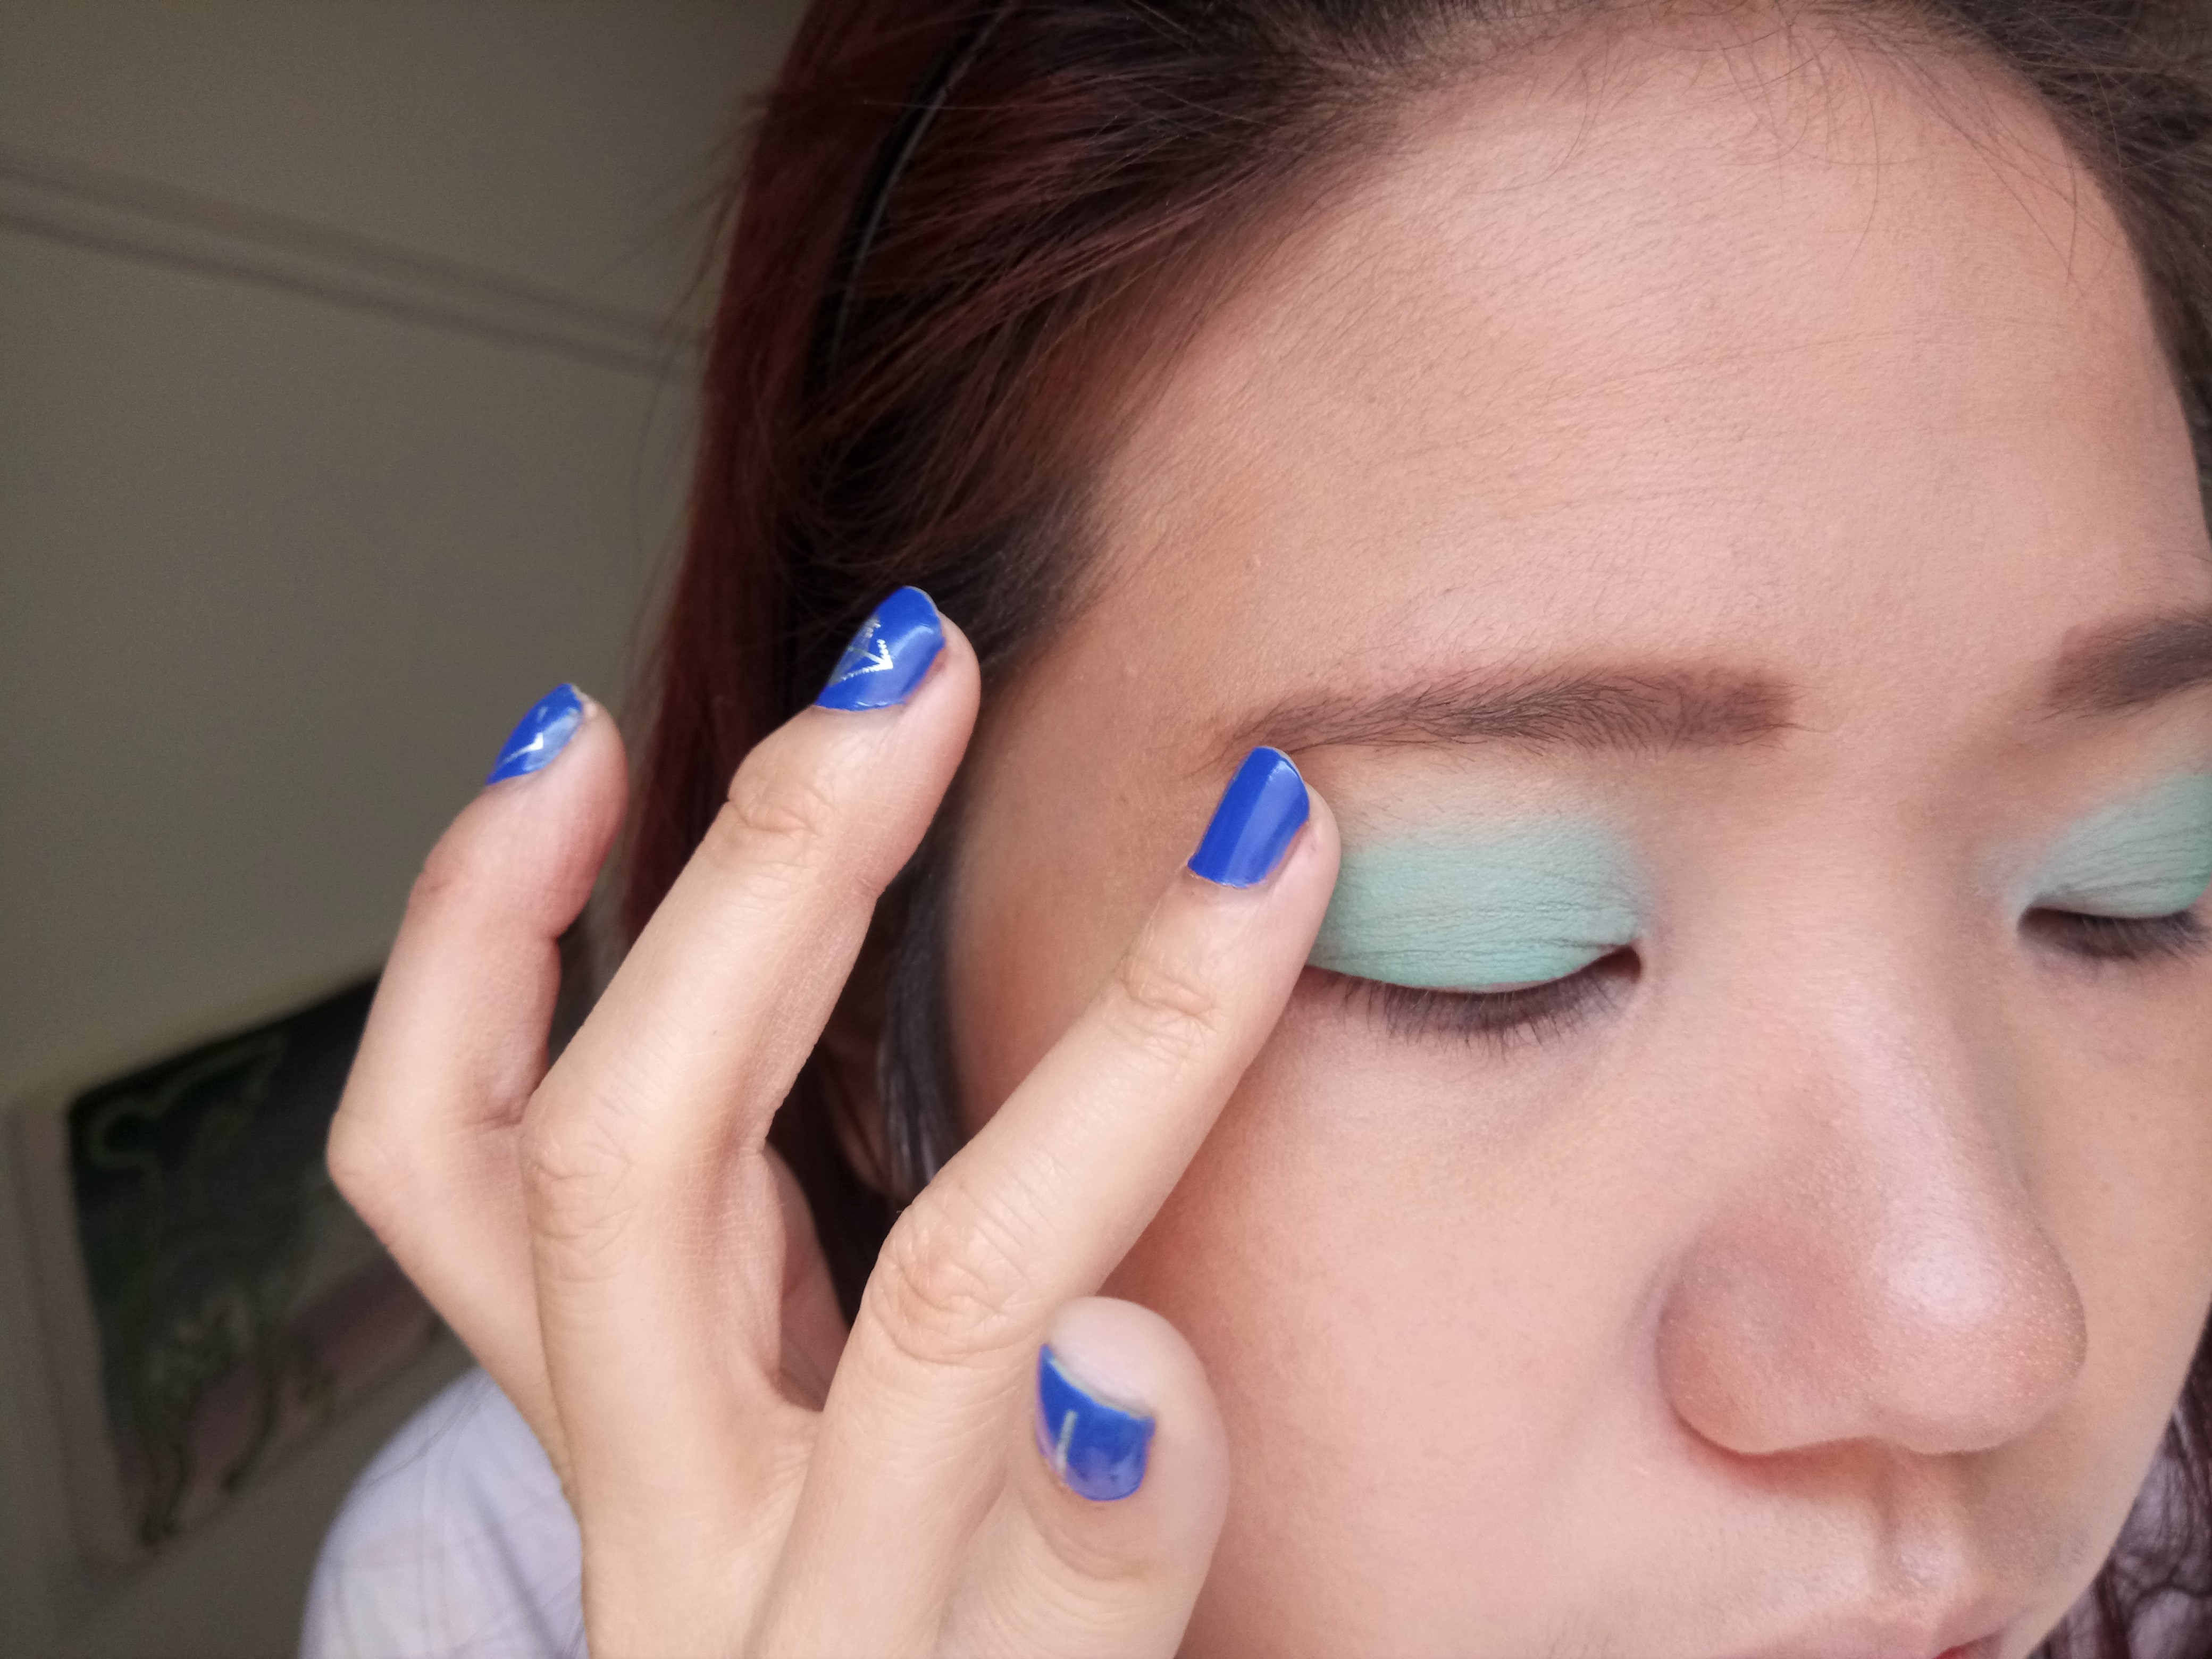
Fill in the upper lid in turquoise until almost to the brow bone,  then smudge the harsh edge lines of the colour with your finger, and set it with either translucent power, or a blue/green shadow on top.

See how pencil liners show up, even when it’s a light colour?
Because it is a pencil, you want to smooth the edges and pat with your fingers to make it less harsh. don’t forget to set lids with powder.

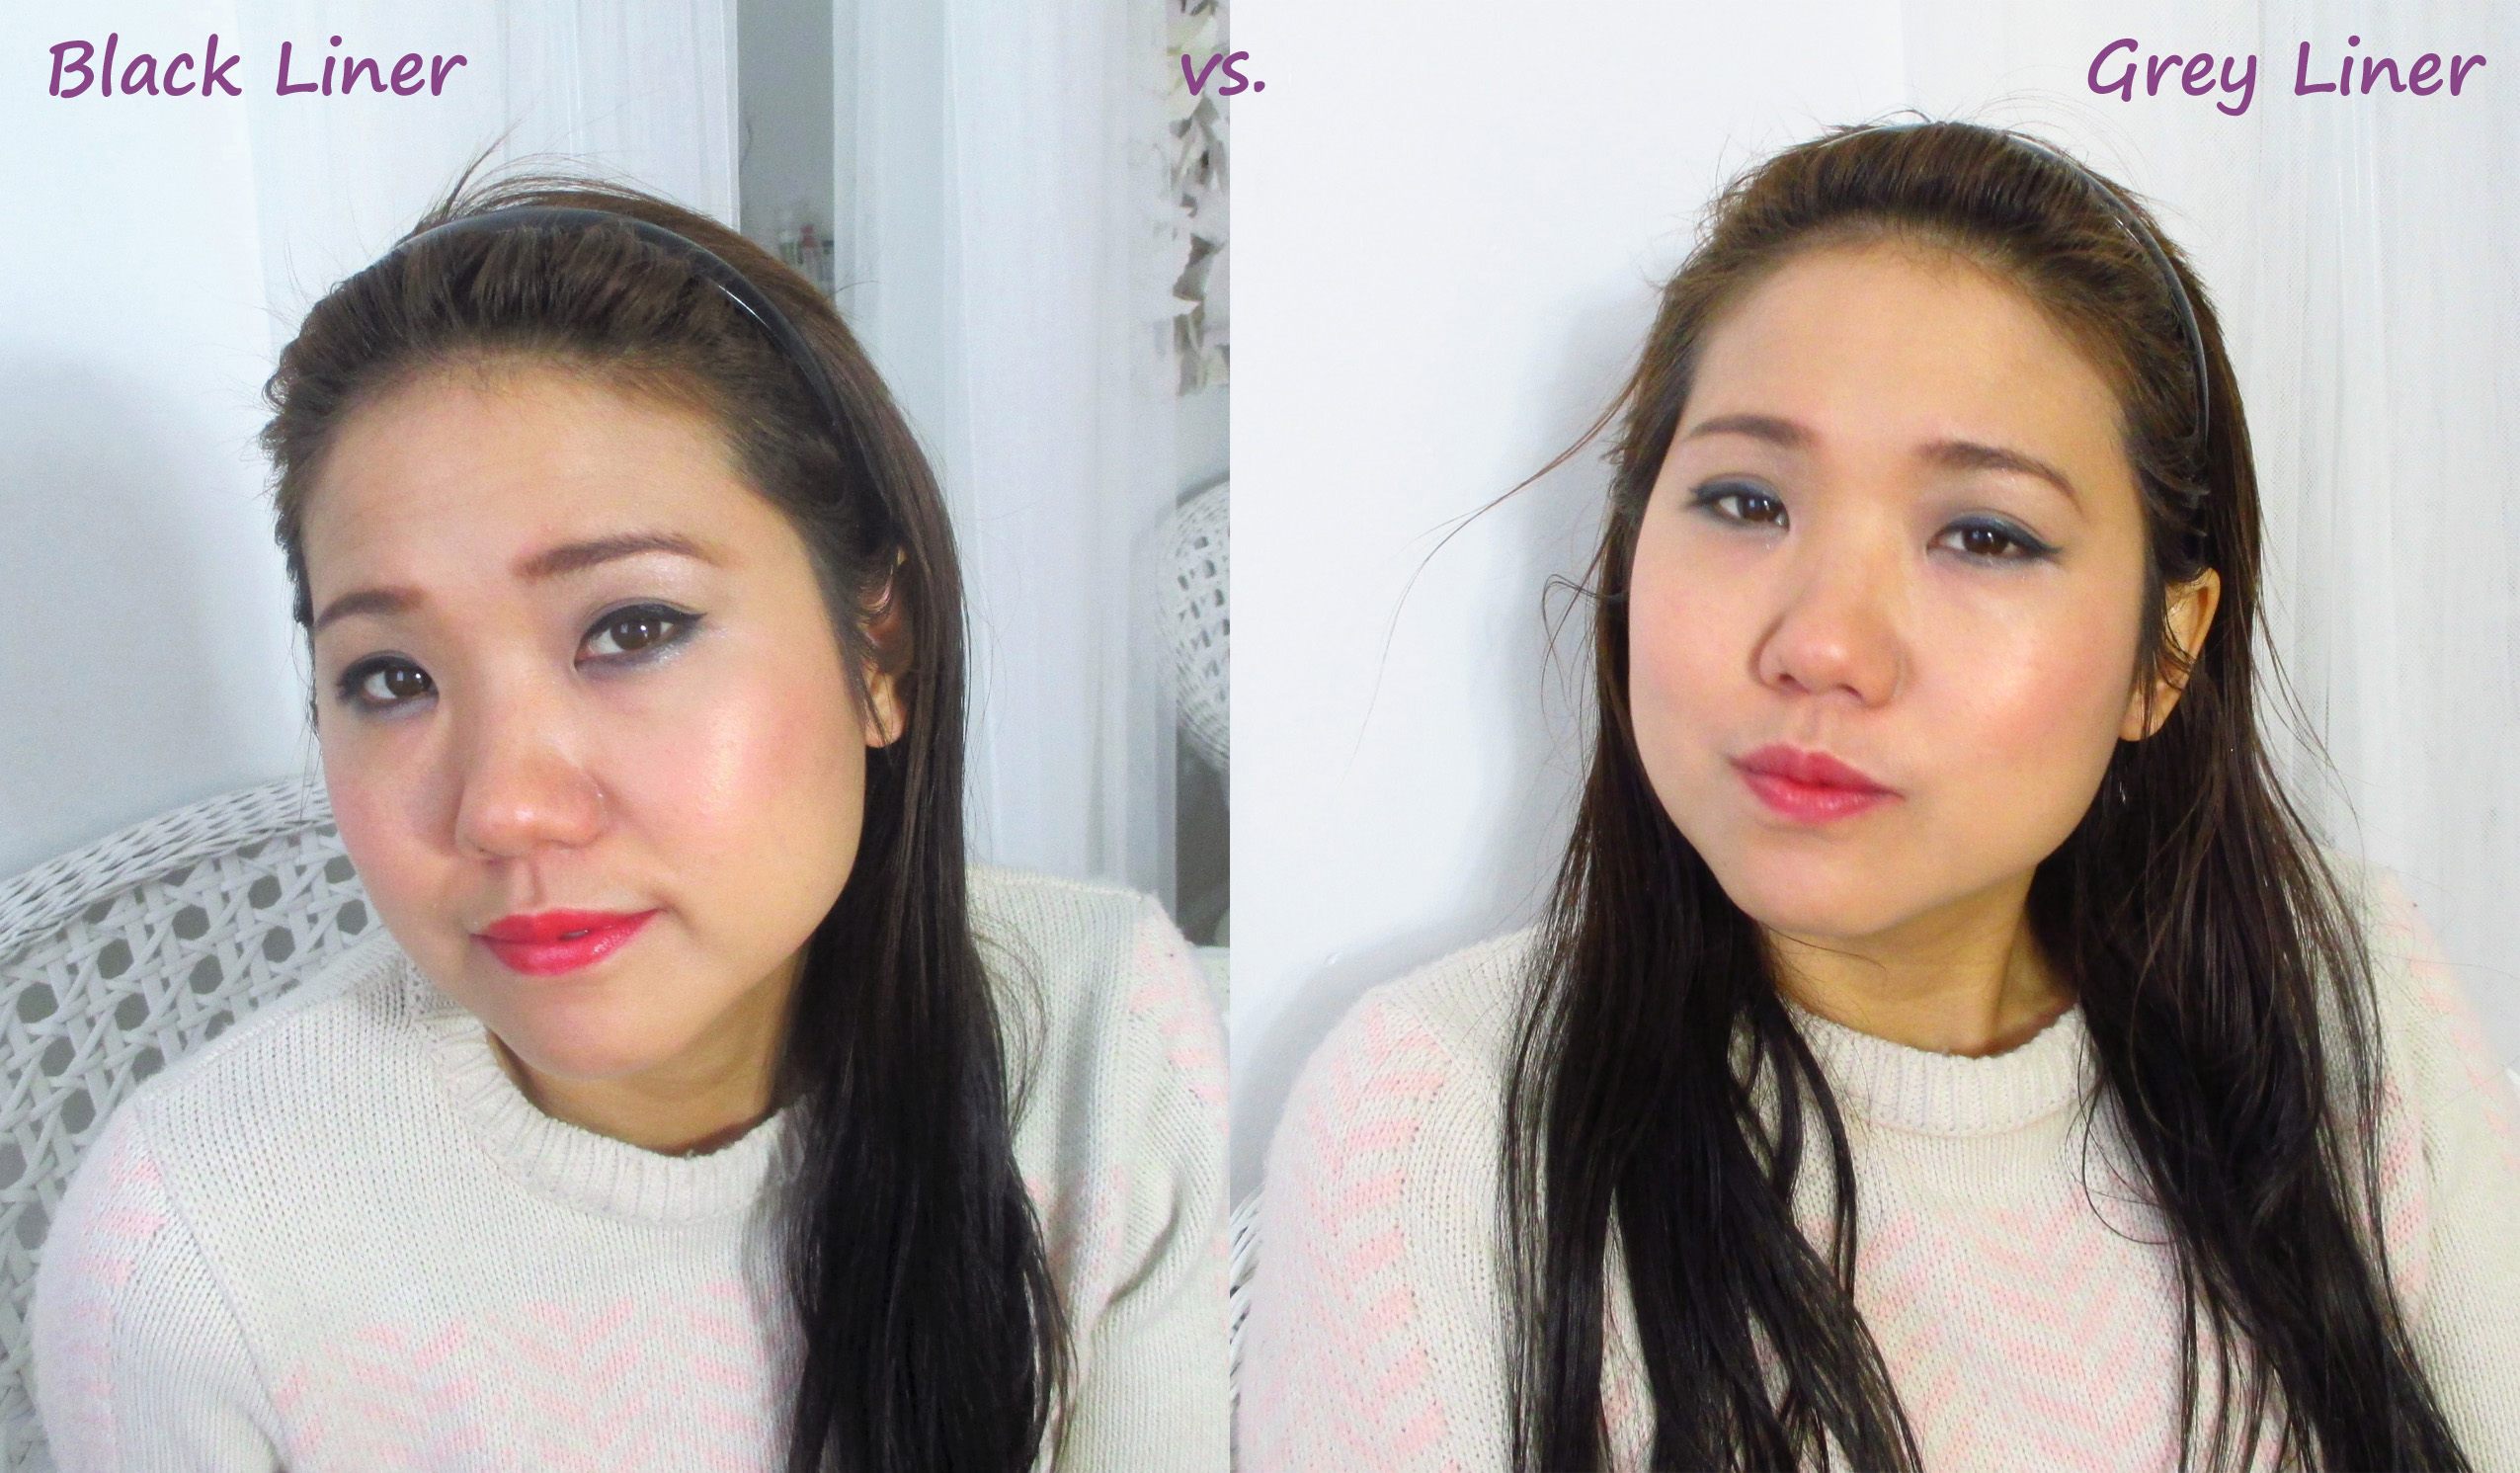
Step four: Black lining your eyes, Cat eye make-up:

You need three products for this!  I know, this is crazy, but the reason you need three is for colour intensity, precision, and setting of the black line. So first off to use is black pencil as close to the upper lash line as possible.  The second step is setting it with a thin layer of black eye shadow with a thin brush.  Third step to making the black line into the defined shape of a dramatice cat eye with liquid liner/pen.  Also fill in any light/uneven areas in the black line with pen for maximum drama.

This is before I put on fake lashes. Using 3 products: liner, shadow and liquid/pen gives the pigmentation and drama needed for a retro cat eye line.

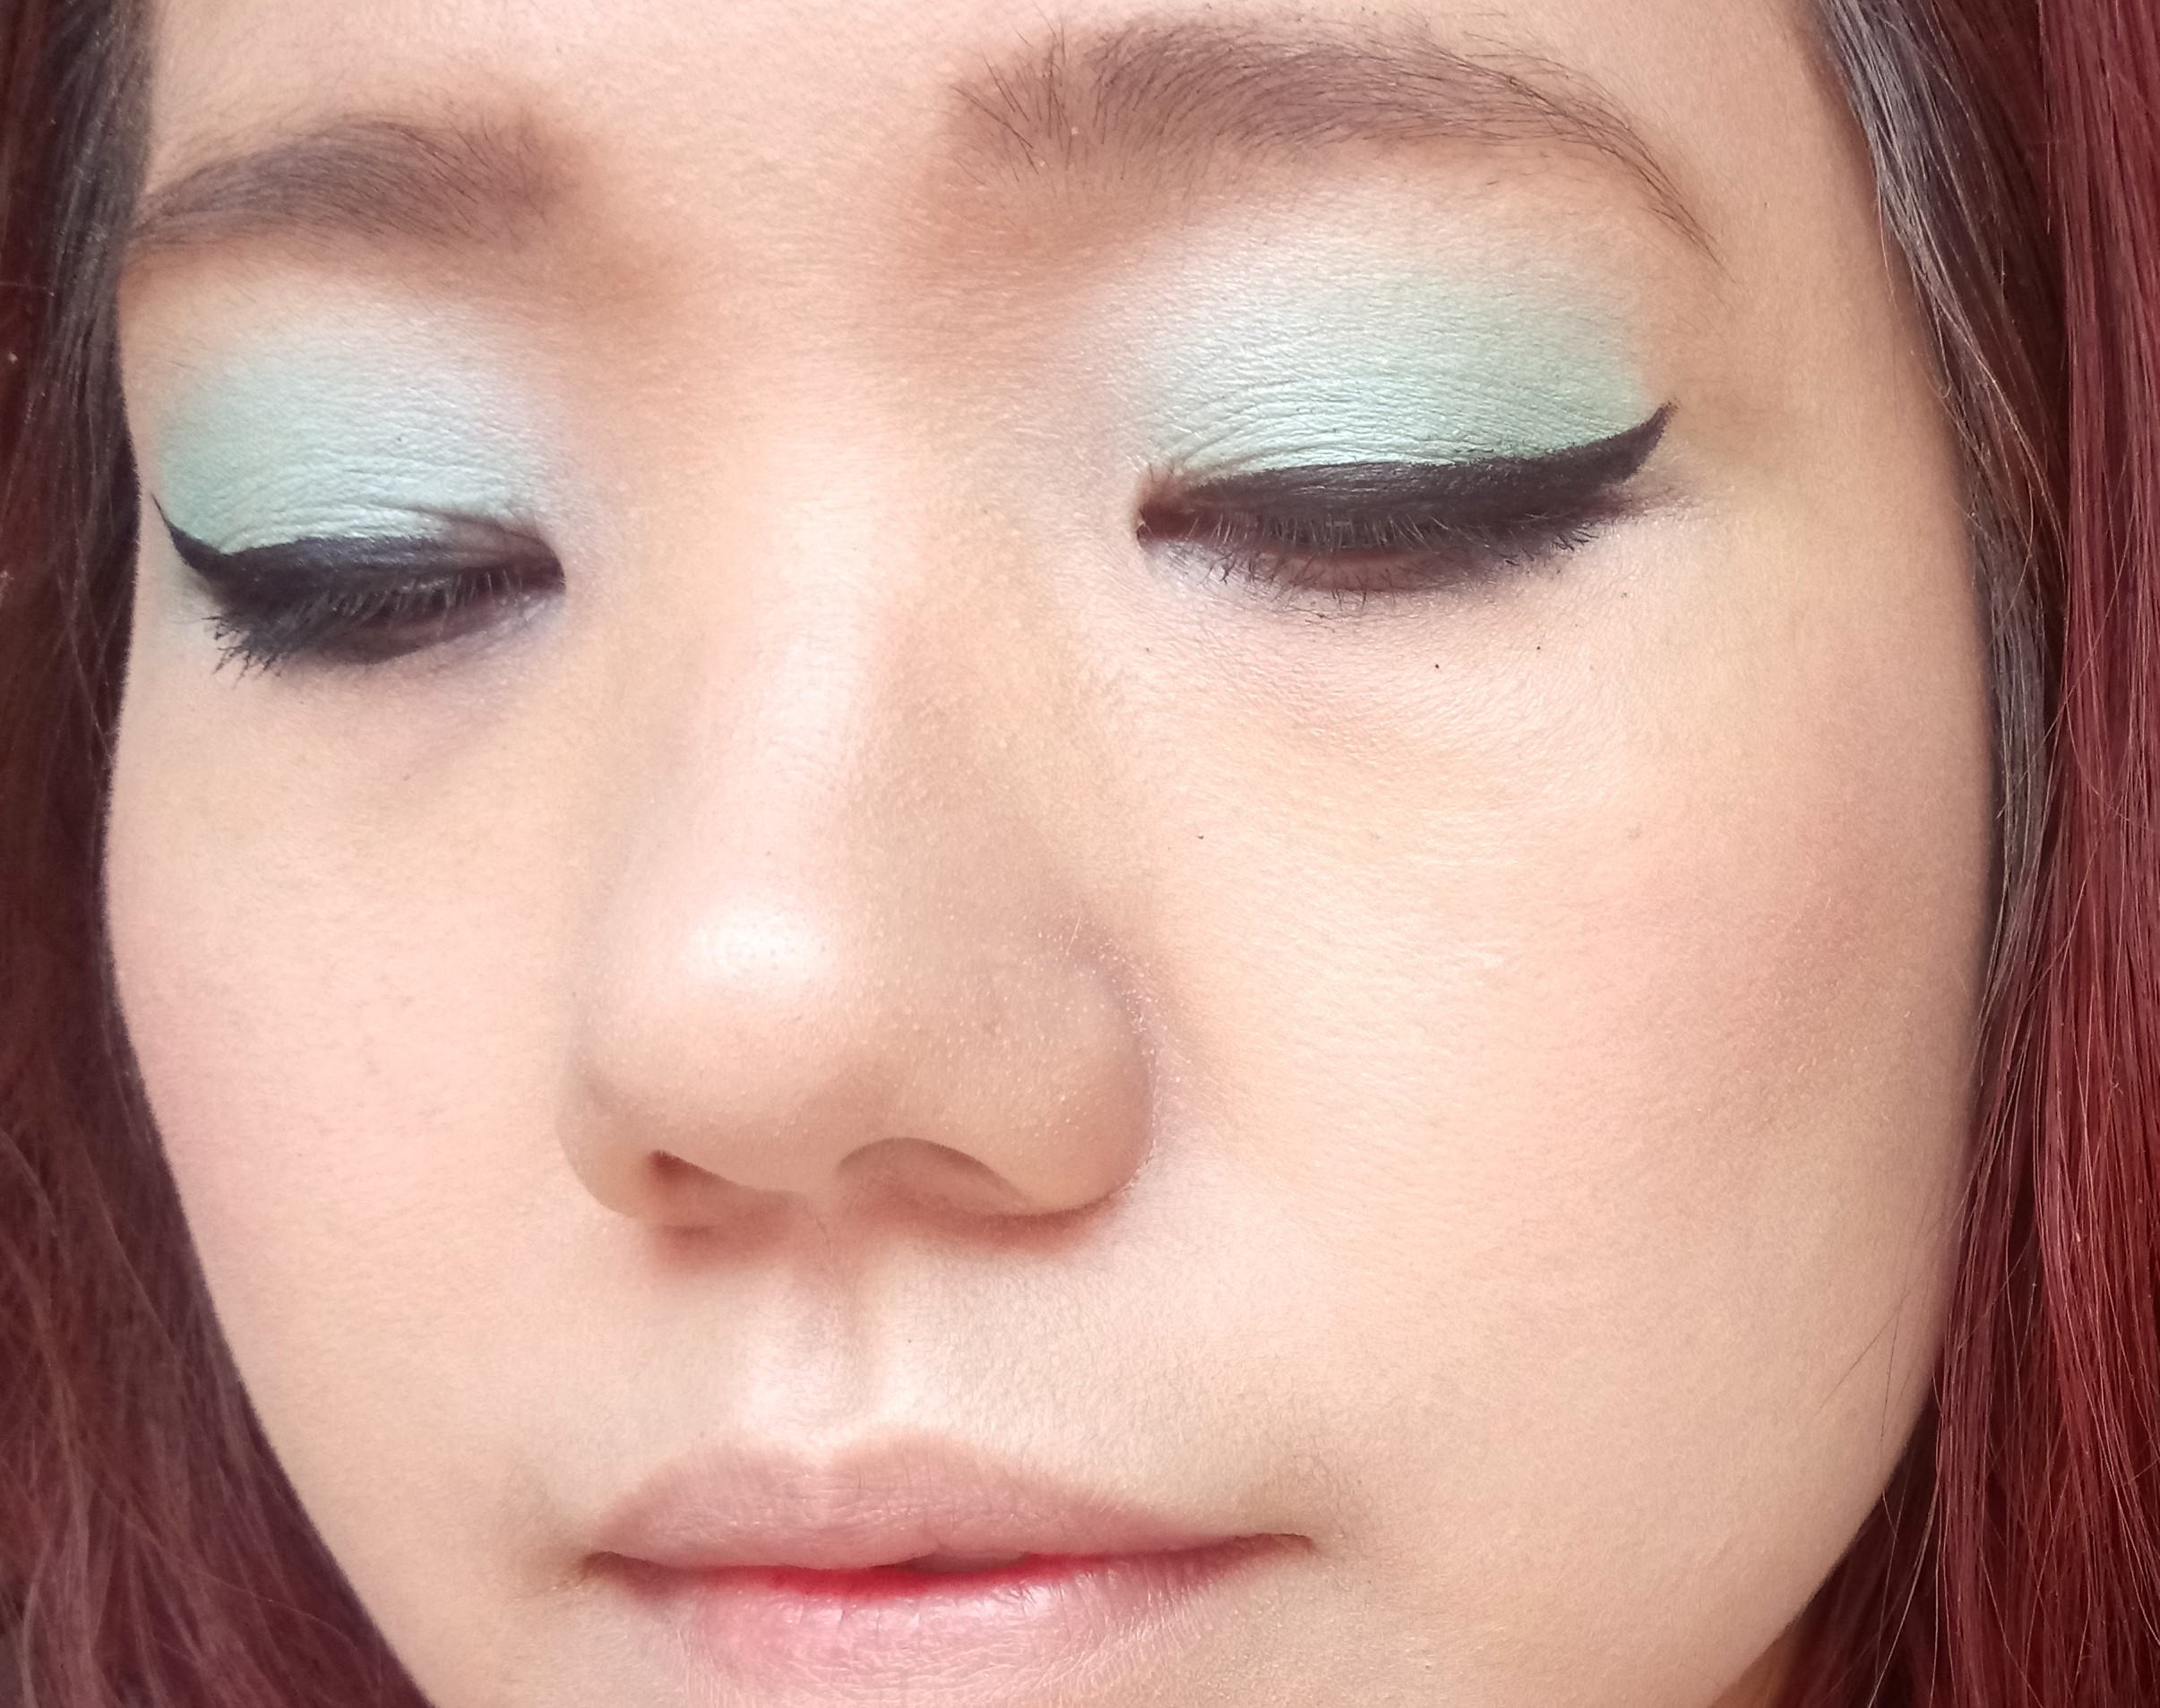
Step Five: Mascara and False Lashes…

Mascara and fake lashes are key to the look.  Nothing says vampy witchy gal more than a cat eye with fake long lashes the reach for the skies!  I like to do two coats of mascara and then add some demi lashes, since my eyes are small, but if you can, go for full lashes to complete the look.

Let me read your future! Add anything victorian looking and glamourous to your outfit and now you are a love witch!

Okay, thoust ready to go out into the world casting spells on unsuspecting lovers wherever you go…Just be careful wielding that feminine power of yours and I hope no casualties are a result.  I cannot be held responsible. 🙂

Glycerin is your new BFF when it comes to having glowing skin!

A skin rescuer for powdered make-up users...this setting spray only takes three ingredients; rose water, distilled water and glycerin!
A skin rescuer for powdered make-up users…this setting spray only takes three ingredients; rose water, distilled water and glycerin!

So about a year ago, one of my good friends told me about the skin trend in Asia particularly Korea, where the young girls not only have perfect skin, but they also have shiny, dewy baby skin, like no other in photos.  At first thought, I figured that the look can be achieved by exfoliation, followed with a tinted moisturizer, and no use of face powder, but that didn’t explain the “flawless” glow of the dewy shine trend.  How that look can be achieved, I figured out recently is with the use of a setting spray.  Make-up has a nicer real skin effect when slightly dampened, and the misting of a setting spray (water based) over foundation and powder will make your face look more hydrated, and give you the dewy shine that you crave even after it’s dried.  That’s right, shine can be pretty as long as it is not a greasy slick over your face. Another bonus is it increases the staying power of make-up that is applied.

What’s even more amazing? I found out there is a DIY home recipe for a setting spray that will make you wonder how you could have done without it for all these years! It is super easy to make, hydrating and smells awesome. A homemade spray that is just as good as any $20 spray on the market, but better since it is super affordable and preservative free.  There are different ways to use a setting spray, as in before make-up application (for adhesion and colour intensity) or after (to get rid of the powdery look and build shine)…  I mist the spray all over my face after my foundation and powder but before I do my eye make-up. That way, I get better adhesion and color intensity for my eye shadow, and it prevents my powdered foundation face from looking too powdery by giving it a healthy dewy glow.

A bottle of glycerin from the local pharmacy! Not hard to find and so good for the skin!

Recipe for DIY Rosewater Glycerin Setting Spray:

  • 1 part distilled water
  • 1 part rose water
  • 1/8th part Glycerin** (you could use less if you find it too sticky)

**For those of you who don’t know…glycerin is a thick liquid compound that is a sugar alcohol. It is put in many products in the food industry for keeping things moist and sweet.  Since it is food grade, if you spray any of it on your lips and lick it, it’s totally safe! It’s also known to be great for your skin as it draws water to it and has other benefits too!

Put all ingredients above in a small clean spray bottle.  Shake it to mix it and spritz a fine mist over your make-up or under your make-up depending on the result you want as I mentioned above! I like to use enough that my face feels moistened, and takes about two minutes to dry.  And then start welcoming the pretty shine and dewy glow that using a setting spray imparts!

It's hard to see in photos, but the hydrating and glowing effect of using a setting spray is worth it, even as it covers the back of my hand!
It’s hard to see in photos, but the hydrating and glowing effect of using a setting spray is worth it, even as it covers the back of my hand!

Graphic liquid Liner…can basic black be replaced by grey for everyday?

An inky black marker type liquid liner, verses a brush on liquid grey liner...
An inky black marker type liquid liner, versus a brush on liquid grey liner…

There is no make-up look I’ve seen more worn by women than that of the ubiquitous “cat eye” makeup.  It is usually done in a combination of ways, but always involves liquid liner to produce that hard edge top eyelid line that defines a graphic “cat eye” make-up.  And with a flick up in the corner, any girl can instantly get daily glam without feeling too made up.  When buying liquid liner, by default I always go to black, for some reason and I get it in pen style for ease of use.  Liquid liners with a brush and a bottle go on too black and thick for me and for some reason and I end up looking too hard, but pens can still be really harsh if they are very dark…like the one I use now. My eyes are like daggers lined by black ink.  I accept that black is the fashion… But  I recently discovered that charcoal grey is a great alternative, if you like the polished elegance of the cat-eye, want to still be in vogue, but don’t want to look as stern with super black lined graphic eyes.

So the left photo is black liner and the right photo is grey liner.  All other make-ups are the same.  Can you spot the difference?
So the left photo is black liner and the right photo is grey liner. All other make-ups are the same. Can you spot the difference?

So as you can see with my photos, there is a only subtle difference between black and grey.  But you can see how grey liner is a lot softer, and gentler, it opens up my eyes a bit more and still is a cat eye make-up.  In the black liner photo, I used all the same make-ups as the grey liner photo, but with black, you can see how my eyes are more emphasized and I look harder and edgier.

So which do you prefer?  Hard edgy black, or sweetly composed grey?  These days I’ve been going for charcoal grey liner since I find that sometimes, less darkness on the face can actually be appealing, and maybe even more youthful.  Try it out and let me know what you think.  Make-up and being a girl is all about the details and small things!