Curling irons fail at giving effortlessly natural waves!

I read an article a while ago about how to achieve waves in your hair that didn’t look super perfect, and avoided the “glamour shots” look that is so not desirable.  For those of you that didn’t grow up in the subarbs around Toronto, Glamour Shots was this boutique/salon/photo shop that briefly set itself up in malls in Canada I believe during the 90’s, or sometime near there.  This was when looking like a model or actress was a female fantasy, and getting done up at the photo boutique was supposed to be as close as you can get to “looking” like a Hollywood siren. Only the makeovers were very laughable.  Just overdone make-up, and very tight spiral curls, and unflattering bedroom clothes that seemed to add ten pounds to your body and face.  Maybe because 10 pounds is close to the amount of make-up they smeared on a client.

Anyways, getting back onto topic, for many years after the fad, I’ve adored texture and wave, and have used curling irons to occasionally fulfill my need for wavy hair drama.  I resorted to using a thicker barrel curling iron, so that the waves would seem more natural.  But the results were still quite done up, and larger curls sometimes meant less defined pretty waves. What I craved was that look you get with hair that is naturally wavy, like you had just gotten out of bed, and it was effortlessly full of texture and drama.  Mermaid waves, as it is called.    This is impossible to get with a hot iron.   The only way I could get mermaid waves was to use sea salt spray (I make my own), then tie my hair into tiny little buns and wait for them to dry.  The problem with this was that it took a lot of time to dry without damaging heat from a dryer.  The solution was to get curls while sleeping, when no one would see me in this altered state of scrunchied strangeness.  By using soft small scrunchies to hold my hair in buns, I was able to sleep after sea salting my hair, and I would wake up with gorgeous flow-y curls that were messy and natural.

How to use scrunchies for natural heatless waves:

1.  Use them to hold your buns!  After spraying sea salt spray evenly in you hair (check out my homemade sea salt spray recipe), twist your hair into a couple of tiny LOOSE buns.  I usually do four buns for more defined curls, but you could also do one big bun…tie down your buns with your scrunchies!
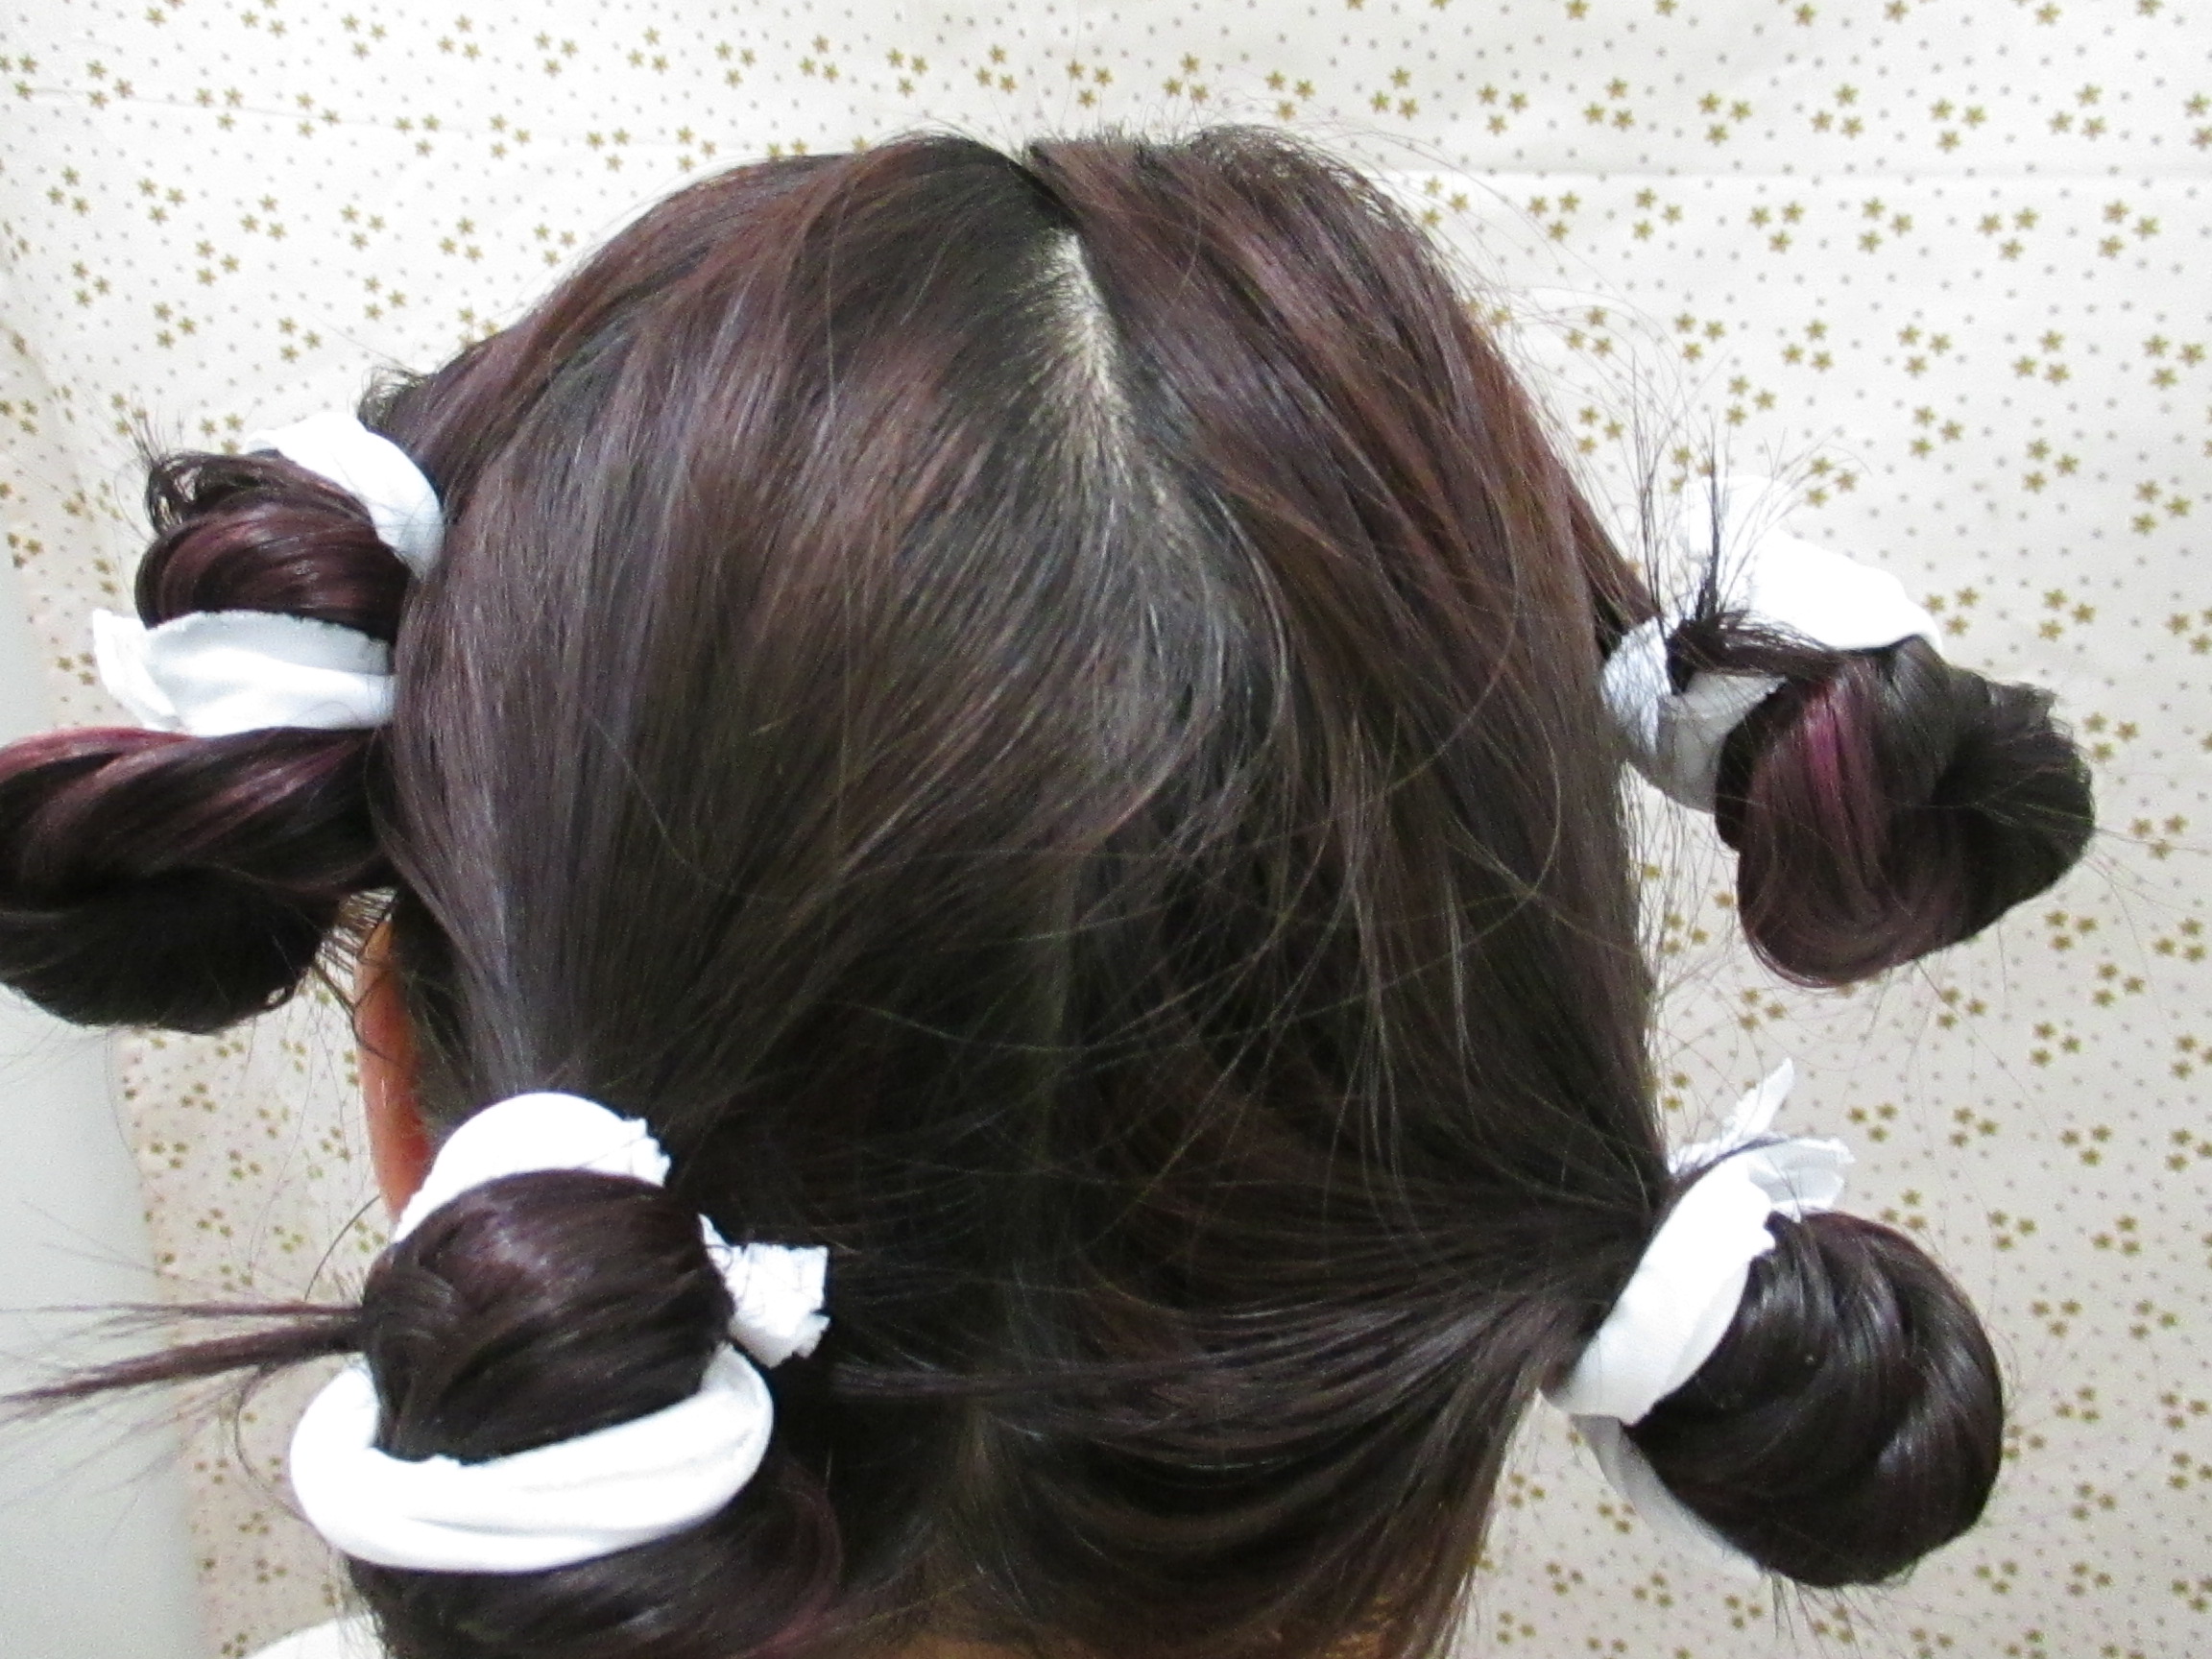
Not a pretty hairstyle at all!  But do at at night when no one is looking!  I made my own scrunchies!
Not a pretty hairstyle at all! But do at at night when no one is looking! I made my own scrunchies!

2.  Go to sleep and let the night do its wonders. Because of a looser bun and soft scrunchies, this curling way is actually comfortable enough to sleep in.

3.  In the morning remove the scrunchies to reveal a natural curly wave, not overly done up and hot-iron looking at all!  I feel this curl looks best after 2 days, when it has had time to relax.  Enjoy the texture and wave, and don’t let anyone know your curls aren’t natural!
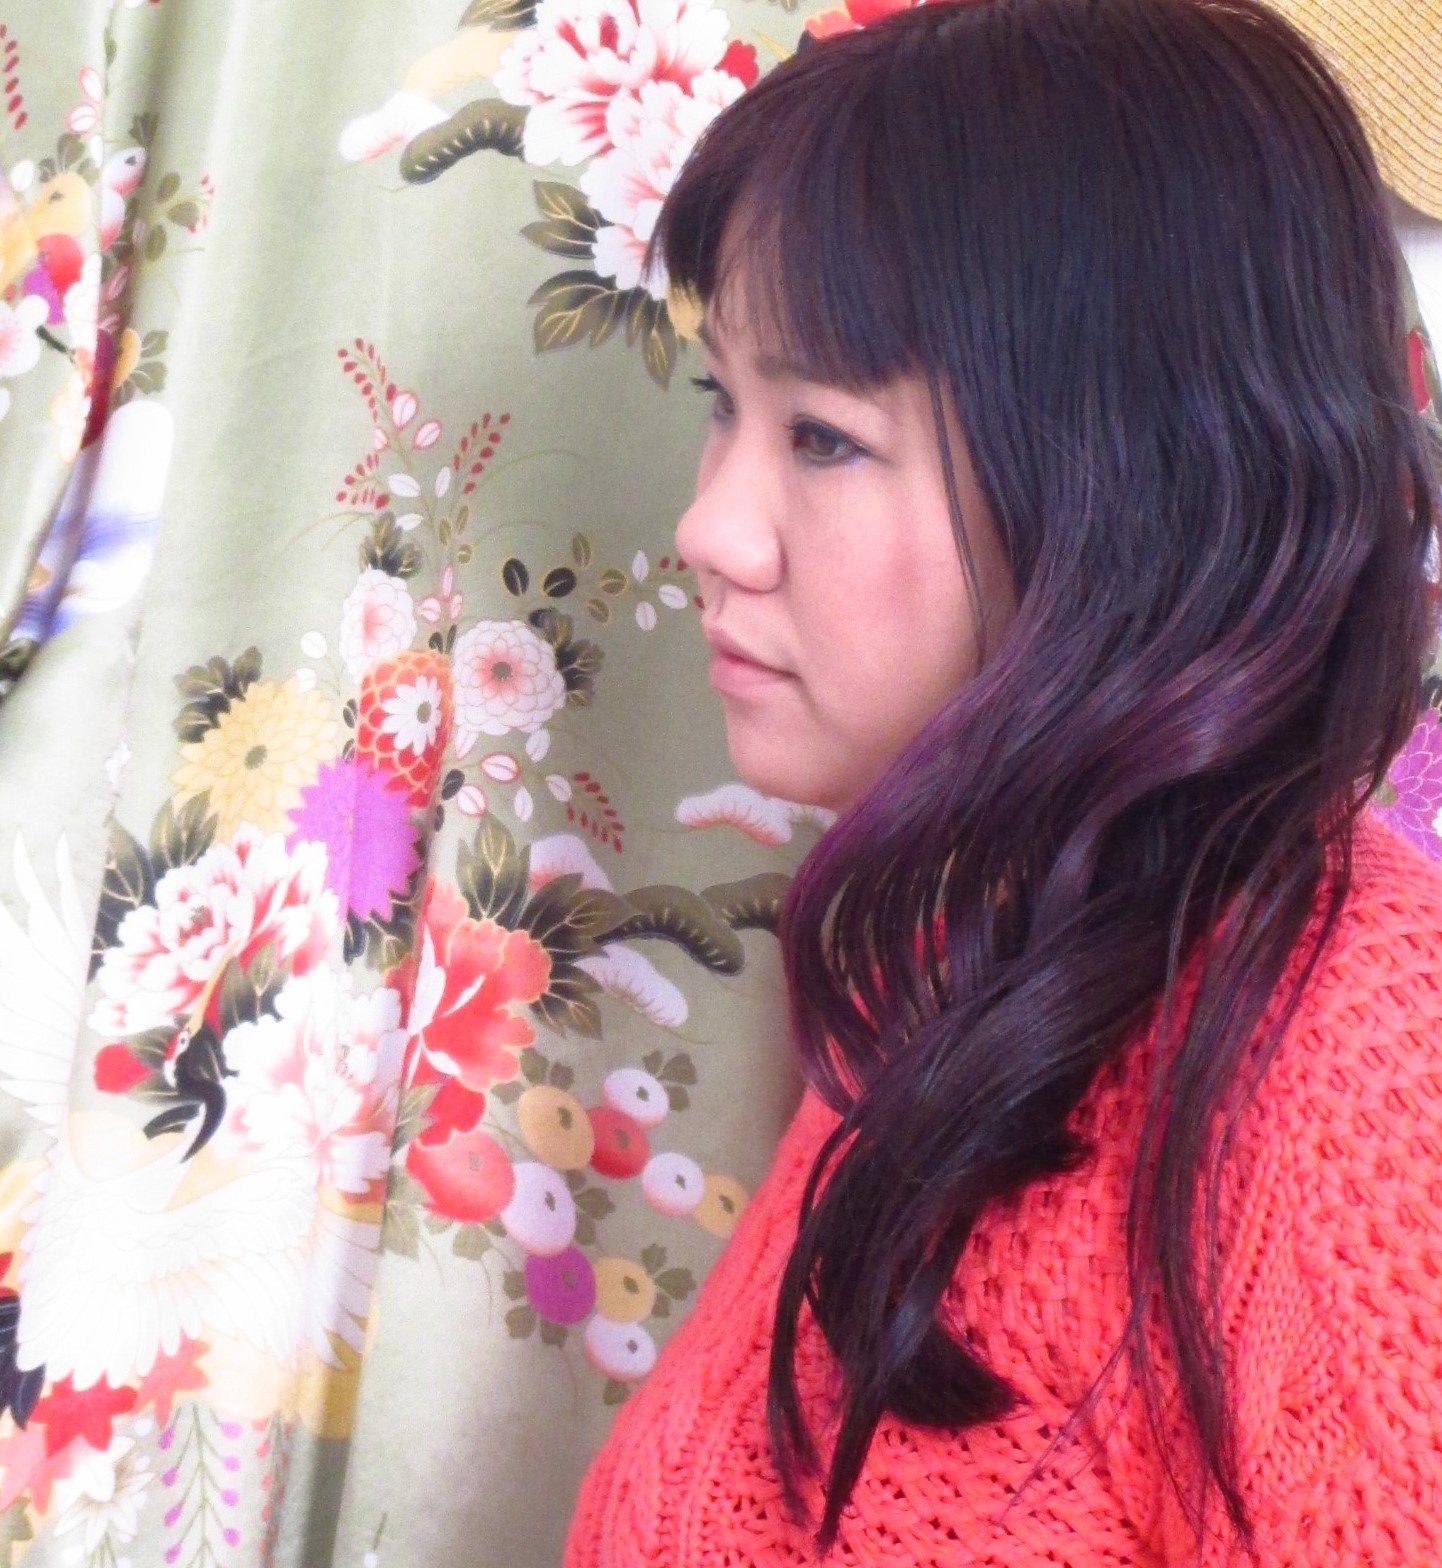
After a few days, the curls relax and look uneven and undone.  Like you fell out of bed with wavy hair!
After a few days, the curls relax and look uneven and undone. Like you fell out of bed with wavy hair!

How I got my hair to grow past that stopping point…

If you’re like me, growing really long hair these days is not a small feat.  It is terribly difficult. However, occasionally I see ladies with extremely long and healthy hair, no breakage, with full hair all the way to the ends, and I don’t know how they did it.  Because my own hair seemed to be stuck just below shoulder length for so many years, I thought that it was at its maximum growth length, and that the hair actually stopped growing then.  This puzzled me, because my roots would keep growing, and I would re-colour them often, but the ends of my hair were always feathery and thin, and hit the same spot below the shoulders.  I finally thought to myself, it had to be something else happening, because hair doesn’t stop growing.  And even though I couldn’t really see it happening, it had to be that the ends were self trimming themselves by breaking off when I wasn’t looking.  And that was why I constantly had to wait a year for a centimeter of growth!  One visit to an over enthusiastic hair dresser, and any length I had gained would be gone, and my hair would get even shorter.  It doesn’t help that my hair is naturally super dry, it makes aged hair ends very brittle, and break off.

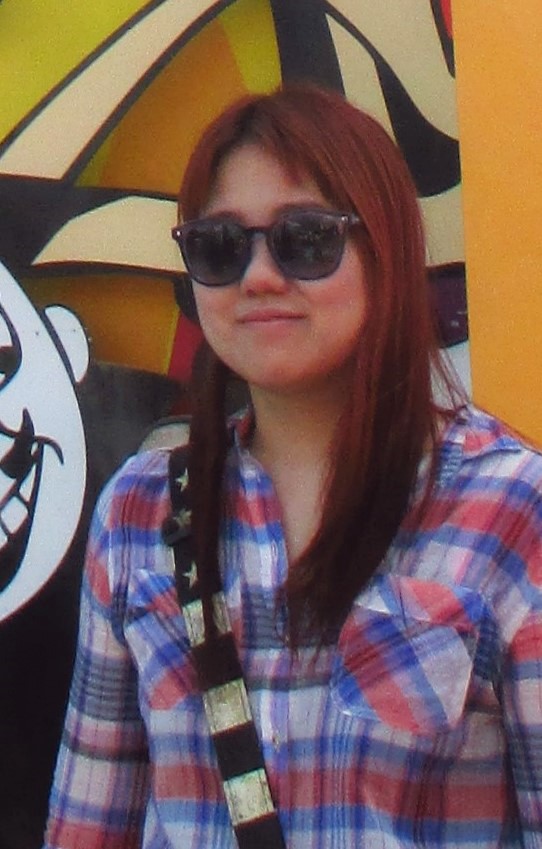
I didn't really like my hair length six months ago.  I started using a wide tooth comb then to see if it would help it grow thicker and longer...especially on the ends...
My hair isn’t really that short in this photo, but this was my stopping point.  It would never grow past below the shoulders!

Not that there is anything wrong with short, or medium lengths.  I’d really love to try a wavy, layered bob one day, but not until I conquer some super long locks and defy what I thought was my stopping length.  There is just something romantic and overly feminine about long, wild unruly hair.  Another reason I’m not cutting my hair short is because if I ever get married again, my bridal hair-do has to be super long for drama, and to show it’s something I worked for…and trust me, growing hair is a lot of work. (a metaphor for getting engaged and a successful marriage, perhaps? Nah.)

Tips for bettering/helping hair growth!

1. SATIN.  Okay, so I’ve always loved my luxurious-feeling satin bed sheets that I got from Urban Outfitters on sale years ago.  But I love them even more now, since I read somewhere that rubbing your hair on cotton sheets while you sleep can cause breakage.  If you don’t have satin pillowcases and sheets, I heard that a silk scarf on your pillow case works just as well.  Sounds a little crazy, but who knows, it might work.

2.  Get yourself a wide toothed comb.  I was using all these thick hair brushes, with rough bristles for the longest time, and seeing huge amount of hair collected in the brushes after I comb.  Common sense spoke to me that a big part of my hair growth was being thwarted by dense brushes.  I now comb gingerly over knots and kinks with my wide-toothed comb that is low tech, and wonderful.  It only cost me a dollar at the local barber supply.

3.   Condition like CRAZY.  Go further than using a conditioner labeled for “dry hair” by adding coconut oil and honey to the conditioner to amp it up.  I wrote an article about this once, so click here if you want some inspiration on that topic. Also use a leave-in conditioner/oil.  I love, love to use organic coconut oil.  Softens your hair so much and smells heavenly…apply to the ends and midshaft daily to discourage breakage.

4. You have to BABY YOUR HAIR.  Don’t do anything to it that may make it stressed out.  No teasing, no hairspray, nothing that causes tangles.  No harsh chemical treatments such as bleaching or perming.  Braid it or put it in a bun, if it is bothering you, so that it stays protected and out of your way.  Limit the shampooing you do to it.  Invest in a good dry shampoo, or better yet make and use your own dry shampoo.  The less your rub it, the better.  Don’t tug on it, and just treat it well.  And in 3 months you should notice a difference in fullness and length, I really did.

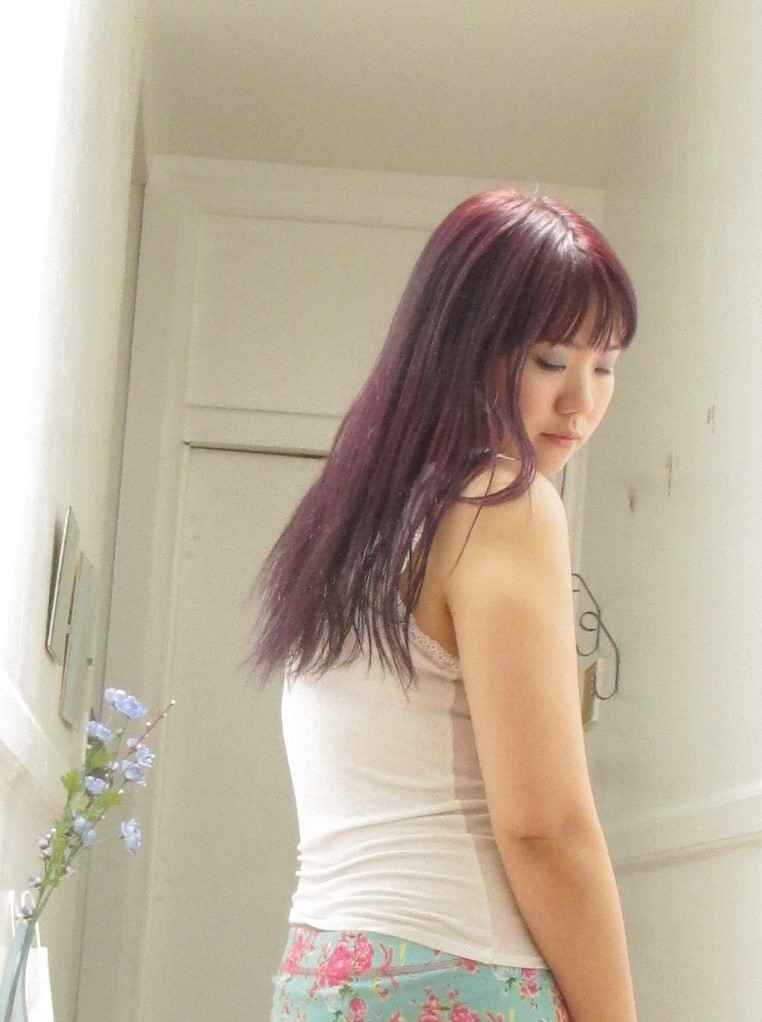
Here I am showing off the length of my hair.  It grew about two inches in six months.  That is with trims occasionally so it's actually good!
Here I am showing off the length of my hair. It grew about two inches in six months. That is with trims occasionally so it did grow a lot! 🙂


Movie inspiration: Makeup from the “Flowers of War”

I’m not very political.  Well, not from being shamefully ignorant of current everyday world matters, but by choice.  I am individualistic, and things that move me are personal and internal.  But I recently watched a movie called The Flowers of War, which came out in 2011 about the atrocity that was the Japanese occupation of China in 1937 during WWII in the city Nanking. There was a lot of violence and rape during this invasion, and the Japanese Imperial Army was painted as sub-human, and most heinous in this movie, attacking the innocent civilian women of China with dehumanizing rape and murder. Any female was a target, even school children… The premise of the movie is that women from the two most farthest social groups: school girls 13 years of age and prostitutes from the red light district, are thrust together while hiding out in a Swiss Catholic Cathedral, trying to keep their lives, while being led and aided by an American posing to be a priest.  It’s based on terrible events, but one that needs to be heard.  My family background is Chinese, and it hurts me deeply to learn about how savage the attack was on the city of Nanking.  Without putting too much blame on the Japanese, I still can’t believe how one Asian nation can rape and pillage another Asian nation with such ferocity and dis-compassion.  I will forever be scarred knowing this war actually happened.

But politics aside, I really loved the fashion and make-up in this movie. The actresses playing the prostitutes in this film really “brought it” in terms of vintage Chinese make-up and fashion.  The times were sad, but the visual feel of these glamorous women were not.  If Western culture is guilty of objectifying and overly feminizing Eastern cultures in the past, this movie totally justifies it.  So many beautiful Chinese actresses, so much wonderful fashion and make up looks.  I examined the looks in this movie and was inspired to create my own modern day Chinese prostitute make-up to beguile and enchant here in present day North America.

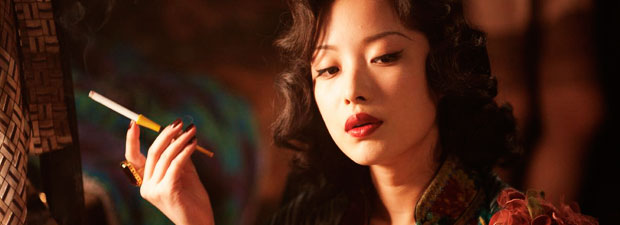
The hookers were well spoken and smart in this movie, without sacrificing their femininity.
The hookers were well spoken and smart in this movie, without sacrificing their femininity.  Look at their gorgeous make-up palette!  Minimal, but so striking.
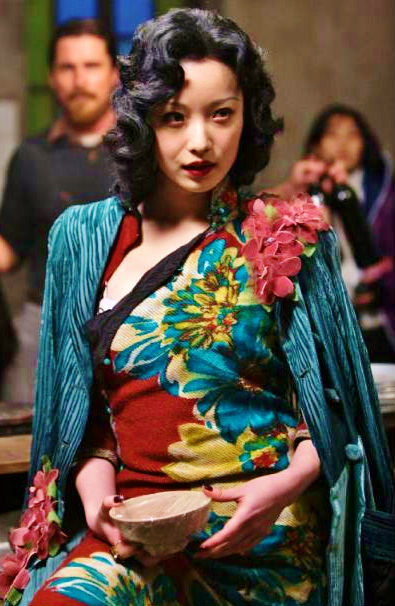
Ni Ni as Yu Mo in The Flowers of War (2011).
Nothing dreary about the colourful fashion of the times. The star actress Ni Ni wears this vintage dress with the confidence only a real lady can possess.

How I made my version of the look:

1.  Thin eyebrows. Vintage Chinese make-up had the thinnest eyebrows possible, lined to perfection.  Update it by perfectly grooming your brows, a bit on the skinny side.  Not a hair should be out of place.  Line and fill with brow shadow.

2.  Thin and exaggerated black liquid liner on the top eyelid.  Make it fluid, make it thin and as pointed high as you can go, without looking too pronounced or prostitute like.  After all, we want to be inspired, but we don’t want to look like a 1940’s hooker.

3. Lightly line the bottom eyelid or skip altogether.  I still want to line the bottom, even though in the movie, the bottom eyelid looked bare and bright.  I think bottom lining is important to make your eyes pop.  But lightly line so that the star of the show is the top lid’s liquid liner.

4.  Minimalist eye shadow.  This is important…because the star of this make-up is the exaggerated liquid liner, the eye shadow should be barely noticeable, but still important, to create a look of polished elegance.  I used a slightly tan shadow on my top lids to give warmth while staying true to this vintage look.

5.  Red, red lipstick. Or tinted red lip balm.  Whatever you are comfy with!

6.  What do you think?

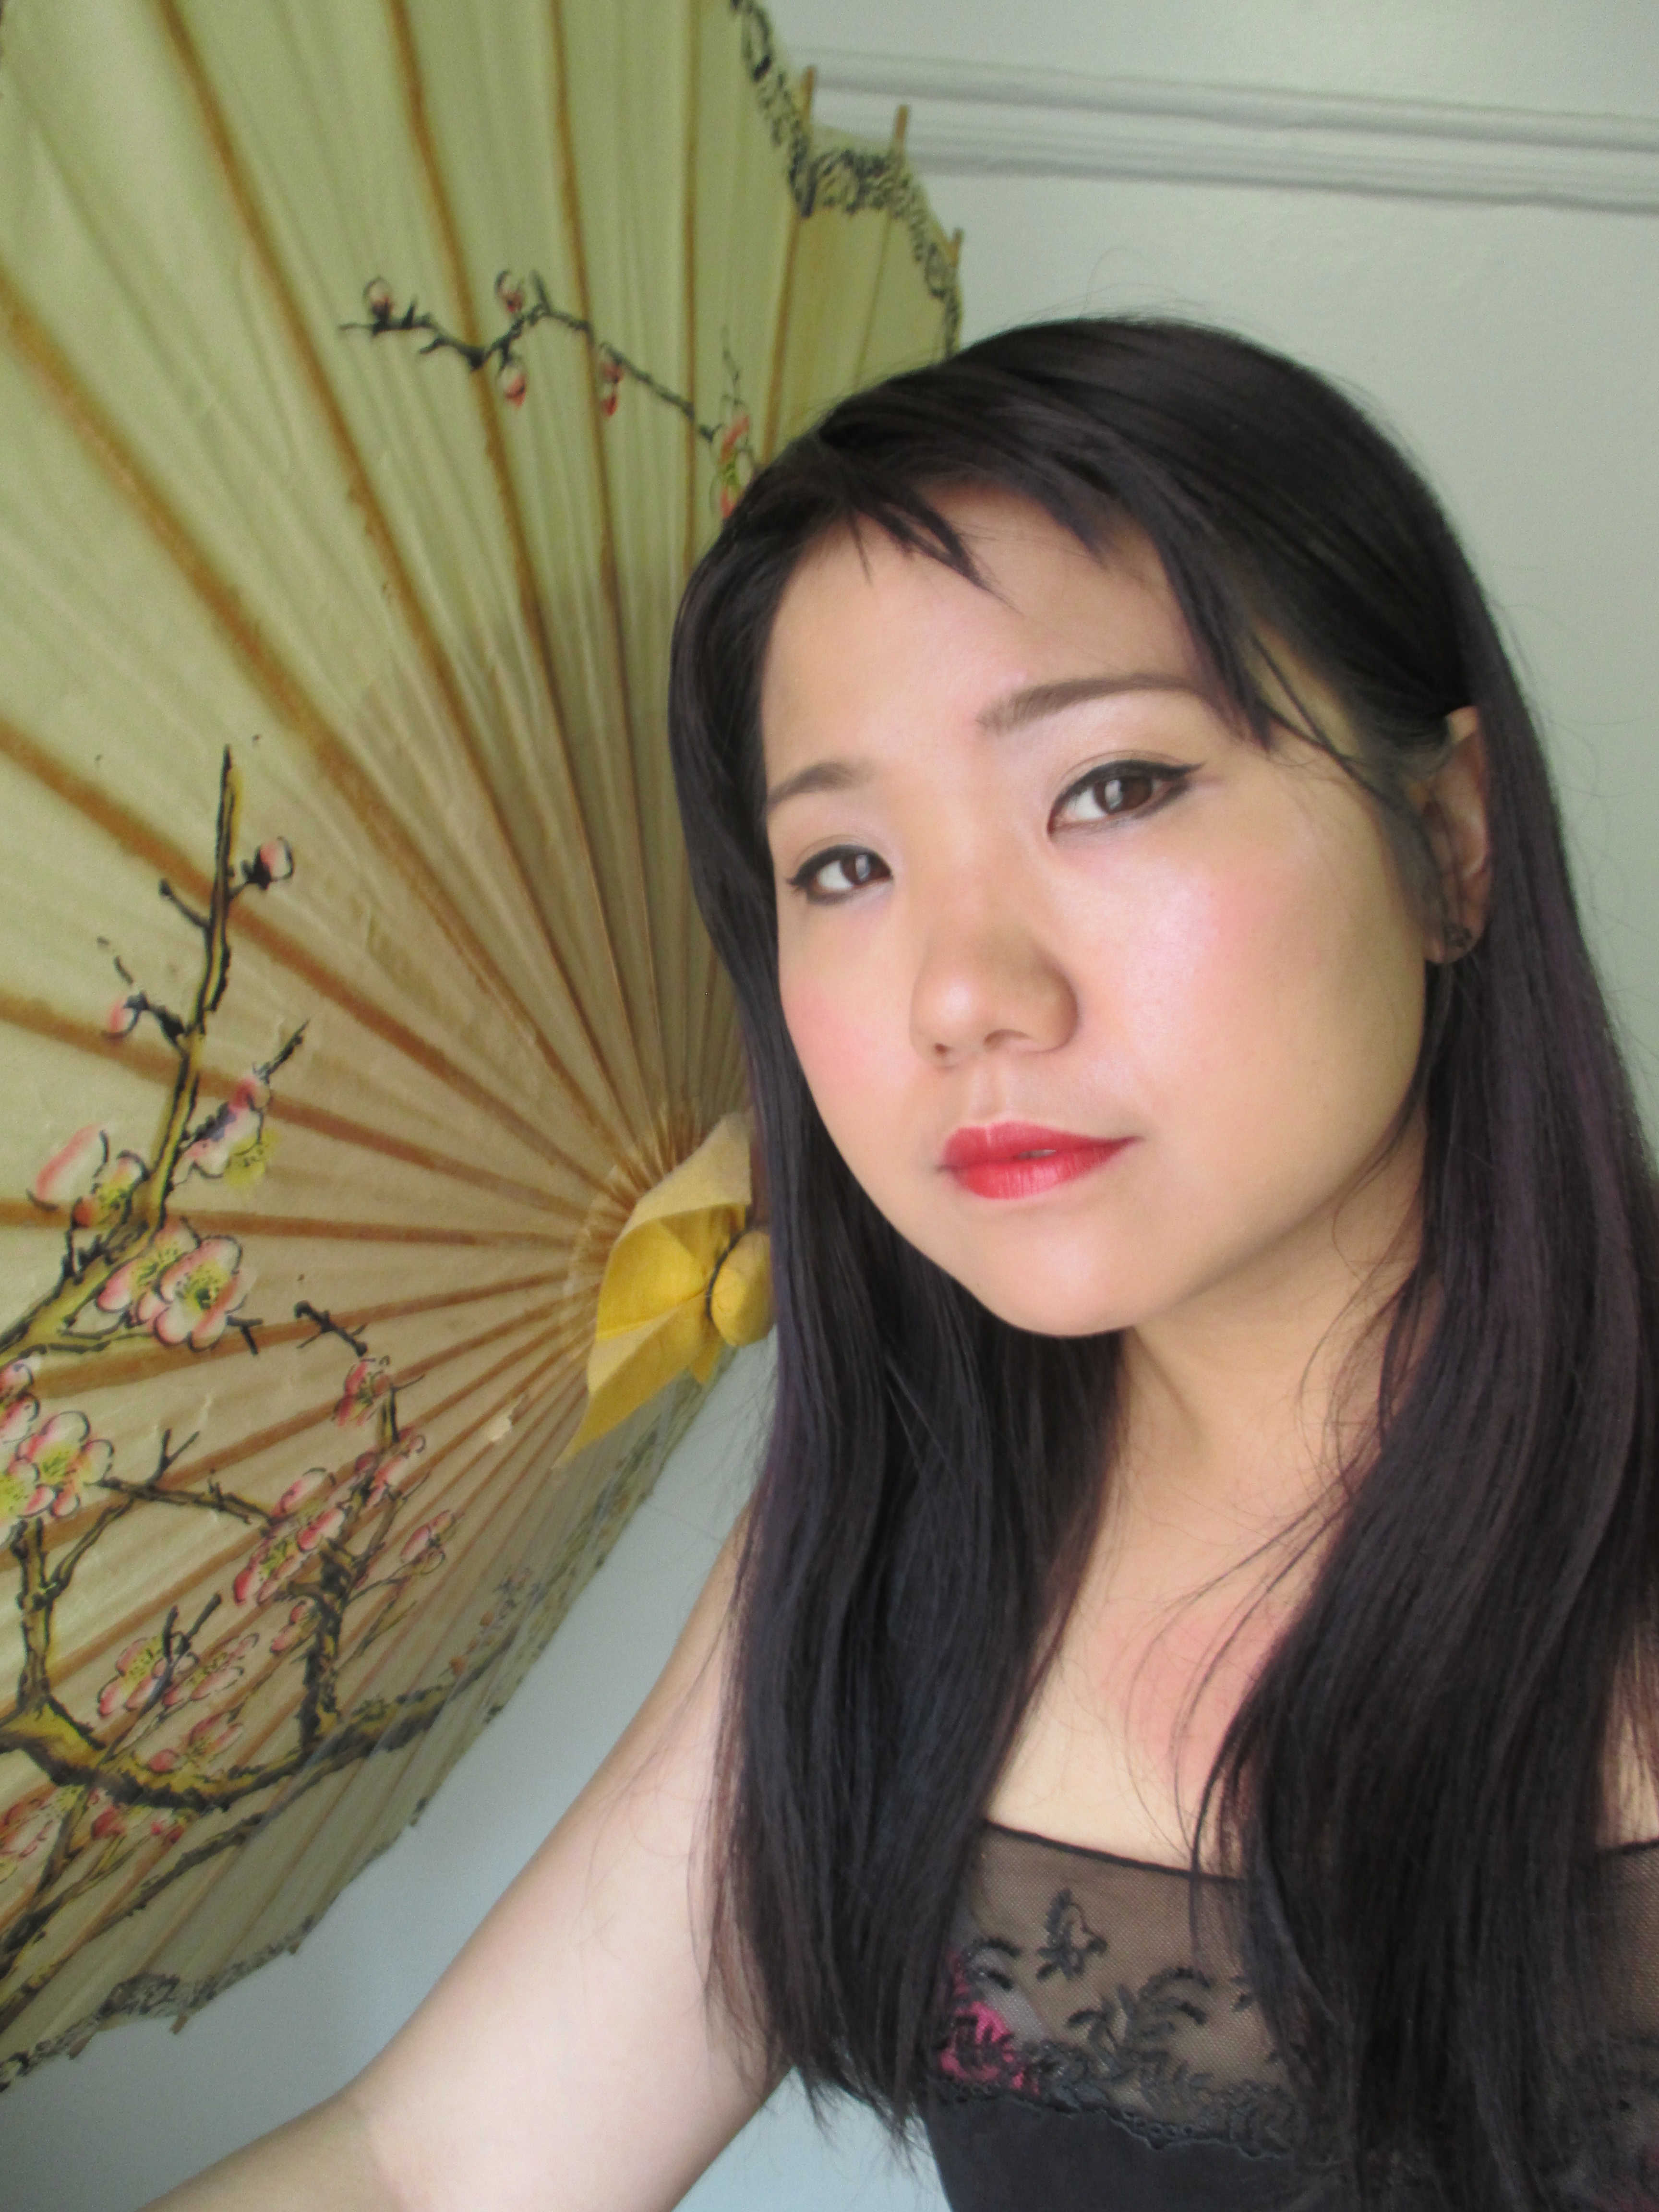
This is my take on this movie inspired make-up.  Not as amazingly stunning as Ni Ni’s, but passably pretty for day to day?