Going from Work to Party: Fashion/makeup hacks

So you have an event coming up at 6:00 and you’ve been working all day and are far from feeling like a model. After the recycled air, computer screens, standing/sitting and fulfilling the demands of clients/employers; and all the stresses of whatever work environment you are in, the bottom line is you’re pooped. And you probably look it too. Not exactly fun to have to scramble home, freshen up, change your clothes and touch up a make-up application that has long expired since the morning when you put it on. It is looking more like an oil slick, than prettily powdered, and well, you’re not exactly feeling primped and ready to go after work in general.. What to do? Let me share with you a few hacks that help me, when it comes to feeling glammed up, rejuvenated and able to face the world, whether for a date, a party or event when you don’t have a whole day to preen:

1. Skip putting on make-up in the morning and just moisturize heavily and allow your skin to soak it up all day. Make-up is drying to the face, which is why skin produces so much excess oil by nightfall. By not wearing make-up during the day, your face skin can breathe. Then you can do your make-up before the event after a quick face rinse or toning, for a fresher application.

2. Dry shampoo is your best friend. Hair gets limp and oily throughout the day. There is no time for a shampoo in the shower, but a little bit of dry shampoo will make sure that by night fall, it looks like you just got a blow out.  I like to do it the night before to make sure hair is not too powdery with residue from the dry shampoo, but if you have really greasy hair, during the day works fine too. Just shake it out lots when you’re done. Check out my article on how to DIY a dry shampoo.

3. Drink lots of water. Dehydration not only dries out your skin, but it also causes water retention, tired puffy eyes, and a look of fatigue in general. Aim for at least 2 litres during the day, especially after coffee. Having a nice hot herbal tea flushes out toxins and helps you de-stress so definitely try that.

4. Pre-plan your outfit. Believe it or not, even if you kinda know what you are going to wear, you don’t. Something you pictured working can suddenly look out of place or odd: ie a skirt your thought would match doesn’t, a sweater/top is too see through, (or not see through enough!) Put on the things the night before so that after work you are ready to go.

5. Over pack your arsenal: Unless you have time to go home (which you probably don’t) Bring all your trade secrets to work to use before leaving: perfume, hair spray, culing iron, straightening wand, combs, hair clips, lotion. Don’t be afraid of looking high maintenance with having to carry a huge bag to the event. Just leave everything at your workplace/office in a discreet bag that is in nobody’s way, and pick it up on your next shift…while you go out with the tiny purse that says you didn’t have to work at it!

6. Eat little meals through out the day. Nothing is grosser than feeling bloated and tired after eating a big lunch, having to digest that, and then topping that off with a big snack at the end of the workday too. Eating small meals through out the day makes your energy better, and lets you not have spiking sugar levels that add to fatigue. Also, it prevents you from getting too hungry so that when you are out, you don’t binge on food.
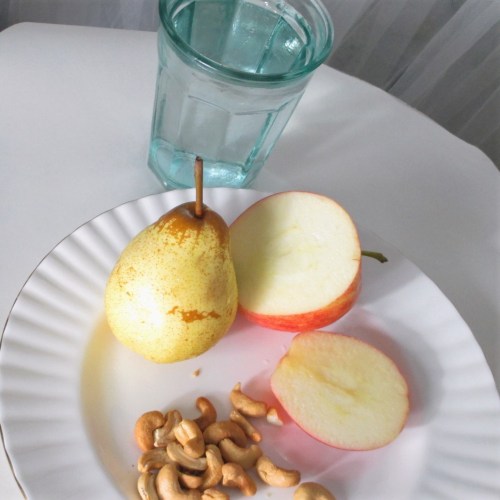
Is this not a yummy sight? Fruit and nuts and water make a great snack on busy work days leading into a night event. They are easy to digest and cause minimal bloating.

7. And the number one tip to looking your best in the least bit of time? Just make an effort to take care of yourself daily, event or no event. Have nice manicured hands, moisturized skin, brush your hair and your teeth. Always eat well and drink lots of water. When you are making self care a habit then the odd times that you have to hustle to glam up for a date are that much easier….because you are often looking your best anyway!

Just before an event I had to go to…and yes, I ate the heck outta that pear!

Doing your own nails…why it’s better…

I’ve had a long relationship with doing my own nails. Ever since I was a teenager, searching for the trendiest colours, whether it be gun metal black, or a candy inspired pastel-y blue; it’s been something that as a nail art enthusiast, I’ve known all about. As a teenager, I didn’t really have the cash or the need to go to a salon to get my nails done…and as much as the thrill of getting pampered is these days now that I’m older with a ton more on my plate…one thing still stands; I want to do my own nails.  I prefer to shape, paint and design my own nails…and here’s why…

Reasons to do DIY manicures:

  1. It’s easy to do. There is a misconception that a manicurist can do it better than you. Well, maybe they are better at painting within the lines, but ultimately, all you need is: a base coat, two colour coats and a top coat. The real trick is keeping all the coats thin so they dry relatively fast…(a cool tip for setting the polish real quick? Rub each nail with coconut/olive oil for a minute after the final coat to help it set)
  2. The myth that a manicurist shapes better…this is not true. Invest in some basic nail files, coarse for shaping and fine for smoothing, and you’ll get the loveliest shapes with your nails. My go to shape? An almond shape…short on the sides and softly arced on the tips.
  3. The misconception that the quality of the polish is better: there is so much noise out there today about gel nails, seaweed nails, and all this stuff. But when it boils down to it, the salons are using the same paints that you can buy at any quality beauty supply shop.
  4. Health reasons: you can choose to buy and use formaldehyde free polishes, “three free”, and “seven free”…basically, you can get gentler products that contain less toxins in them if you really wanted to and you should for the sake of you and your nail health.
  5. Think of the health and ethical rights of manicurists/beauty workers. I recently read this scary article about how in New York City, manicures are so cheap, like less than $10 a pop, and the reason for that is not pretty: a lot of the salon workers are immigrants that don’t get paid well, and are exploited in terrible work conditions.  Not only that, but they are exposed to really toxic nail enamel solvents and chemicals and it affects the worker’s health (even their unborn babies if they are pregnant!)  I also feel like it places a big divide between more fortunate women and less fortunate ones…At the end of the day we are all people, so don’t support these back-alley nail salons.  At least go to a higher end salon that is known to treat their workers right and pay adequately for the luxury of being pampered.
Have fun with designing and creating colour combinations…I always do!

So there it is, my 5 main reasons why it’s better to DIY your manicures.  Yes, it takes more time and effort to do your own nails, but at the end of the day, they are your nails and if you want them to glow and shine…it is a creative job that should not be “outsourced”.  🙂

Movie Make up Inspiration: The Love Witch (2016)

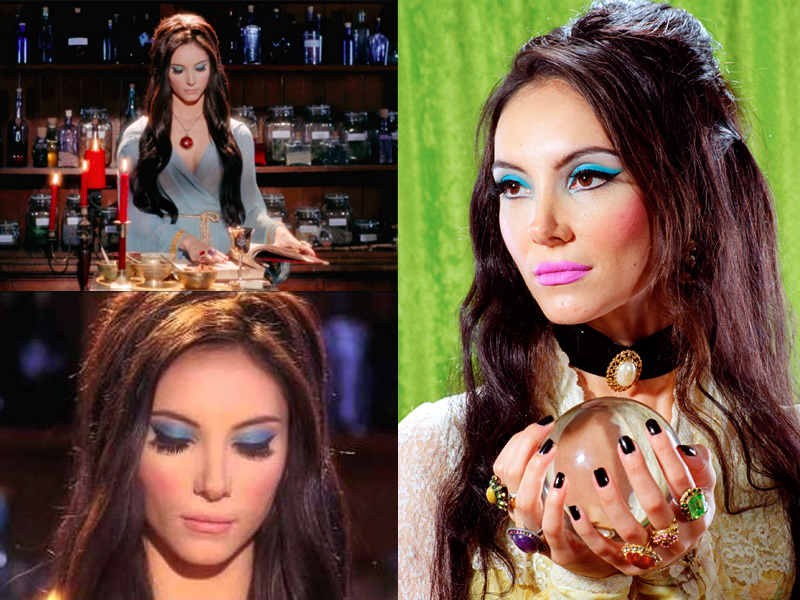
I think almost everyone knows that I like horror movies quite a bit, but what I even like more are genre b movies mixed with art house, such as Anna Biller’s 2016 feature film The Love Witch that is half satire and half homage to the campy melodramas of the 60’s.  Visually, you almost can’t tell it was made a few years ago, with its rich popping colours that compete so much with the a sharp dialogue to tell the story of love, attraction, revenge, and “magick”.  The movie centers around a young woman named Elaine, who was jilted in love by her former lovers and husband. Elain is on a mission to take control of her life by means of joining a witches coven that teaches her to use potions, rituals and magick to get rid of her abusive husband.  After that, Elaine moves to a small idyllic town to get a fresh start, and to also find “love” by any means, including seducing and casting spells on the local men.

Spellwork and bold colours make this film a magical delight to look at.

I adore how the movie is so female centered and encourages that we sympathize and root for the femme fatale protagonist who is also over whelming her victims, um, I mean “dates” with her powerful magic–to the point to death sometimes…But is it her magick at work, or just the craziness of love in general?  Treat your senses to the richness of it’s look, and then decide for yourself.  Is it inherently feminist, since it is about a women deciding to control her love destiny, by any means? Or sexist since she uses her foxy looks to get what she wants?  It’s all up for debate, but one thing is for sure, The Love Witch can also stand alone for a piece of visual art.  And I am just digging the fashion and the make-up!  That retro/vixen/glam/goth look is soooo gorgeous.

Samantha Robinson plays a young witch, the love seeking Elaine. I have a crush on the hair, make-up and fashion she dons in this movie.

How to get this retro glam make-up:

Step 1: Prep the face:

This look requires smooth, creamy even pale skin.  Almost porcelain like.  I find bb creams to do the trick since they often lighten your skin tone and give you a really matte finish. (most do at least, don’t get the “dewy” kind).  Set bb/foundation with a light powder.

Step two: Define eyebrows:

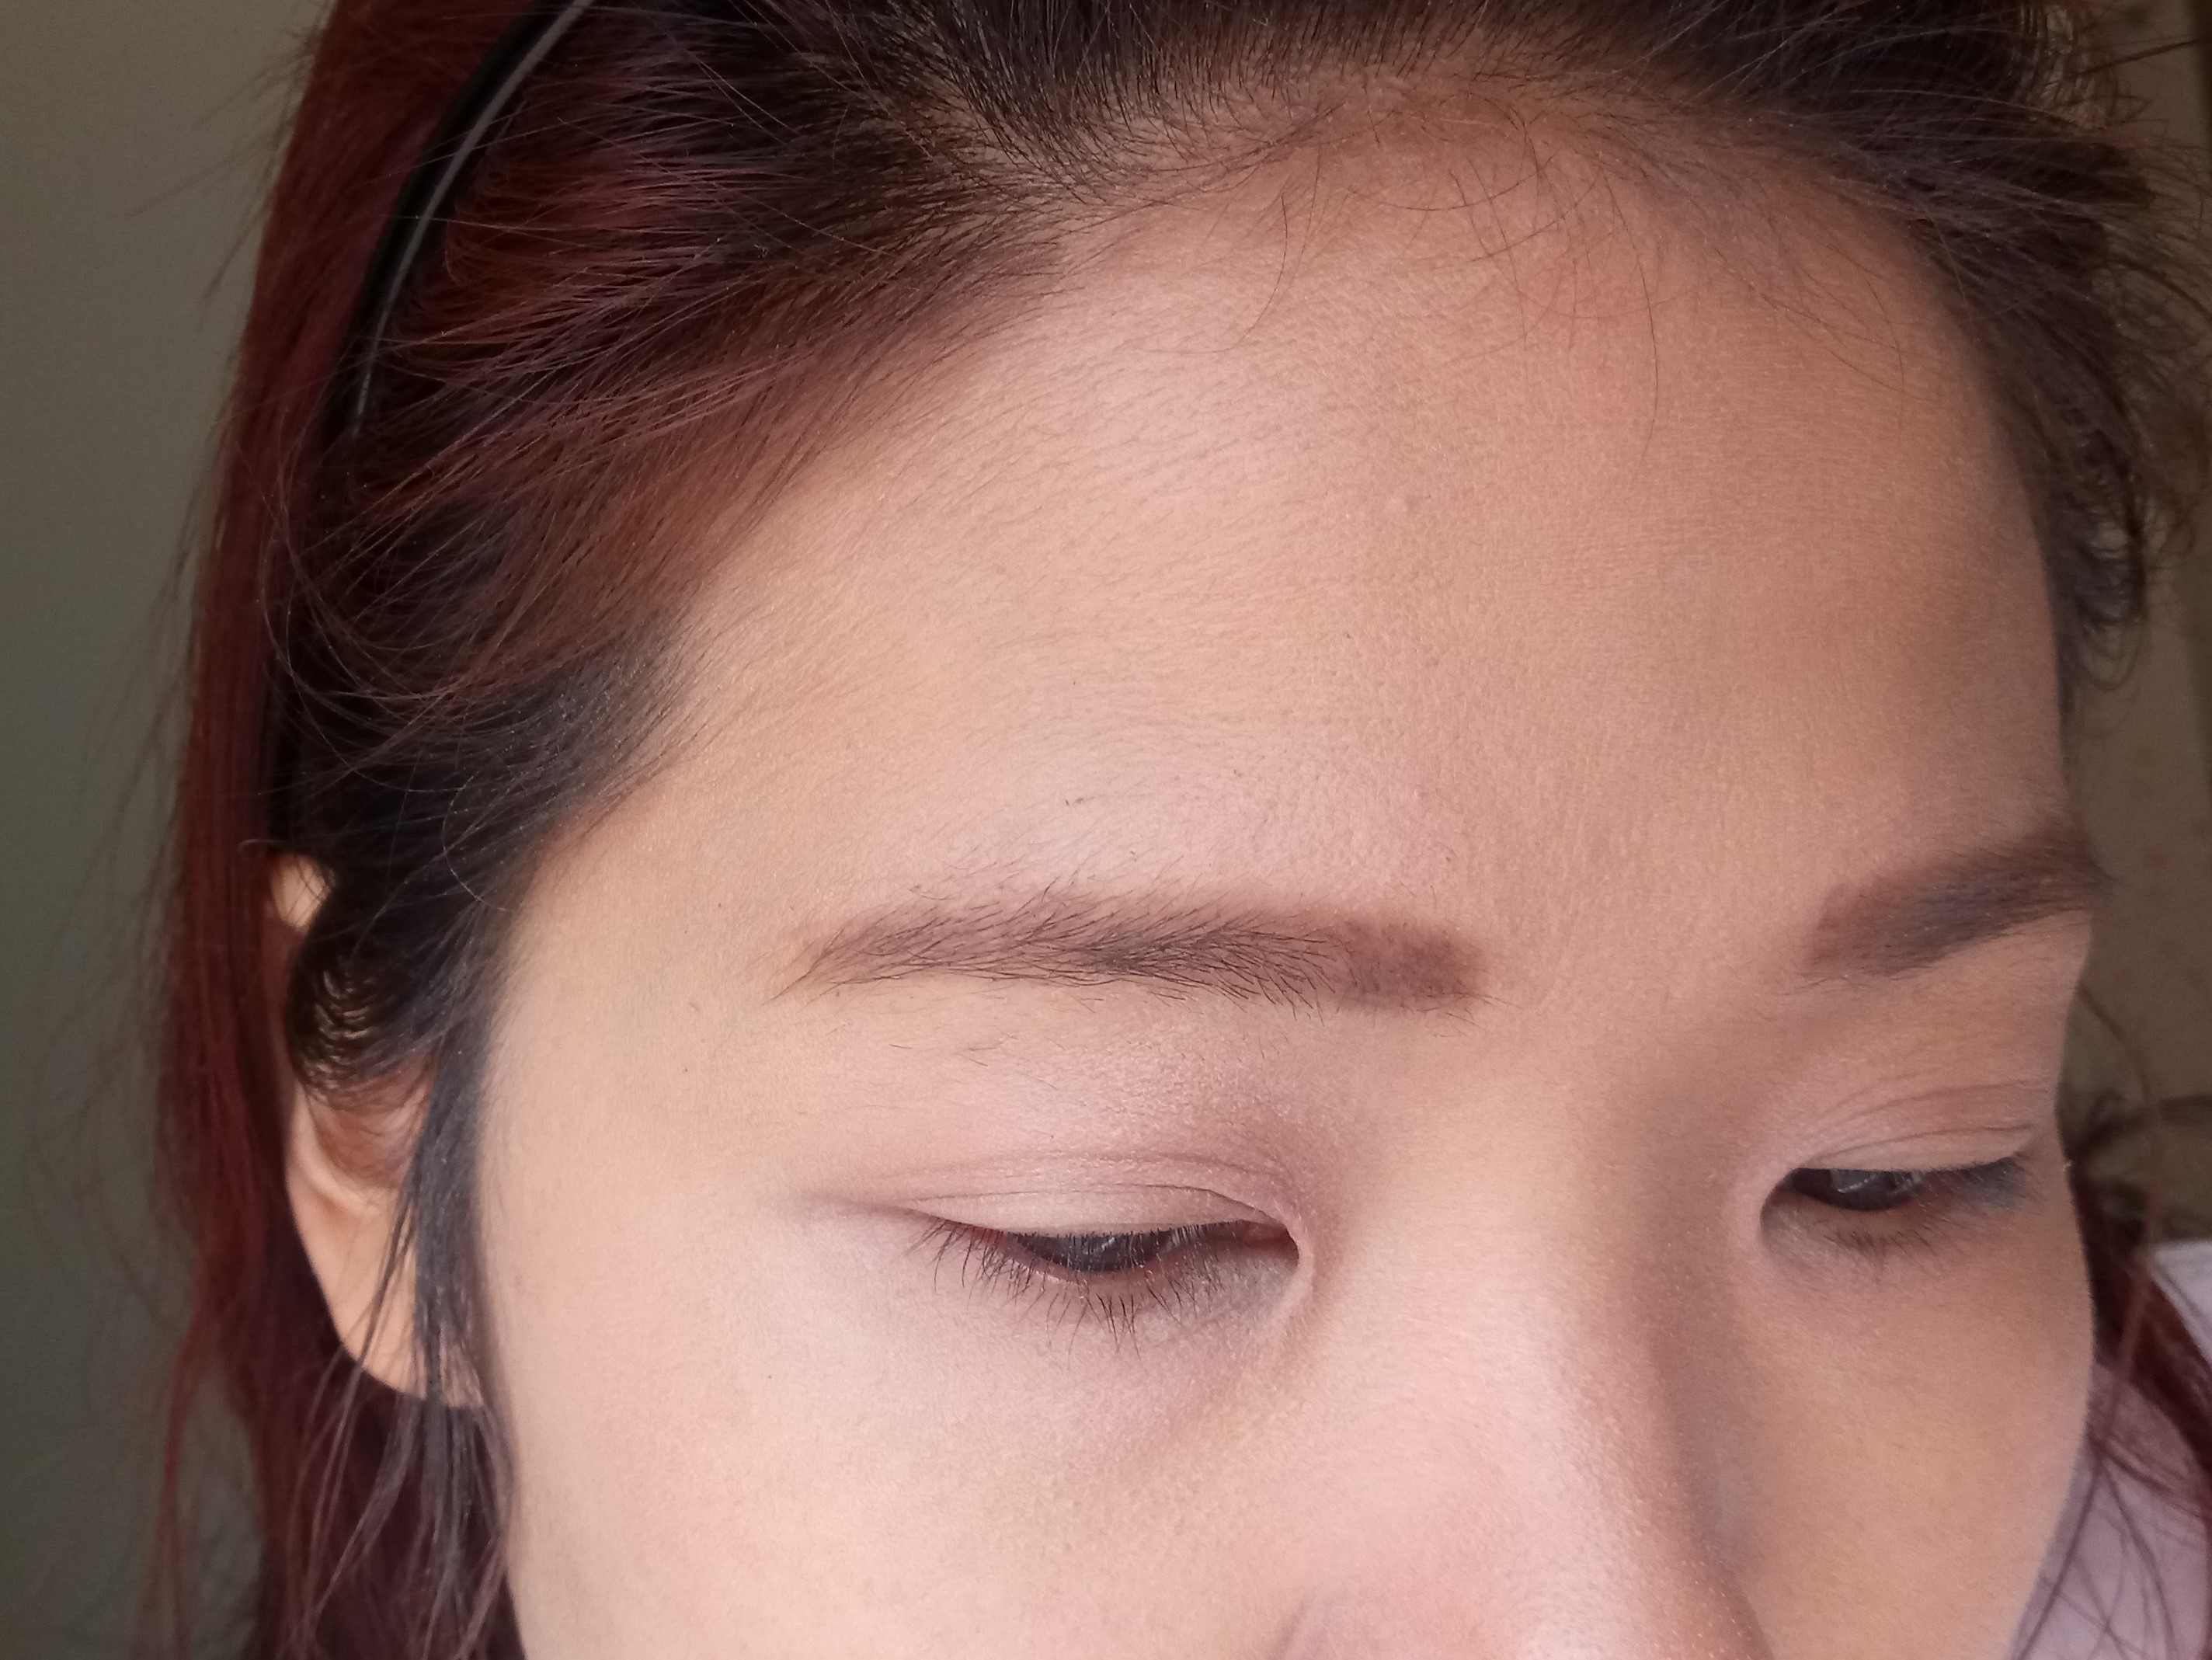
They should be as dark as your hair, slightly defined, with medium thickness, softly blurred with a eyebrow comb. Draw them with a slight arch, to give a bit of retro drama!

After prepping face, I drew in my eyebrows with a soft brow pencil. make sure you comb it to get it even as possible.

Step three: Find a pretty turquoise eye pencil or high pigment eye colour

Powder eye shadows will not work, because they are too subtle.  You wont be able to see a turquoise coloured powder on your lids, since your skin tone also kills some of the blue/green colour. Instead of using heavy primers and shadow bases on your lid, simplify by finding a soft eye pencil in the right colour.

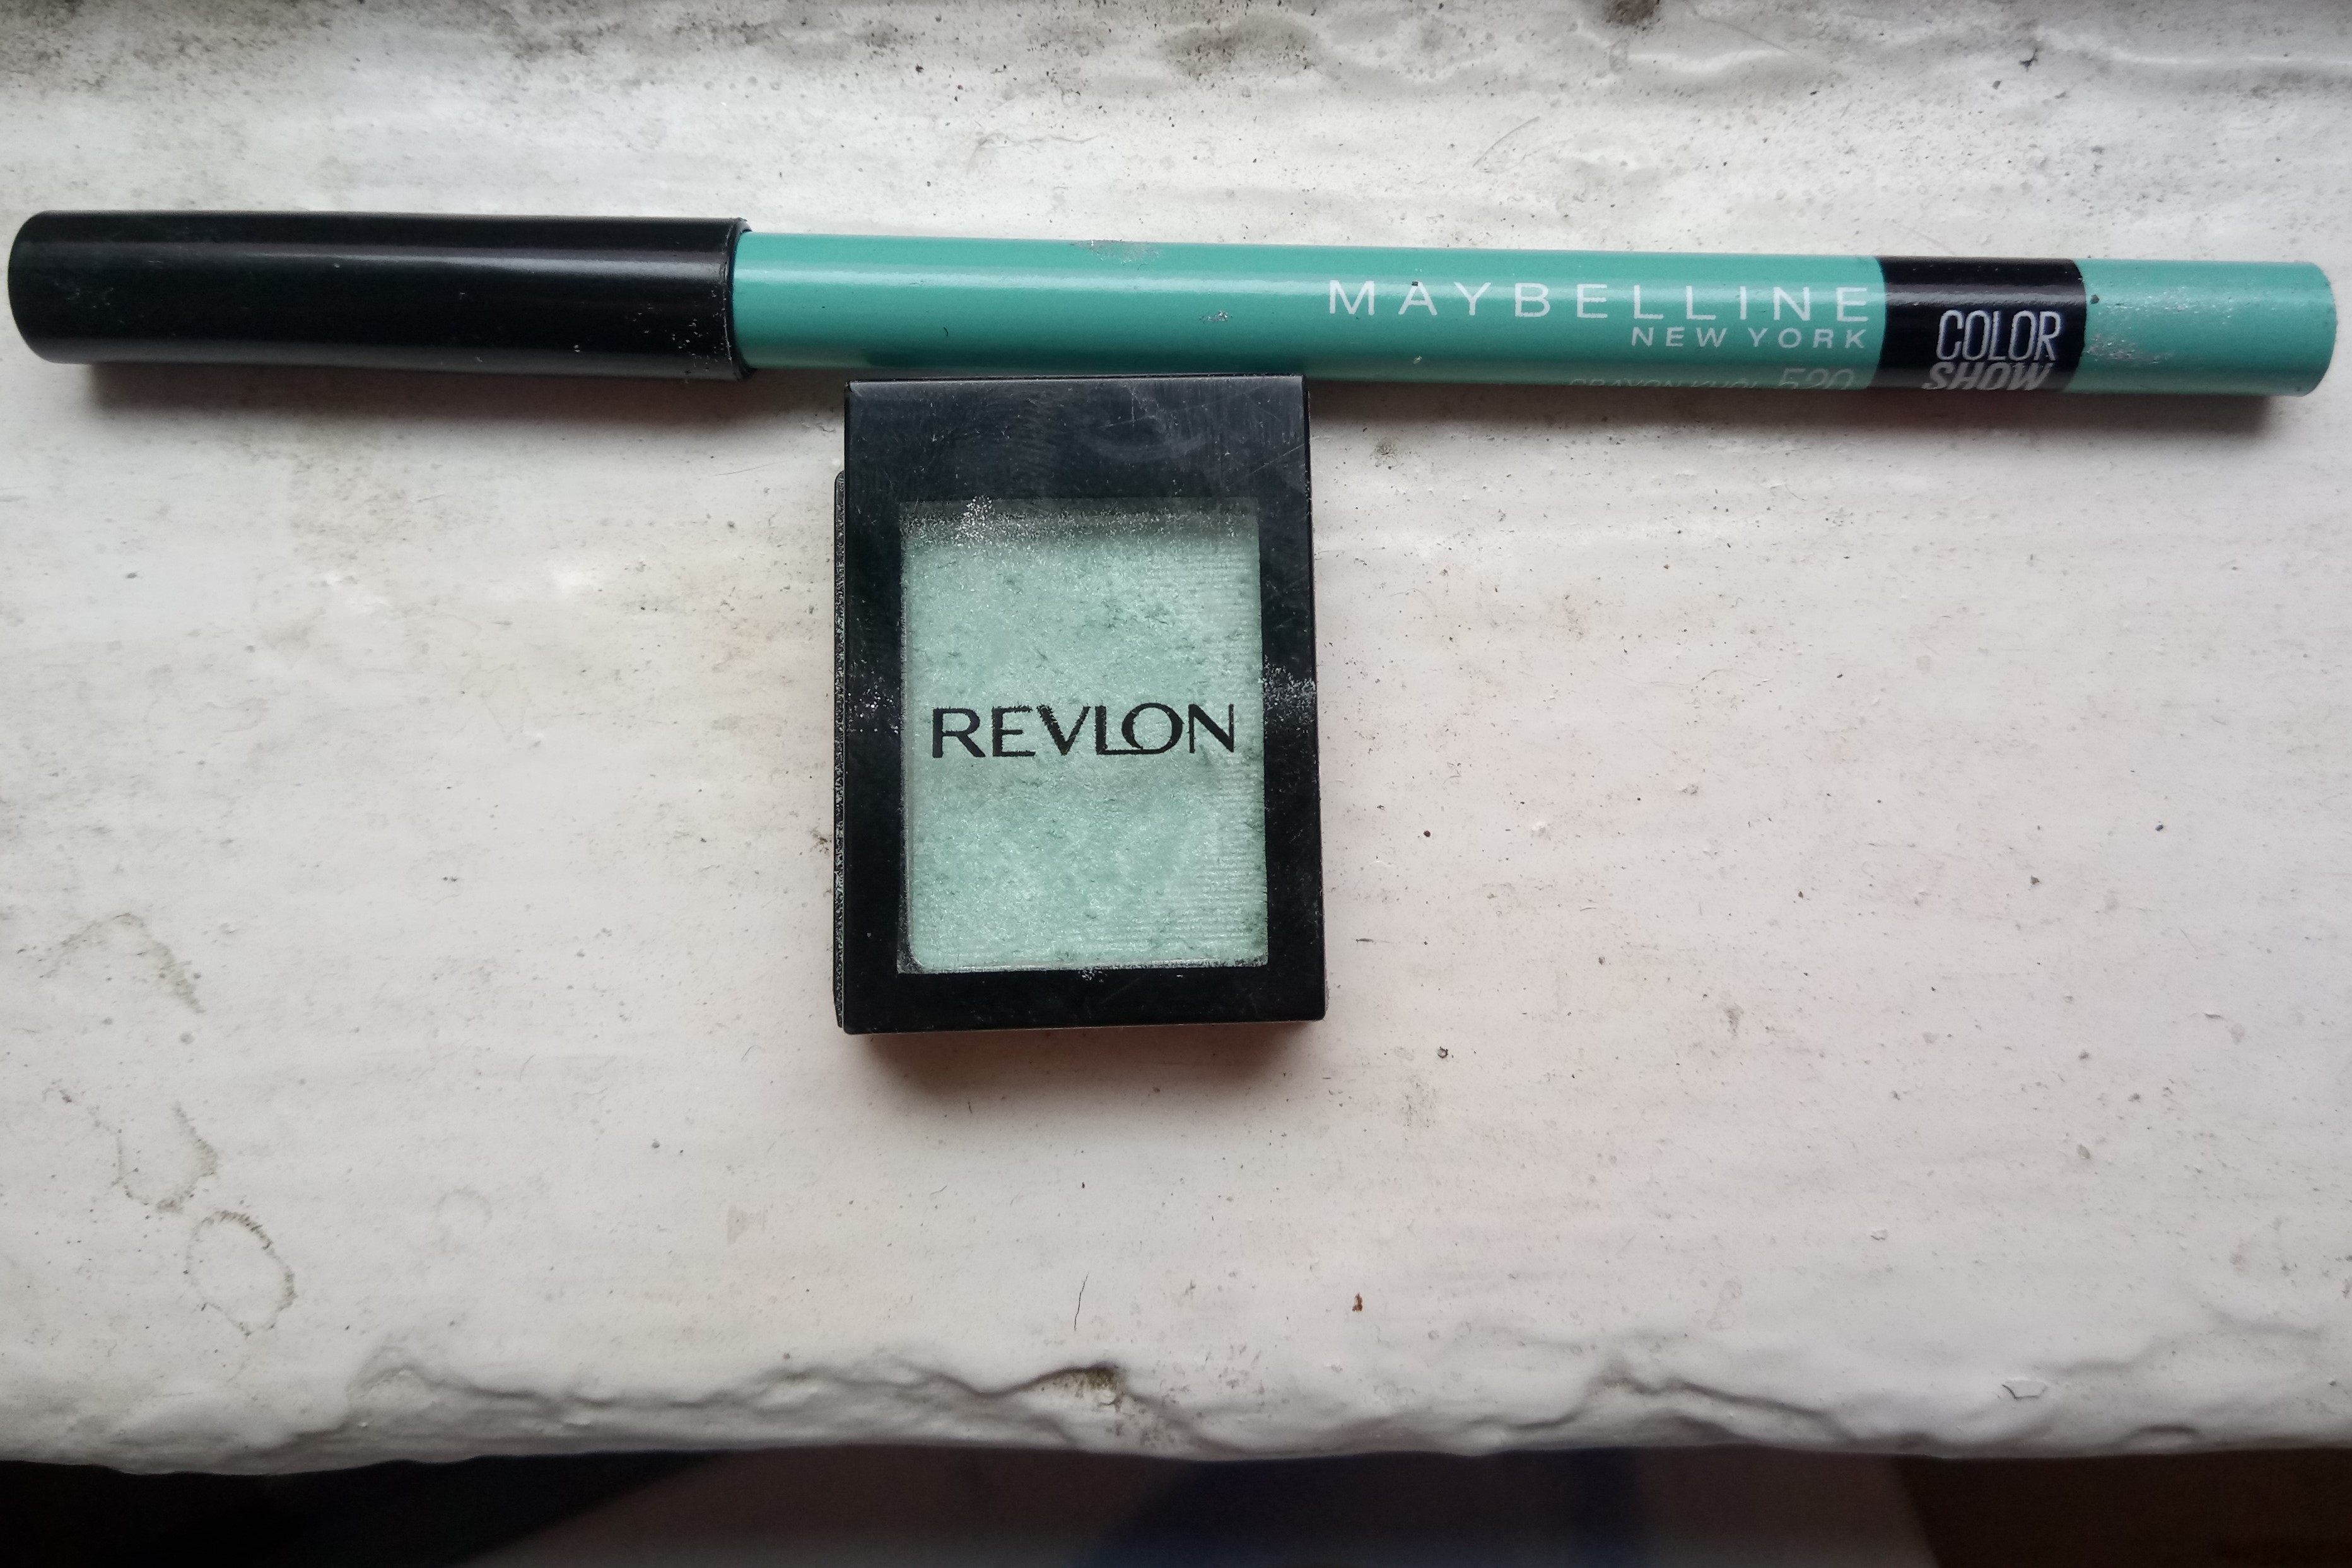
This is the pencil I found and it’s a gorgeous celedon colour, slightly lighter than the torquoise that the love witch uses…the shadow is to set it.

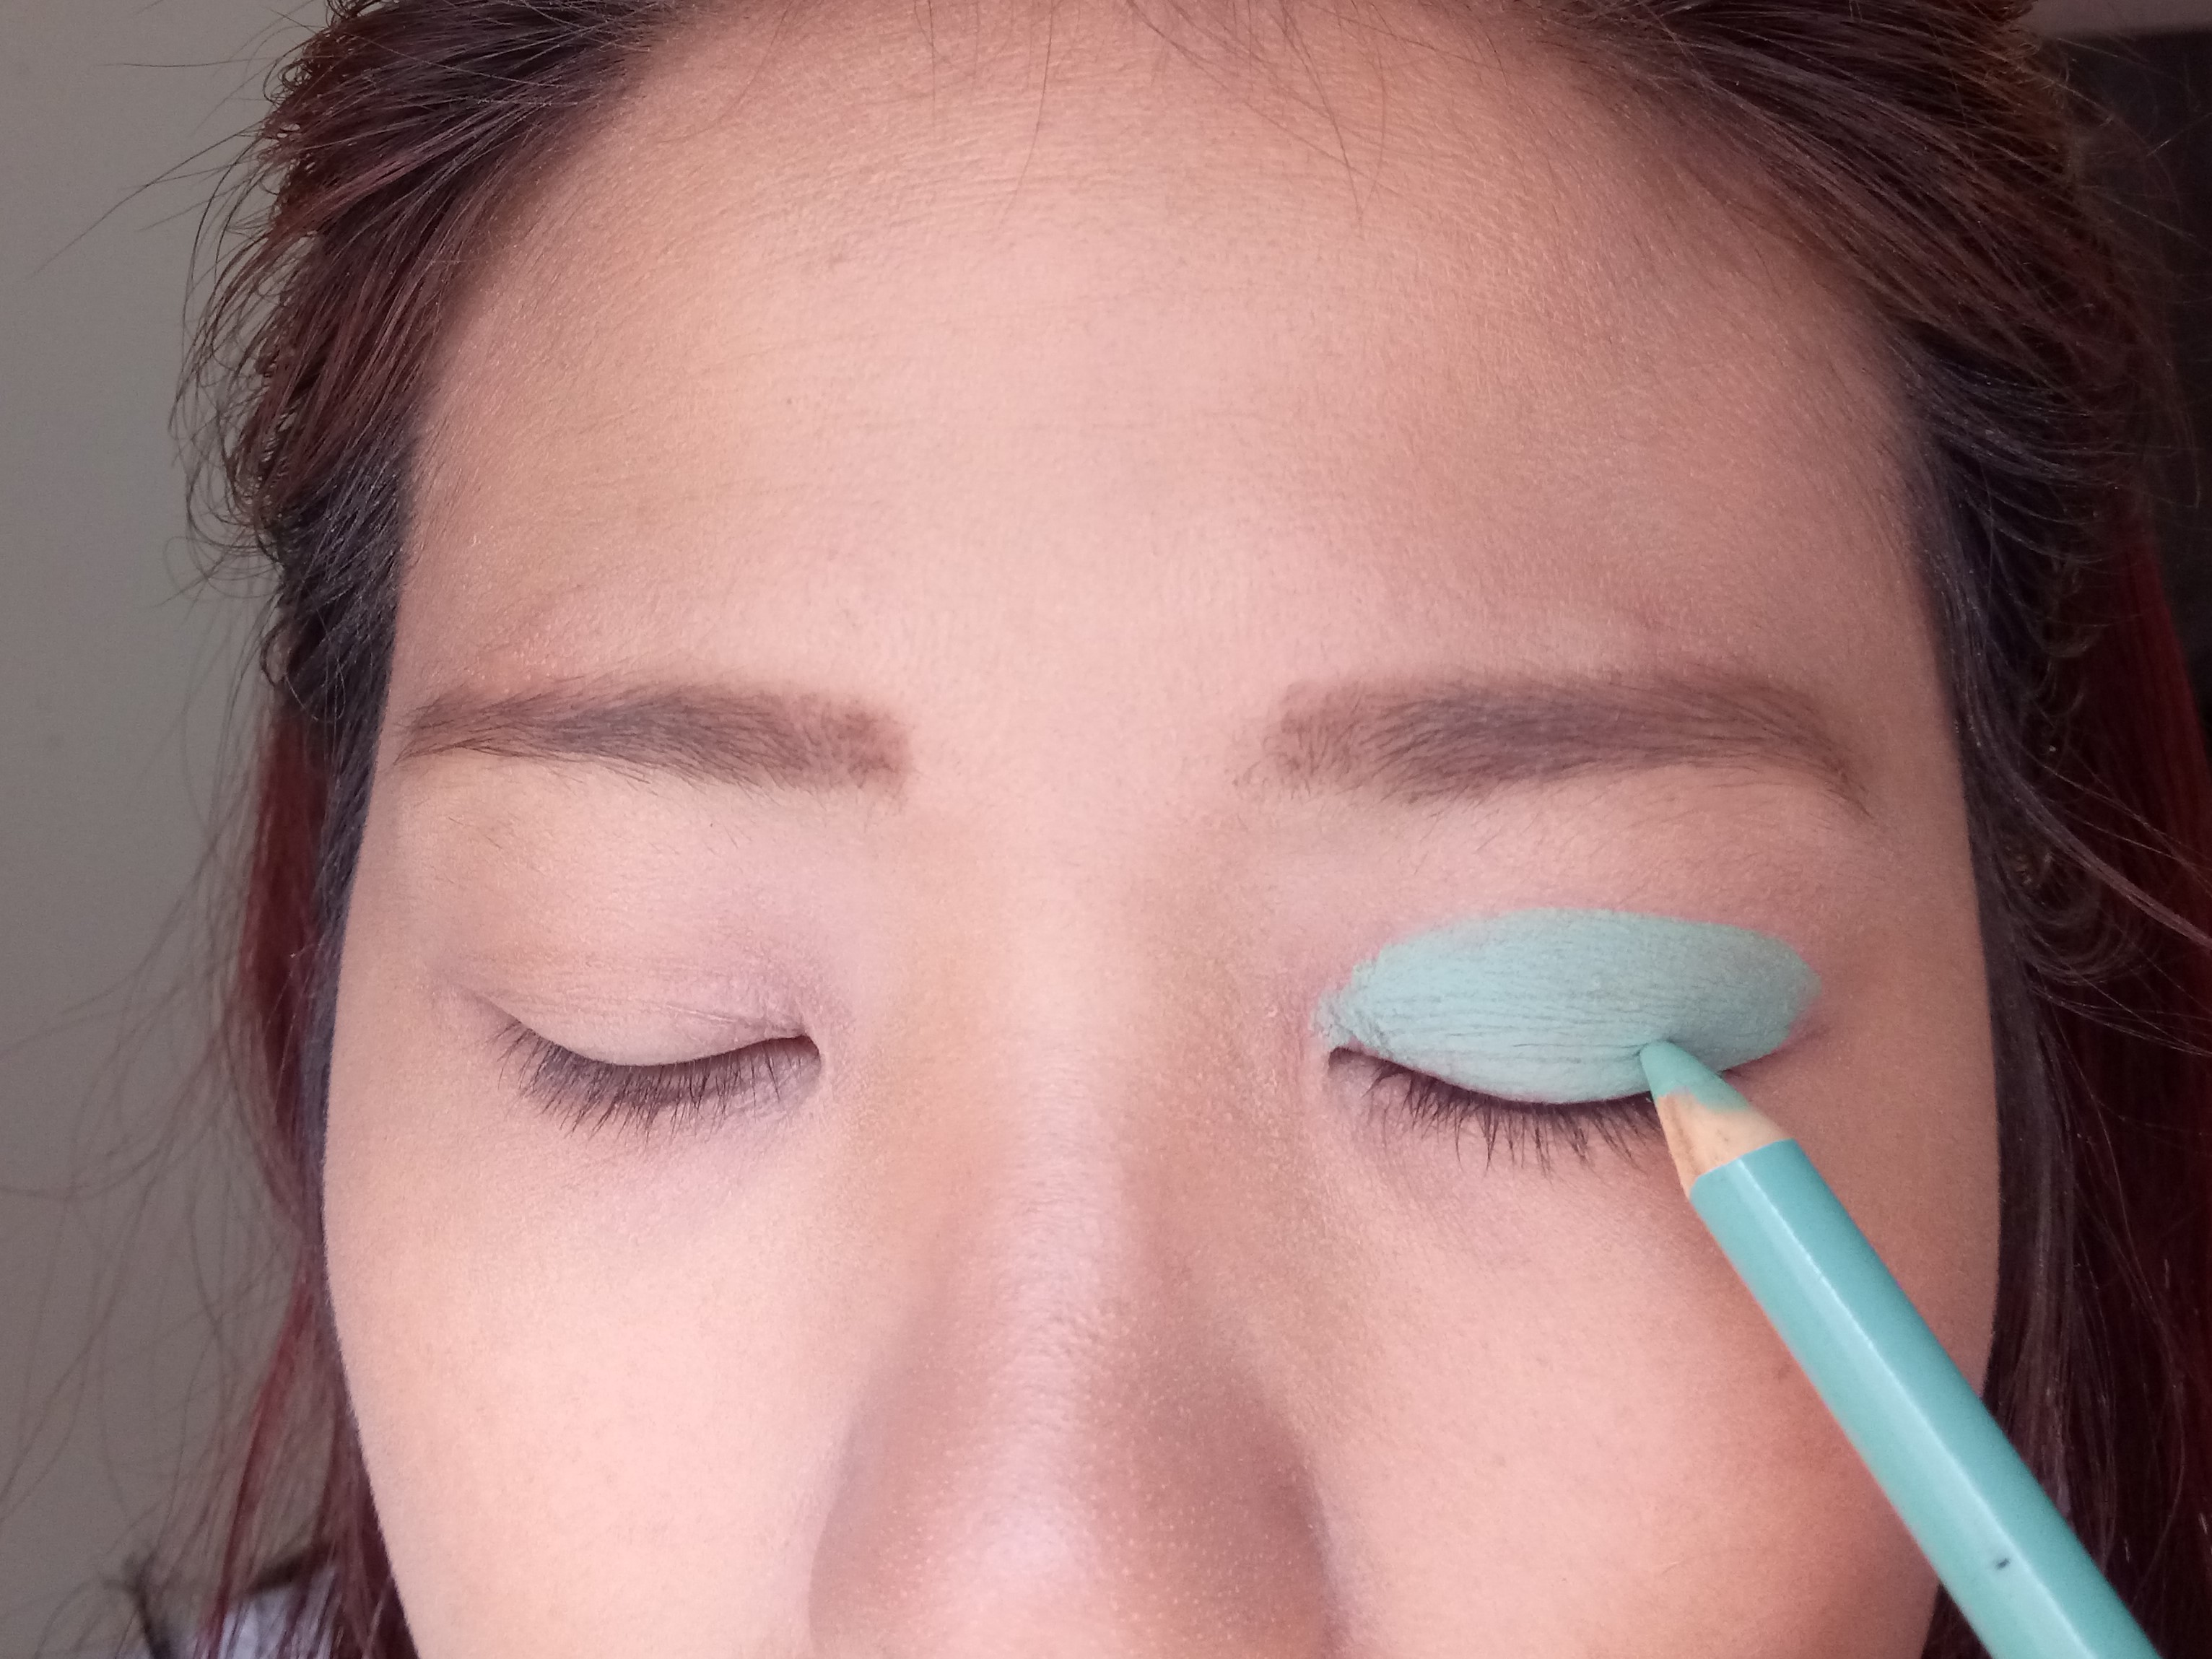
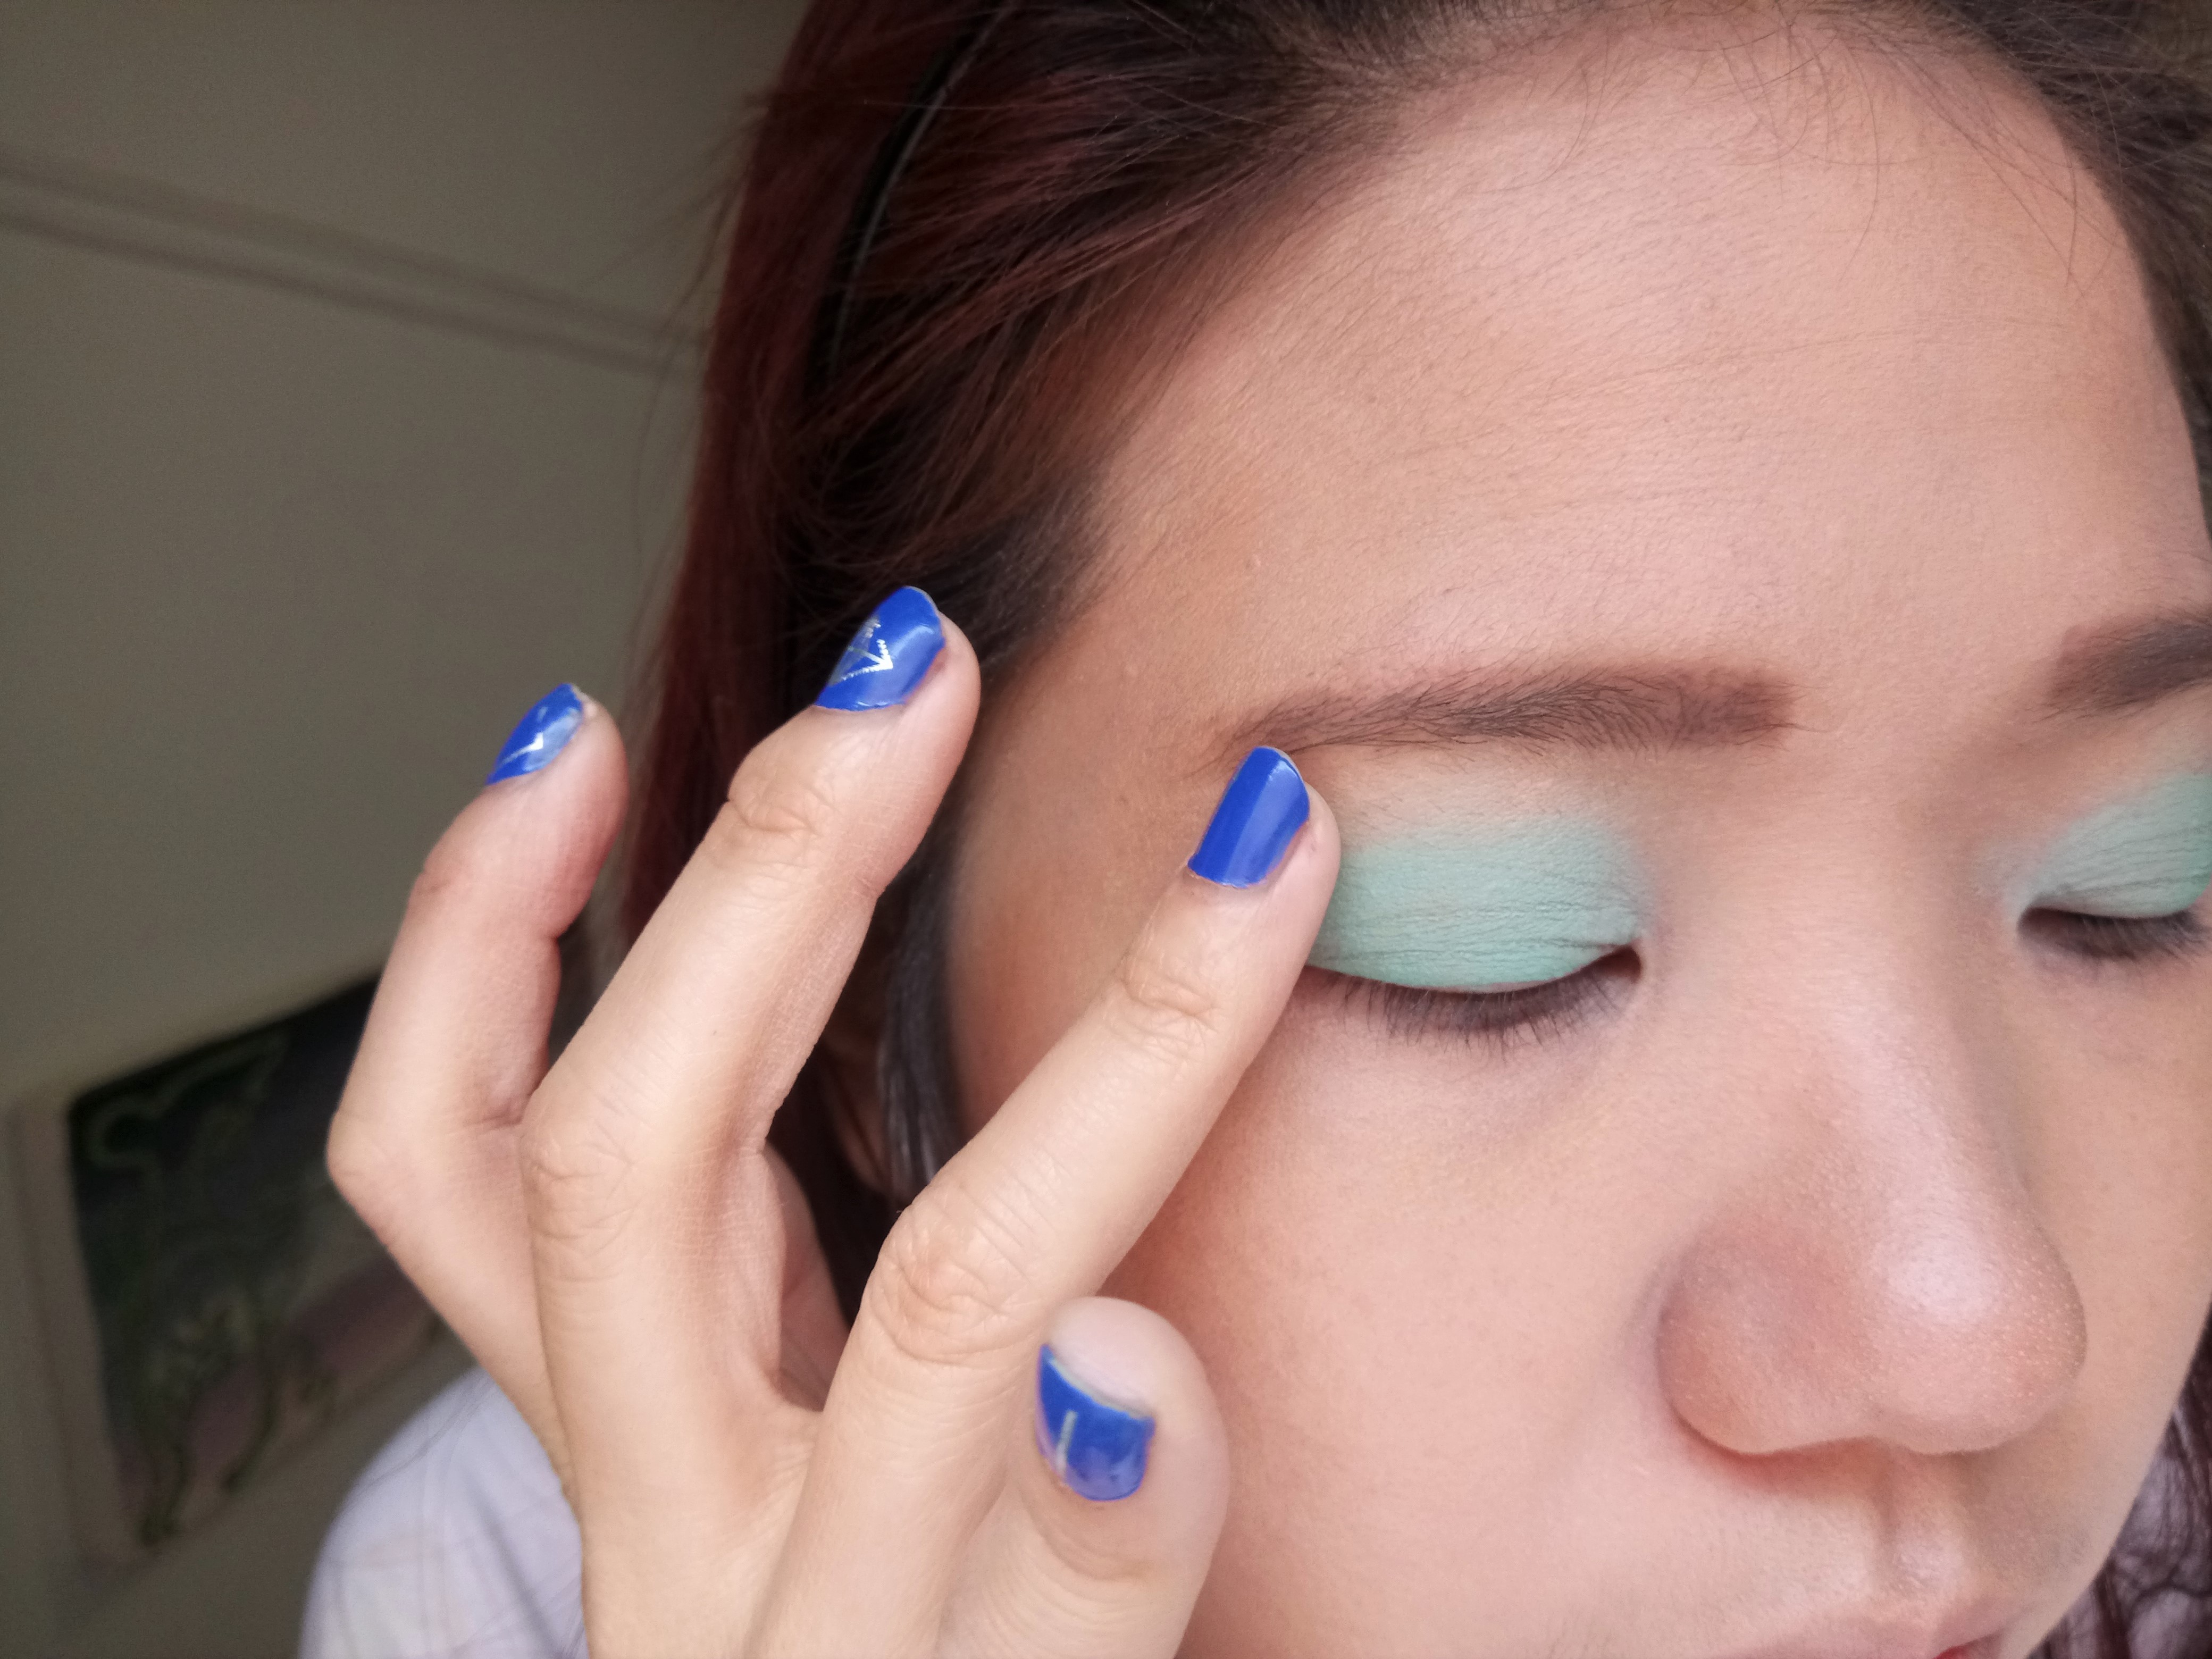
Fill in the upper lid in turquoise until almost to the brow bone,  then smudge the harsh edge lines of the colour with your finger, and set it with either translucent power, or a blue/green shadow on top.

See how pencil liners show up, even when it’s a light colour?
Because it is a pencil, you want to smooth the edges and pat with your fingers to make it less harsh. don’t forget to set lids with powder.

Step four: Black lining your eyes, Cat eye make-up:

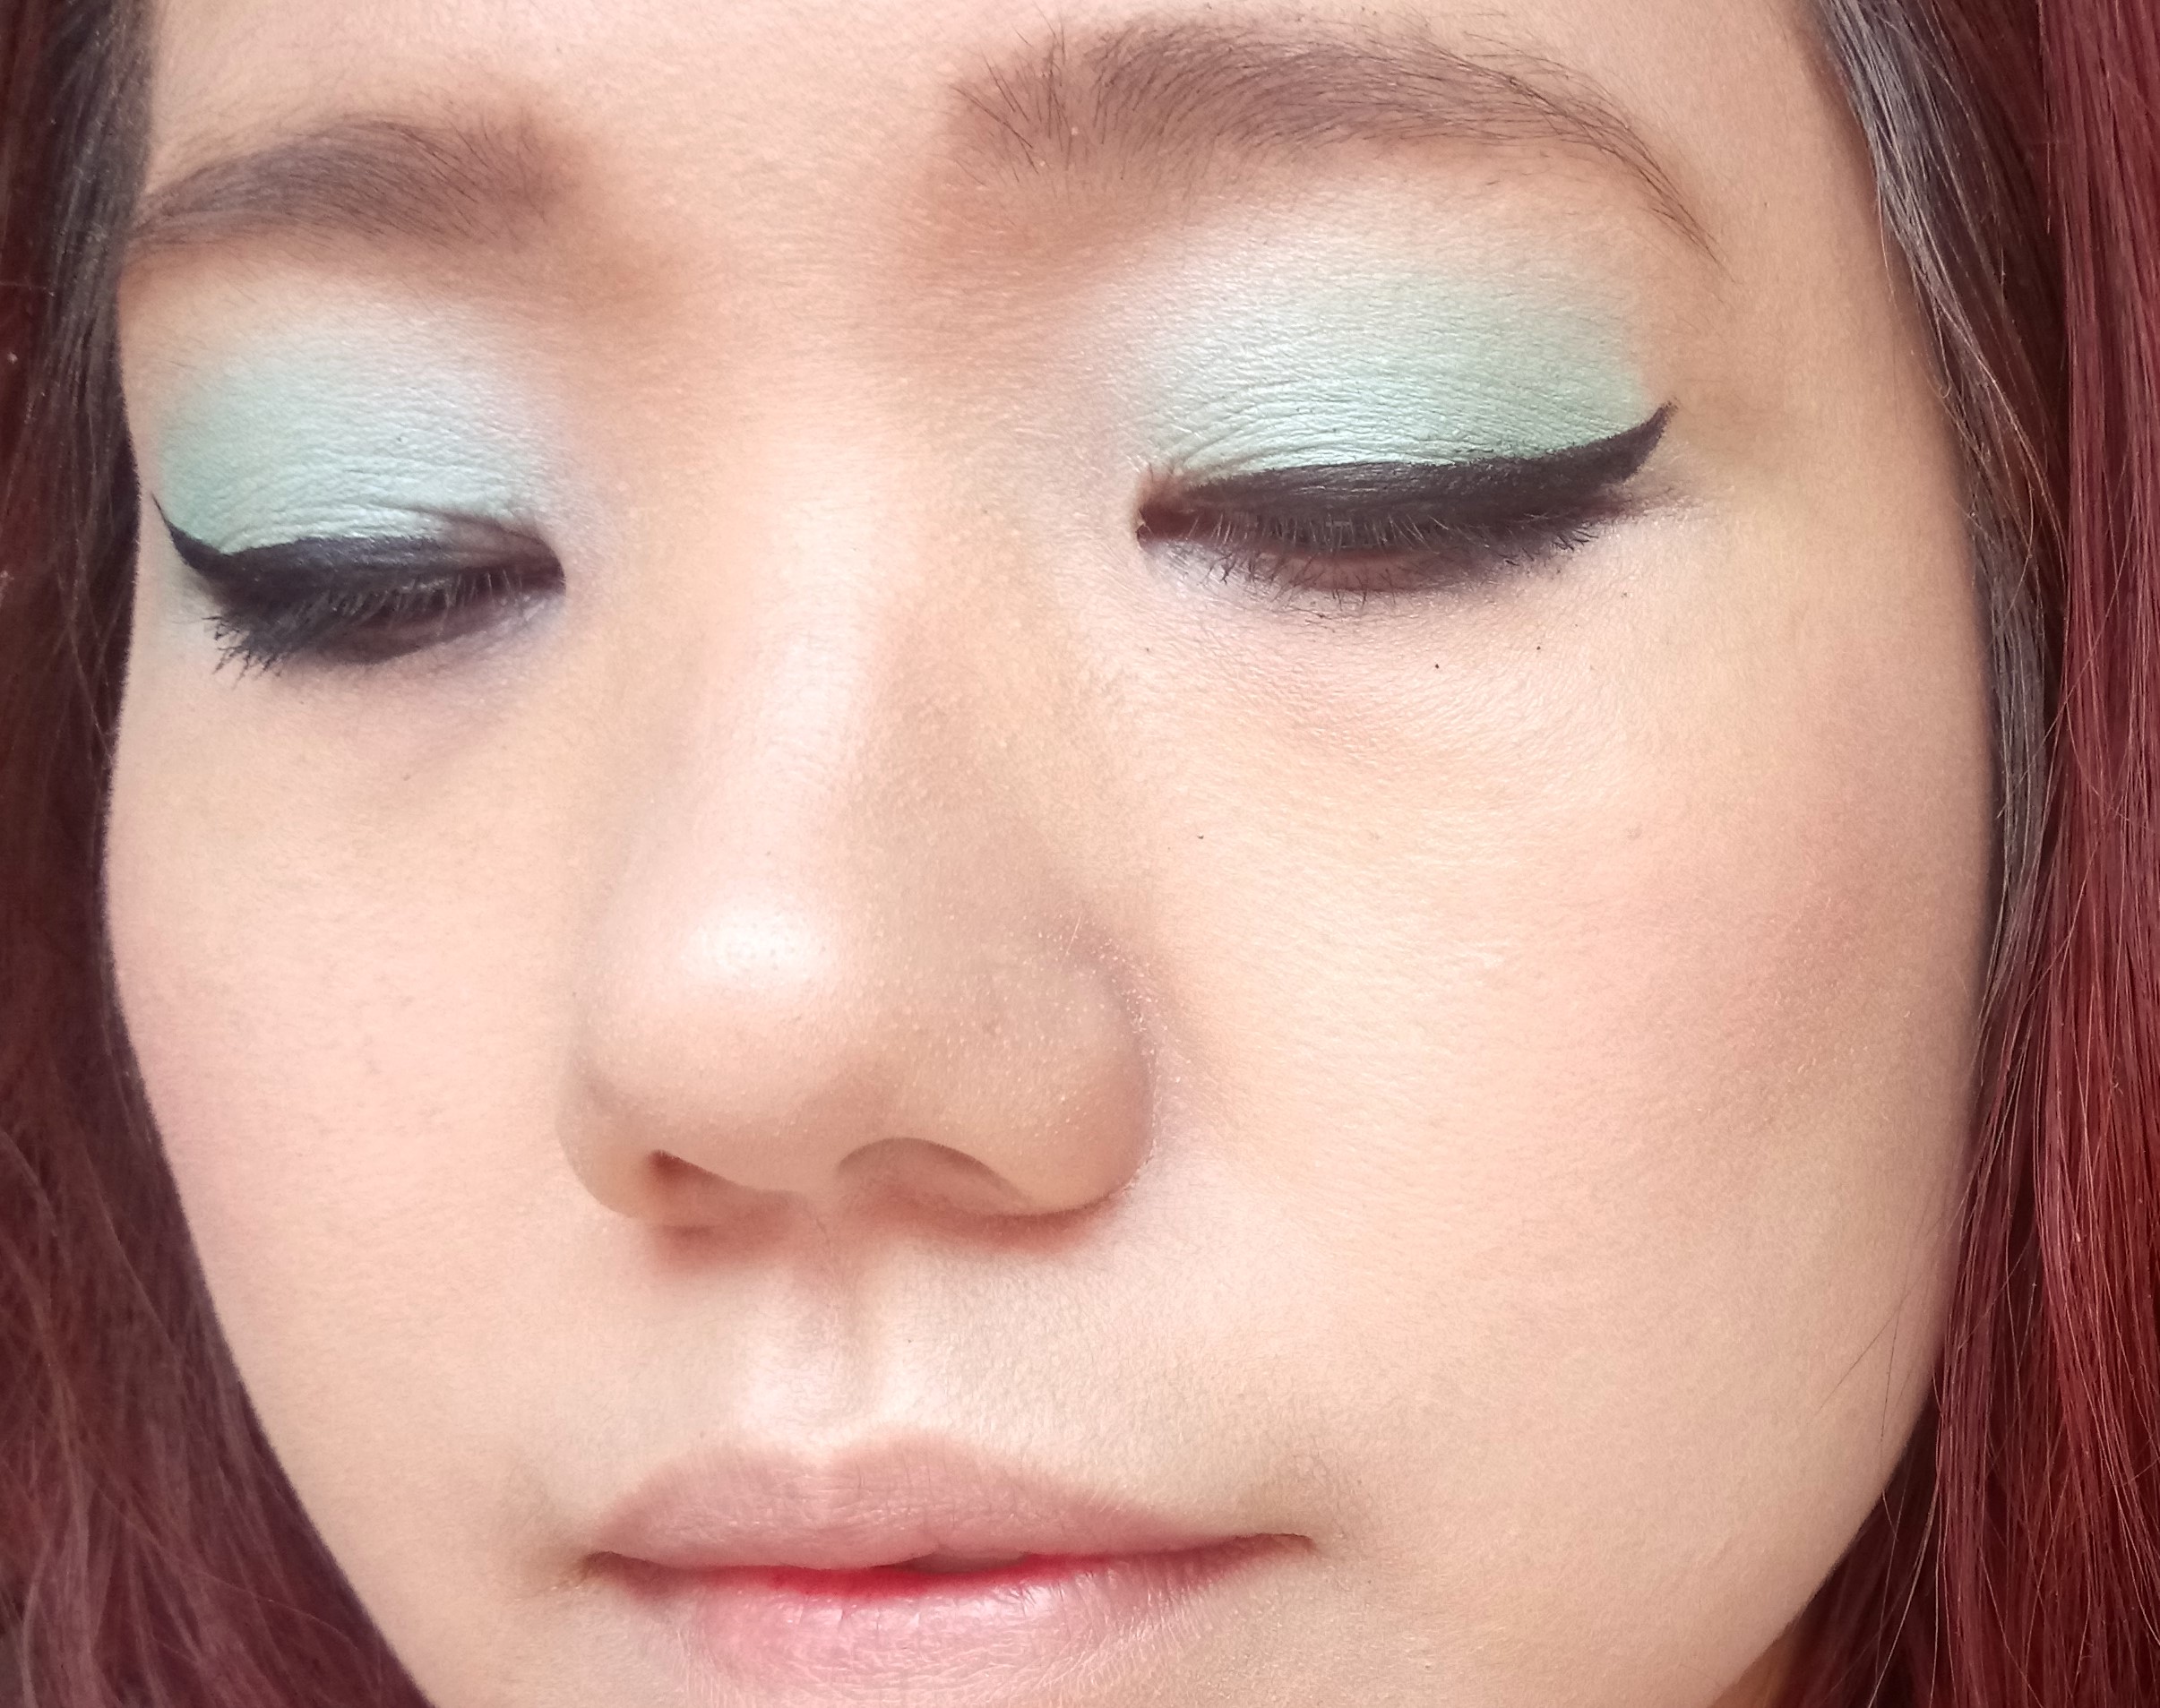
You need three products for this!  I know, this is crazy, but the reason you need three is for colour intensity, precision, and setting of the black line. So first off to use is black pencil as close to the upper lash line as possible.  The second step is setting it with a thin layer of black eye shadow with a thin brush.  Third step to making the black line into the defined shape of a dramatice cat eye with liquid liner/pen.  Also fill in any light/uneven areas in the black line with pen for maximum drama.

This is before I put on fake lashes. Using 3 products: liner, shadow and liquid/pen gives the pigmentation and drama needed for a retro cat eye line.

Step Five: Mascara and False Lashes…

Mascara and fake lashes are key to the look.  Nothing says vampy witchy gal more than a cat eye with fake long lashes the reach for the skies!  I like to do two coats of mascara and then add some demi lashes, since my eyes are small, but if you can, go for full lashes to complete the look.

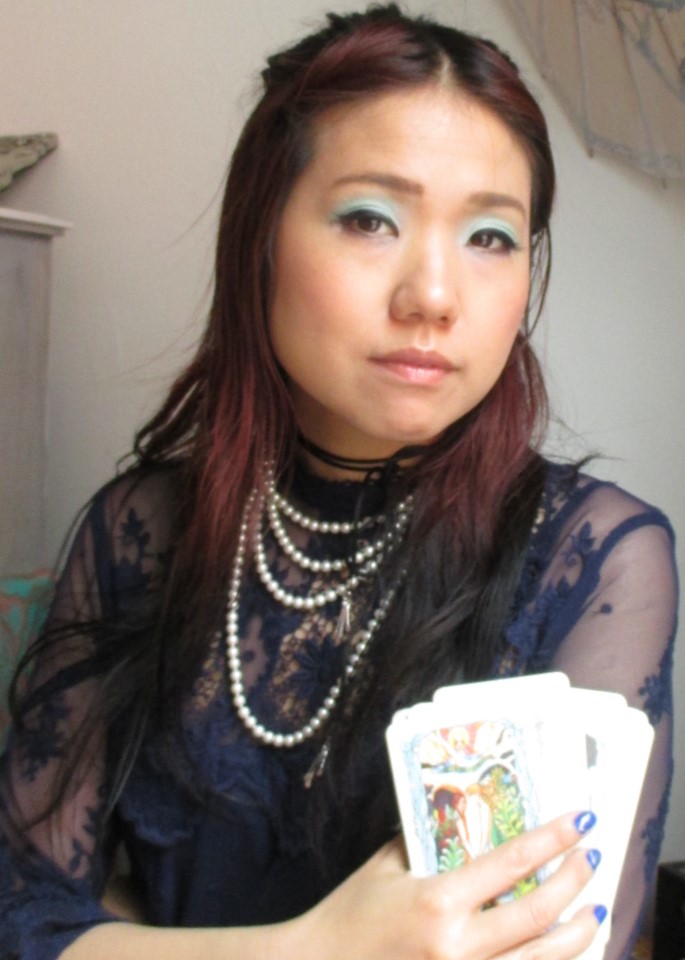
Let me read your future! Add anything victorian looking and glamourous to your outfit and now you are a love witch!

Okay, thoust ready to go out into the world casting spells on unsuspecting lovers wherever you go…Just be careful wielding that feminine power of yours and I hope no casualties are a result.  I cannot be held responsible. 🙂