Halloween done easy, simple and cute!

I have been known to make a big thing out of Halloween costumes.  I participated in cosplay in the past as well as hand crafting my kid’s costumes every year.  There is nothing more fun than making a whole costume from scratch! But this year, I wanted to give myself  break.  No dyeing white pajamas green (my kid was the Riddler once), no fantastical complicated face make-ups (I was a sugar skull one year), and no accessorizing to the nines like I had in the past.  Just a really low-key, modest costing, costume requiring only store bought bunny ears. Boring? Not at all. I am going to don the ubiquitous rabbit costume this year, but as generic as this costume can get, I still wanted to make it cute, special and classy in my own way.  Halloween bunny costumes can get so garish and trampy looking…so I have to reign it in with my own version.

The reason I choose the bunny rabbit as a costume is that my boyfriend already owns a tail coat, a top hat, and a cape.  All he needs is a magic wand, and he’s a Magician.  And in the spirit of being an enthusiastic girlfriend who likes couple costumes (kinda), I decided I will be his white rabbit that he has pulled out of his hat.  So yes, we’re taking on the couple costume this year and walking down that road in dating.  Ha ha.  But really this is just going to be fun.

Materials for Costume:

  1. 1 set of store bought bunny ears: You could make your own, but it’s so much easier just to buy one for 5 bucks.
This is the only item you really need to buy, since making it may be difficult! Super fuzzy and cute!

2.  1 Fluffy, furry white sweater/top–There was a faux merino wool trend last winter, so you can find one easily still and probably have one!

3.  White bottoms, tanks, pants, skirt…etc.  Just stick to clothing that is the colour of your bunny!

Optional: Extra furry material.  I lucked out this year and found a furry hat to cut up and make into a puffy tail, cuffs and neck tie. Can’t have a bunny without the fluffy tail!
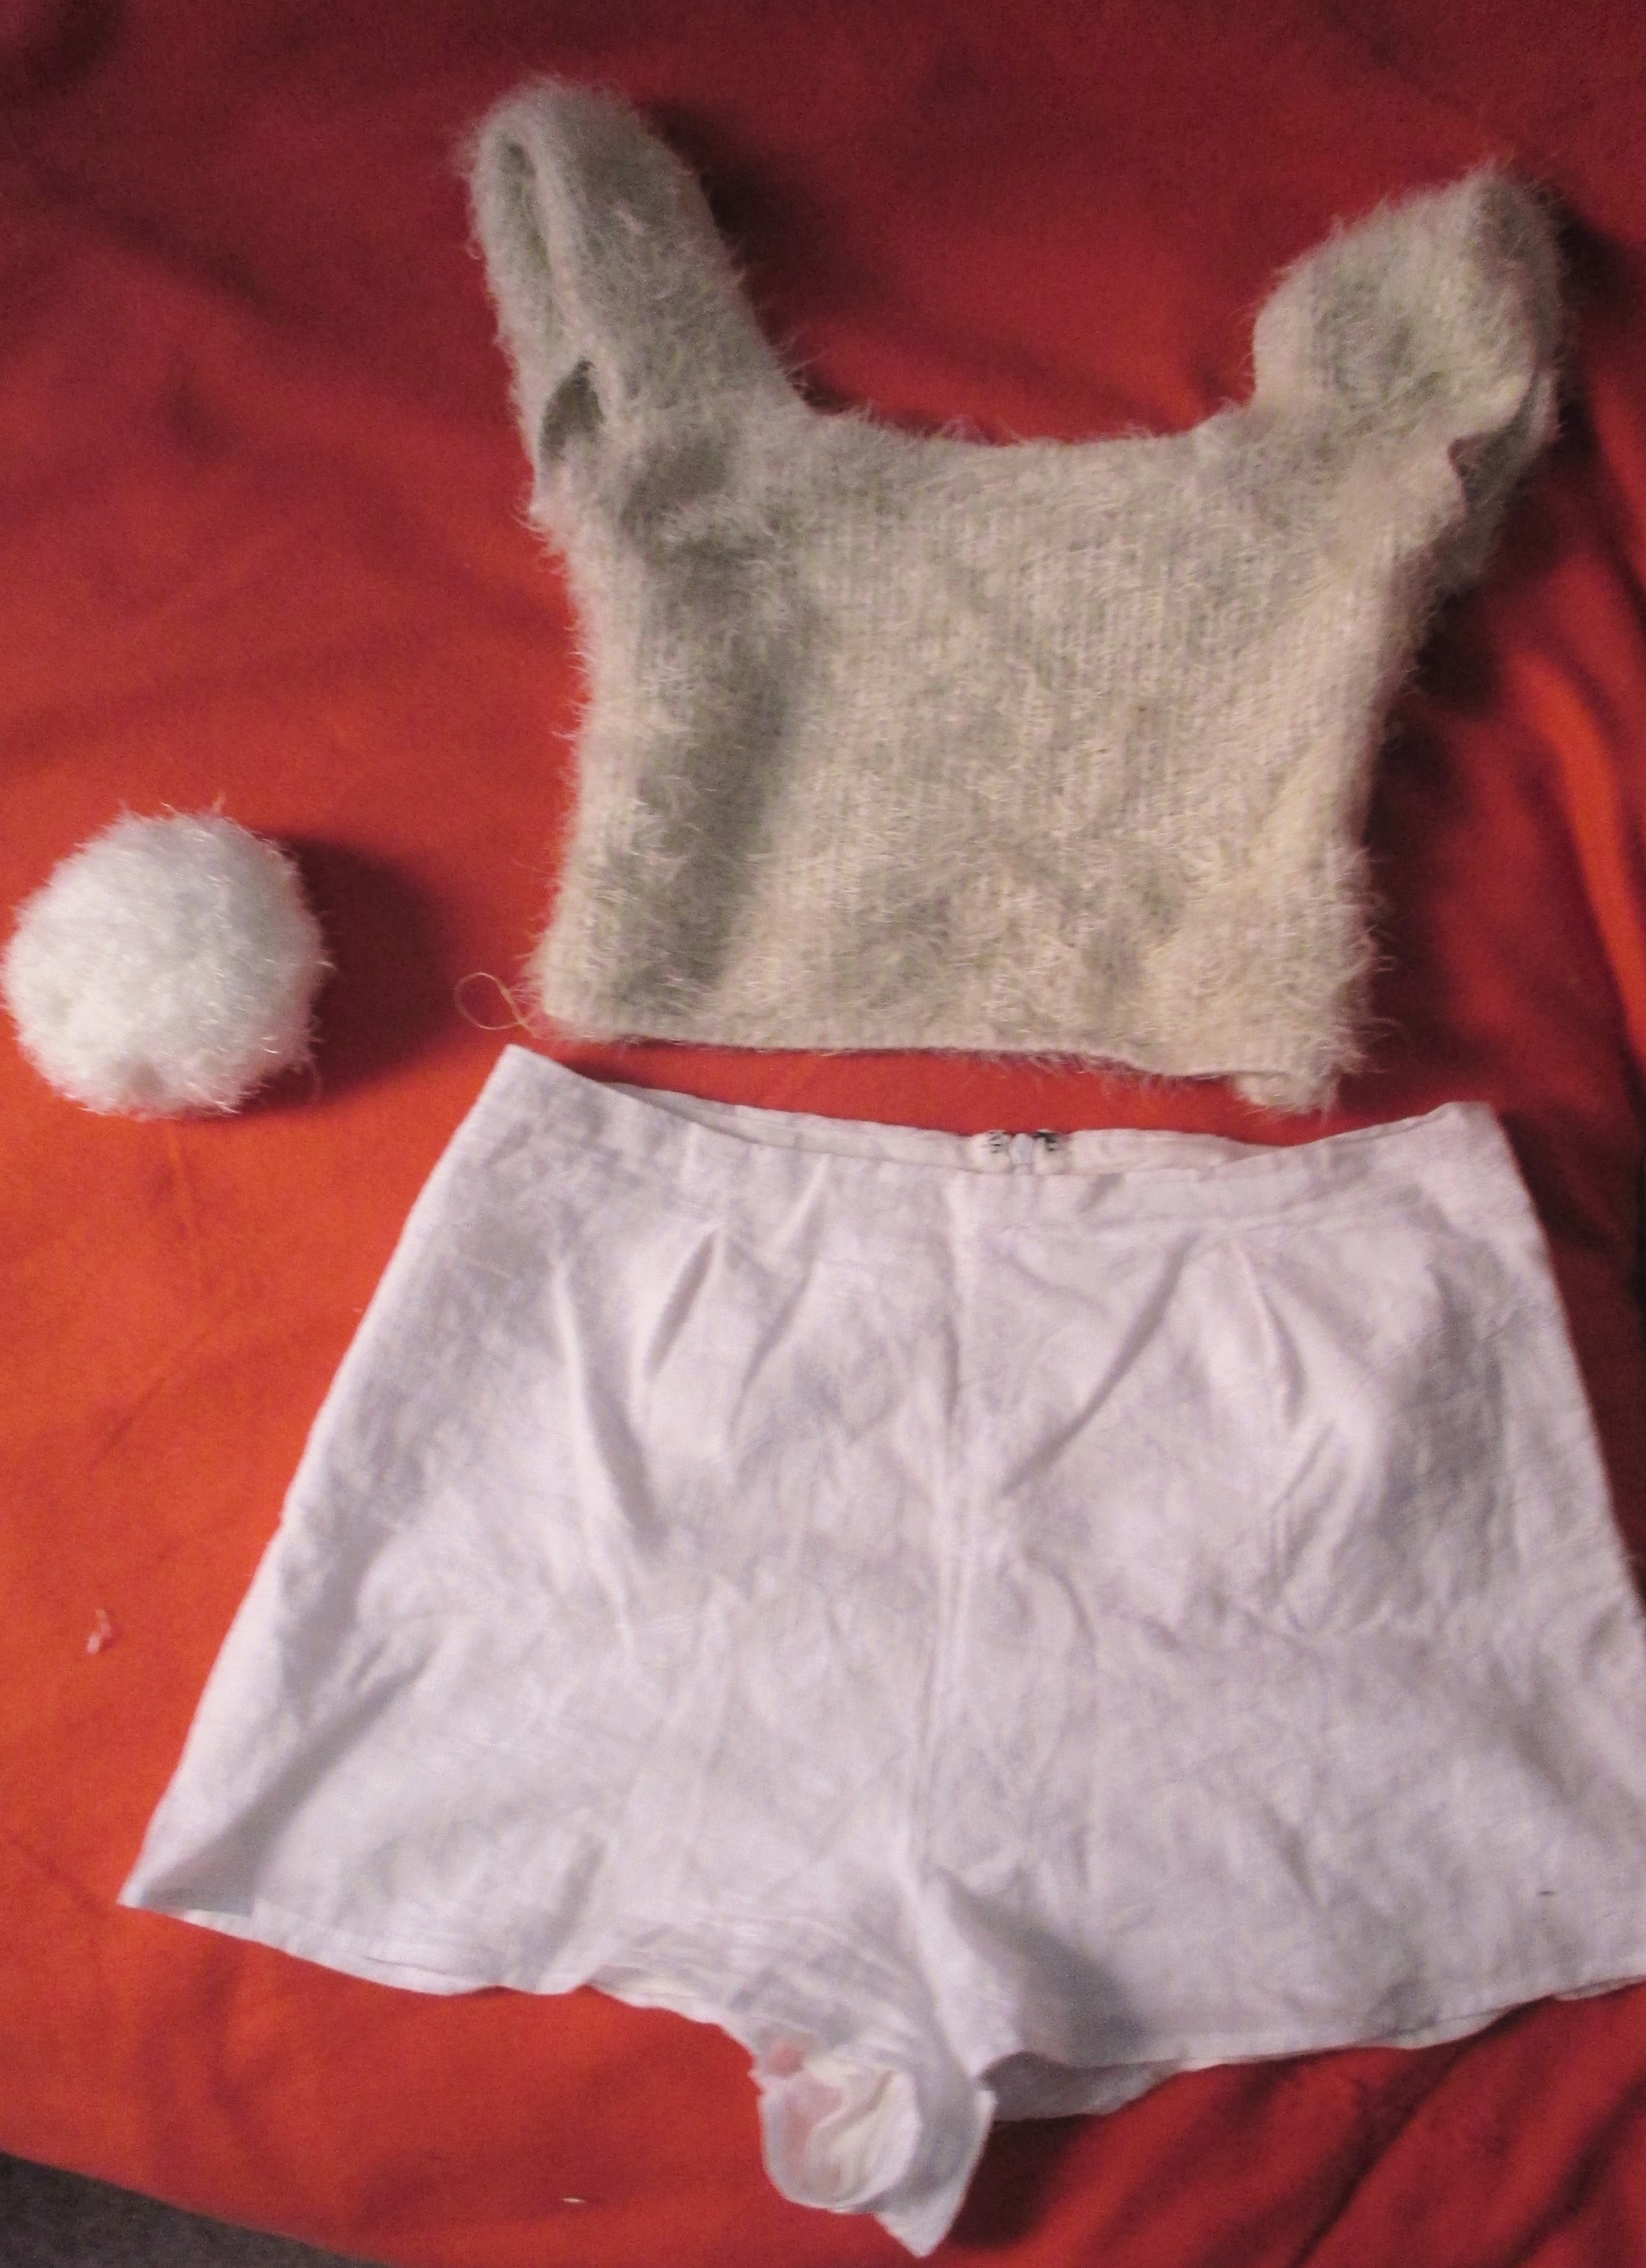
It happened that I already had a furry merino sweater. So turning into a bunny was sweet and easy!
It happened that I already had a furry merino sweater. So turning into a bunny was sweet and easy! I did make the tail though!

Material for Face Make-up:

Being a bunny is great, because you don’t need to spend a lot on stage make-up and prosthetics.  Just use a good foundation, powder, shadow and line your eyes the way you would do a regular beauty make-up and add whiskers! Tip: Draw your whiskers not at your nose level, but slightly below, because that’s where the whiskers are on a real bunny!

This the the finished product! I feel that it was so simple, but still fun. And my boyfriend looked dashing as my magician.


How I wear bold bright eye shadow colours without looking too 80’s

I don’t know too much about the 80’s.  Obviously because I wasn’t really around for them, but from photos, movies and shows, I know this much is true.  They liked their electric coloured eye shadows, and acid wash denim.  Also, they liked big permed hair do’s, no, am I right?  Anyways, not that that was a bad look during that era, but trying to pull that off these days is hard because you look like you’re in a time warp.  I noticed today’s make-ups are more neutral in colour.  Lot’s of tans, bronzes and browns. And if there are colours, they are also rather neutral. More like mauves of purple, pink and peach.  Light pastel blues.  But nothing too out there.  Or if they are more visible, it is the smoky grey look.

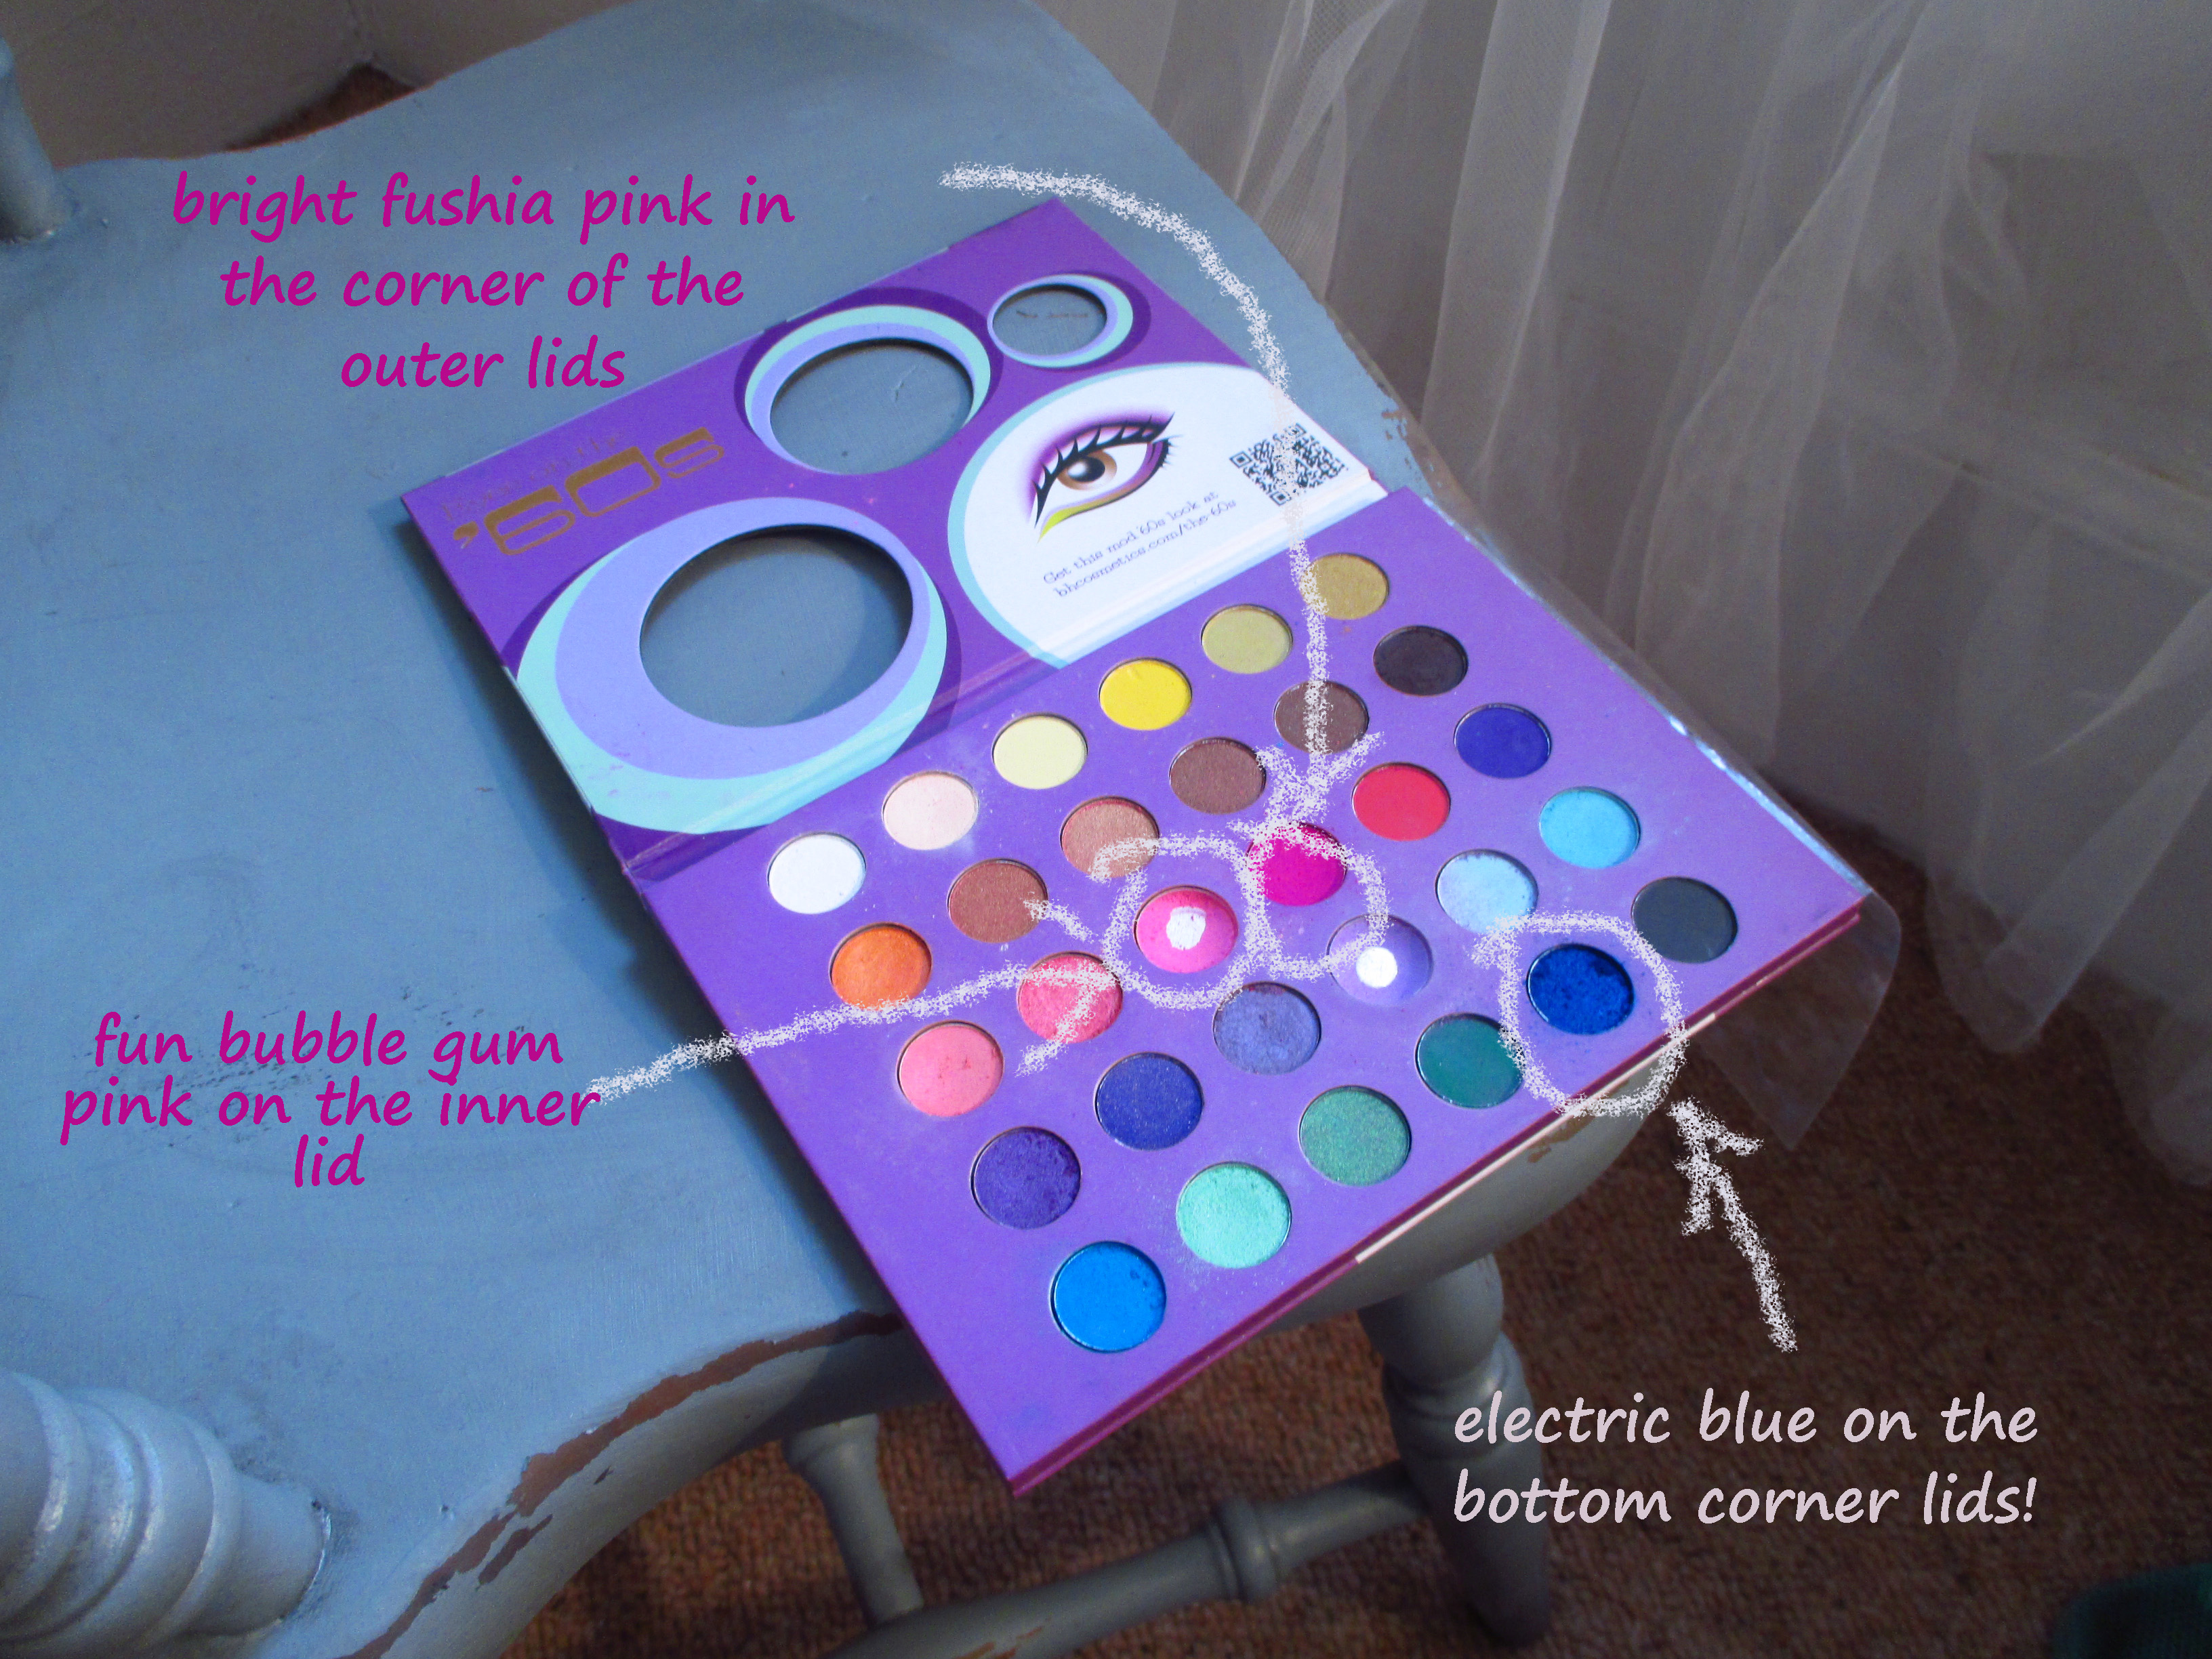
I recently got tired of this pretty, quiet eye make-up trend and wanted to make some noise, make my eyes pop and wake up a bit so I found this eye shadow set online and immediately wanted it.  It had all the bright fushias, tarty-purples, and electric blues that most eye shadow palettes shy from.  Ironically it was called the “60’s” era collection of colours, but they looked more 80’s to me.  The only bad thing with wearing bolder colours was that if I was not careful, my eyes would look too loud and not classy.  In a retro-prom-queen gone wrong kind of way.  I had to wipe off some of it the eye colours the first few times I wore it to tone it down.  Garish looking is not too desirable in an eye make-up even if I did want to shake things up a bit.  So a better way is this:  Break up the colour on the lid by using a few colours.  I put the neon colour just in the corner, and wear a more neutral shade on the middle and inner lid.  After laying two colours on your lids, erase the lines with a blending brush, smudging all over to to create a gradient.

Three colours is all it takes to do an interesting rainbow effect on your eyes!!
Three bright colours is all it takes to do an interesting rainbow effect on your eyes!!
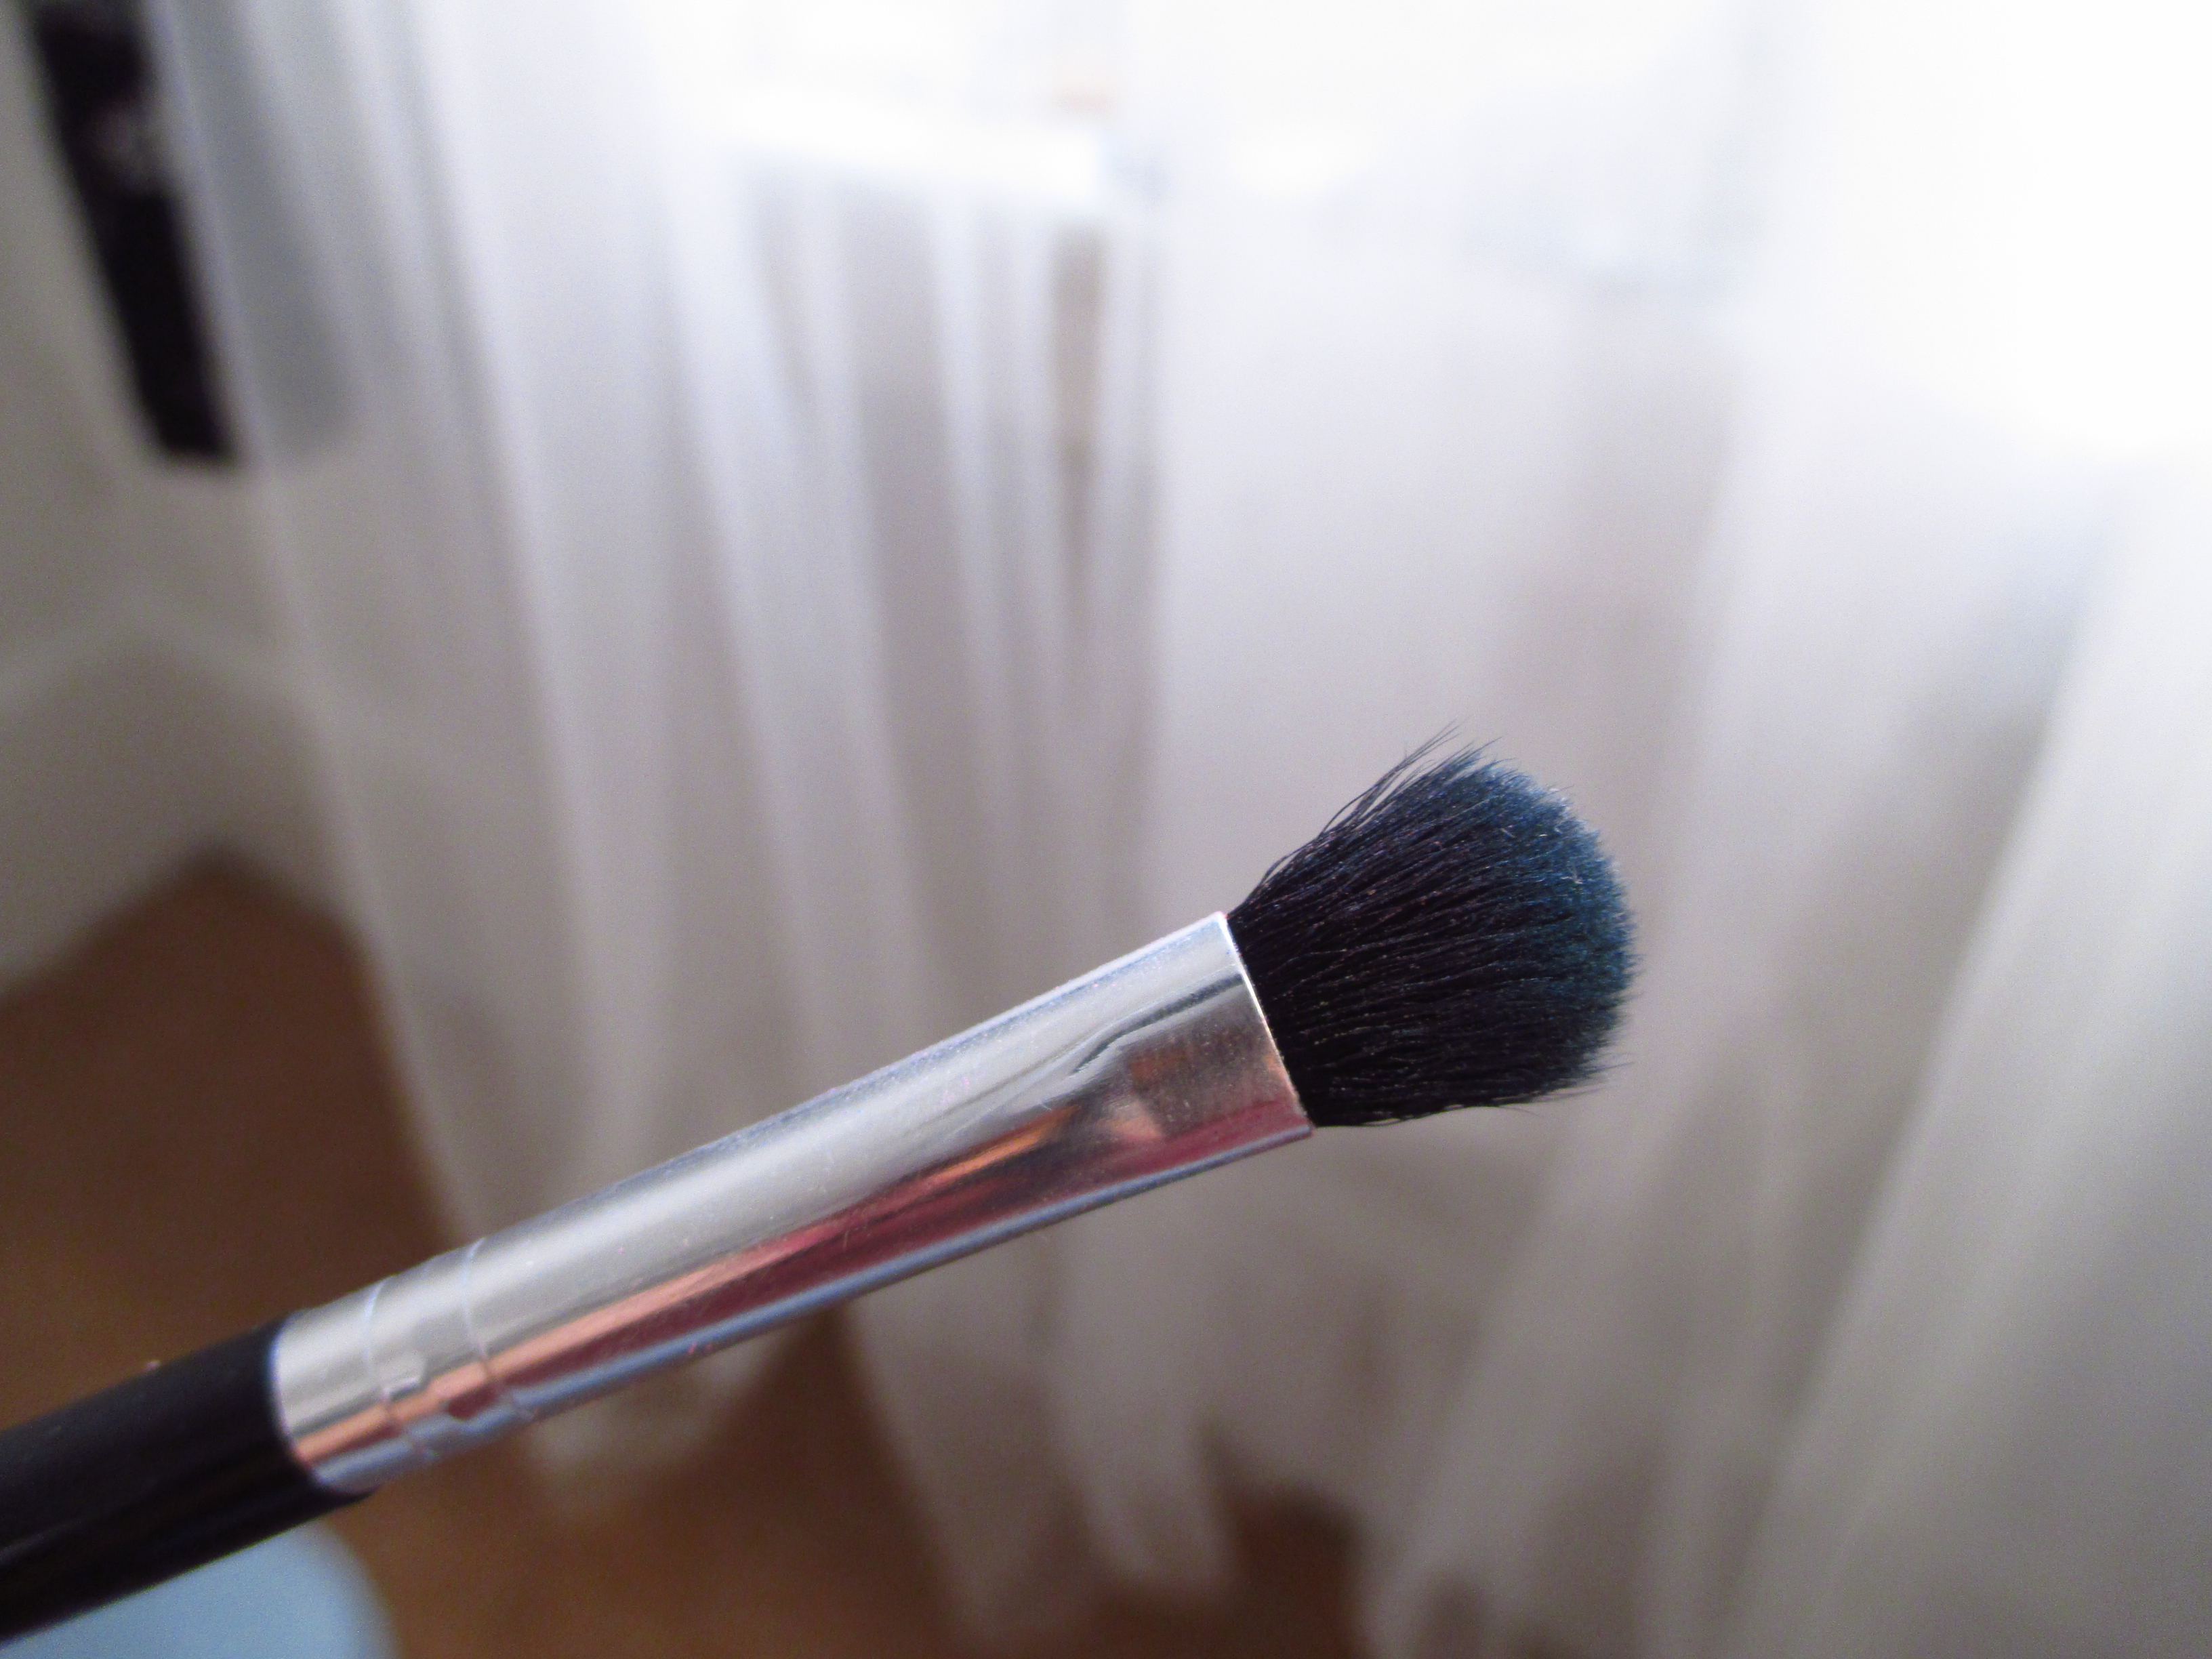
Use a really soft blending brush! This is a must. When wearing bright colours, nothing looks good if you don't create a gradient by blending colours during a transition.
Use a soft blending brush! When wearing bright colours side by side, harsh transition lines break the illusion. Smudge the lines all over with a brush.
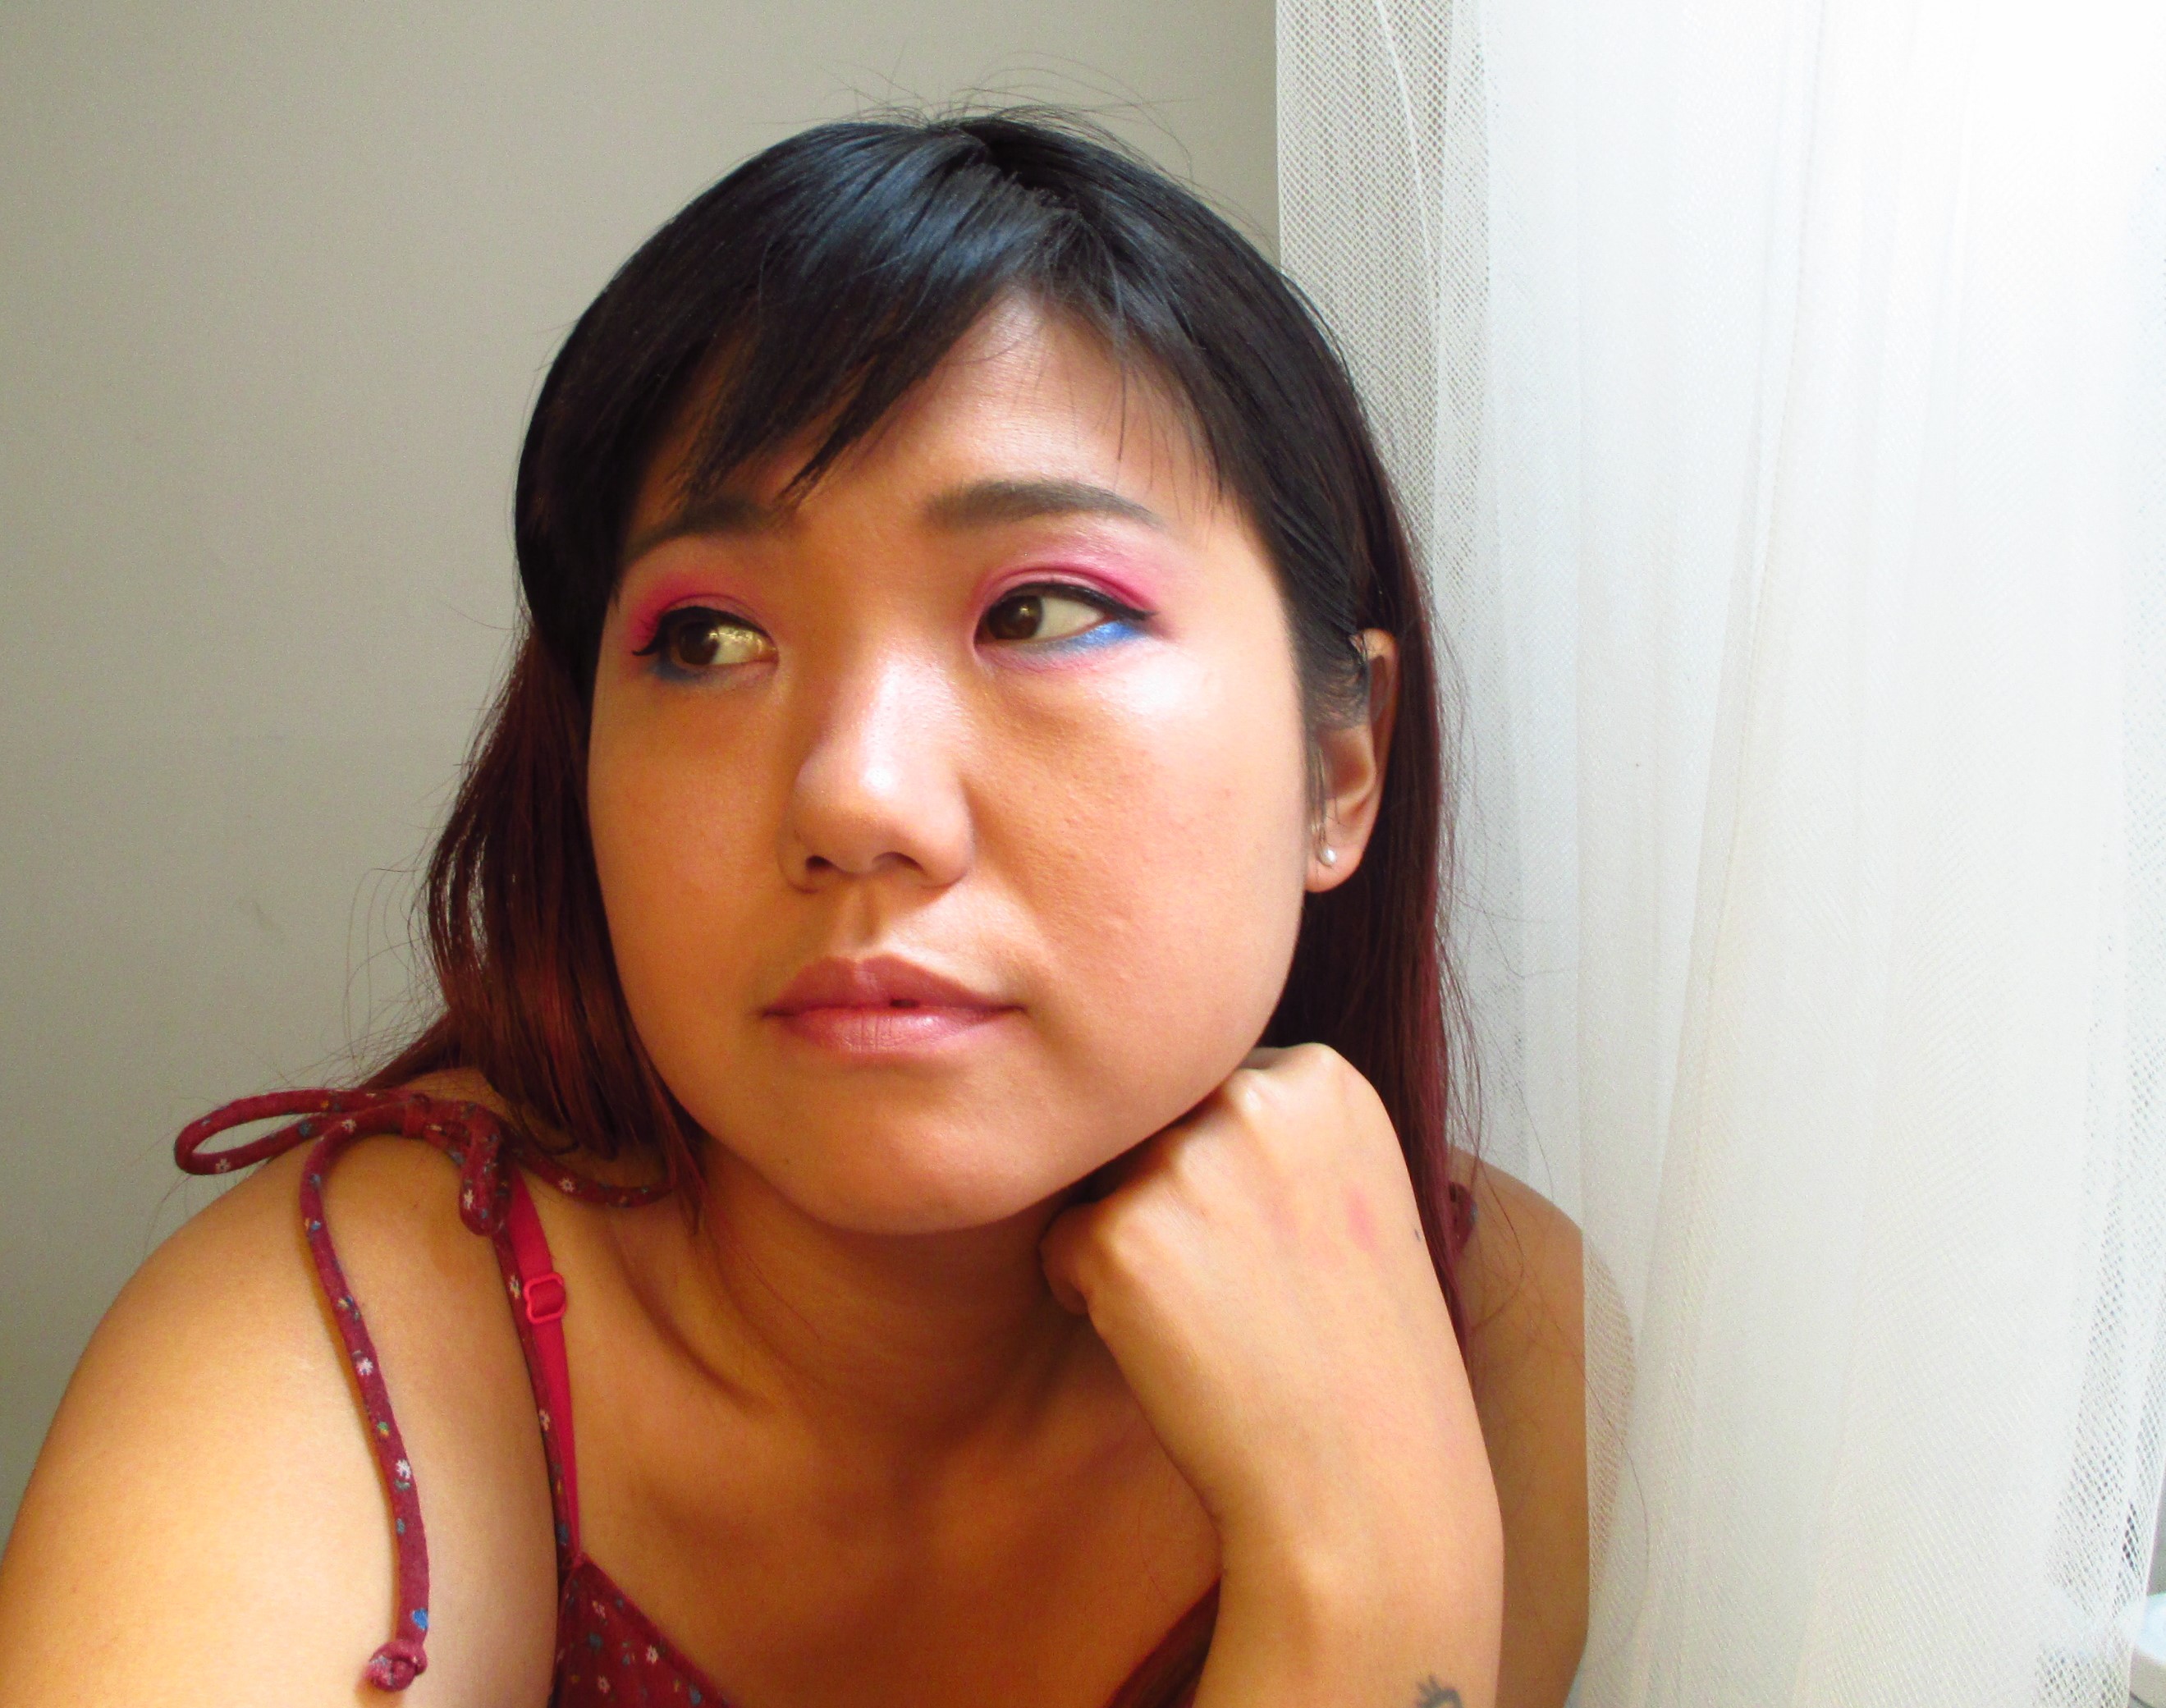
I am trying to show you guys the finished result in this photo. Can you see the three electric colours I used, and it doesn't look garish...yay!
I am trying to show you guys the finished result in this photo.  I used a bubblegum pink in the inner center lid, a bold fushia in the outer lid and lined the bottom lid with an electric ultramarine blue.  Not too garish, but still fun.

Finish the look with liquid liner and line eyes subtly.  If wearing bright eyeshadow colours, it is loud enough without big graphic eyeliner on top of it. The bottom lid gets attention too, with a dash of electric blue, just in the corners…and voila, I can wear bright colours and look expressive, not dated.  Add mascara and false lashes for extra drama! (optional)

Nail design: nude nails and a splash of colour

I saw this trend a while ago online in various fashion articles.  But only recently I tried to get it with a few trial and errors!  It is this way of painting each nail with colour polish only partially, so that the nude bare nail still shows up and is part of the look.  I think of it as a variation of french tips, where instead of just painting the tips of the nails, you work with other parts of the nail to create negative space and interest.  I think partially colouring your nails is super fresh looking, because it shows part of the bare nails, and hints at idea of being naked, natural.  It gives the nail a more graphic, designed look as well!

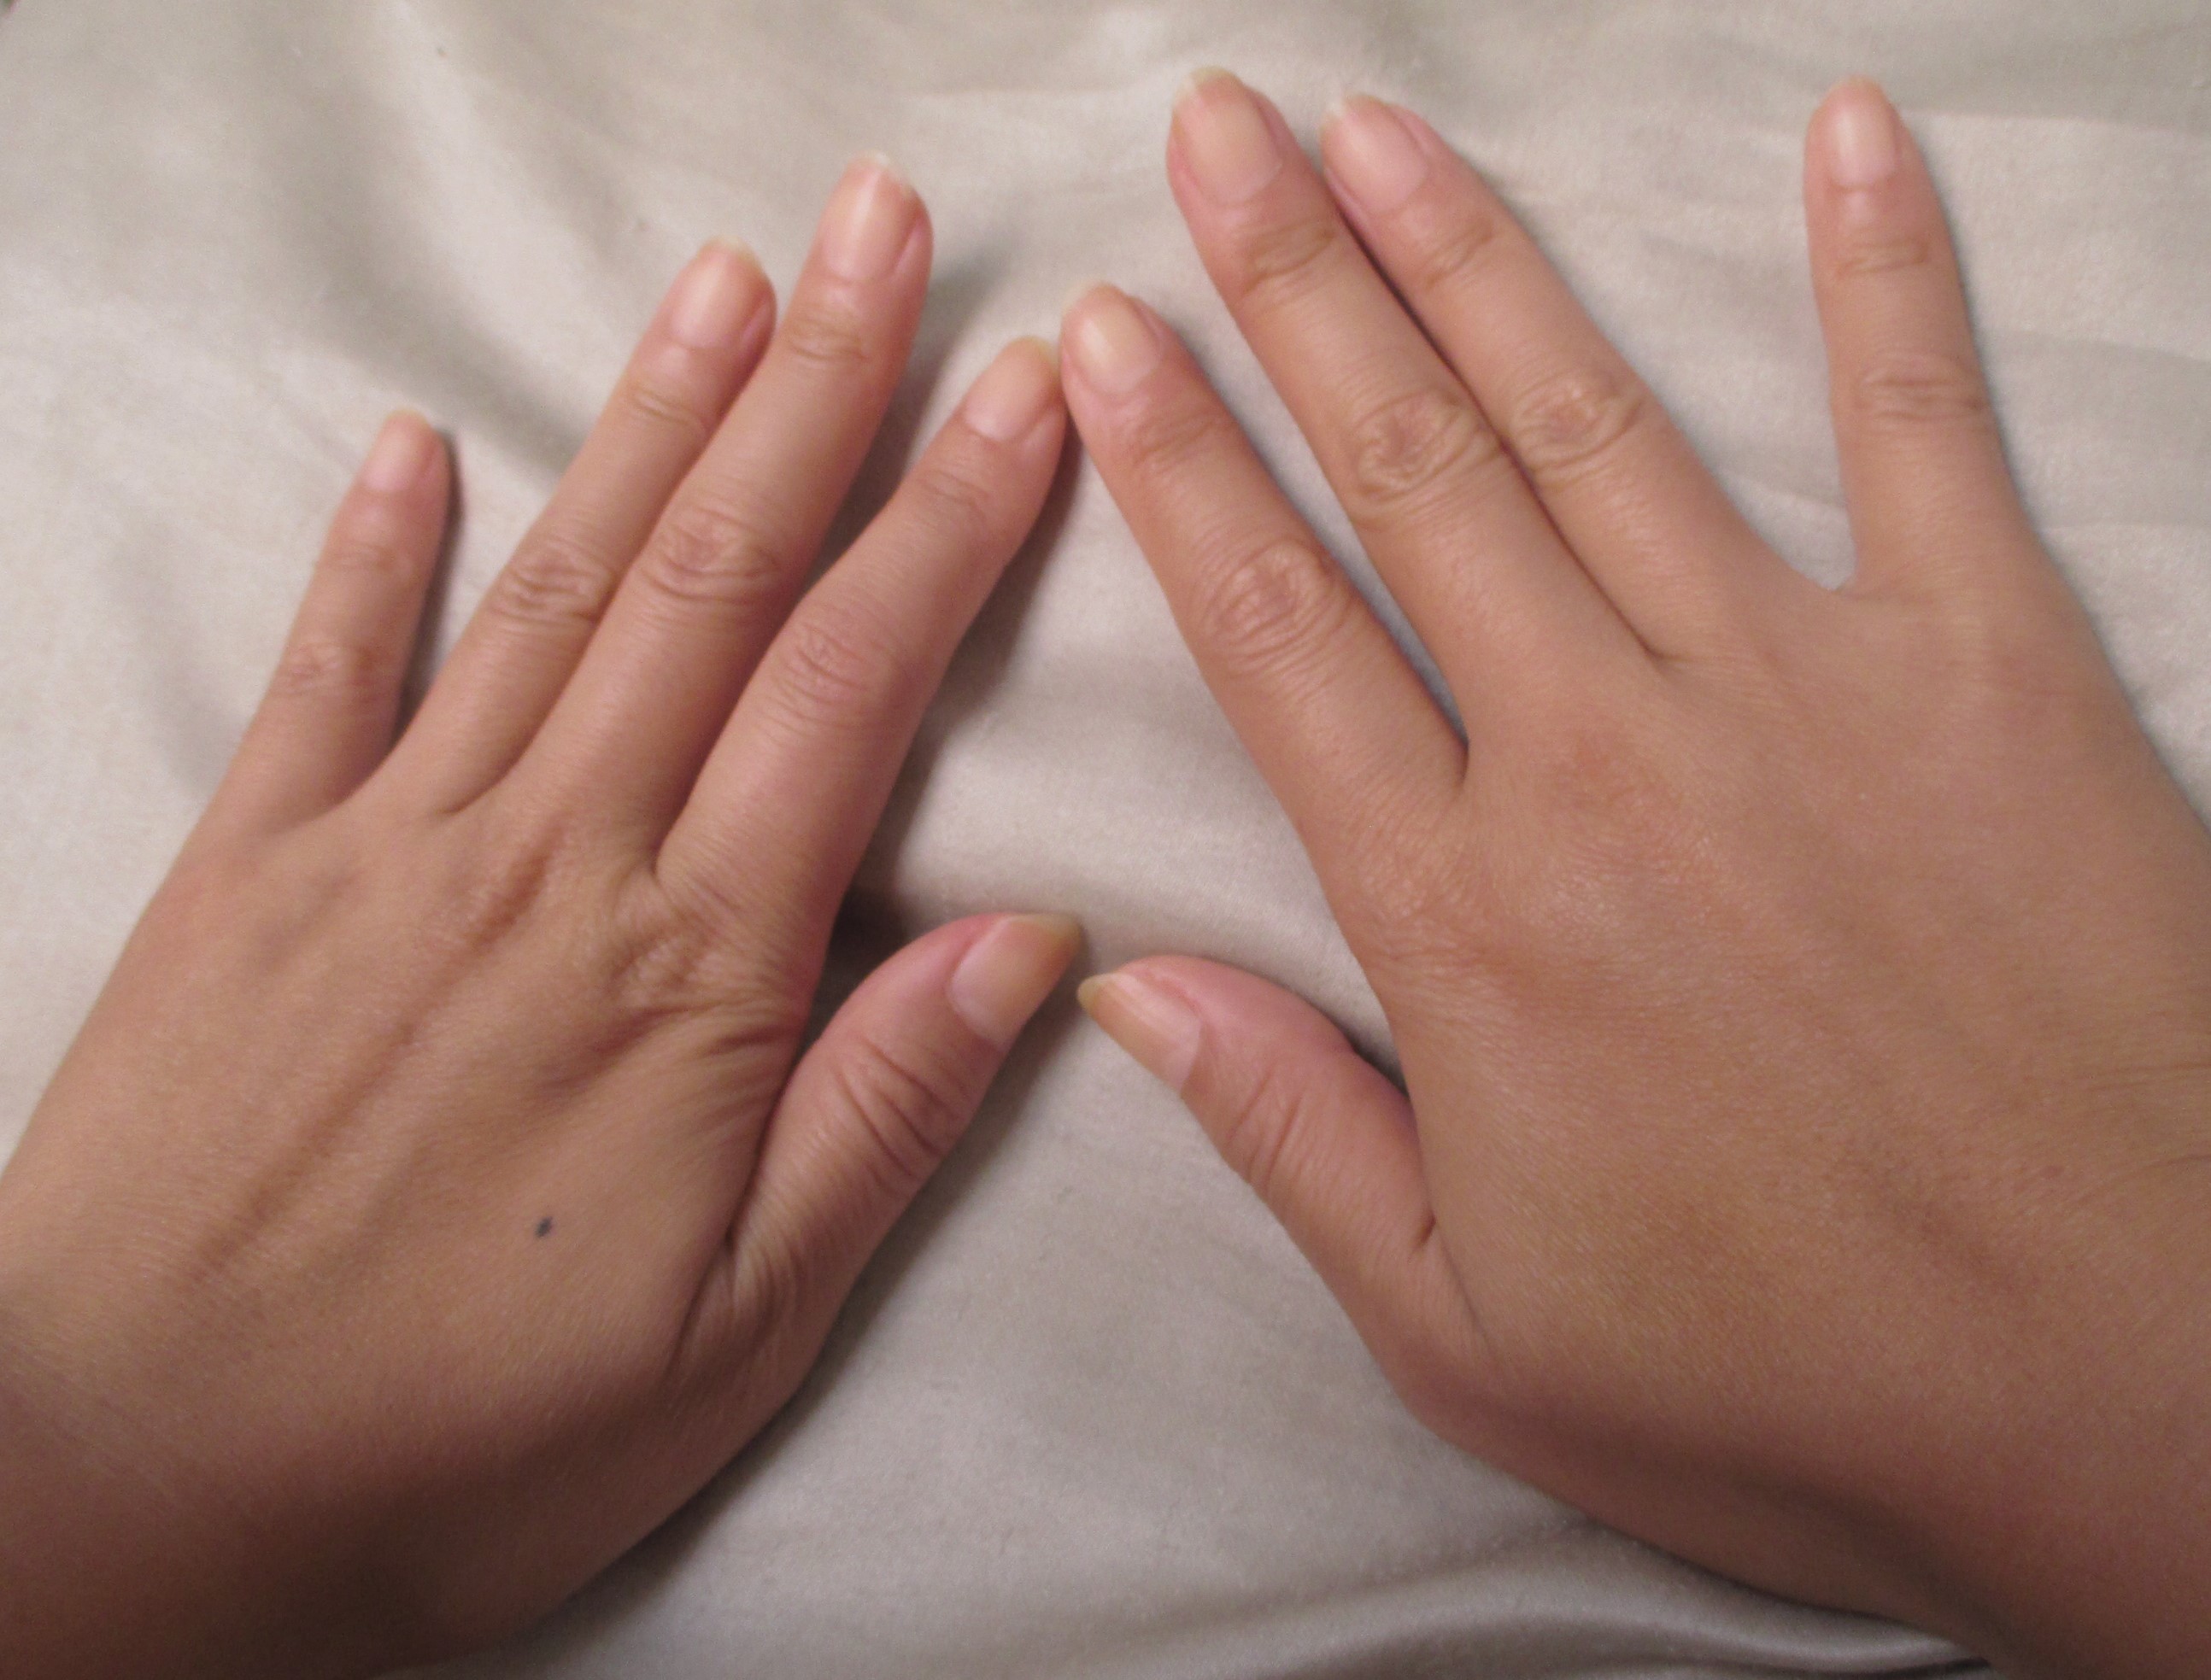
Hello bare clean nails! If you have healthy well-shaped nails, you really can skip polish and rock those! But adding colour never hurts!
Hello bare clean nails! If you have healthy well-shaped nails, you really can skip polish sometimes.  But I always feel I need a bit of polish, which is why the partial colour is great.  You get a bit of both worlds.

Steps to doing a Colour on Nude Nail Manicure

  1. Start with clean, well shaped nails.  This is an obvious must when trying to achieve this half painted look because your nude nails are actually the star of the show!  (I wash and moisturize my nail shaft for a day or two resting them without polish, to let it breathe and grow more healthy)
  2. Just before painting them, wipe your nails with a tissue moistened with water, to remove excess oils that can cause the chipping of polishes.
  3. Let your nails dry from the wiping.
  4. First paint your nails with a transparent base coat all over the nail shaft.  The base coat helps so much because naked nails don’t receive colour evenly, so it is like a foundation.  Base coats also smooth out ridges in the nail, just make sure it is transparent so the nude nail shows.
  5. Carefully paint the design in with the colour of choice.  I like to do the moons of the nail, which is the bottom half closest to the cuticle.  I do an arched shape.  I find middle-toned polishes to work the best with this look: ie. not too dark or not too pastel.
  6. Let the first colour coat dry, then do a second coat of colour, being careful to mirror the shape from before. (This step is optional: intricate designs are not easy to apply a second coat to)
  7. Put on a clear top coat All over the nail shaft to seal it in. I love to use a clear matte polish as a topper just because it looks super natural on an uncoloured nail.
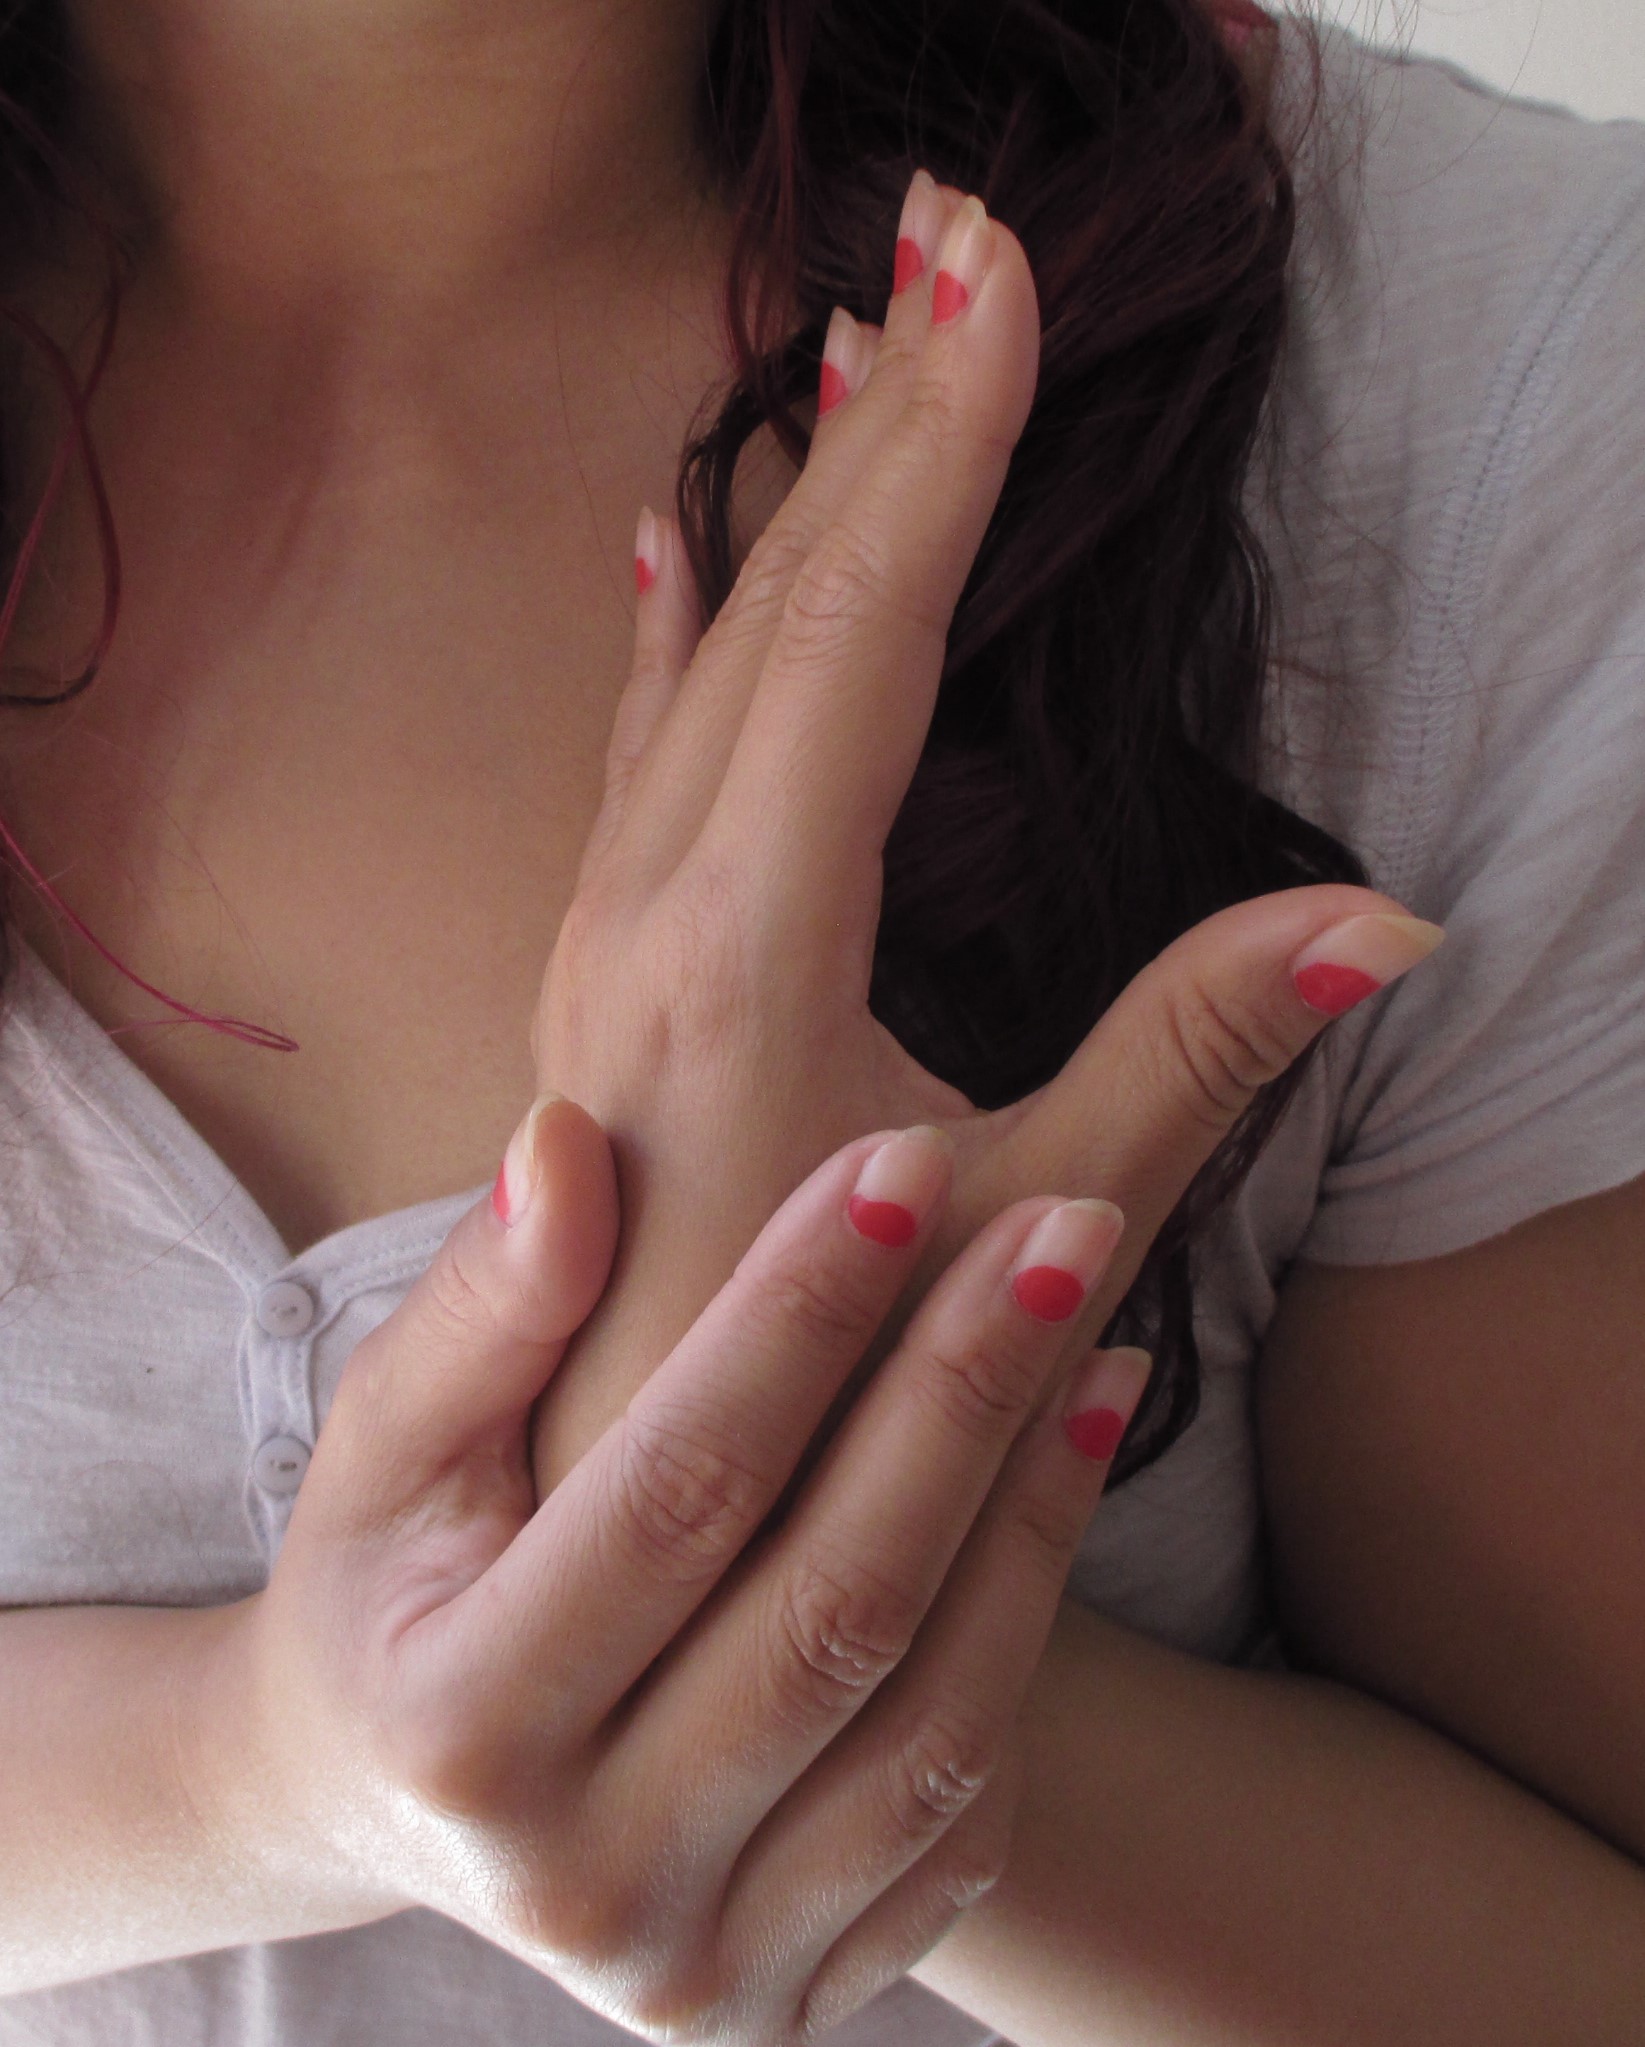
So this is the finished product. A nude nail accented by a burst of colour! There are endless variations of the nude nail with colour! An single coloured stripe would also look cool!

Graphically designed and painted nails that show off the natural gorgeousness of the naked nail!  Try it yourself and let me know how you like it.  I’ve seen different variations, you can do a vertical strip, do a star shape or even dot nude nails with a few jewels.   The possibilities are practically endless.  Main point to do is remember to use a base coat and top coat for best results. 🙂