Using a matte top coat on manicures remind me of meringues…

There is no cookie or confection that is more elegant and simply yummy than meringues.  The ultra light texture of crumbling sweetness dissolving into nothingness on your tongue is devine.  For those of you that have never eaten one of these things…you gotta try it. At least once.  Bonus points of this dessert is that it is definitely fat free, and flour free.

When I lived in Paris many years ago, patisseries were super common there.  Pastries, cakes and baguettes at every bakery on every corner. No donuts at all.  No Wonder Bread.  You could have every baked confectionery at your finger tips…and over there it was not “fancy” to do so on a daily basis.  It was routine every day living.  How I miss the French and their relative ease at achieving everyday classiness as the norm.  I discovered meringue cookies there, and developed an appreciation for this simple and sweet cookie. My problem was when I moved back to Toronto, I could not find meringue cookies anywhere.  It was back to pasty flavourless donuts, and overly sweet over the counter candy.  I had to teach myself how to make these things. (This post is about nail jobs, and I am getting there, trust me.)  And after many failed attempts at creating meringue at home here, I finally perfected a recipe that works.  Making meringue is a little trickier than regular cookie dough because it relies on timing to get the fluffiest volume of egg whites.  Here is my recipe:

They look fluffy, but are crisp, light and super sweet! Kinda like crunchy cotton candy!

Pretty and Pretty Easy Meringue Cookie recipe:

egg whites of 6 large eggs

1 and 1/2 cup of sugar

1/4 teaspoon of cream of tartar

1/2 teaspoon of vanilla extract

1/2 teaspoon of almond extract

Preheat oven to 200 C.

Step 1: Separate the egg whites.  Do this while they are cold from the fridge, and do it MOST carefully.  Even a speck of egg yolk will prevent your whites from reaching peak volume.  Leave it in a bowl to warm up to room temperature (1 hour approx.)

Step 2:  Beating.  This part is very important and is what making meringue is all about.  Timing is key here.  Start with a medium/low speed and beat the eggwhites with an electric beater until it is foamy.  Not stiff enough to hold any peaks. Add your cream of tartar, and continue beating medium/slow until the second stage which is soft peaks.  This is when your egg whites are starting to stiffen and turn whiter.  Soft peaks hold when you pull up the beater. This is when you slowly add the sugar, bit by bit, giving time for each spoonful to incorporate into the egg white mixture and add even more structure and stiffness to it.  Keep beating and adding the sugar at a steady rate. About a tablespoon for 5-10 seconds, until all the sugar is in.  Add your vanilla and almond extract.  Let it reach full volume by beating at medium/low for a minute or two.  And when you feel it is at max stiffness, stop and enjoy the beautiful white fluffy batter.

Step 3: Using two spoons, scoop a dollop of the batter and slide it off with the other spoon onto parchment paper lined baking sheets.  Make sure they are irregular shaped and not perfect, because they bake out beautifully.

Step 4: Baking/Drying:  Meringue cookies are not really baked.  They are actually drying out in the oven, hence the low oven temperature of 200.  Some people bake meringues at a lower temperature for longer, but I find 200 C for 2 hours in the middle racks is perfect. Turn off and leave alone for at least an hour…feel free to experiment a bit with time until perfect.  ENJOY!

These cookies are so delicious on their own or with whipped cream and fruit.  A lot of people put a bit of food colouring into them so that they take on all shades of pastel colours.  My recent nail job was inspired by the meringue because matte pastel nail colours really remind me of the sweet and smooth texture and prettiness of this cookie.  I recently matte top coated my nails in pastel colours of pink, blue and white.  Meringue inspired fun with nails!
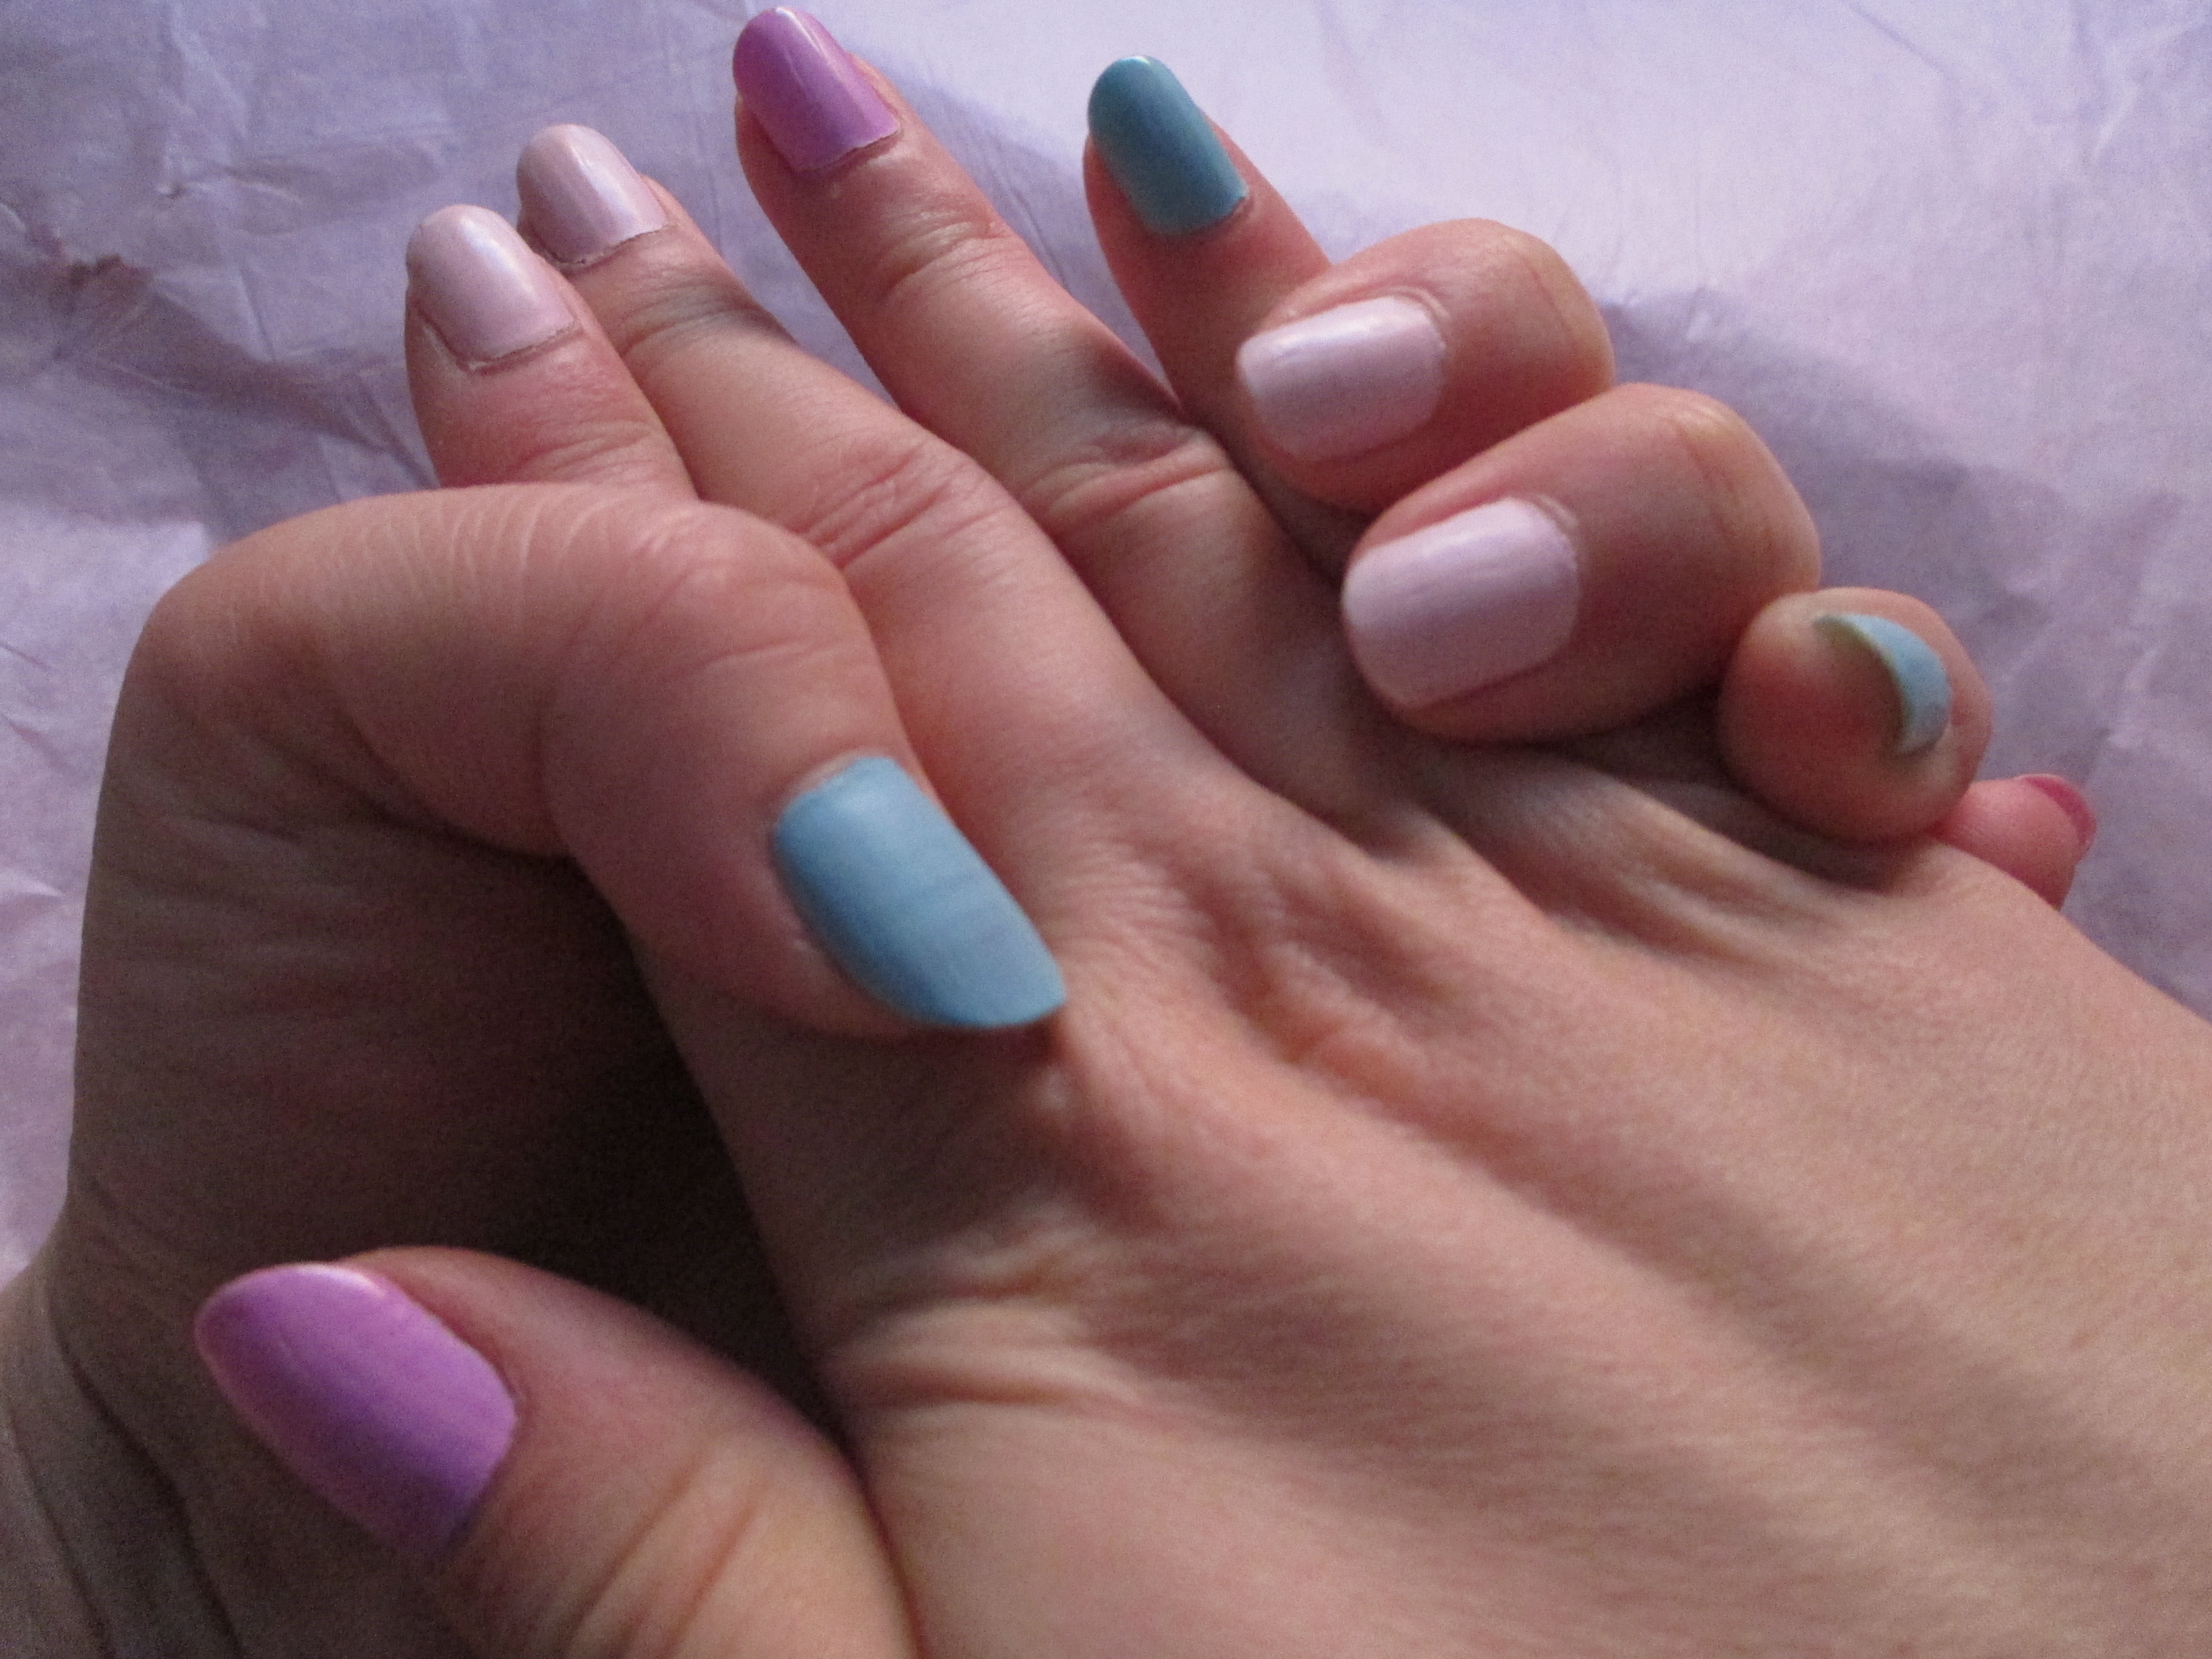
Yummy pastel colours remind me of candy and meringue.  Use a matte top coat...
Yummy pastel colours remind me of candy and meringue. Use a matte top coat…


Are circle lenses worth all the hype?

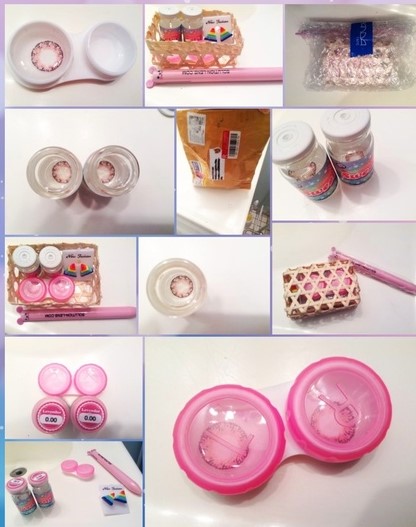
So this trend has been happening for a long while now.  Circle lenses are contact lenses worn with or without a prescription.  They usually change the eye colour and iris size, and are mostly used for cosmetic reasons and cosplay. It’s another asian make-up trend that latched on here in North America, and the goal is to make your eyes appear more dolly-like, more cute and more interesting.  Wearers and makers of circle lenses claim many things…that they enhance the eyes, play up colour and intensity, and make the eyes look bigger and brighter, more gorgeous. But do they really do all those things?  I kind of doubt how enlarging the iris (the coloured ring around the pupil) can make eyes appear larger.  More like a doll’s eyes, yes, but nothing can really make the actual eye appear “bigger”, in my humble opinion.  I think the enlarging the eyes thing is just marketing talk.

An example of how cute the culture of circle lens packaging is!

I feel the only thing that these over-seas circle lenses can do is change eye colour.  The main obstacle when choosing a coloured lens is how to balance a noticeable change while wearing them and not having it look unnatural or fake on the eyes.  I can’t wear circle lenses that are big in diameter (determines the iris size), even though they are all the rage.  That is because my eyes are small and my eye surface area to lens ratio is too great for wearing large diameter lenses. They actually look too fake on me. This has been a major bummer for me because I have to use 14mm diameter and that is very minimal iris enlargement. I’ve just been basically changing colours of my eyes.  I’ve done blue, grey and purple lenses.  Recently, I decided to try red lenses!  I got them on sale from Pinky Paradise.  1 pair doesn’t cost that much ($20-25) and shipping is reasonable.  Just don’t get addicted to these lenses and feel the need to have every colour of the rainbow.  That will rack up quite a bill quickly.

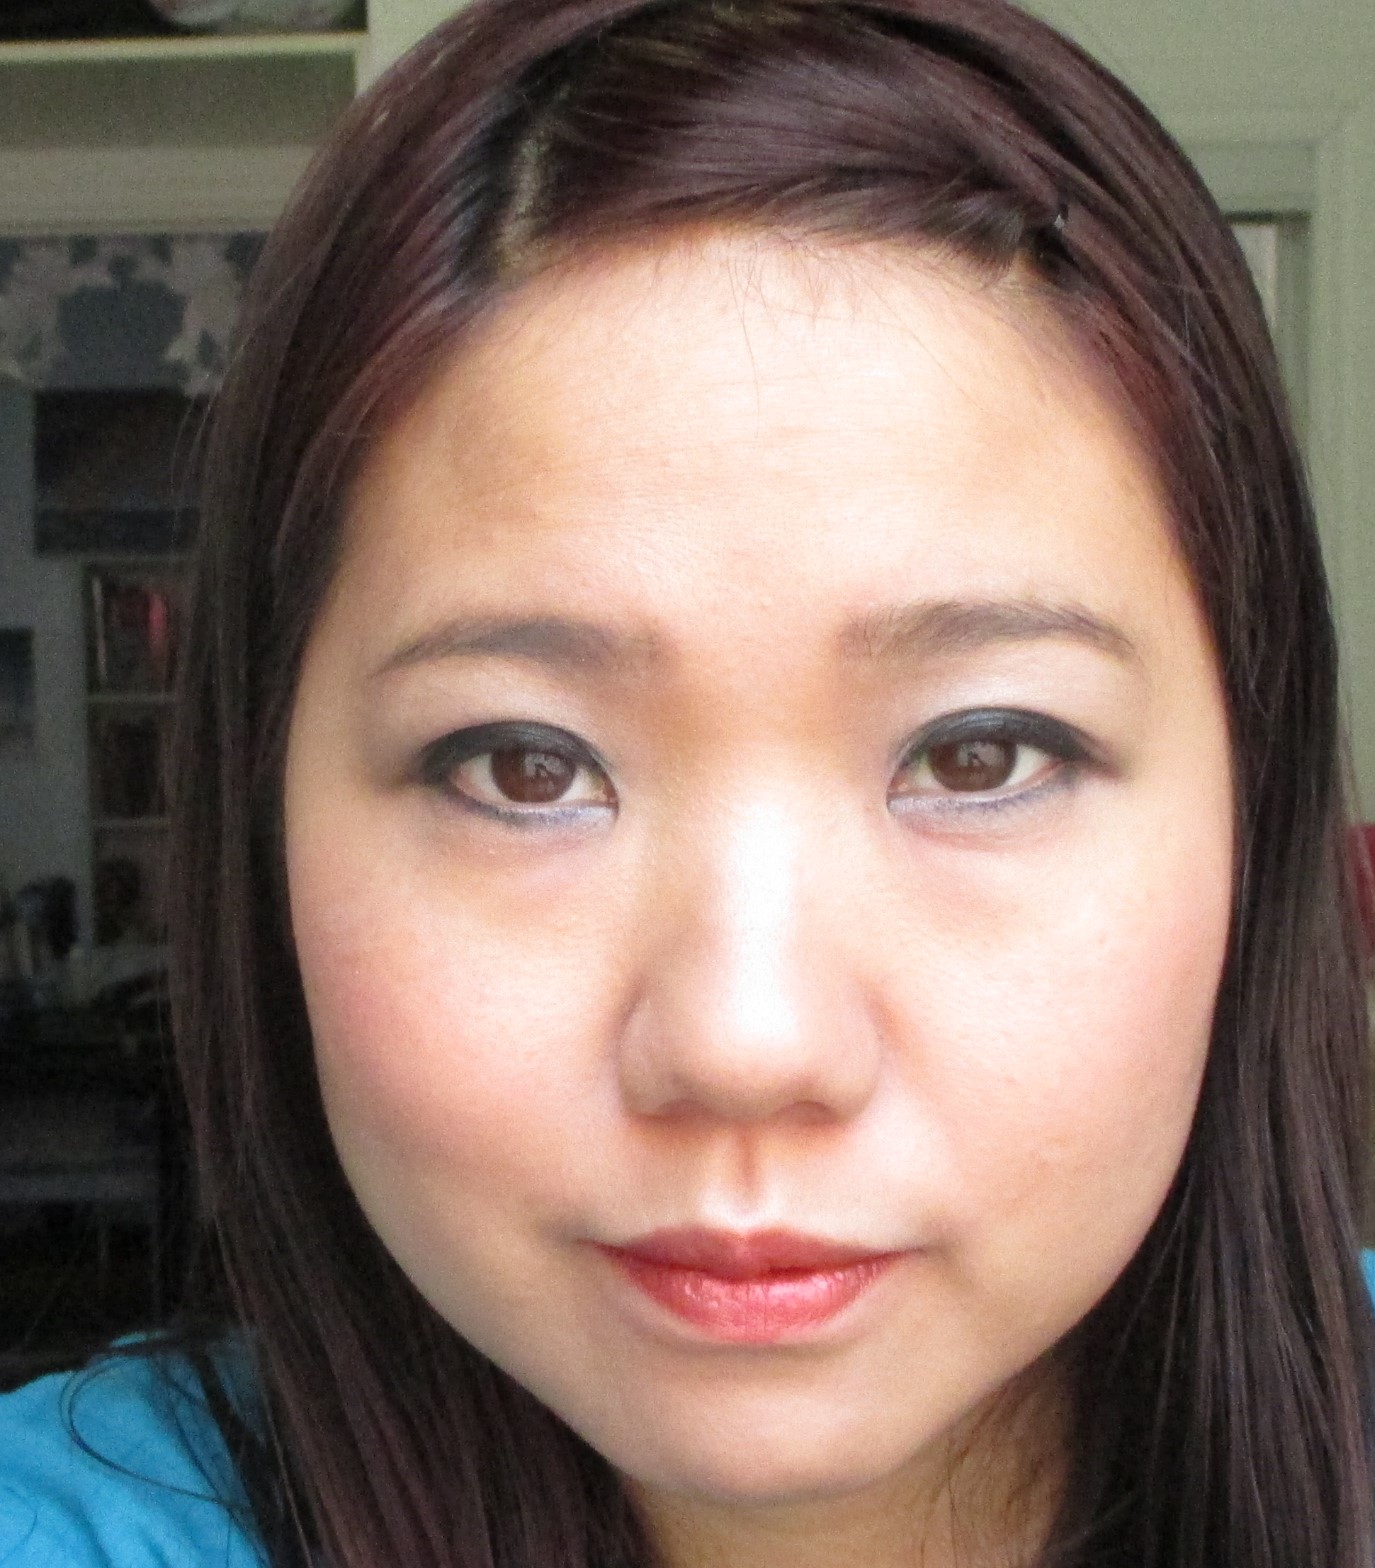
This is my natural eye colour, with no lenses.
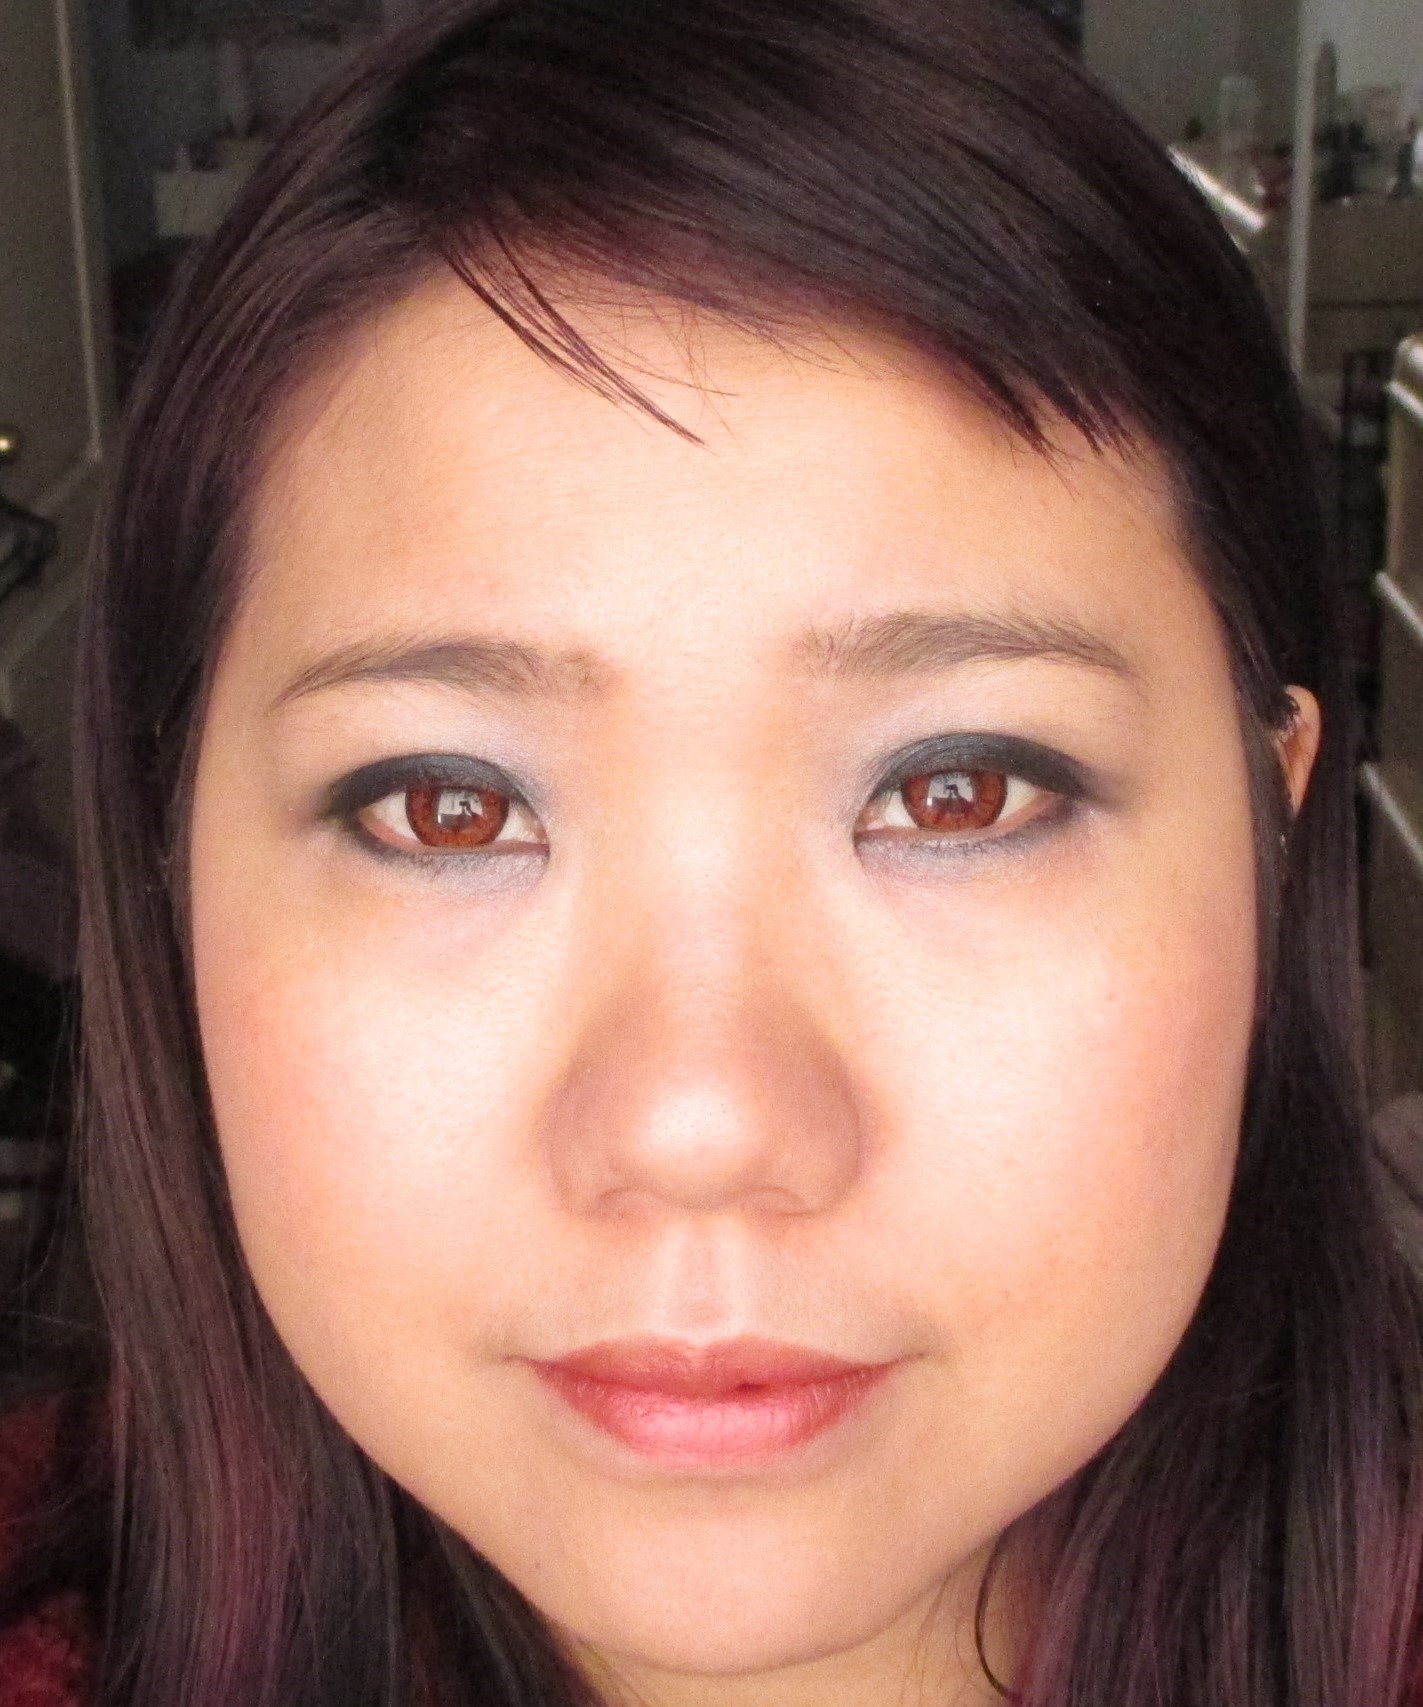
With redish coloured lenses.  Are my eyes more striking?  Or are circle lenses useless?
With Venus brand red lenses. Are my eyes more striking? Or are circle lenses useless?


So what do you think?  Is the payoff for wearing circle lenses there?  or is it just better to be au naturale when it comes to the eyes?  We also need to think about how wearing contacts requires proper cleaning, care and storage, because maintaining eye health is a serious thing.  I got some unknown eye condition two years ago while using various circle lenses, and it took me months to heal.  I practiced good handling methods so til this day, I wonder if it was from frequent use of these lenses.  So in the end is it really worth all the hassle just for a subtle change in eye colour? I am still on the fence whether sporting circle lenses are as great as the trend makes them out to be or something I can go without…

To curl or not to curl (eyelashes, that is)…

When I was growing up, I had the shortest most sparse lashes ever.  As a teenager I cried at my barely there lashes, and coated them with loads of mascara to try to make them show up.  But the look I got was just clumpy.  It was also the norm back then to use an eyelash curler.  Every woman knows this instrument.  It is a hinged metallic or plastic clamp that crimps lashes and forces them to go “upwards” in direction, so they give the impression of being more full and long.  The problem with using this is that it never looked natural…lashes don’t all of a sudden push in an upward direction. And my tiny young eyes were too small to fill in the contours of a lash curler, meaning only the tips/ends of my lashes were being curled.  So all the make-up experts that said lash curling was a “mandatory” step in make-up application probably never had my eyes or my lashes.  The other problem:  they pulled out lashes.  Seriously.  I had few and short lashes to begin with, so pulling them out by crimping them with a clamp was definitely not a good idea for me.

My boyfriend recently stumbled into possession of an eyelash curler and asked me what it was.  Us girls and our medieval face-put-together tools...
My boyfriend recently stumbled into possession of an eyelash curler and asked me what it was. Us girls and our medieval face-put-together tools…

Fast forward fifteen years into the future:  I have thrown away all lash curlers.  No I don’t believe they make my eyes bigger, or my lashes appear longer.  I have a feeling they actually damage my lashes and cause them to fall out!  Think about it.  Everytime you clamp down on that tool, your lashes are bent and pulled.  So with long term use, wouldn’t your lashes get even more thin and sparse with time and using a curler?

The new trend today is  making lashes grow.  Have any of you seen the new growth and conditioning eyelash treatments available out there recently?  So now instead to buying tools to crimp up our lashes, us women are supposed to embrace expensive serums that “grow” lashes.  But honestly, we can’t grow lashes. The most we can do is take care of those lashes we do have.  My simple solution is this:  stick to a good non-clumping mascara and get some nice false eye lashes.  No relying on serums, or pulling lashes with a clamp lash curler.

Make the Most of your Lashes:

1. Two coats or more of non-clumping mascara.  Push up on the lashes with a clean finger after application to encourage the drying of mascara into an upward natural curl of lashes.  No need to clamp down with a curler.  Fingers can gently guide lashes to the shape and position you want!

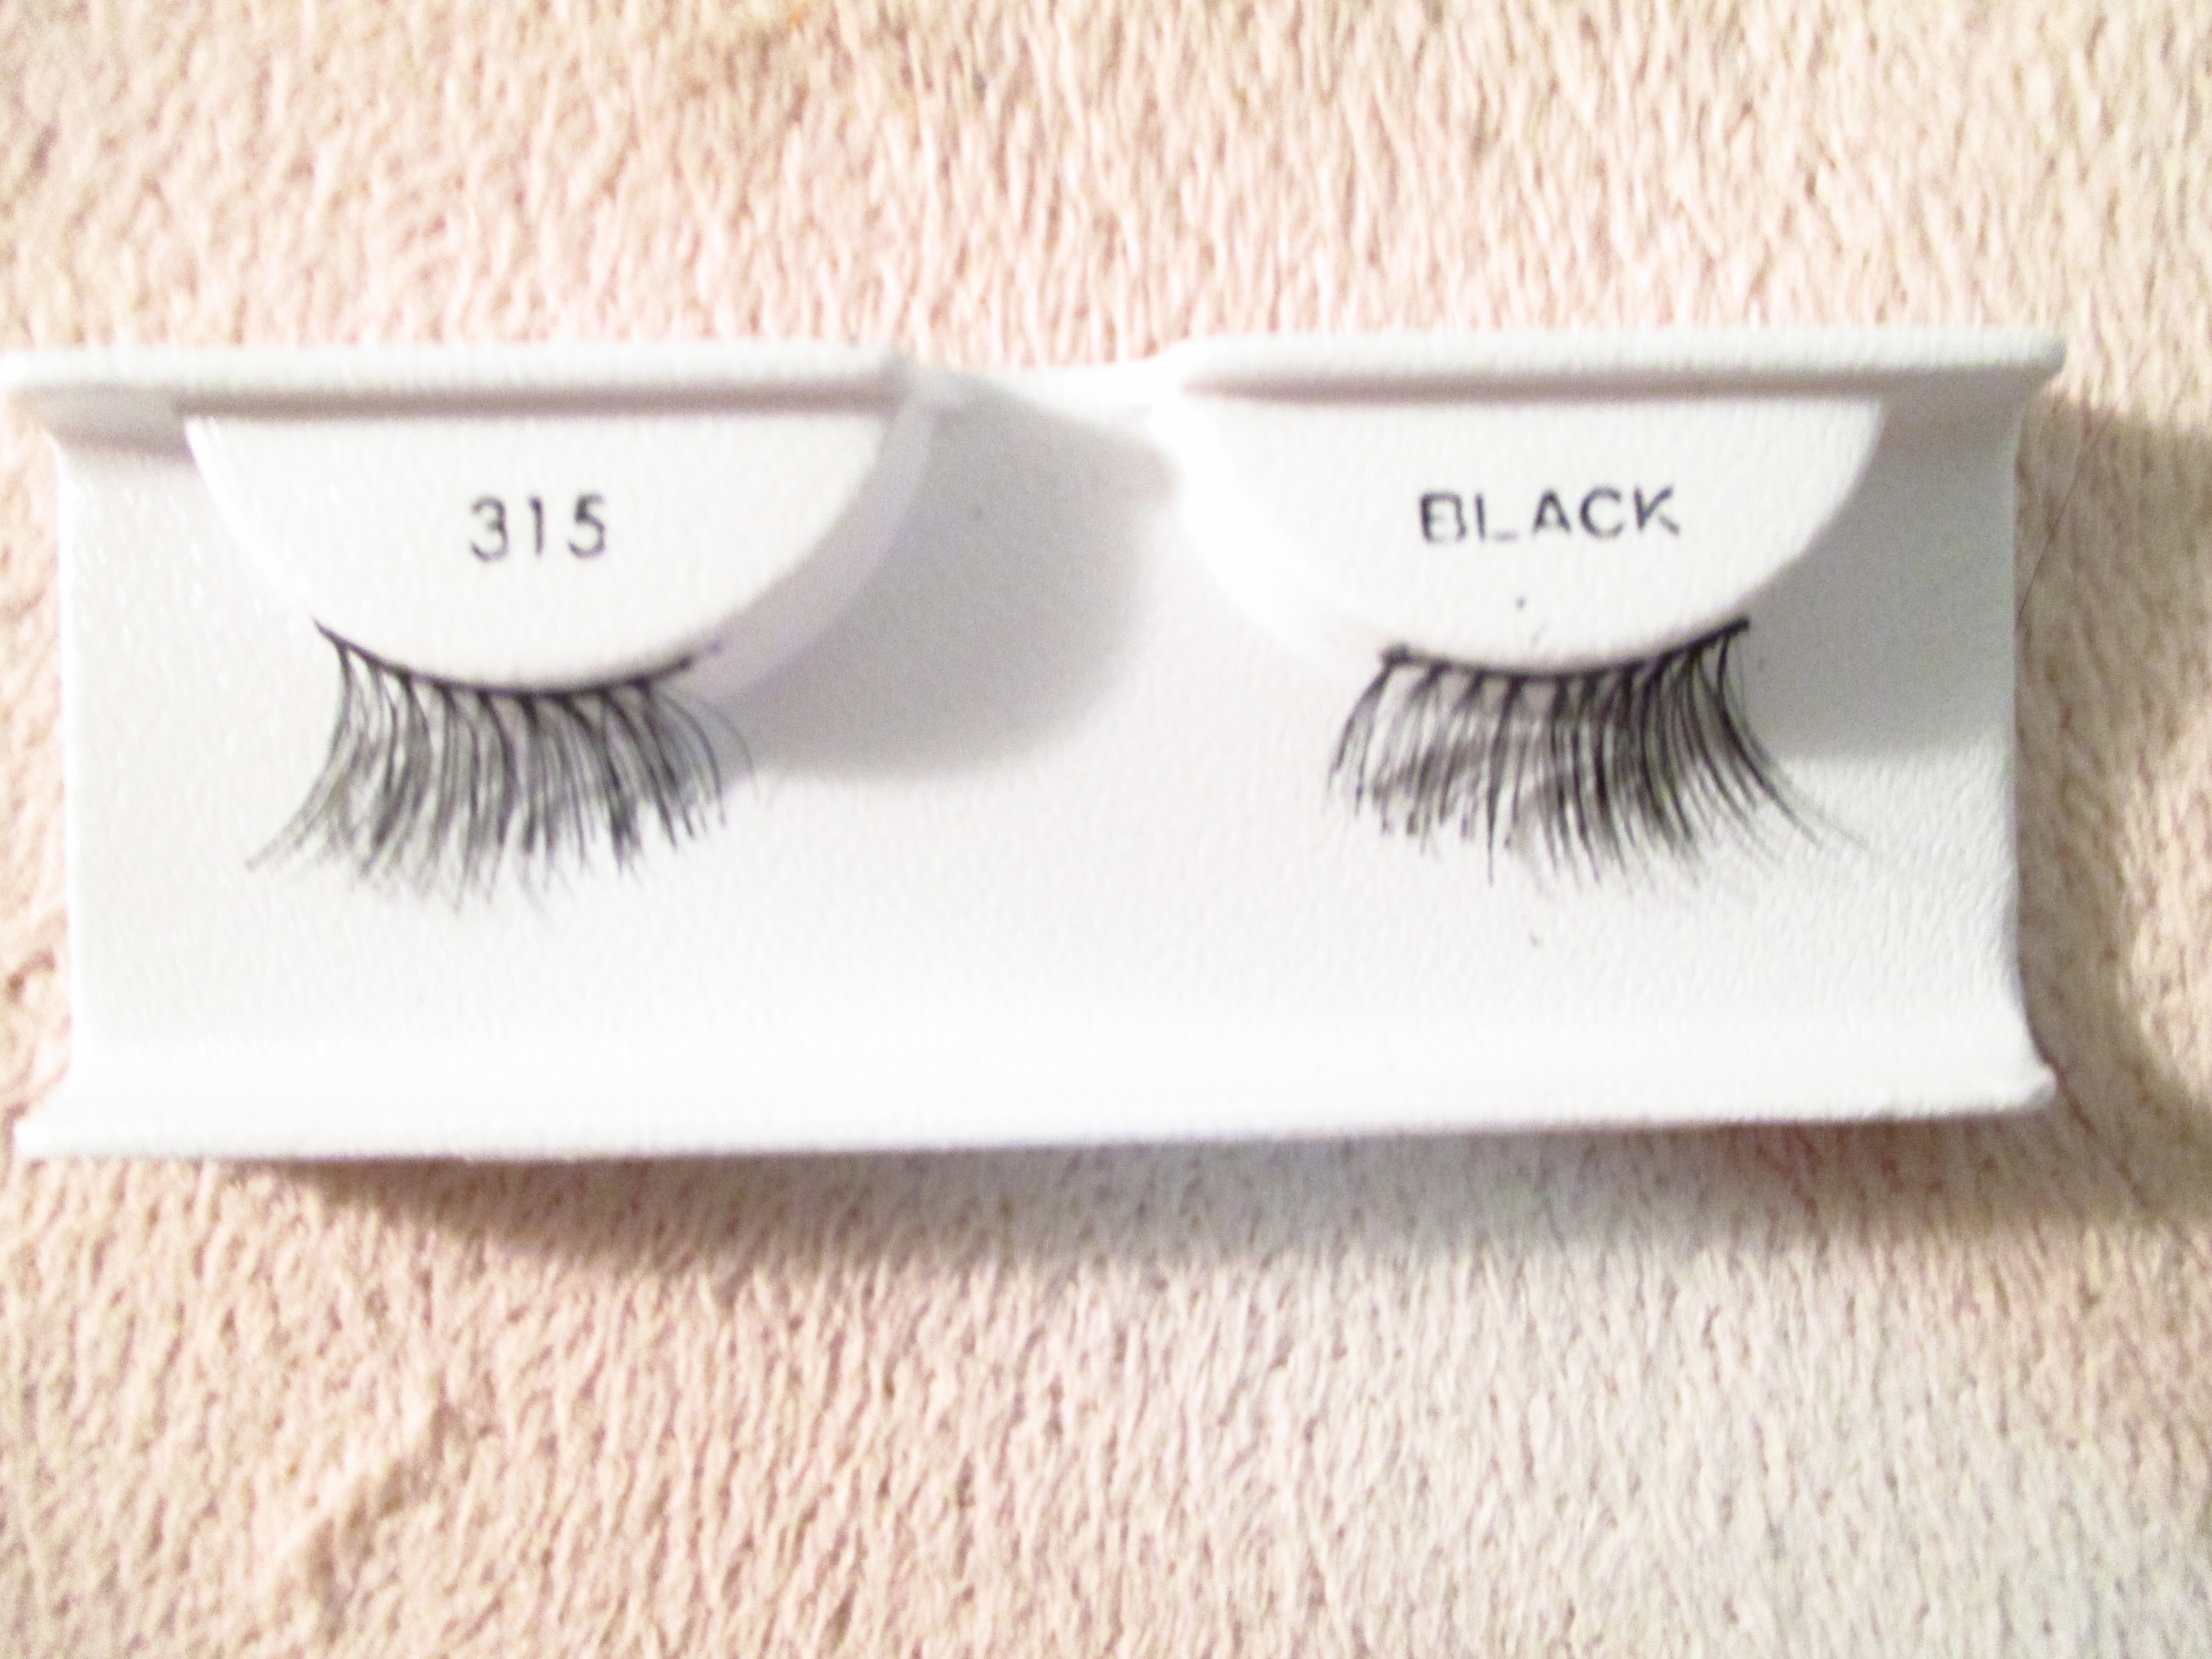
My half length "accent" lashes that I applied, just to the outer half of my eyelash lid.  They do the trick and look rather natural...
My half length “accent” lashes that I applied, just to the outer half of my eyelash lid. They do the trick and look rather natural…

2.  Use falsies:  There was and probably still is this Asian make-up trend of super doe-like lashes, full and long to mesmerize the onlooker at how gorgeously lush your eyes can be.  Nobody is born with it, but with the help of false eyelashes, girls that were deficient in the eyelash gene were suddenly and amply blessed!!!  Use a thin layer of eyelash glue and stick falsies as close as possible to the lash line.  Instant babe-a-licious glam!  I use accent halfies–fake eyelashes that are half in length, used just at the ends of the eye for drama.  I like them because they appear more natural than full lashes on my petite eyes, but still deliver on giving intensity to the eye.

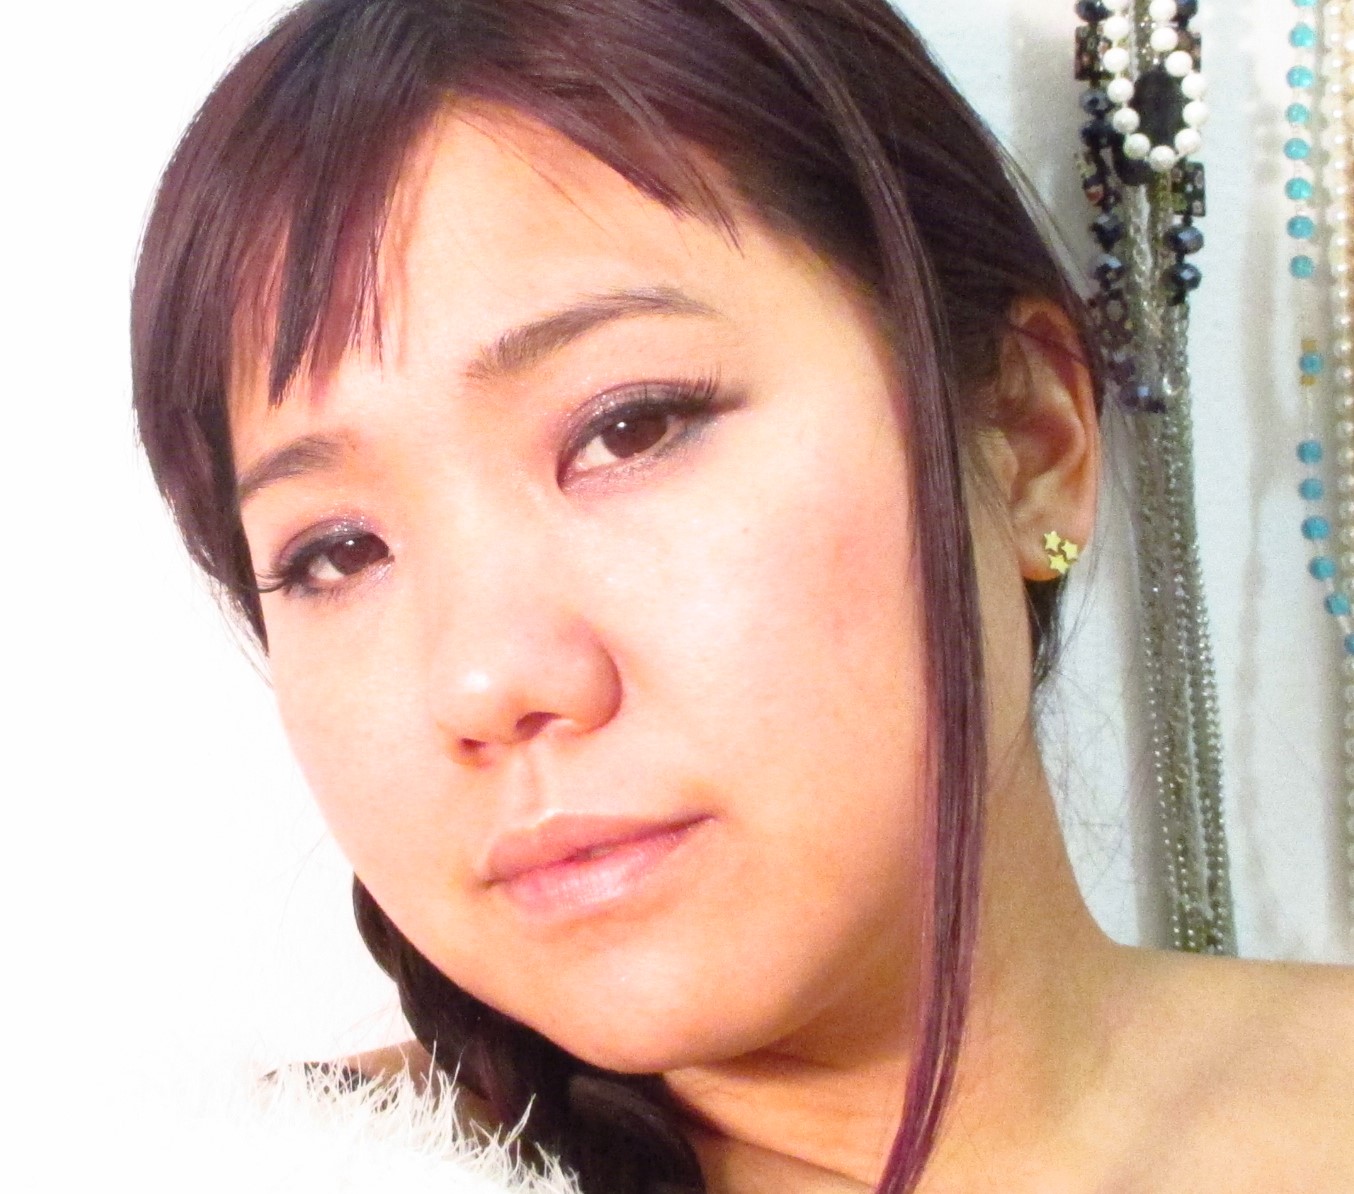
This is me in my half length falsies.  Believe it or not, because of my eye size, half lashes add enough drama...
This is me in my half length falsies. Believe it or not, because of my eye size, half lashes add enough drama…


Tips for applying fake lashes:

*Use a small amount of glue…too much glue actually hinders the look and feel of wearing falsies.  They make them super uncomfortable because of overly strong bonds, and is potentially messy, getting everywhere on your lid as you are placing them on.

*After applying the glue to the lashes, wait about 1 minute.  Most people say to wait about 20 seconds, but I find the longer your glue sets, the more easier it is to place them close to the lash line because the glue is more set and will not cling to the lid until they are in the right place and you intentionally push them onto the skin to adhere.

*Just have fun!  Nobody really cares if you have thick, long or thin lashes.  But I do admit, long lashes frame the eyes wonderfully and make them sparkle!