Some basic, but important Tips for Make-up Beginners

First: A Throwback of my Past Make-up How-to’s:

I write a lot of articles about different make-up looks, whether it be a natural or vampy look, or valentines’ day flirty eyes; I have fun expressing unique make-up applications. Here a few of my escapades with make-up and color:
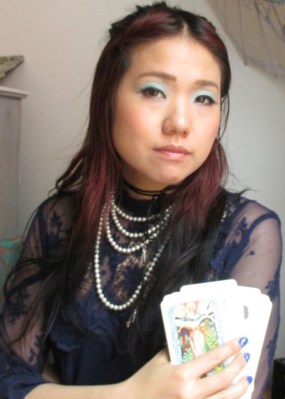
This is from my article on how to do be-witching eye make-up! check it out here.
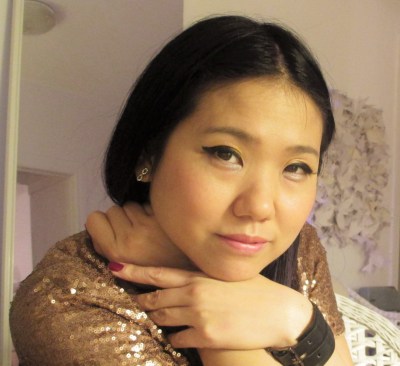
Very dark lined cat eyes for a fashion forward winter holiday look. Article here:
An 80’s electric eyeshadow look for a bold statement. Article here

What works for New Make-up Wearers?

My make-up looks are certainly fun if you want to change up your daily routine, but what about people who want to start wearing make-up and are intimidated by all the complicated/trendy tutorial out there? I think the best make-up looks enhance your facial features simply, and doesn’t change or hide them. Like making your eyes look brighter with a shiny shadow, or making your skin creamier with a bb cream… In essence, make-up is basically playing up what you have naturally, and it shouldn’t feel odd or awkward. It’s a fun form of self expression, and one of my favorite ways to show off. Here are some basic suggestions I want to give beginners who are starting to wear make-up.

Tip # 1: No substitute for Good skin

Before putting on make-up, one needs to take care of the skin. Cleanse, exfoliate, moisturize, and use an antioxidant nightly on your skin. When you have healthy skin, make-up can actually do it’s job properly. Check out my line of natural skincare to learn more.

Tip # 2: Use an SPF or SPF loaded foundation

The sun is not your friend.  UV rays and ultra violet light from the sun IS what causes premature aging and wrinkling, so wear a sun screen under the make-up. If that is too heavy of a base, find a foundation with higher than 15 SPF to help protect your skin from harmful rays at the same time as giving you coverage.

Step 3: Level of coverage in Foundation:

Be honest about the level of coverage you want.  There are three levels of coverage: Light coverage is a tinted moisturizer, with no powder, medium is a light foundation/bb set with a bit of powder, and full coverage is a heavy foundation and concealer set with powder. I tend to like a medium coverage for day to day, since that often means I can skip concealer for minor uneven tones. But if you want the flawless skin look, you will have to go for full coverage. All options are fine, but choose the one that you want, not the one that you think you should want. Just because you have been make-up shy all your life doesn’t mean you can’t have the flawless full coverage look. Be willing to experiment to find what works for you!

Step 4: Definition of the face:

Using a foundation will mute all your other features. Your eyes will look smaller after foundation application, your mouth will be colorless, your eyebrows non existent. Your cheeks without color. So this is the time to add back definition.The more products you use, the more defined your features become. My minimum staples for definition are eyebrow color, eye lid color, mascara and blush. If you want extra definition, you can add an eyeliner, liquid or pencil, contouring/bronzer, lipstick, false lashes…etc. But again be honest with the level of definition you want!

The Bottom Line:

I feel that when starting to wear make-up for beautifying effects, it’s really important to be honest with yourself and how much coverage/definition you want to present to the world. Take the time to figure out what level of “made-up you really want”. And just like when wearing fashion, you want to have fun while expressing yourself with your make-up looks! Having a positive attitude and a willingness to try new things will get you farther in anything, any day!

My day to day make-up look. Very minimal: Medium coverage foundation with a light powder, eyebrow definition, thin lined top lid and neutral eye shadows…no lipstick, but a bit of blush! My go to natural look…

Why the hesitation to use natural/food grade ingredients in cosmetics?

I never really thought of this before. It’s kind of logical to me. In a battle of best cosmetic ingredients between natural and chemical, natural is just better. If I can eat something, like coconut oil, and then also use it on my hair to moisturize, that’s a win win situation…I have always thought that if it is safe to go into our bodies, it is safe to put on our bodies…but I recently found out not everyone thinks this way…There is a point of view that cosmetics should remain a chemical science, and that putting food on ourselves is just well, kinda dirty. Where did I get this idea from? A man working at a hair supply shop told me this, when I mentioned I used a bit of coconut oil for my dry ends. He said the problem with food grade is that it mixes with microbes and such on our bodies and can easily become rancid and/dirty.

Hmm…Dirty? I never realized this point of view before, and while I think the shop guy might be right to some degree, I still think it’s an exaggeration at best. The outsides of our bodies can take a bit of dirt and microbes. Our own bodily oils are teaming with loads of bacteria and such, it’s all over us…adding food grade ingredients does not necessarily add to the microbial community…maybe it would if we never showered…but the average person in North America probably showers at least once a day; not enough time for coconut oil or any food grade oil to become rancid, and thus dangerous to our health. Advocating for chemicals and chemical preservatives to remain the standard for quality hair care, is a bit unfounded. Many of the chemicals in cosmetics are known to be drying, irritating to the skin, cause allergic reactions, and even have traces amounts of carcinogens. Yikes.

The trend to go natural is so strong actually, that many big cosmo companies now say they have squeezed natural ingredients into their formula. I’ve seen so many times the advertising and labeling of big brand products claiming to use honey, botanicals, fruits, natural oils and butters. The ironic thing is the natural inclusions are often very denatured/altered and it’s a very minute amount that’s used. Why moisturize with a vat of silicones and trace amounts of cocoa butter, if cocoa butter is the actual desirable ingredient? I have to toot my own horn when I say I make a solid lotion at Dream E that is a third made of cocoa butter and all natural other ingredients, except for a small amount of fragrances. But 95% natural is better than 1% natural any day in my opinion.

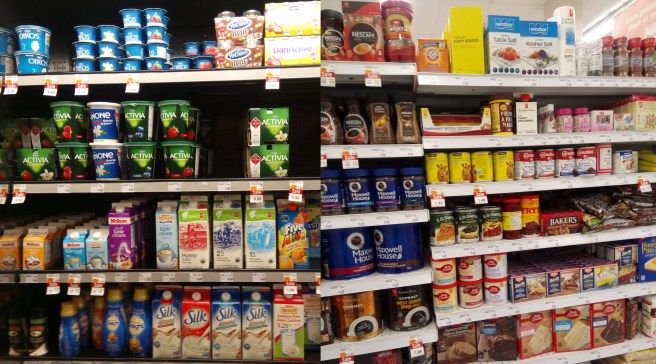
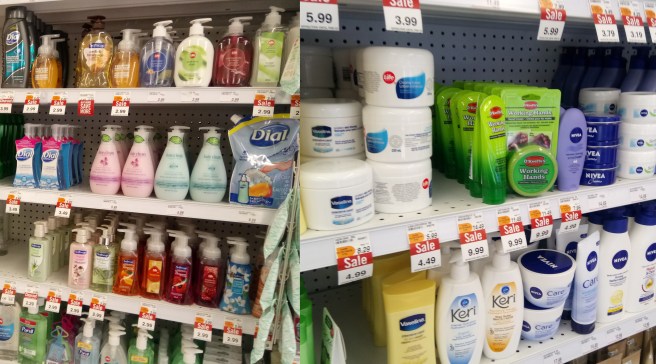
At my local Shoppers Drugmart: look at all these chemical and chemically preserved products! Don’t get me wrong, I still use them sometimes…but if I had a natural alternative, probably not.

I think as a society, the culture is moving away from chemical dependencies as a whole in general. I do feel that people prefer food that hasn’t touched pesticides, and are organically grown without fertilizers…Society seems to want more natural things in bodies, so why not reflect this view when it comes to cosmetics, if possible? Don’t get me wrong I like my chemical stuffs too, I use at least a dozen different chemical make-ups everyday; I wrote an article singing the praises for a superstay lipcolour formula that has the lasting power of car paint enamel! But when I can, I readily choose natural: I remove make-up with coconut oil. I use olive oil to amp up my hair conditioner…Vitamin E capsules used externally for my face at night, sugar face scrub, glycerin setting spray…anything that is food for internal can be also be food for skin or hair…

So here is the food isle at my local drugmart: I have been known to use many food grade items for cosmetic purposes: sugar, honey, yogurt, olive oil, coconut oil, cornstartch…etc. just to name a few…

In the end, I don’t think food grade ingredients at their purest, simplest form can ever be harmful. Think about in the past, before industrialization…people had to resort to what was around them to take care of their skin. Shea butter from the shea nut…is still used for cooking and moisturizing skin in many places of the world, with amazing healthy results…nut shells for exfoliation…cocoa butter, aloe vera…all of these plants derived food ingredients are still widely used on the body externally…and there is no scientific study or test needed to formulate and manufacture then truth that they work well. It just makes sense they do because sometimes Nature knows more about beauty, than chemical Science does.

Valentine’s Make up: Plum smokey eye with peach lips and dewy skin…

So, I was trying to think of a shorter, catchier title for this post…but alas, this eludes me! I’m just writing an article on make-up styles for Valentines this year…and want to share with all this idea: A smokey eye…but with a twist…it’s a lot lighter and softer than the traditional smokey charcoal eyes, instead it is more about pewter and plum tones, colors that add darker colors to the eyes without overwhelming them. Instead of being a vampy vixen on a night in the town…I think plum smoke is more along the line of “fashion student bored and trying to spice things up”…

So here is my tuturial on how to get this look…

  1. Start with a previously moisturized face.  Then mix a heavy moisturizer, like a night cream, with a pigmented bb cream/foundation in the palm of your hand. Use a ratio that makes sense, around 1 part moisturizer, 2 parts foundation. Spread the mixture evenly on your face. Now you have a dewy complexion. Set with a light dusting of illuminating face powder. If you have a glycerin spray, or a dewy make up setter, spritz that all over the face now.

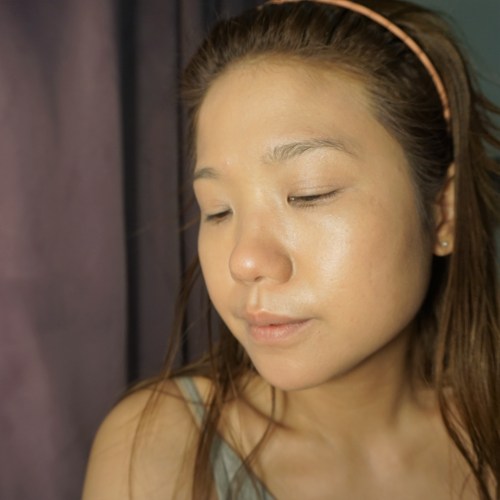
    A mixture of heavy face cream and pigmented bb/foundation leaves skin naturally glowy…set lightly with illuminating face powder
  2. Eyebrows need to be filled in, and an eye shadow base in a neutral skin tone must be applied on both the upper and lower lids. Then get a highlighter shadow (a light shadow that shimmers and reflects) and do the brow bone, the lower lash line and inner eye corners…

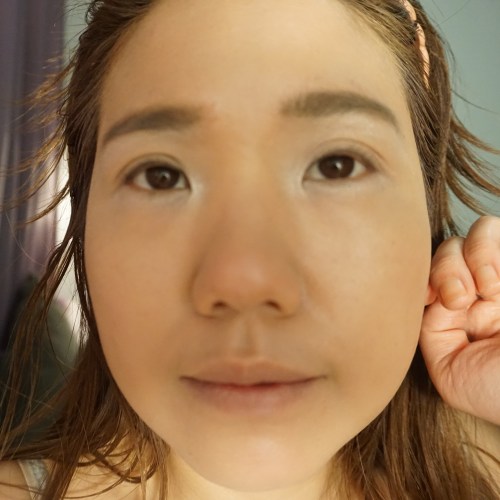
    Brows filled in, and the eye shadow base is on…shimmer highlight in the right places…
  3. Now you are ready for the dark colors: Do a light even sweep of the pewter color on the whole upper lid, just to the brow bone. Now switch colors…do a purpley plum color on top of the pewter shadow also to the brow bone. Line the bottom lid thinly with the same purpley plum shadow and diffuse all hard edges of shadow with a clean blender brush.

    I used the NYX full throttle palette. But plum and pewter shadows can be found anywhere…
  4. Line the top lid with a black soft eye pencil. Set the pencil and smudge it a bit with black shadow and an angled fine brush. Line the lower lid thinly just on the outer corners with black shadow as well.

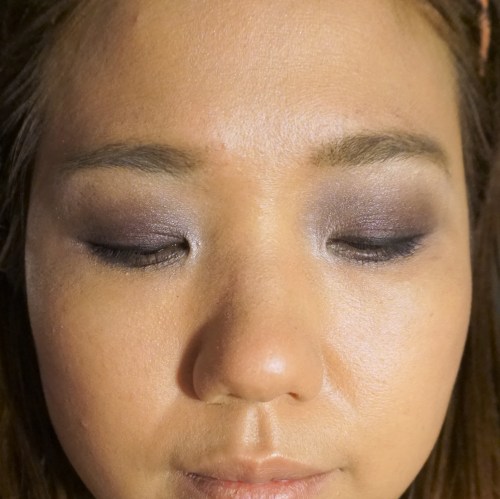
    This is two shadows on top of eachother; a must is a blending brush to soften the edges of color.
  5. Mascara: A good, black, non-clumping formula mascara…two generous coats on the lashes before drying.
  6. Lining the smokey eye top lid with a black liquid liner; I like to use pen liners since they make getting the cat eye flick so much easier.
  7. False lashes: These are optional, but kind of a must, for giving flirty drama.
  8. Blush. Use lots of this…on the apples of the cheeks, extending up to the temples on the sides of the face…down stroke for the temples, up strokes for the cheeks. Choose a nude peachy pink lip color.
  9. Top with lots of setting spray or a glycerin spray. This helps with the dewyness, and reduces the powdery look.
    The finished product. On camera, it’s not really visible that it’s a smokey eye, but it is, just more subtle!  

    And there you have it…a very simple, one tone eye color and NO contouring necessary. You will look like yourself, but better, with a cute smokey eye this Valentines Day. Ask me in the comments if you have any questions and Happy Valentines…xoxo.