Are there rules to Make Up after 40?

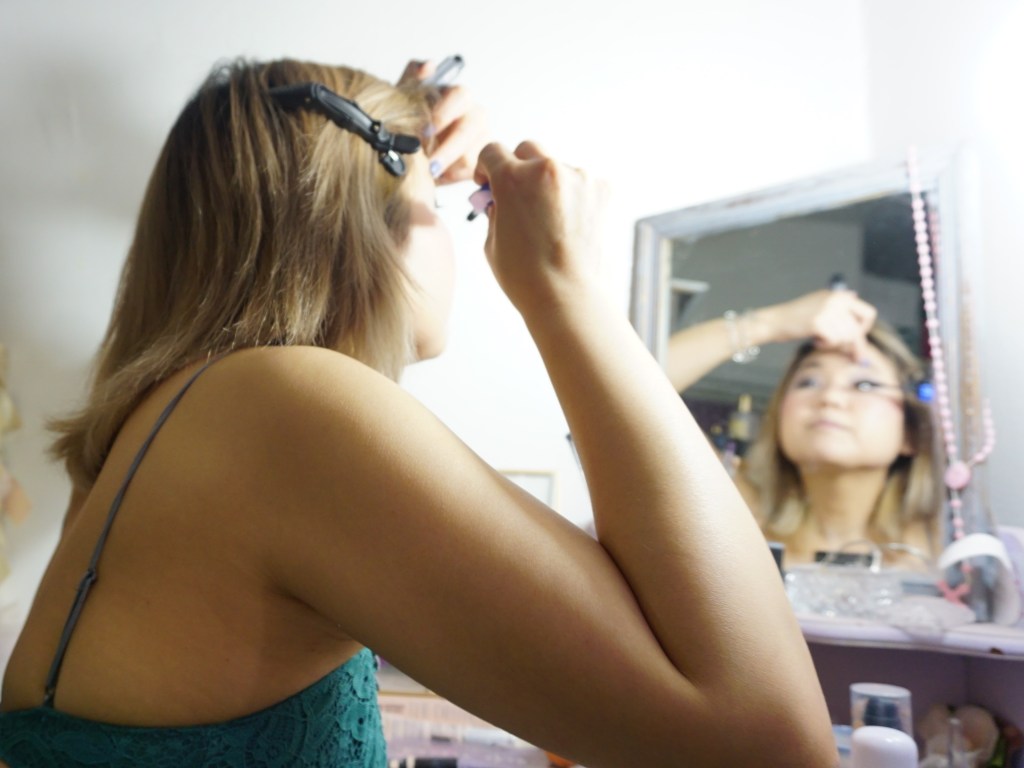
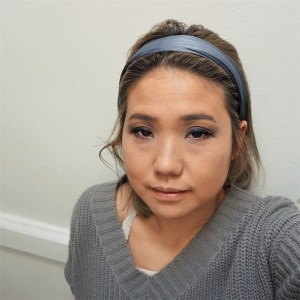
I have passed by countless articles and videos on social media over the past few years about how wearing and applying make-up is different for aging faces. And I never paid much attention to them, always skimming the feeds and skipping the links. The main reason is that I have just looked very youthful for most of my adulthood and did not feel the tips applied to me. My vanity and confidence in my youthful appearance would not let me entertain the idea that I maybe needed these tips…it’s not for me, I always told myself. But here I am, thinking more about it more recently. I now do see fine lines appearing, and places on my face that are a bit saggy. So what are these make up tips/rules now that I can see changes? I want to write down some of my own tips that I believe are ageless good practice, fand have nothing to do with being “over 40”.

Truth is, I don’t believe age should affect make-up application, colours or techniques, that’s too broad of a generalization. I think that changes in make up application is more personal and should be tailored. As a society that is pushing more forward with gender inclusivity, political and social awareness, the place that I feel is still left behind is the stigma with aging female bodies. Society assumes certain things about someone of a certain age. Older women especially seem to get pigeon holed into categories that are age biased and unpleasant, A “hag”, a “cougar”, “grandma”, “milf”, “pre-menopausal”…etc. Even the well meaning “mature” lady is kind of well, sucky. As one ages, skin texture does change, but instead of calling it aging skin or “over 40 skin”, it should be recognized as just a change in texture.

My Makeup Tips for Skin with fine lines and less plumpness:

  • Moisture is everything: Fine lines are actually accentuated by dry skin. Be sure to hydrate internally (drink lots of water) but also externally. Antioxidants like vitamin E oil does double duty, it hydrates and increases the suppleness of skin on an outer level. It also promotes healing from sun damage or pollution in the air.
  • Sunscreen should be in the makeup or under the makeup. Science doesn’t lie. UV rays in the sun does cause aging of the skin, dryness and fine lines.
  • Be careful with cosmetic powders. I love a pretty eye shadow colour, and setting powders to make make up last. But powders also absorb moisture and is drying in that sense. I now opt for cream eye shadows, and cream blush. And only use a light dusting of face powder over my foundation. We want a bit of shine and glow as we age, since powdery and cakey make the skin look like it is dry and wrinkly.
  • Exfoliate often: cell turn over rate slows down over the years. Help out the face by using gentle exfoliants to keep skin soft and diffuse any fine lines that may want to show up on dead skin. I like to use a lactic acid exfoliator. Super gentle.
  • Metallic shimmer is pretty, but it’s light reflecting ablity can settle into fine lines and highlight what is not smooth. Choose makeup colours that are matte or pearlescent. Much more flattering.
  • No harsh lines: eyeliner should be super soft and blended, with the exception of liquid liner to get a bold cat eye line. Otherwise, pencil liners should be diffused with a blending tool for softness. Add to the softness by opting for a charcoal grey pencil colour instead of jet black!
Mimimal powder and cream blush and cream eyeshadow. Blended eyeliner. It makes all the difference I feel these days to flatter my changing skin.

These are my tips for the small changes I see in my skin and how make-up might be adapted to better suit me. But everyone is different! I have talked to people whose faces actually get oilier as they get older and in that sense would have a different set of tips for make up. At the end of the day, just stay beautiful and take the best care of oneself possible. Be thoughtful and willing to change routines and rituals.

Get Ready with Me for a Date Night:

Getting ready for “date night” is a really basic beauty ritual that needs no explaining, in my opinion. We all do it, primp and preen and get our skin glowing for that special someone. But there is actually a lot more to it that flexing our vanity and grooming muscles. There is an order and logic to it. It’s a process, so let’s talk about that process. I will start by talking about my emotional state recently and how getting ready for this one date was so interesting to me.

So I do have a boyfriend. I guess that’s what he is, considering that it we’re monogamous and it’s pretty regular that we see each other. And it’s really difficult making time for each other with our busy adult lives. And the future is always uncertain, in terms of the longevity and meaning of the relationship. I recently feared a lot of things after some revealing text messages from my boyfriend. And I didn’t know how to deal with them. I am a hairstylist in Toronto; my day to day consists of taking care of the business of looking good, and not much else. So there it was–a wall of emotions that floored me and I didn’t know what to do for days. But as a date night with my beau approached, I did what I had to do. What I always knew how to do…prep and get ready. And believe it or not, the process of selfcare and beautification really made me feel more secure of myself and what I want and was therapy in a way.

After showering I love to just relax in my robe and plan my next beauty moves. Usually it involves grabbing a tea!

The Ritual of Getting Ready:

  1. Facial Pampering: I like to do this the night before a date, or the morning of. It’s exfoliating with a gentle face exfoliator. I used Deciem’s Lactic Acid. Then applying a mask. The exfoliating makes the skin cleaner by removing dead skin cells so that it can absorb the nutrients of a moisturizing mask and expel toxins trapped within. It’s also creating the ideal canvas for make-up application. Also the best time to do my nails is the night before!
  2. Cleansing face, body and hair: I like to do this a few hours before the date: I do the whole enchilada; shampoo, condition my hair, shave, brush my teeth. After all the cleansing, don’t forget to moisturize with a nice light body lotion.
  3. Blow Dry and Style hair. My hair style depends on the formality of the night. After being apart for a while from my beau, I needed to have a more carefree, low maintenance look. This was because I wanted to create a more relaxed vibe between us after the awkwardness of the previous week and the messages. So I opted for a tousled look without flat ironing or curling. It was very natural. To achieve this I just blow dry and add a bit of serum for shine and de frizzing.
  4. Decide on outfit: Do this before putting make up on. Even if I don’t dress until right before the date, I still need to know what colors I’m working with. After choosing the appropriate outfit, for this one night I chose a lace turquoise body suit spaghetti strap tank and flare jeans. Casual but stylish attire to match my mood.
  5. Make up time: I decided since few colours didn’t clash with turquoise I would wear a smokey beige shadow with a bit of shimmer. It was perfect. Subtle, but alluring none the less. Liquid line with a pen, my usual day to day make up. Blush, brows, and lots of mascara.
I’m a fan of mascara. I truly believe that is there is one make up arsenal that really makes or breaks a look, it’s the mascara on lashes!!
Tada! The finished look. Is it possible that something so subtle and easy looking took about 2 hours? That is the mystery of getting ready!

By the time I got picked up by him, I was looking fine. Not overdone…even with all the work and prep it took. I enjoy the process. By the end of out date, after a hard couple of weeks second guessing our relationship, it felt nice that at least I always knew how to put on a good show; even if the future is uncertain with my beau. And well…it’s who I am to put my best face forward.

Making the Contoured Face Trend look fresh, not chiseled:

The contouring makeup trend is upon us, and has been for a while…the only thing is the aesthetic is rather angular, high impact and not soft or natural. For those unfamiliar with the trend, contouring is a foundation application that uses different shades of foundation on the face to create low lights and highlights blended together to give an illusion of depth and dimension. It’s a visual trick. Light surfaces move forward and dark surfaces recede back. It’s actually an illusion to create, the appearance of high cheekbones, an eyelid crease or skinnier cheeks…

My problem with contouring is that it looks painted, unnatural and is based on fooling the beholder, instead of accentuating the natural beauty one’s face already has. It is about following the beauty standards that pointier noses are prettier, or shallow cheeks are better, and that roundness is not. Rounded features I find are youthful, cute and joyful. These features can be desirable things…

I have stayed away from the contouring trend thus long, only recently adopting a more modified version of contouring. No bronzer, and no high contrast lines that need blending. Just airy bliss. I started using a highlighter to make my face glow a bit more, to look more awake and to accentuate what I already have. For me, this is the perfect compromise…looking bright-eyed and bushy tailed, but not overly harsh or made up.

How I use highlighting daily:

  1. After moisturizing, I apply my favourite foundation. These days I’m loving the Revlon Photo Ready Color Stay foundation with an spf of 20. It gives me added protection from UV rays, while still giving me a creamy, barely there coverage..
  2. Here’s where it gets fun. Add in a highlighting pen, crayon or cream. Any brand will do as long as it is lighter in shade to your real skin tone. There needs to be a reasonable difference in shade between the highlighter and foundation. Too light and it looks unnatural, but too close and it looks like nothing…

    As I mentioned in the steps the best places to highlight: the nose bridge, the forehead, the corner of the eyes, the bags under the eyes, and the cheekbones. Oh, also the cupid’s bow on top of the lips.
  3. I gently draw the lighter color onto my face. Must hit areas: the cheek bones, the crease at the bottom of any eye puffiness, the corner of the eyes, a small triangle on the forehead, the ridge of the nose, my cupids’ bow above my lips, and last but not least a round spot on my chin.
  4. The magic happens when I blend the makeup shades by dabbing a blending sponge on the edges of the highlighted spaces to create a blurred effect. Once all blended, I dust lightly with ;face powder to set and all looks beautiful!
  5. I then apply my eye makeup as usual and end with 2 generous coats of my current favorite mascara…

I feel this leaves me with a dewy, flawless glow on my face that just looks natural as if I was born with it…and not trying to fool the onlooker. Because at the end of the day, makeup is supposed to make me look better, but not like somebody else.

The finished product. Don’t I look alive but not too chiseled? That’s what we want!