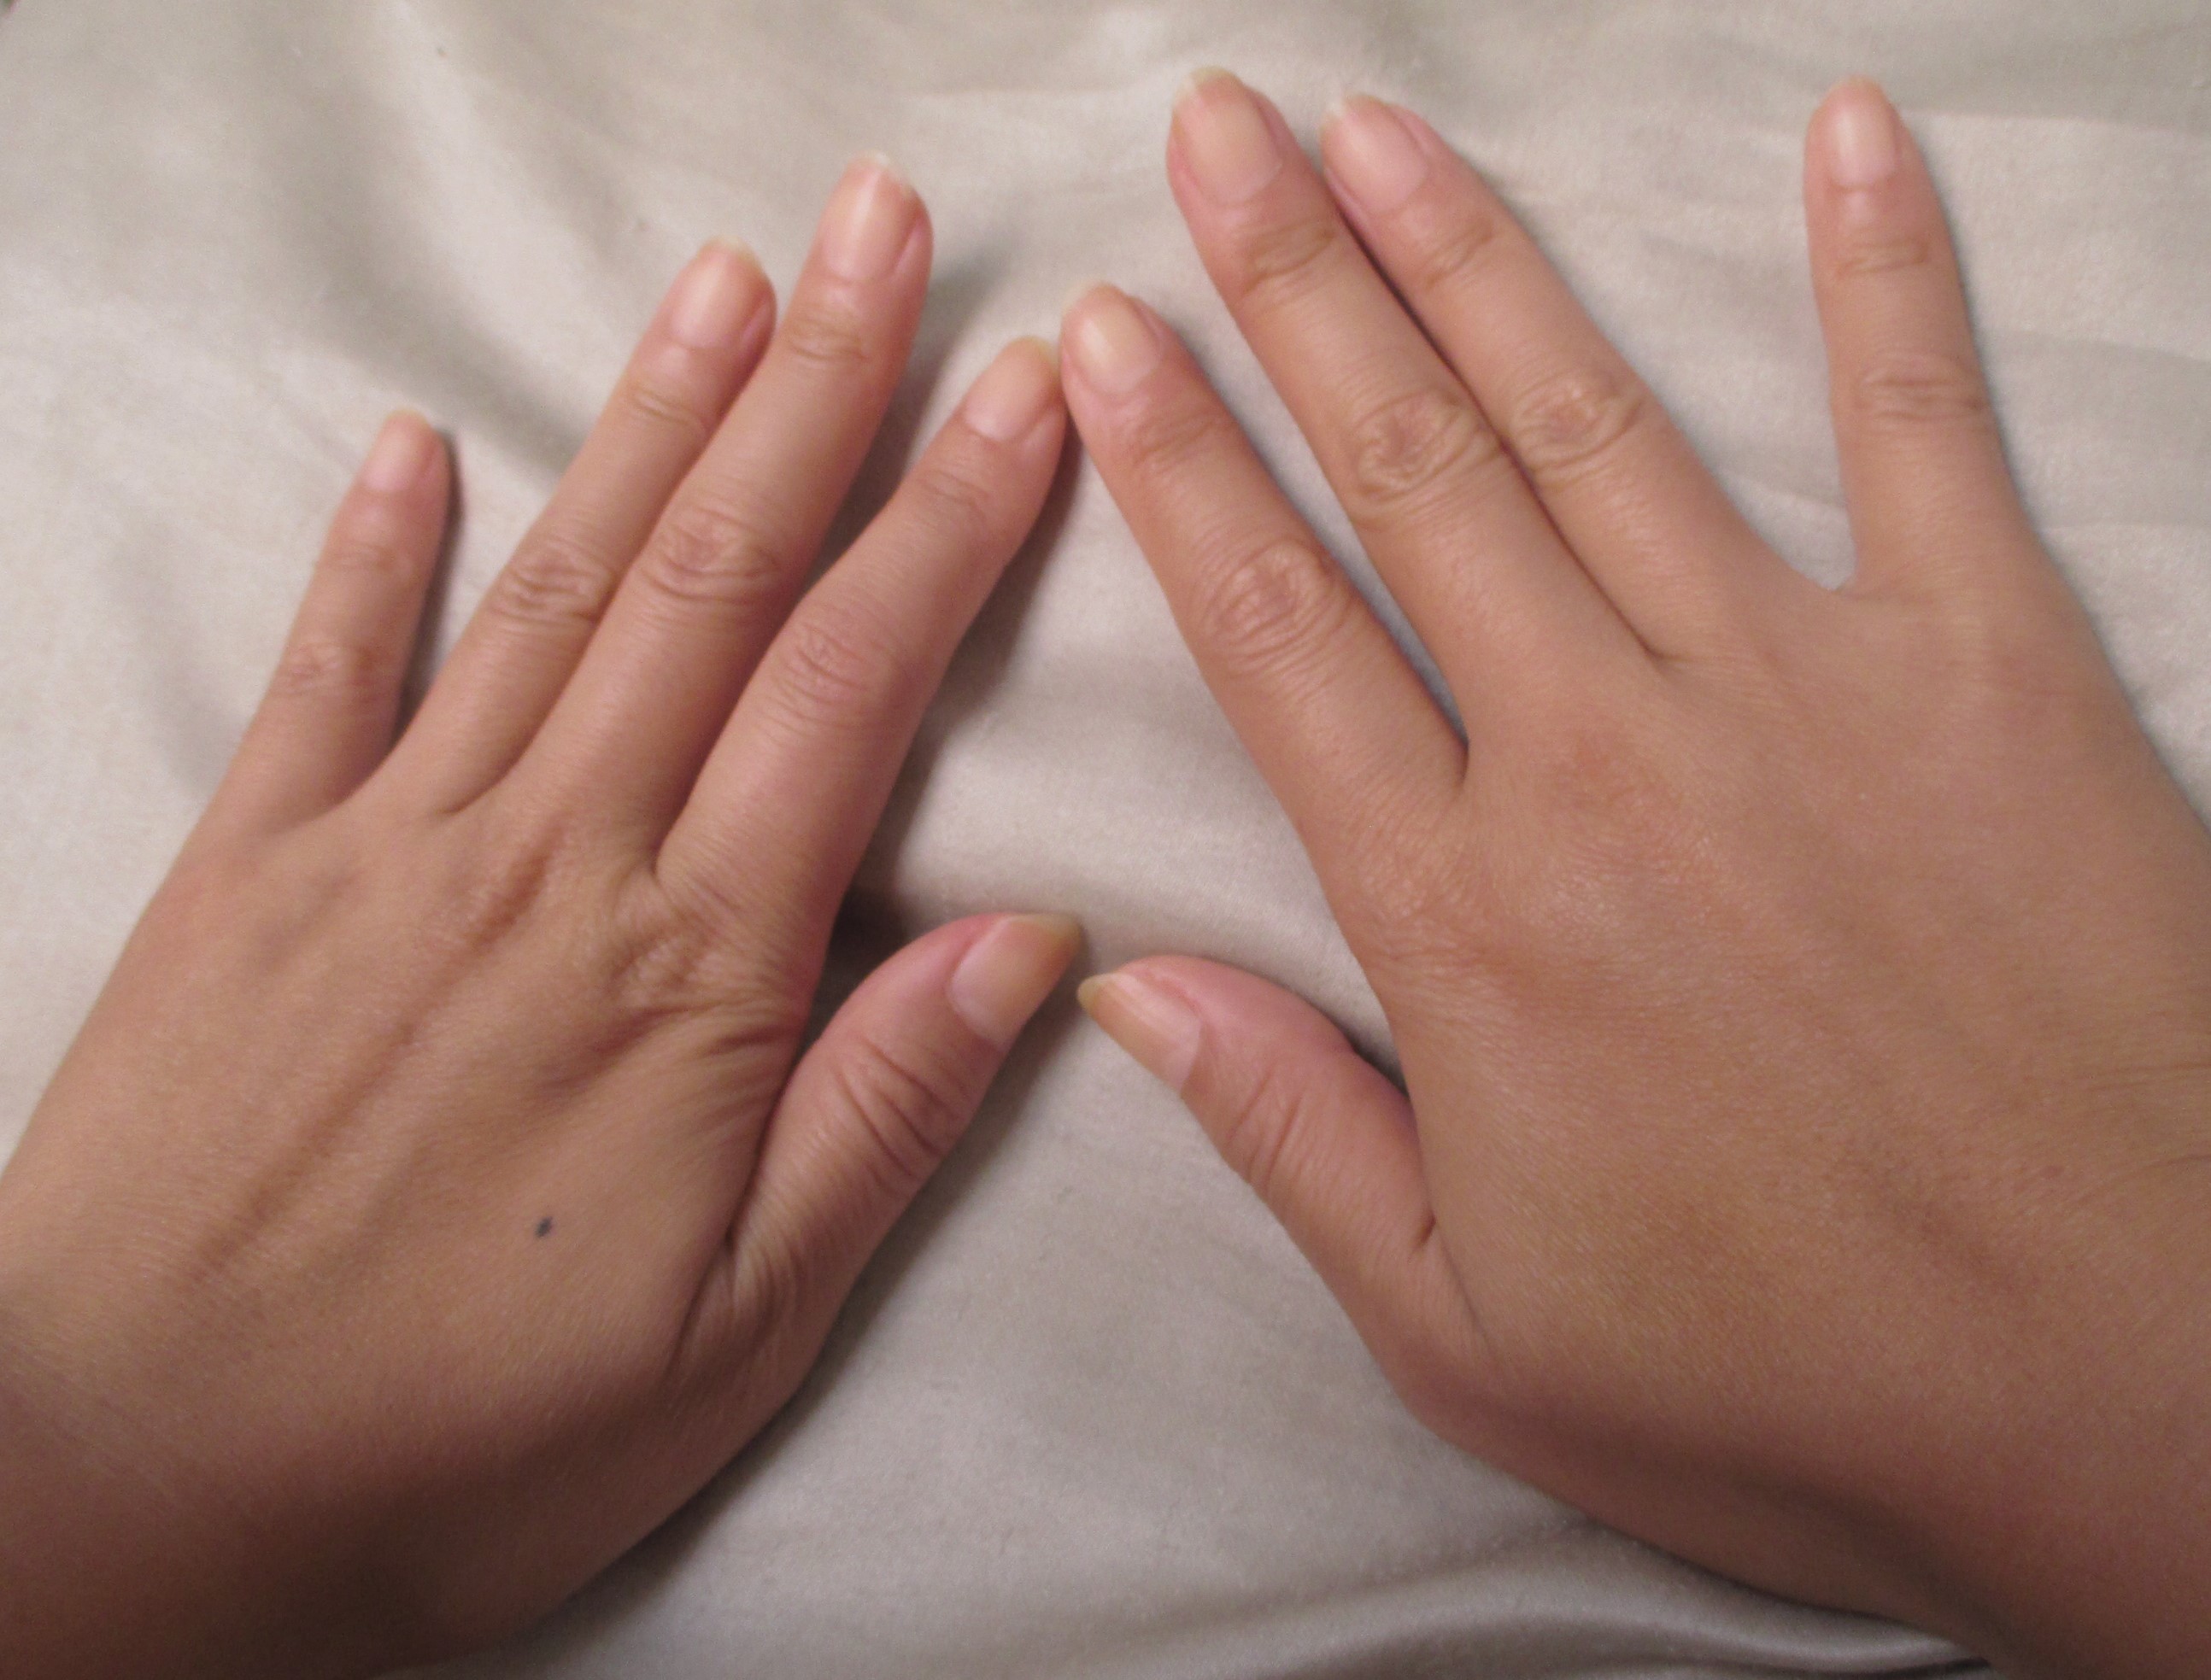
I saw this trend a while ago online in various fashion articles. But only recently I tried to get it with a few trial and errors! It is this way of painting each nail with colour polish only partially, so that the nude bare nail still shows up and is part of the look. I think of it as a variation of french tips, where instead of just painting the tips of the nails, you work with other parts of the nail to create negative space and interest. I think partially colouring your nails is super fresh looking, because it shows part of the bare nails, and hints at idea of being naked, natural. It gives the nail a more graphic, designed look as well!
Hello bare clean nails! If you have healthy well-shaped nails, you really can skip polish sometimes. But I always feel I need a bit of polish, which is why the partial colour is great. You get a bit of both worlds.
Steps to doing a Colour on Nude Nail Manicure
Start with clean, well shaped nails. This is an obvious must when trying to achieve this half painted look because your nude nails are actually the star of the show! (I wash and moisturize my nail shaft for a day or two resting them without polish, to let it breathe and grow more healthy)
Just before painting them, wipe your nails with a tissue moistened with water, to remove excess oils that can cause the chipping of polishes.
Let your nails dry from the wiping.
First paint your nails with a transparent base coat all over the nail shaft. The base coat helps so much because naked nails don’t receive colour evenly, so it is like a foundation. Base coats also smooth out ridges in the nail, just make sure it is transparent so the nude nail shows.
Carefully paint the design in with the colour of choice. I like to do the moons of the nail, which is the bottom half closest to the cuticle. I do an arched shape. I find middle-toned polishes to work the best with this look: ie. not too dark or not too pastel.
Let the first colour coat dry, then do a second coat of colour, being careful to mirror the shape from before. (This step is optional: intricate designs are not easy to apply a second coat to)
Put on a clear top coat All over the nail shaft to seal it in. I love to use a clear matte polish as a topper just because it looks super natural on an uncoloured nail.
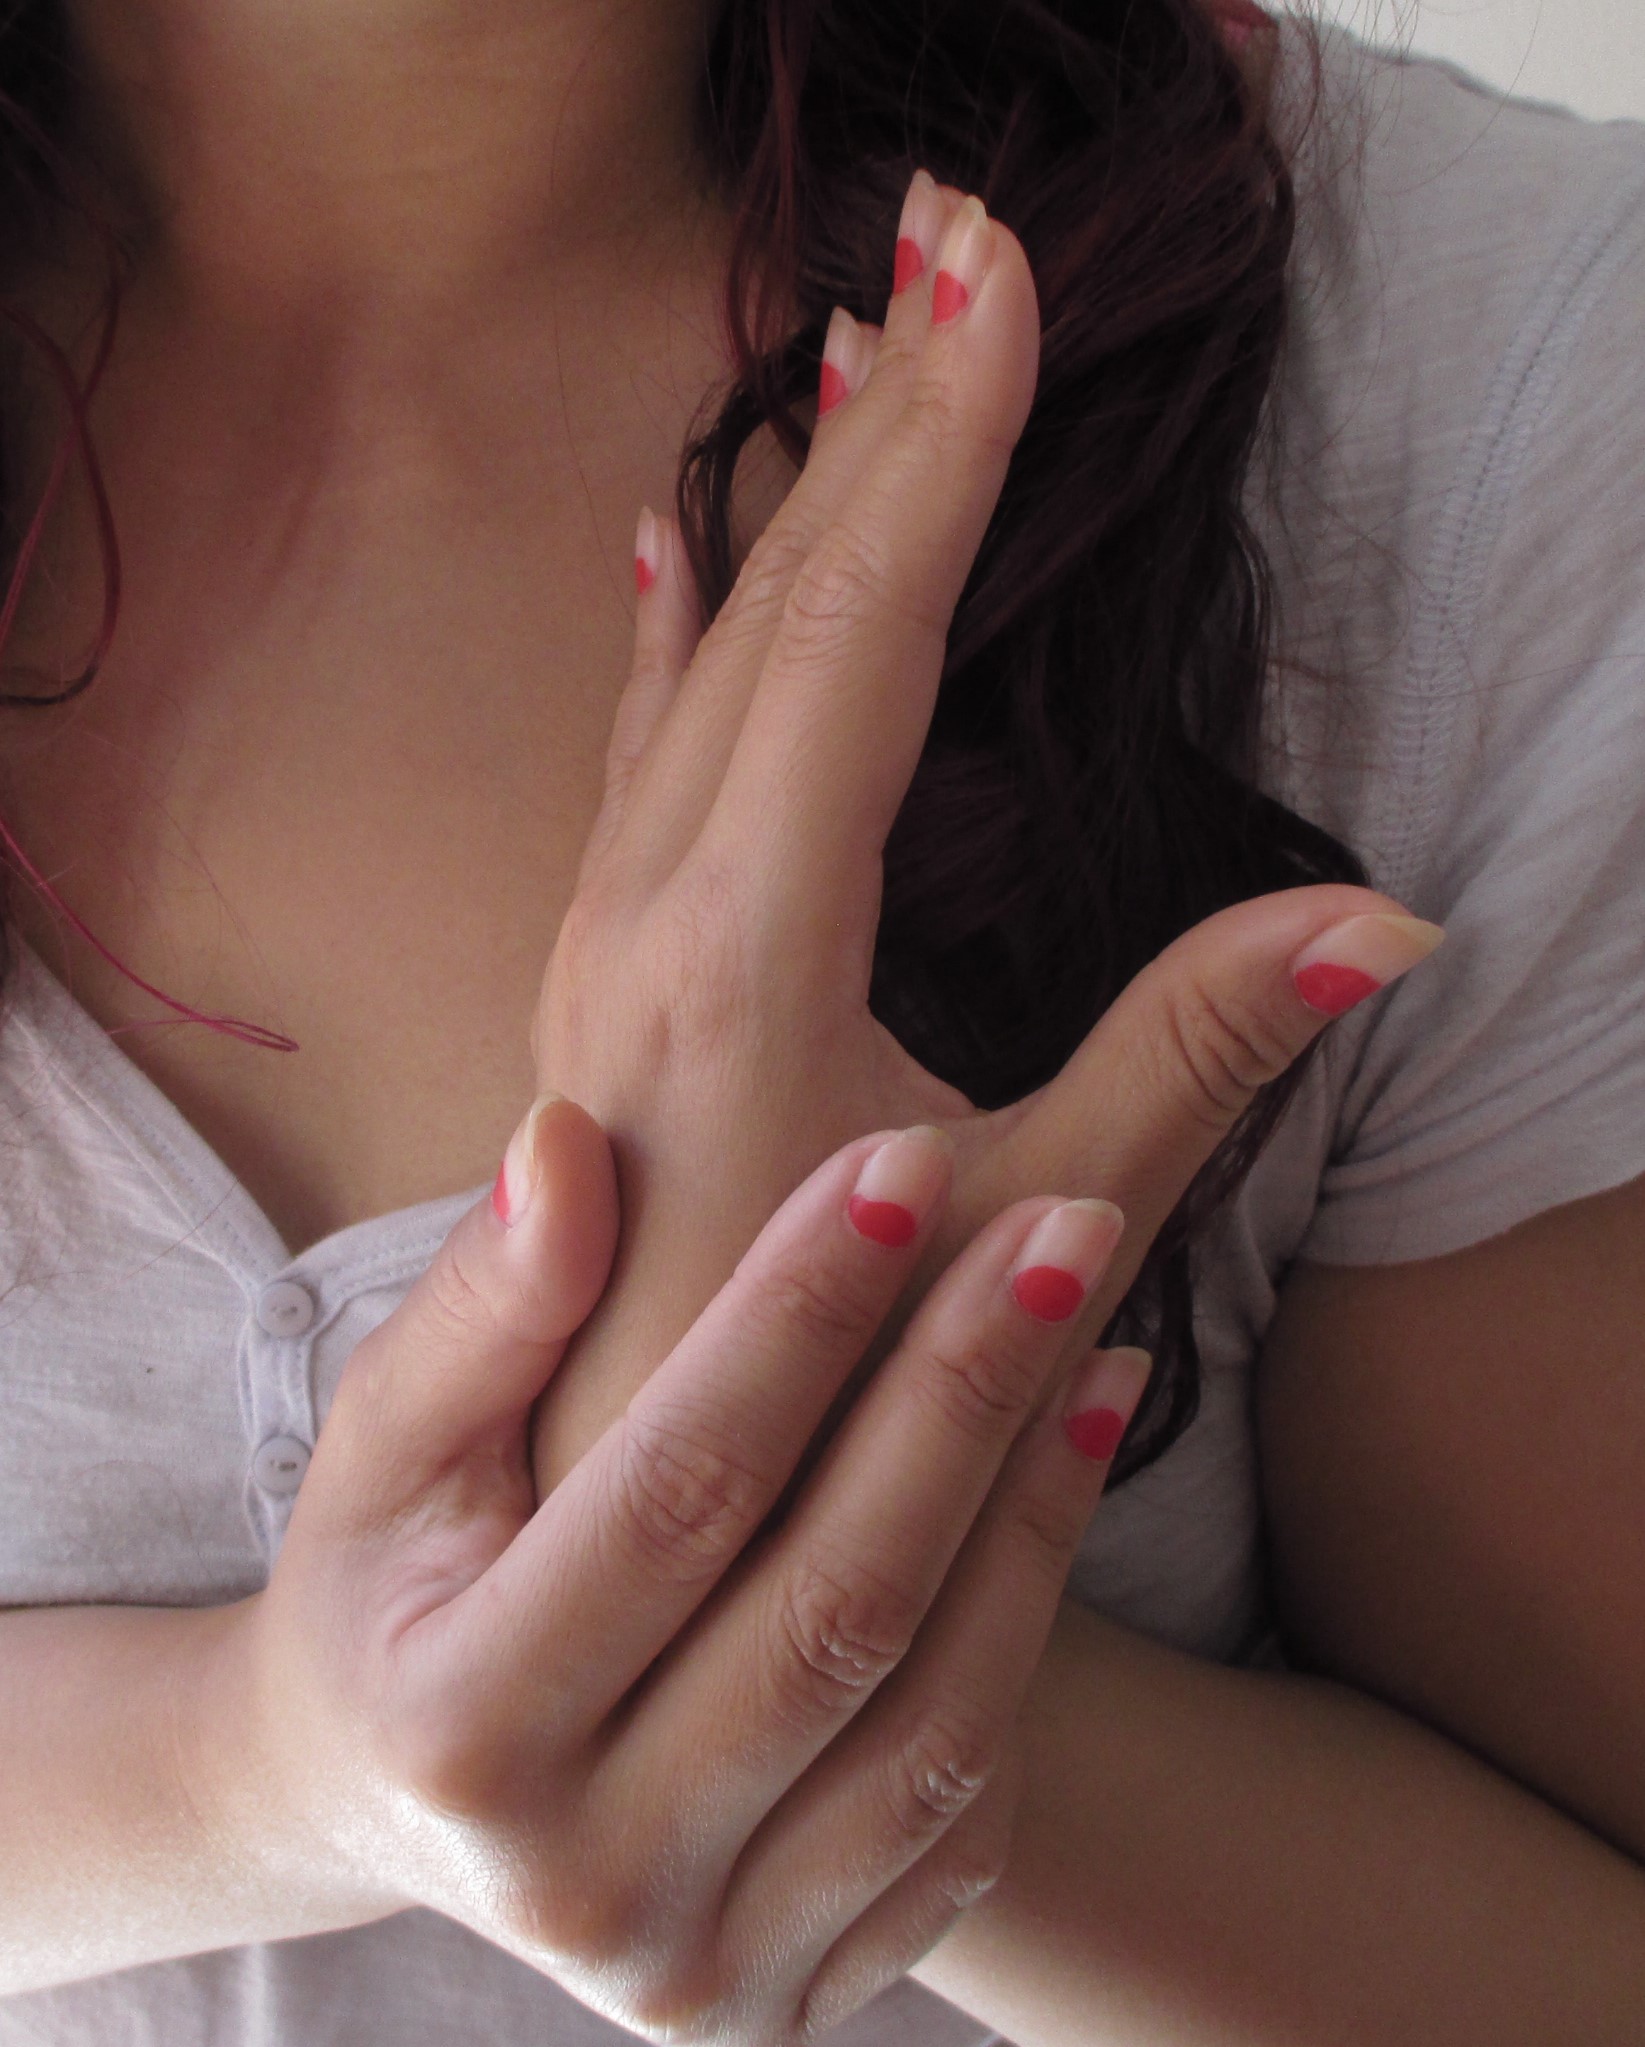
So this is the finished product. A nude nail accented by a burst of colour! There are endless variations of the nude nail with colour! An single coloured stripe would also look cool!
Graphically designed and painted nails that show off the natural gorgeousness of the naked nail! Try it yourself and let me know how you like it. I’ve seen different variations, you can do a vertical strip, do a star shape or even dot nude nails with a few jewels. The possibilities are practically endless. Main point to do is remember to use a base coat and top coat for best results. 🙂
So this trend has been happening for a long while now. Circle lenses are contact lenses worn with or without a prescription. They usually change the eye colour and iris size, and are mostly used for cosmetic reasons and cosplay. It’s another asian make-up trend that latched on here in North America, and the goal is to make your eyes appear more dolly-like, more cute and more interesting. Wearers and makers of circle lenses claim many things…that they enhance the eyes, play up colour and intensity, and make the eyes look bigger and brighter, more gorgeous. But do they really do all those things? I kind of doubt how enlarging the iris (the coloured ring around the pupil) can make eyes appear larger. More like a doll’s eyes, yes, but nothing can really make the actual eye appear “bigger”, in my humble opinion. I think the enlarging the eyes thing is just marketing talk.
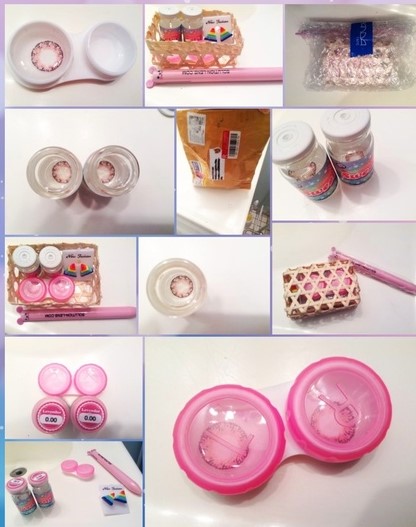
An example of how cute the culture of circle lens packaging is!
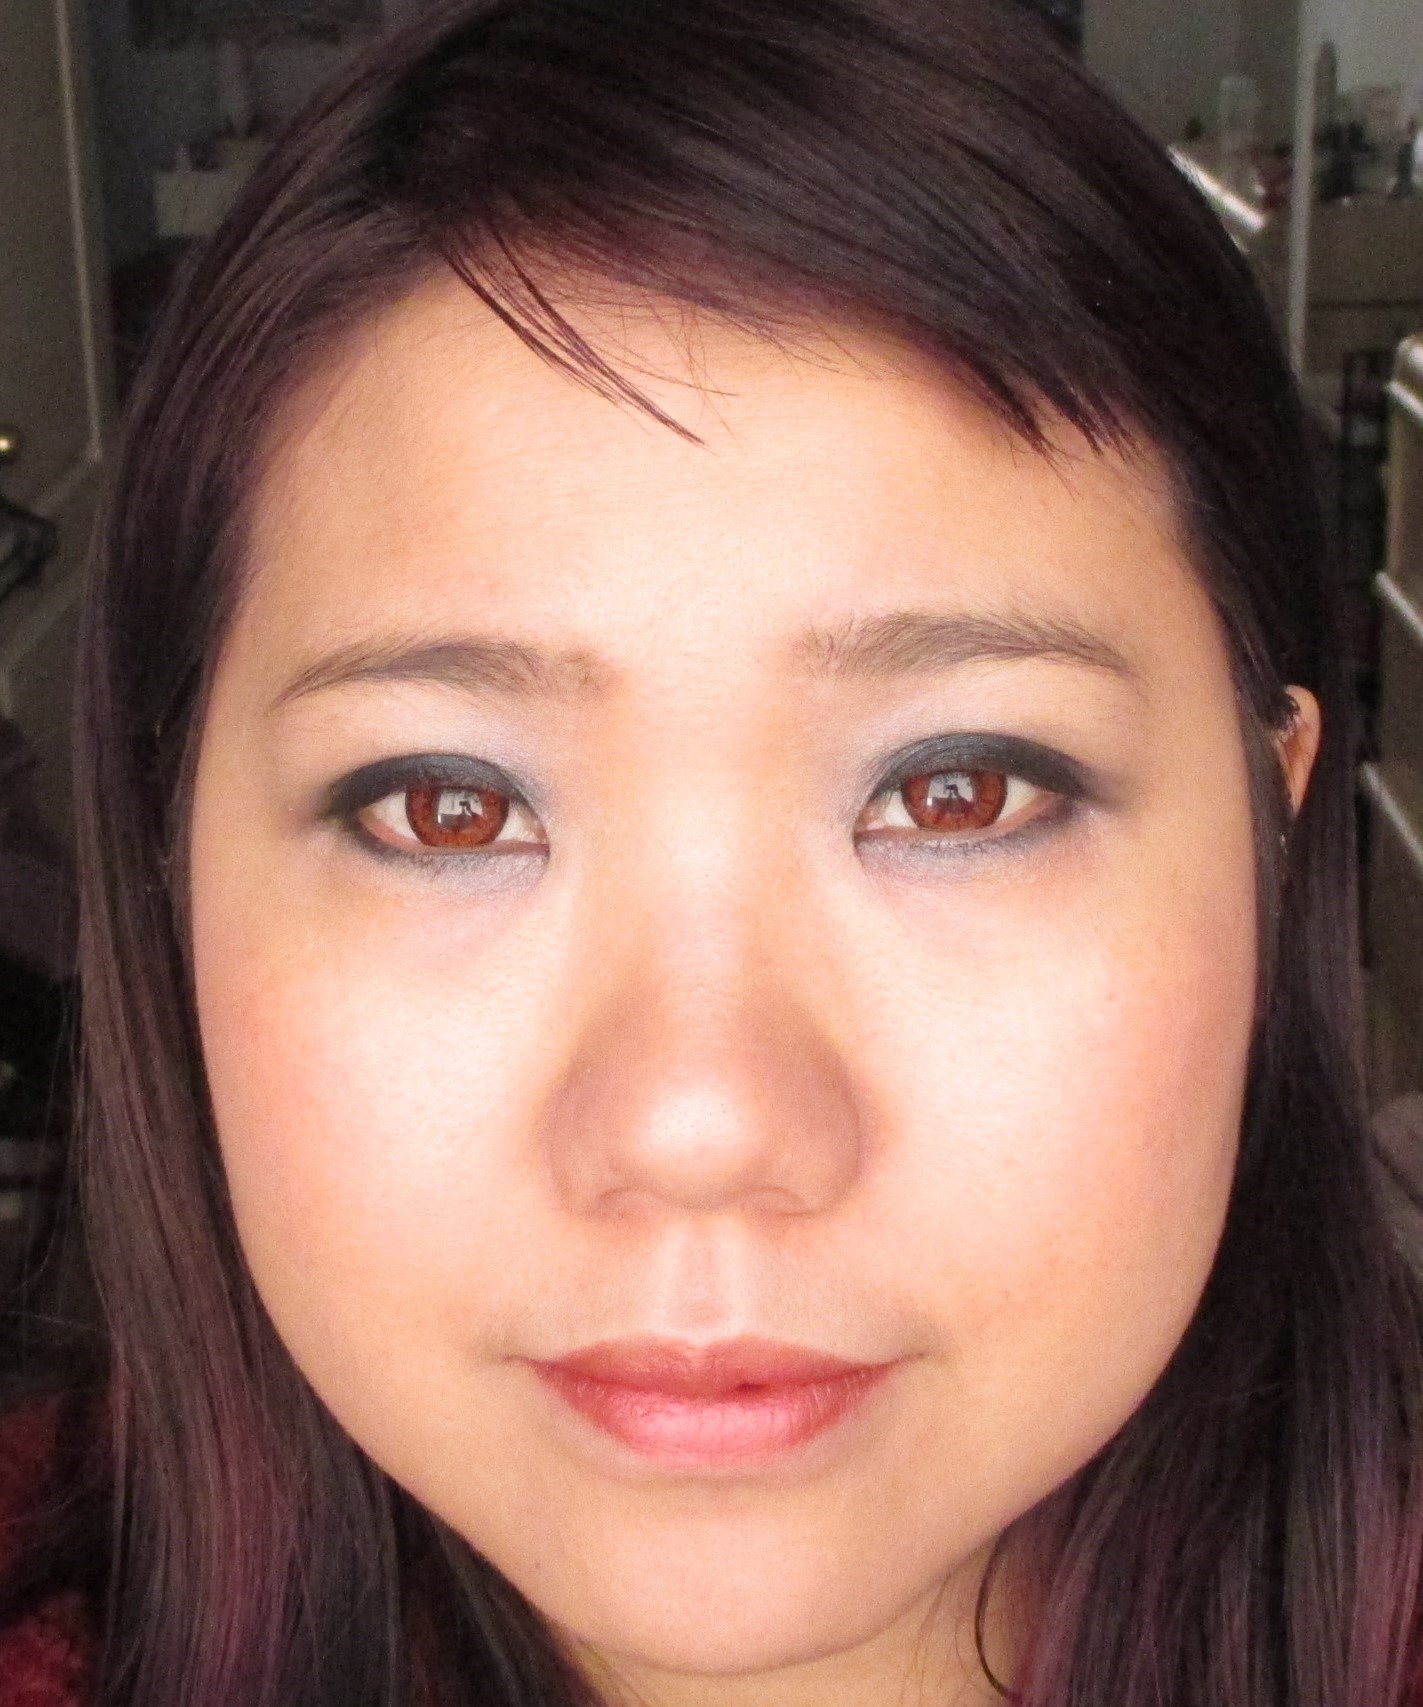
I feel the only thing that these over-seas circle lenses can do is change eye colour. The main obstacle when choosing a coloured lens is how to balance a noticeable change while wearing them and not having it look unnatural or fake on the eyes. I can’t wear circle lenses that are big in diameter (determines the iris size), even though they are all the rage. That is because my eyes are small and my eye surface area to lens ratio is too great for wearing large diameter lenses. They actually look too fake on me. This has been a major bummer for me because I have to use 14mm diameter and that is very minimal iris enlargement. I’ve just been basically changing colours of my eyes. I’ve done blue, grey and purple lenses. Recently, I decided to try red lenses! I got them on sale from Pinky Paradise. 1 pair doesn’t cost that much ($20-25) and shipping is reasonable. Just don’t get addicted to these lenses and feel the need to have every colour of the rainbow. That will rack up quite a bill quickly.
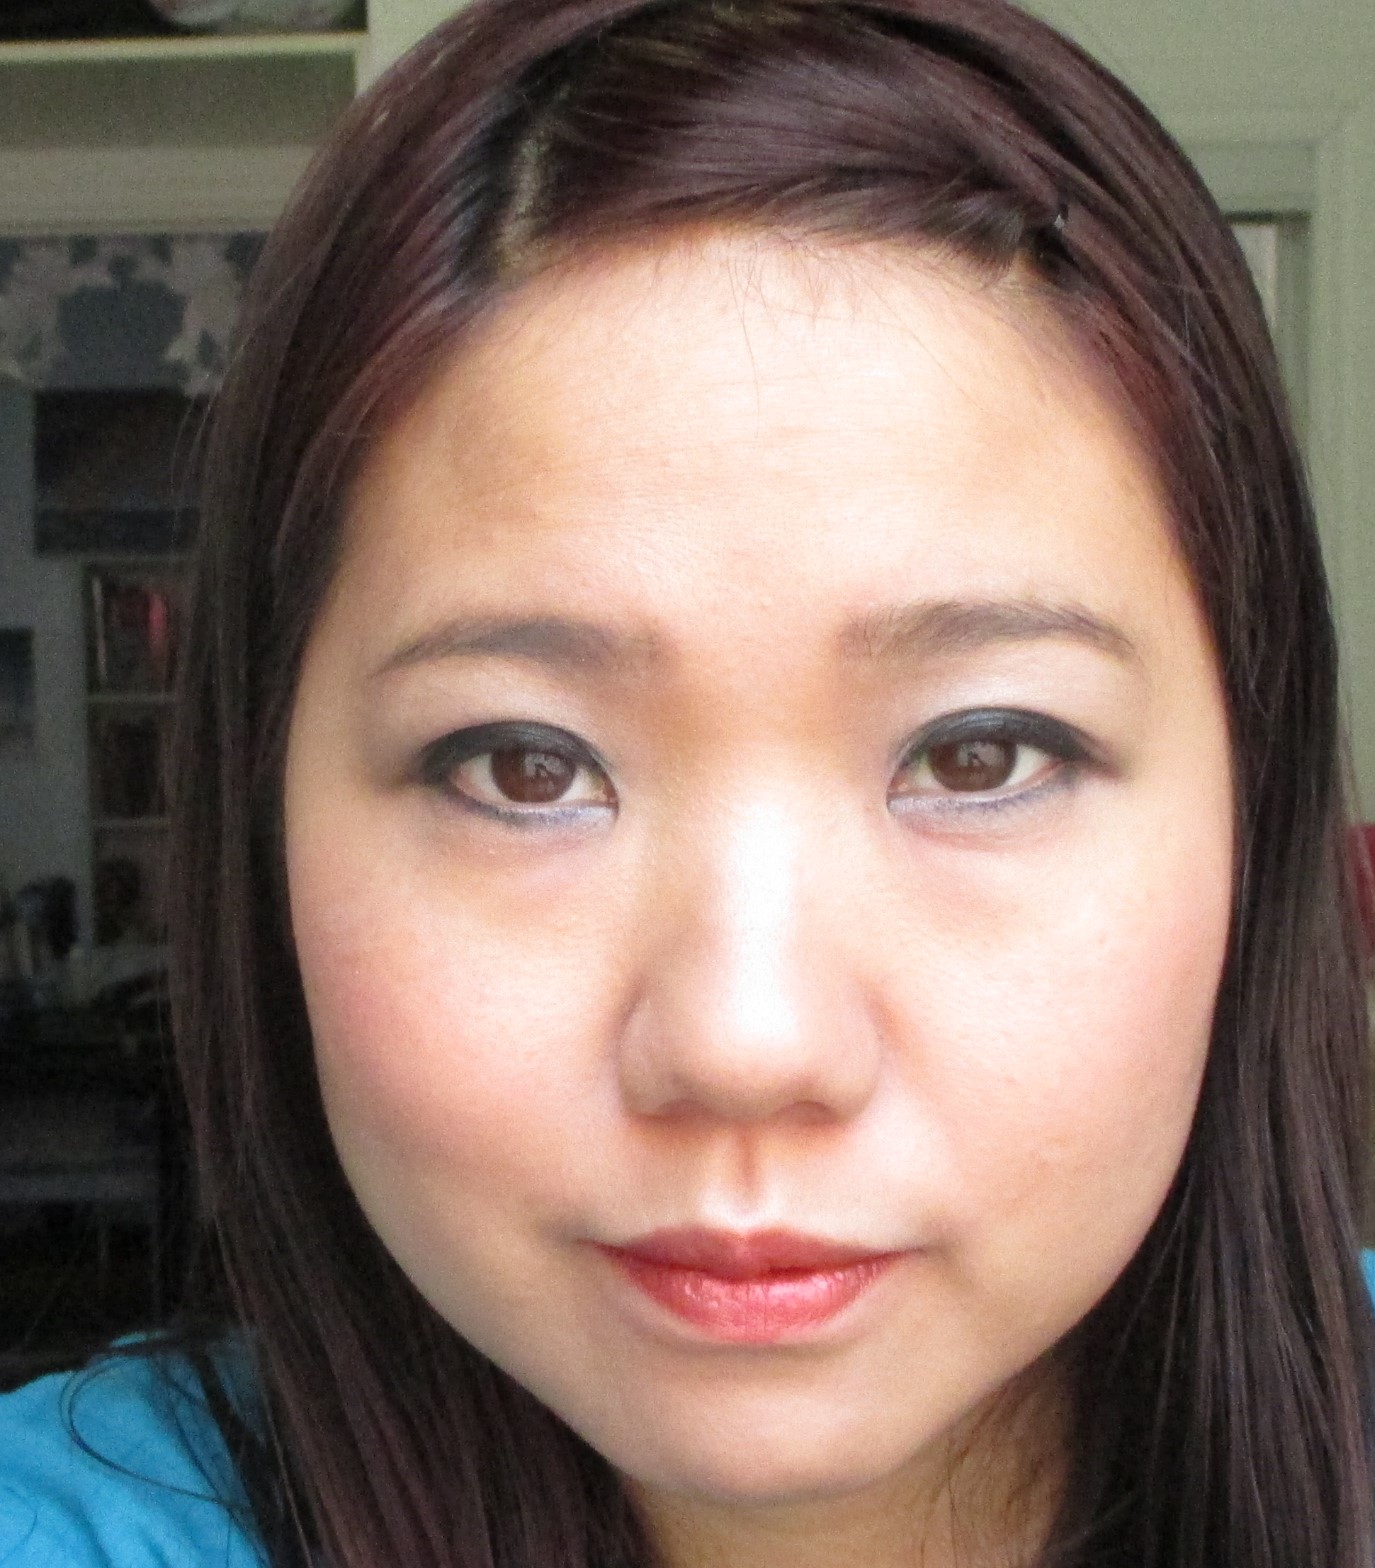
This is my natural eye colour, with no lenses.With Venus brand red lenses. Are my eyes more striking? Or are circle lenses useless?
So what do you think? Is the payoff for wearing circle lenses there? or is it just better to be au naturale when it comes to the eyes? We also need to think about how wearing contacts requires proper cleaning, care and storage, because maintaining eye health is a serious thing. I got some unknown eye condition two years ago while using various circle lenses, and it took me months to heal. I practiced good handling methods so til this day, I wonder if it was from frequent use of these lenses. So in the end is it really worth all the hassle just for a subtle change in eye colour? I am still on the fence whether sporting circle lenses are as great as the trend makes them out to be or something I can go without…
Travelling and looking good has always been an obstacle for me because A) I’m short on time during a trip, B) I’m short on energy during a trip, and C) I’m short on supplies during a trip… I wrote about how my last vacation to Florida was mostly a mess earlier this year in an entry, and now I’m am going to write about my recent trip to the one and only, New York City. I adore New York City, it stands as being the epitome of urban living culture. From it’s wonderful graffiti lined streets, to its overwhelming skyscrappers on every block, the city makes me feel small and large all at the same time. I didn’t fuss too much on what make-up and clothes to pack for this trip, taking only the essentials, but I feel I was looking my best. Why is looking the part so important on vacations? It’s documented in your photos, and looking good adds to the good memories. So this is my recap of what I sported during the trip! I hope this is not too boring!
Day 1: The High Line Park and Chelsea Market
We took the night bus all the way to NYC and was dropped on the corner of 7th Ave and 23rd. I had taken a sleeping pill on the bus or else I wouldn’t have gotten any sleep. On the bus, I had no make-up on because I felt that it would be cruddy to wear, however I did hydrate my skin on the bus. When we got there, I only had time to put on a little make-up, so I only put on bb cream and powder and mascara. It was not a glamourous look, but at least I didn’t look like I had just gotten off a night bus. We went to a really pretty park called the High Line that was build on a previous above ground train line, and then visited Chelsea market for gourmet delights, and a hand made artist market. I was rocking a natural undone look this day for sure, but at least it matched the activities we were doing!
Day 2: Soho, Chinatown and Times Square
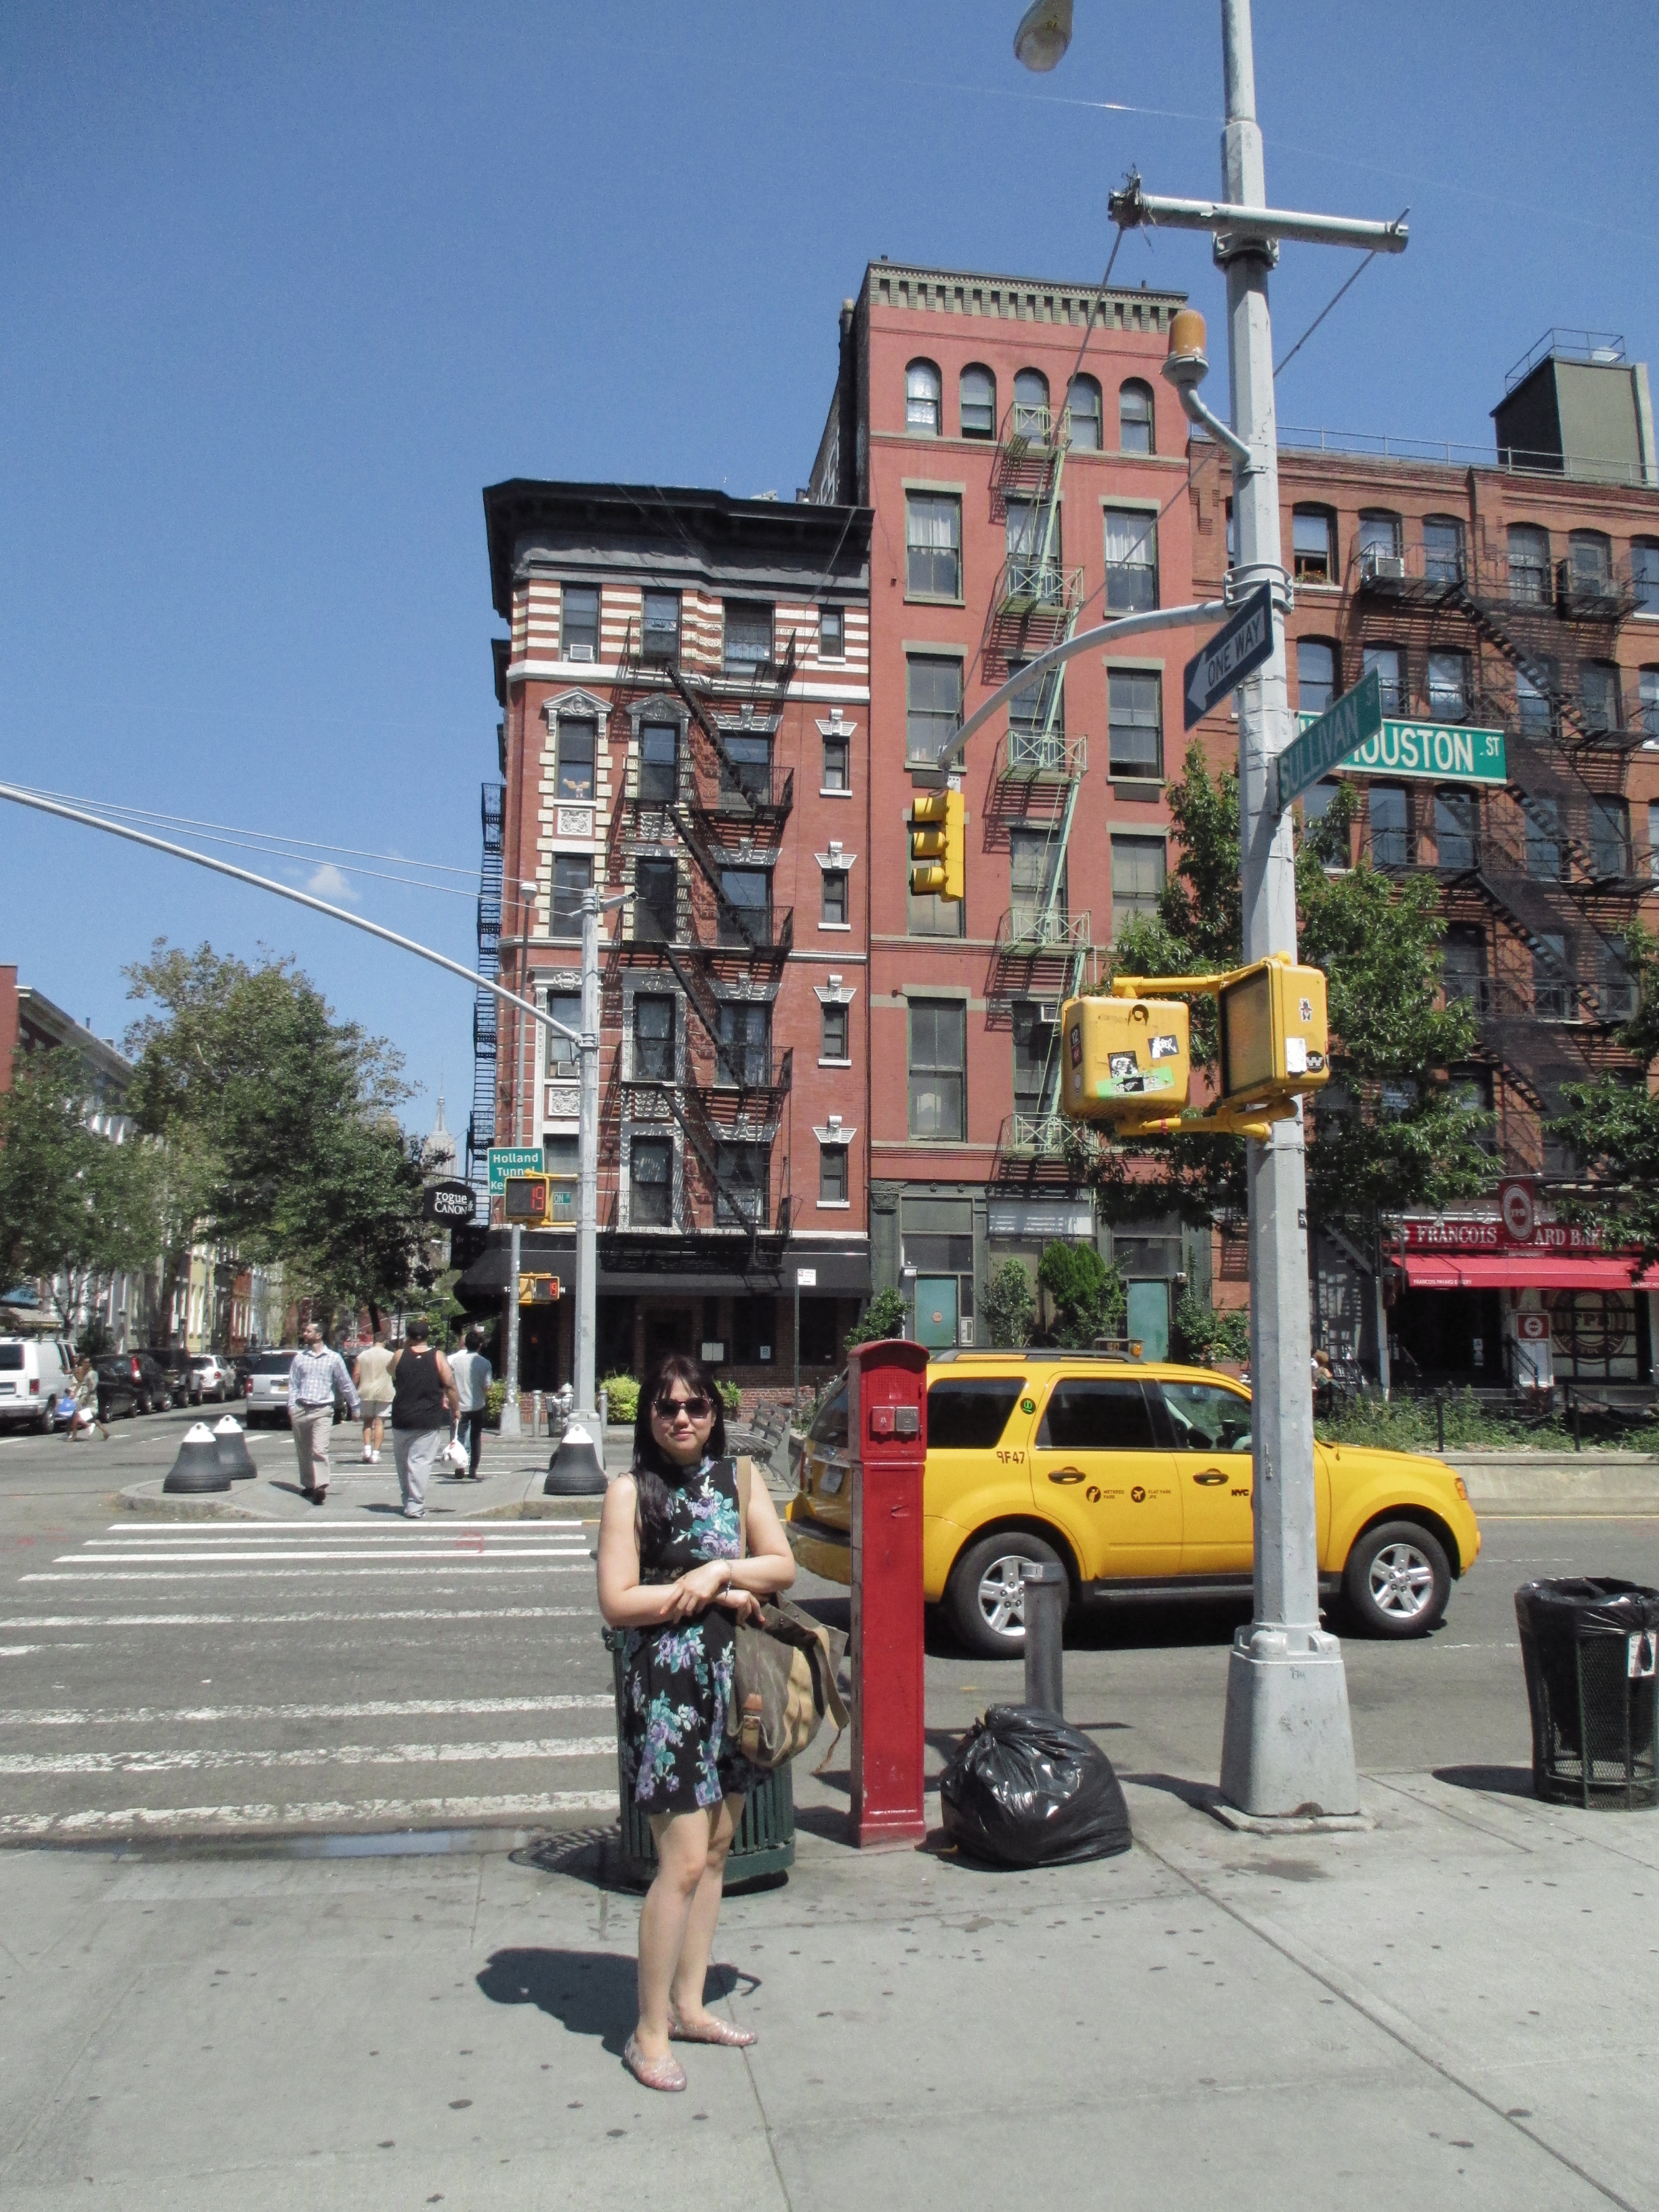
No time for too much primping our second day in NYC, as it was going to be an active walking and shopping day! So what better to wear than a comfy athletic skater dress. Its made more feminine with the floral print and had a cut-out in the back for circulation during the hot and stifling late summer heat. I wore them with my simple jelly shoes. For make-up I worked with simple plum and purple shades, after only bringing one Stila palette with me for ease of packing. But it had all the face colours I needed in that palette, I also brought a liner pen, my bb balm and my own handmade setting powder. Don’t forget the sunscreen! I made my own with cocoa butter and zinc oxide, and it was a dream to use during this trip.
On the way to Soho by foot from Chelsea, what a long walk! On a typical block corner in downtown Manhattan.
Day 3: Late rising, the MET, Central Park and Koreatown
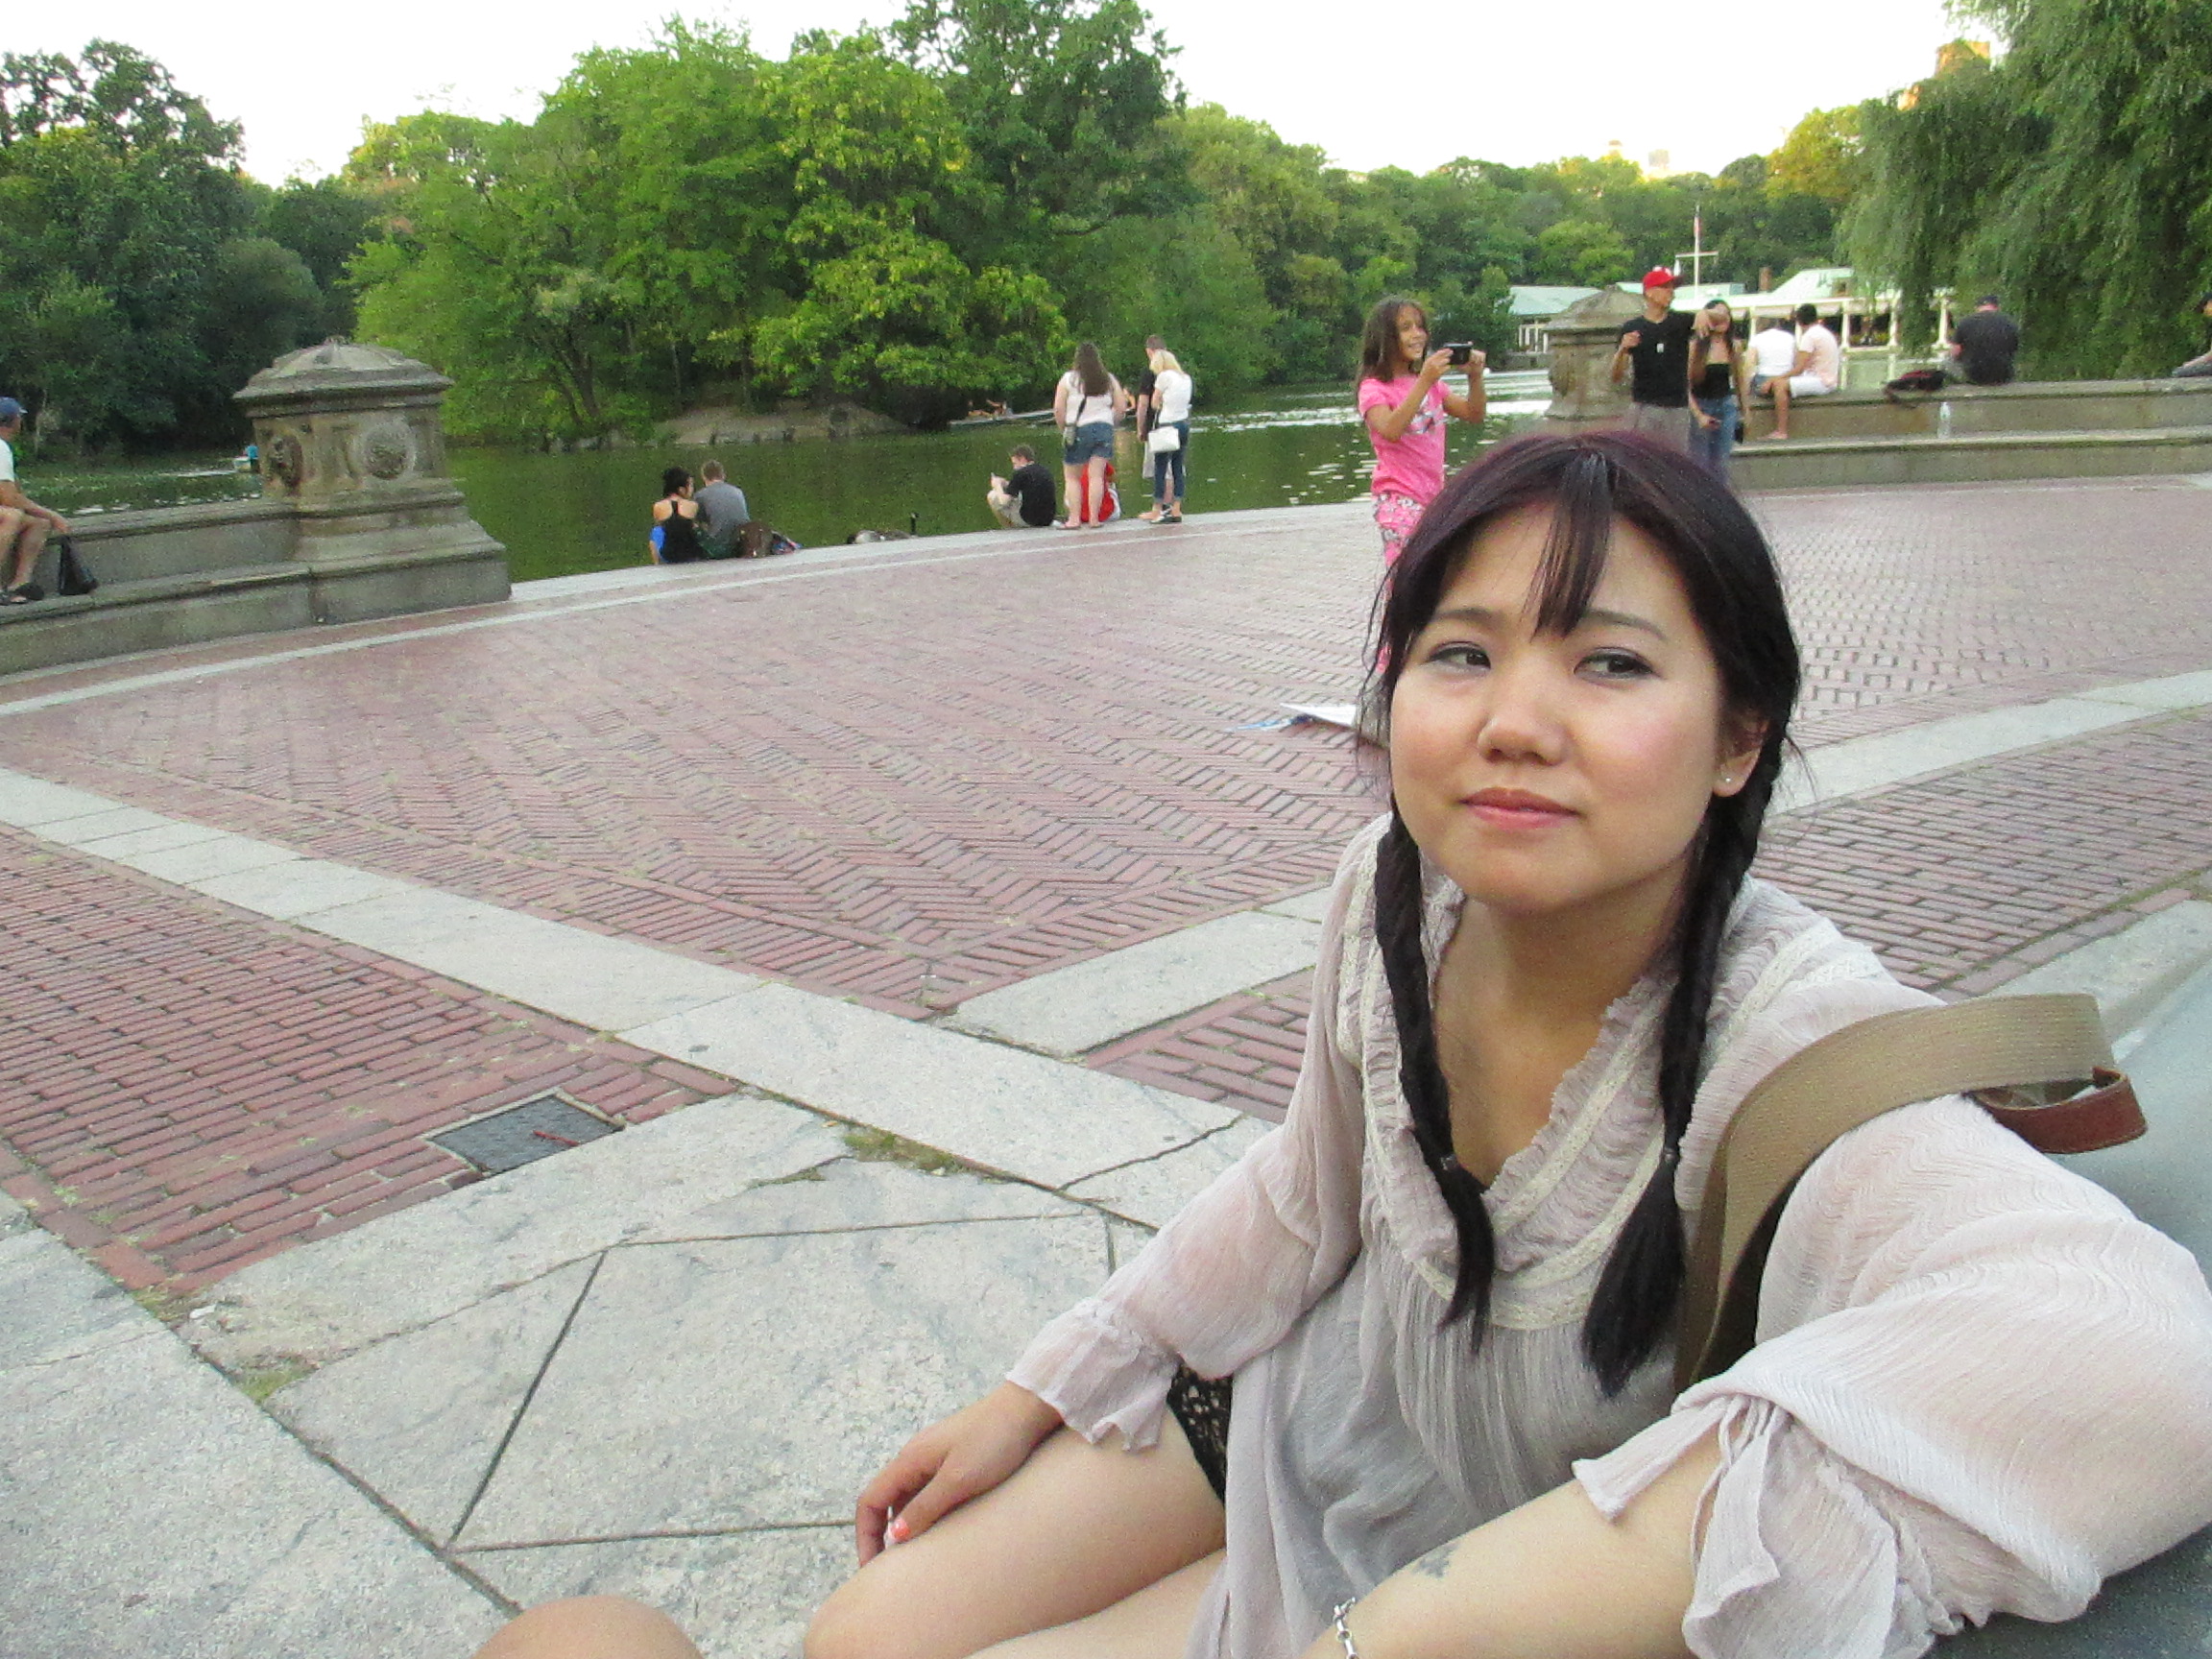
While traveling it’s always tempting to want to cram everything into the day. It’s actually not a good idea, even though you’re excited and want to see and do a lot of things. You will get fatigued, and then anything you do will not be fun. So on Day 3 we slept in and took our time to leave the hotel. And well, ultimately that meant less time at the Metropolitan Museum of Art, even though that place could take a week to see–we had two hours! What a sacrifice for extra rest…After it closed we set out into Central Park to enjoy the beauty of the evening in natural surroundings. Then when night hit, we left for Koreatown for BBQ. It was yummy. I was wearing pastel silver purple shadow, and a clean face, with liquid liner and pencil. My choice of dress was a flow-y lavender shirt, and crochet shorts. I feel it fit the overall natural and cultural theme of the day. Too bad that when we got to Koreatown that night, all the make-up stores were shut, as I am quite the fan of Korean make-ups.
Sorry, my expression here isn’t the best, but I wanted to show the plum make-up palette that I wore. This was a romantic feeling day, central park was just like in the movies.
Day 4: Really late rising, Statue of Liberty, Wall St.
So this day was a refuel for us. Everyone needed to shower, and I needed to shampoo, and all in all, we didn’t reach the Statue of Liberty until 3:30, after stumbling around to find the ferry and boating our way there! (Something I am proud of this time around was I asked for minimal directions in the city. I just fumbled a bit and made a few tiny error, but work it to blend in with the locals!) Educational and epic, no trip to NY is complete without a trip to the statue. I had my hair up in a bun, as it was a really hot day, and I wanted to keep my freshly washed hair clean. When night hit, I let my hair down, and because it had been a touch damp when I put it up, it had pretty amounts of wave to it. On this day I was a bit more girly, opting for a strapless summer dress in muted colours of grey, pink and blue. I guess this fit the over all theme of the day, since the concept and notion of “Liberty” can be seen as ladylike and delicate. Or it was just one of those days I felt like primping up…after the statue tour we wandered around Wall Street as the sun set, and watched the last of the hectic suited workers straggle home on the iconic street of commerce.
Day 5: East Village, Greenwich Village, Washinton Square Park
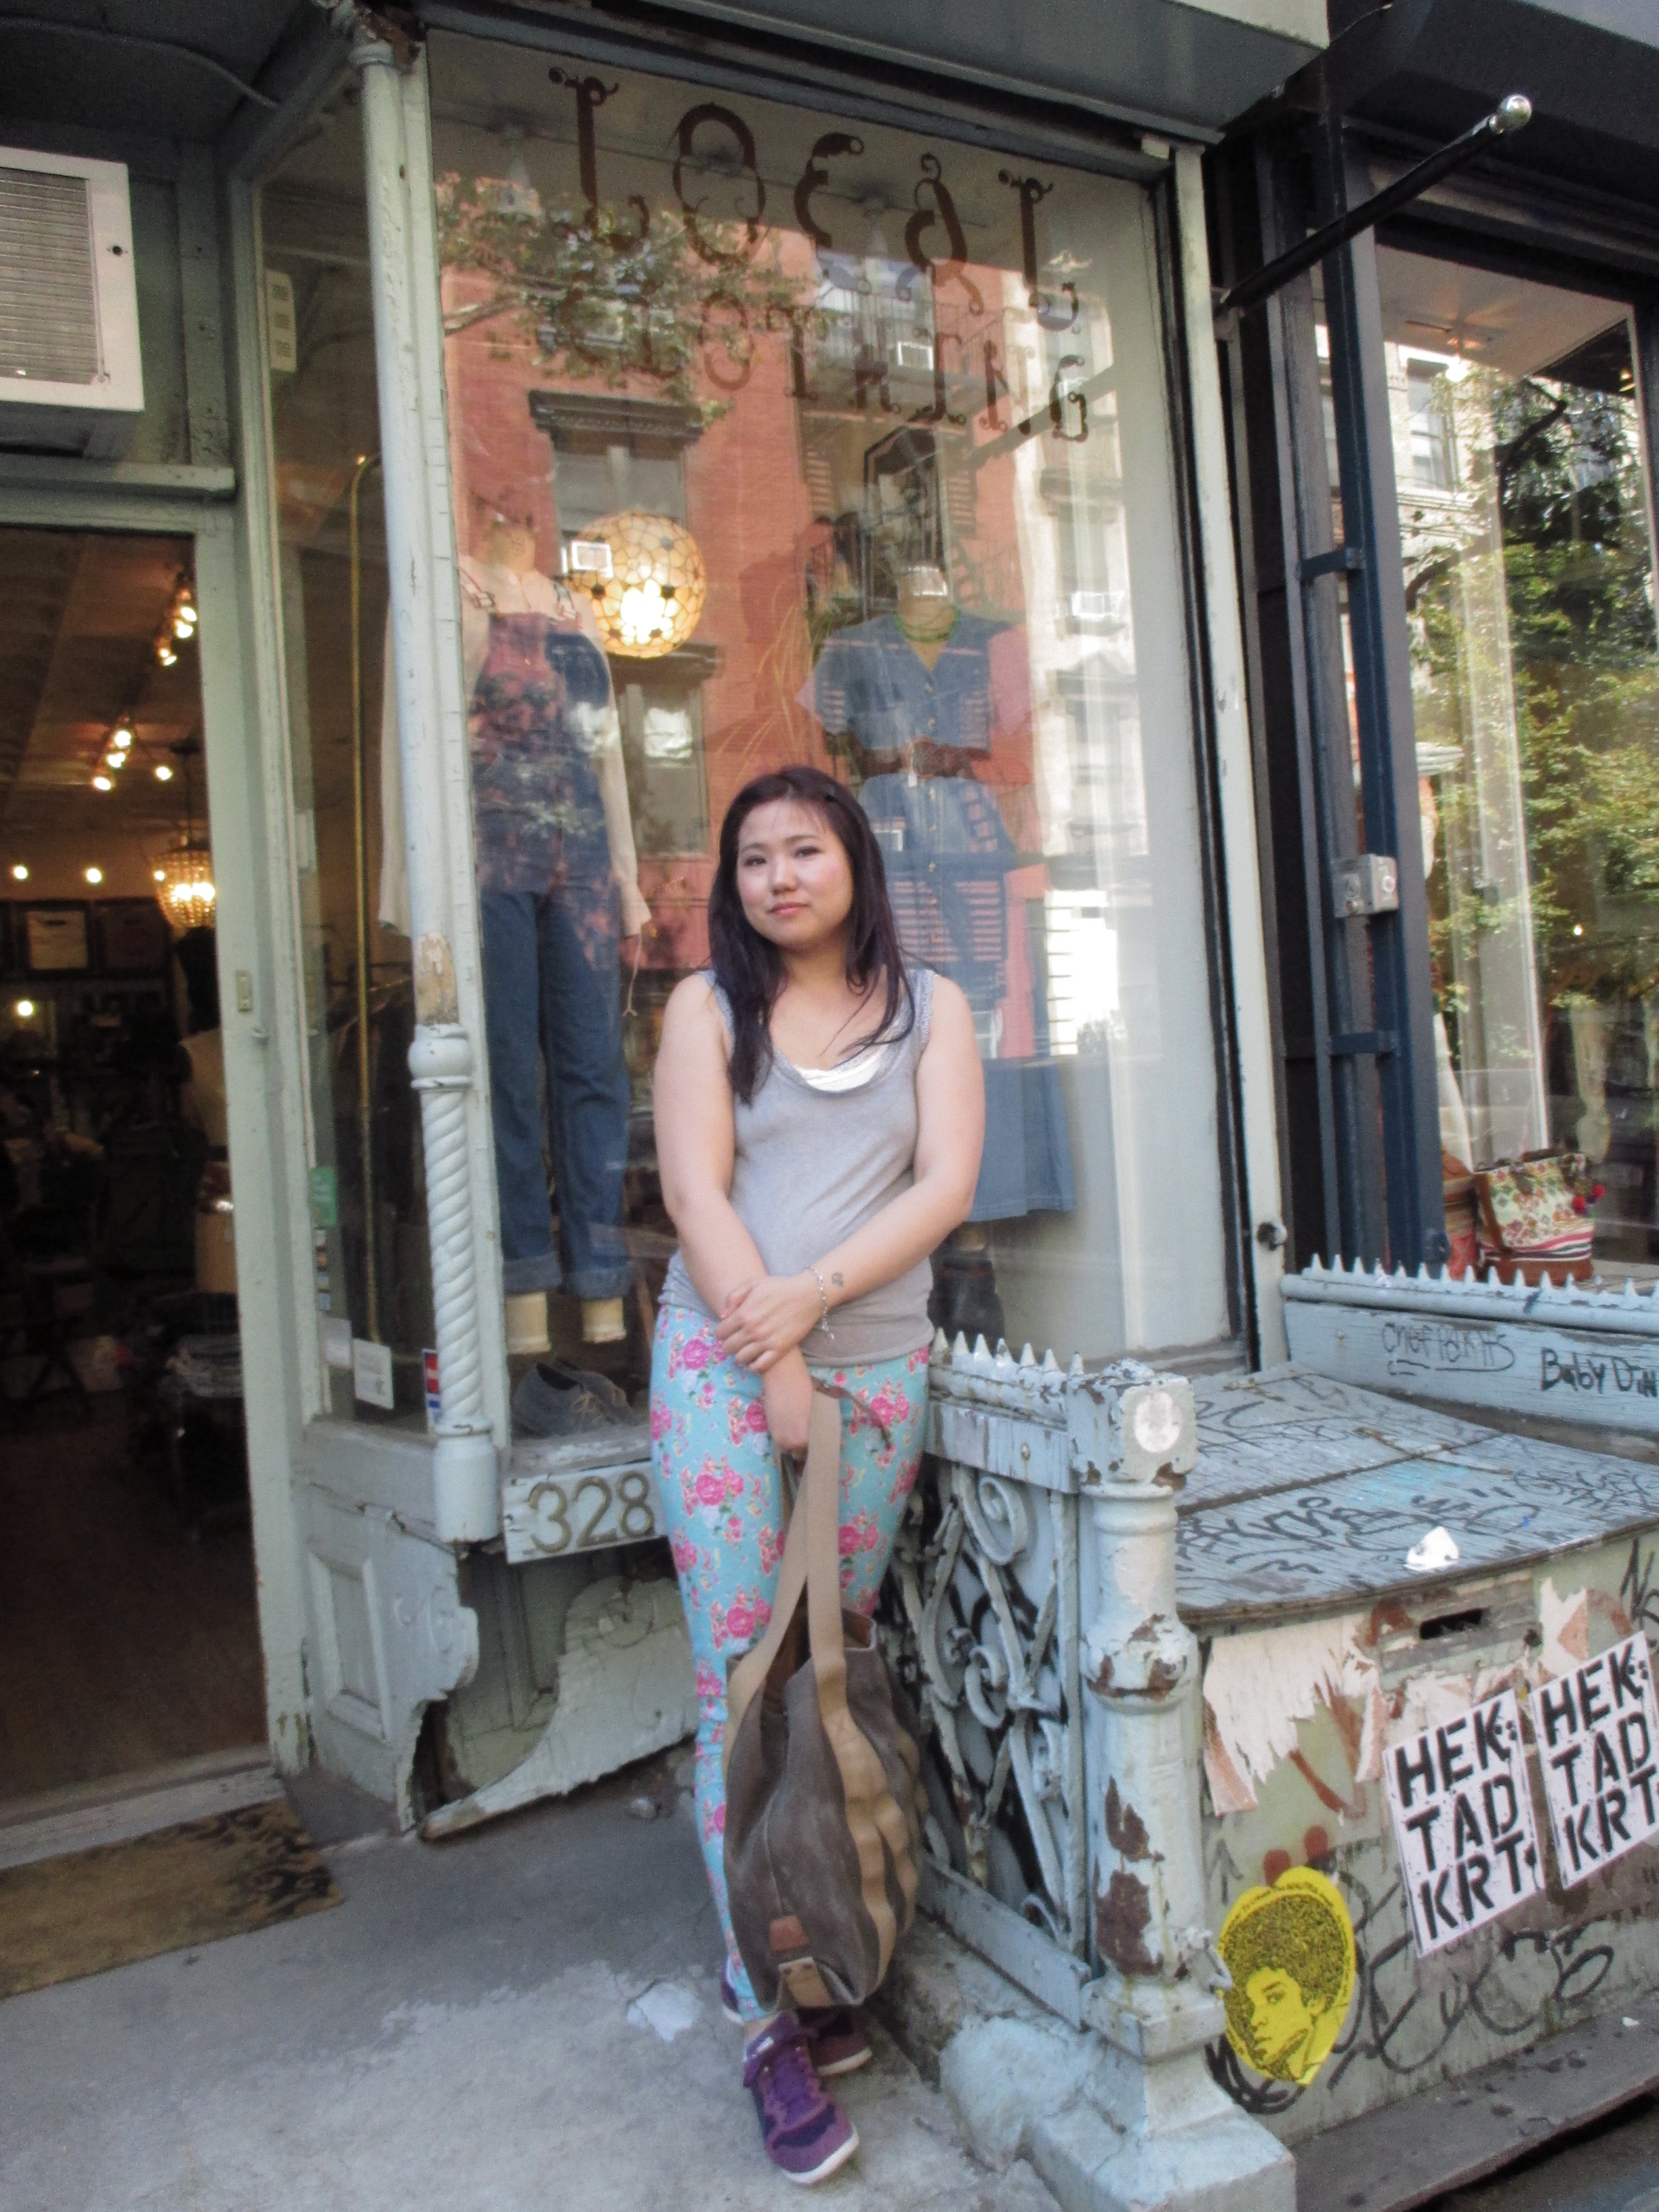
Our last day was a laid back and funky one, as we visited the more “fringe” neighborhoods in Manhattan. There was East Village, my ideal spot to live if I were to move to NY, for its pretty, quiet streets and interesting vintage shops. Then we went over to Greenwich Village, famous for being a bohemian, and political hotbed. Was it radical or edgy? Maybe back in the “hey days”. They were filming an ad in Washington Square park, very far from the image I expected to find of protesters and artist raising up arms. Well, it was still a beautiful iconic park. For this last day, comfort was key, but I didn’t throw on just any ratty shirt and shorts. I had on my floral printed tights, two tank-tops trimmed with lace layered on top of eachother, and some bright purple sneakers that I had bought at Century 21, near wall street, the previous night. I was comfortable, but hopefully not boring, with a laid-back style that was still girlie at heart!
East Village. Quiet, laid back side streets filled with vintage shops and edgy quirky fashion items.
This sums up my New York vacation. When I got back home, I was very tired for a while. Maybe my age is catching up to me because it was only a short vacation that I bore. But boy, was I exhausted for days! All in all it was successful in terms of looking my best, and enjoying the sights…the most rewarding part was knowing that I didn’t fuss over any outfit or make-up while I was there. It just all fell into place, because when you’re winging it, and just trying to have fun, things tend to go well. So don’t be one of those peoples that packs the world whenever travelling. Choose to bring fashion and make-up essentials that you like and are functional enough, and you’ll find that you feel a lot lighter and the trip will be more memorable!