The Holidays are depressing, but don’t go on an eat/drink binge…

It’s the holidays at the moment.  And consumerist North America would want you to believe this is the best time of the year.  A time for sharing and giving, hanging out with loved ones, and just being thankful, for all the stuff we can get!  But truthfully, it is a really stressful time of year in most people’s realities.  Family get-togethers, the obligation to give gifts and find outfits for parties…and just eat, drink and be merry.  But mostly we eat and drink and gain weight.  I actually quite despise the holidays.  Being forced to deal family relations that are mostly difficult, flawed and painful are on my list this year, and there is no awesome shade of lip gloss, smoking hot colour of eye shadow, or cute mini skirt that can lift my spirits.  Christmas music playing everywhere just compounds this feeling of suffocating repetition that is the end of the year.  Mostly, I just think about all that I wanted to get done and all that I didn’t.  Yes, this time of year always depresses me for all the above said reasons.

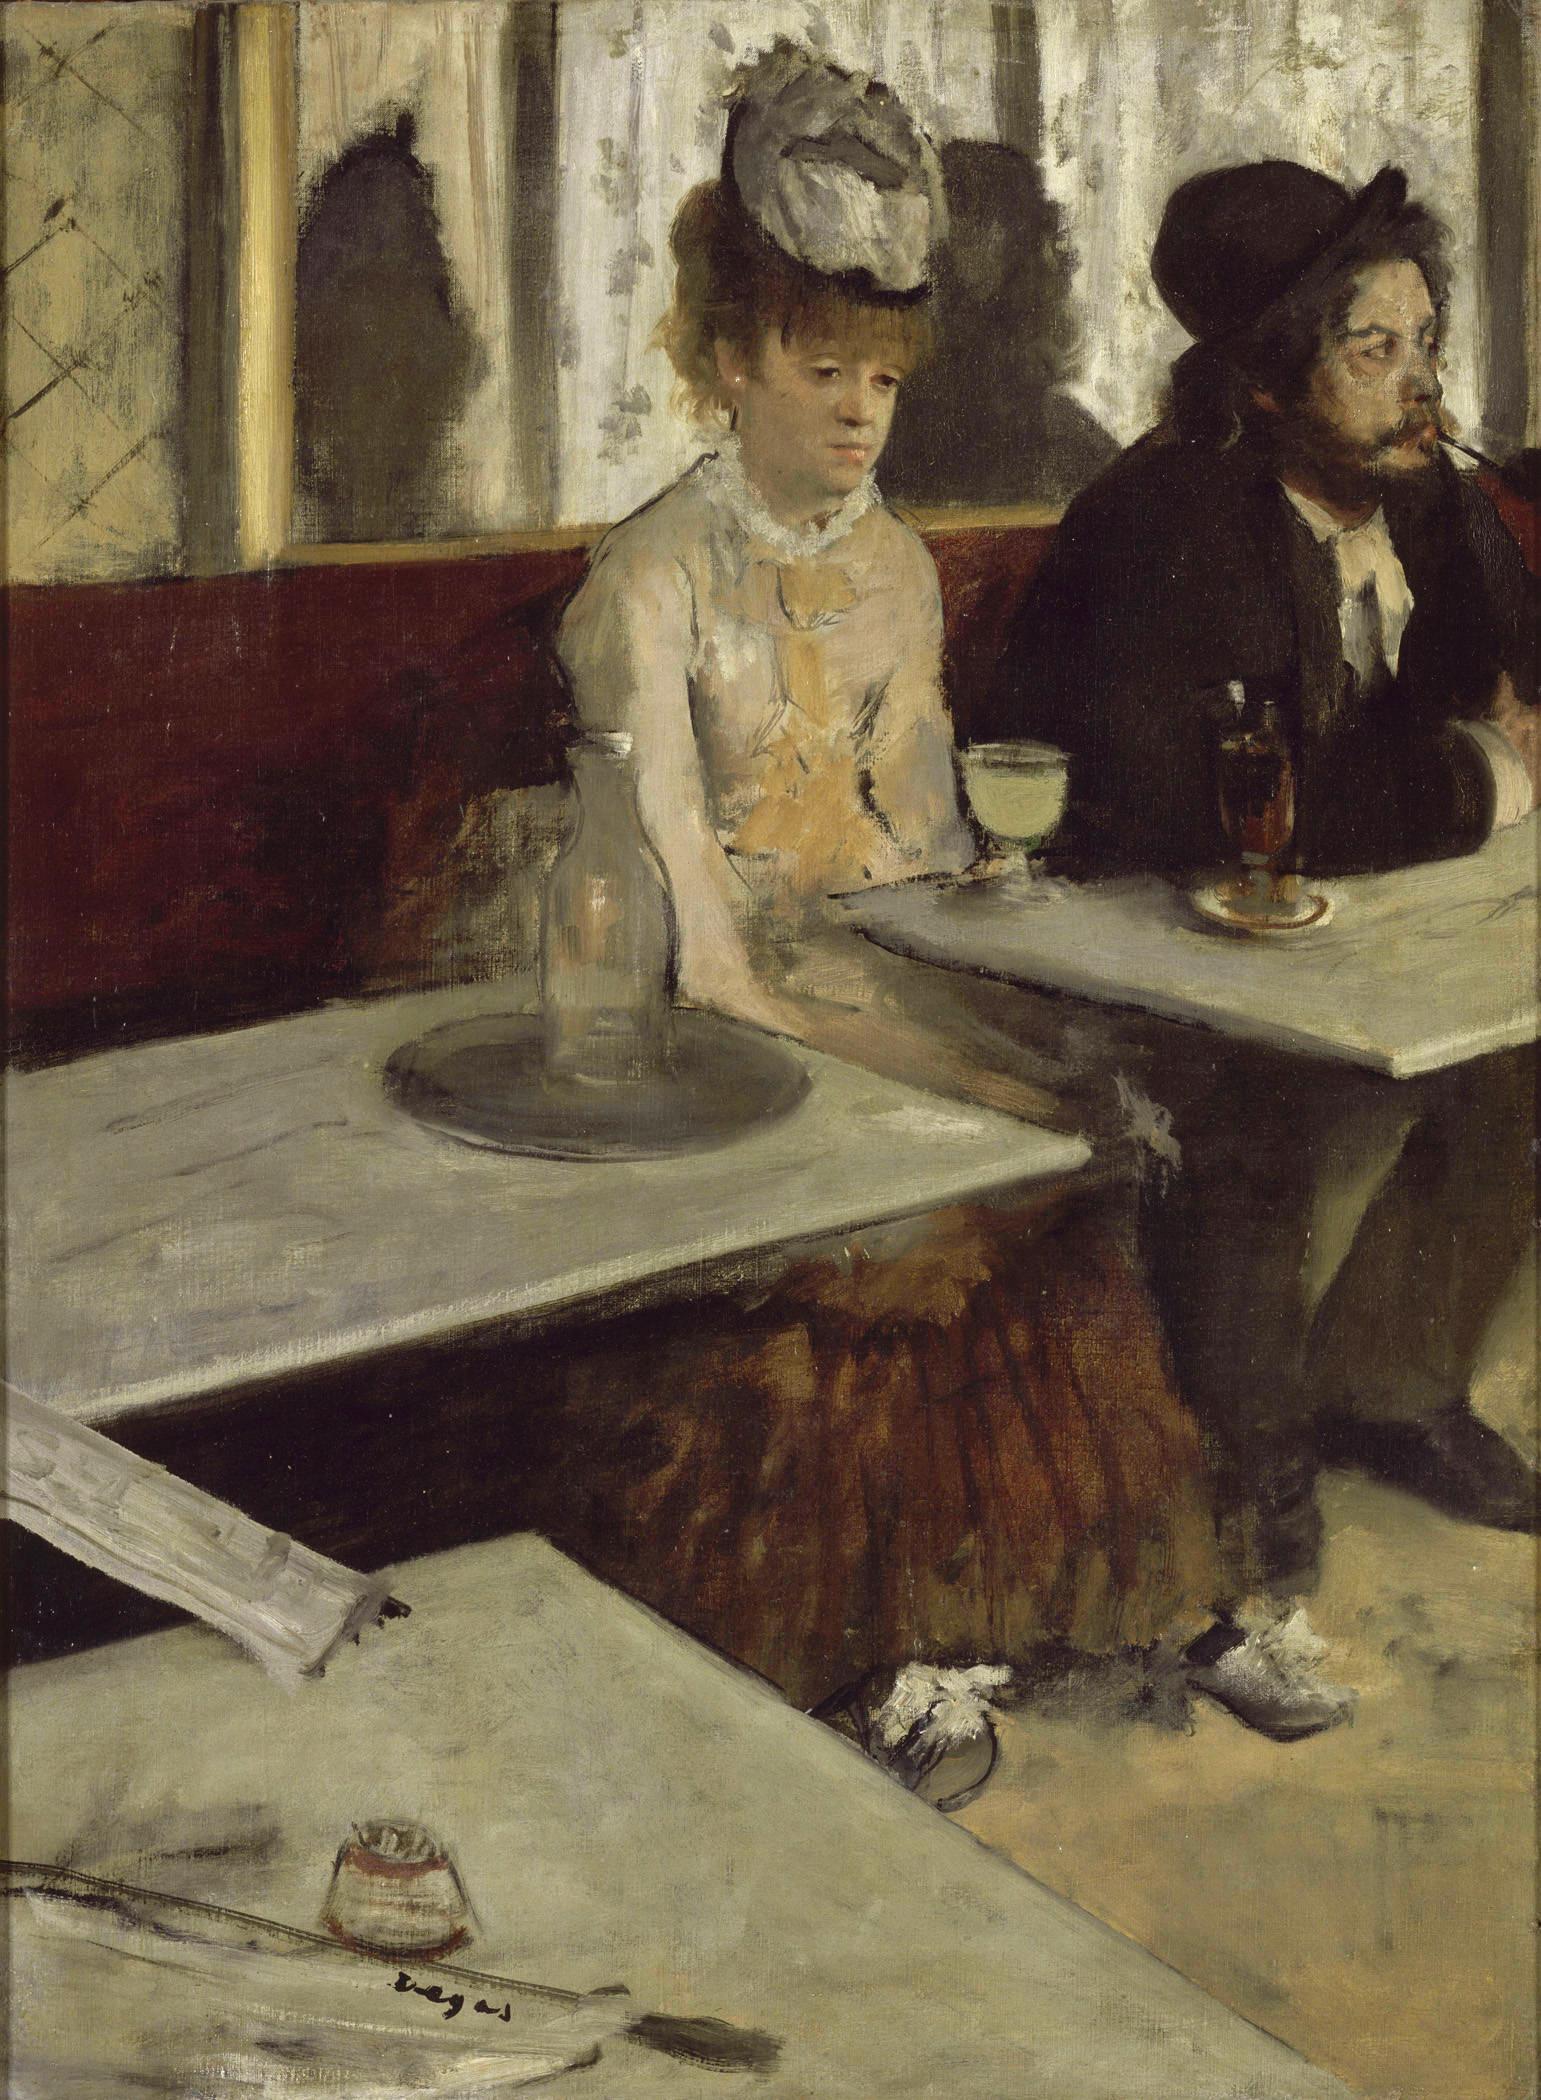
The depressing qualities on life in general.  Degas paints it in a disconnected way with the clutter of zig-zaging bar tables.  The sadness of drink.
The depressing qualities of life in general. Degas paints it in a disconnected way with the clutter of zig-zaging bar tables. The sadness of drinking a glass of absinthe.

But that brings me onto this topic of eating and drinking during the holidays.  I like food.  I like me the drinks.  But I recently found out how the two actually do not go together…drinking (alcohol) actually slows down your body’s ability to break down fat and sugars, raising the risk of it being stored as fat.  That means every drink you have actually makes what you eat during that time twice as fattening…simply because it is being ignored, and your body is busy metabolizing the alcohol.  So what does this mean in terms of our holiday eating habits?  It means we have to be careful when pairing the two.

Wine and beer tend to have more calories because there are still sugars and starches left over from the fermentation process.  Which makes straight up spirits the more slimming choice.  I like to treat myself to gin and diet tonics just because I know at least I am not adding sugars to my drinking.  But also think about how drinking puts a pause button on your metabolism, and makes what you eat before, during and after crucial in terms of picking what and how much to eat.  Therefore keep meals and snacks light.  And after drinking avoid the urge to gorge on super greasy fattening foods.  Just keep drinking tons of water to wash yourself out.

You often see people washing down burgers and fries, wings and nachos with alcoholic drinks, wine and beer and as normal as this would seem, it is probably the easiest way to gain weight.  Our culture is about living, and enjoying life.  But what is enjoyable about looking in the mirror a few days later and having a double chin, or having your pants feel overly tight?  It is not always worth it, if you think about it.

You often see ads about drinking responsibly during the holidays…and this is true.  Equally as true is the sentiment that it pays to be responsible to your waist line too.  The saying everything in moderation is always one of my favourites to live by (except when it comes to great love, in that case I say live like there is no tomorrow!).


To curl or not to curl (eyelashes, that is)…

When I was growing up, I had the shortest most sparse lashes ever.  As a teenager I cried at my barely there lashes, and coated them with loads of mascara to try to make them show up.  But the look I got was just clumpy.  It was also the norm back then to use an eyelash curler.  Every woman knows this instrument.  It is a hinged metallic or plastic clamp that crimps lashes and forces them to go “upwards” in direction, so they give the impression of being more full and long.  The problem with using this is that it never looked natural…lashes don’t all of a sudden push in an upward direction. And my tiny young eyes were too small to fill in the contours of a lash curler, meaning only the tips/ends of my lashes were being curled.  So all the make-up experts that said lash curling was a “mandatory” step in make-up application probably never had my eyes or my lashes.  The other problem:  they pulled out lashes.  Seriously.  I had few and short lashes to begin with, so pulling them out by crimping them with a clamp was definitely not a good idea for me.

My boyfriend recently stumbled into possession of an eyelash curler and asked me what it was.  Us girls and our medieval face-put-together tools...
My boyfriend recently stumbled into possession of an eyelash curler and asked me what it was. Us girls and our medieval face-put-together tools…

Fast forward fifteen years into the future:  I have thrown away all lash curlers.  No I don’t believe they make my eyes bigger, or my lashes appear longer.  I have a feeling they actually damage my lashes and cause them to fall out!  Think about it.  Everytime you clamp down on that tool, your lashes are bent and pulled.  So with long term use, wouldn’t your lashes get even more thin and sparse with time and using a curler?

The new trend today is  making lashes grow.  Have any of you seen the new growth and conditioning eyelash treatments available out there recently?  So now instead to buying tools to crimp up our lashes, us women are supposed to embrace expensive serums that “grow” lashes.  But honestly, we can’t grow lashes. The most we can do is take care of those lashes we do have.  My simple solution is this:  stick to a good non-clumping mascara and get some nice false eye lashes.  No relying on serums, or pulling lashes with a clamp lash curler.

Make the Most of your Lashes:

1. Two coats or more of non-clumping mascara.  Push up on the lashes with a clean finger after application to encourage the drying of mascara into an upward natural curl of lashes.  No need to clamp down with a curler.  Fingers can gently guide lashes to the shape and position you want!

My half length "accent" lashes that I applied, just to the outer half of my eyelash lid.  They do the trick and look rather natural...
My half length “accent” lashes that I applied, just to the outer half of my eyelash lid. They do the trick and look rather natural…

2.  Use falsies:  There was and probably still is this Asian make-up trend of super doe-like lashes, full and long to mesmerize the onlooker at how gorgeously lush your eyes can be.  Nobody is born with it, but with the help of false eyelashes, girls that were deficient in the eyelash gene were suddenly and amply blessed!!!  Use a thin layer of eyelash glue and stick falsies as close as possible to the lash line.  Instant babe-a-licious glam!  I use accent halfies–fake eyelashes that are half in length, used just at the ends of the eye for drama.  I like them because they appear more natural than full lashes on my petite eyes, but still deliver on giving intensity to the eye.

This is me in my half length falsies.  Believe it or not, because of my eye size, half lashes add enough drama...
This is me in my half length falsies. Believe it or not, because of my eye size, half lashes add enough drama…


Tips for applying fake lashes:

*Use a small amount of glue…too much glue actually hinders the look and feel of wearing falsies.  They make them super uncomfortable because of overly strong bonds, and is potentially messy, getting everywhere on your lid as you are placing them on.

*After applying the glue to the lashes, wait about 1 minute.  Most people say to wait about 20 seconds, but I find the longer your glue sets, the more easier it is to place them close to the lash line because the glue is more set and will not cling to the lid until they are in the right place and you intentionally push them onto the skin to adhere.

*Just have fun!  Nobody really cares if you have thick, long or thin lashes.  But I do admit, long lashes frame the eyes wonderfully and make them sparkle!


Curling irons fail at giving effortlessly natural waves!

I read an article a while ago about how to achieve waves in your hair that didn’t look super perfect, and avoided the “glamour shots” look that is so not desirable.  For those of you that didn’t grow up in the subarbs around Toronto, Glamour Shots was this boutique/salon/photo shop that briefly set itself up in malls in Canada I believe during the 90’s, or sometime near there.  This was when looking like a model or actress was a female fantasy, and getting done up at the photo boutique was supposed to be as close as you can get to “looking” like a Hollywood siren. Only the makeovers were very laughable.  Just overdone make-up, and very tight spiral curls, and unflattering bedroom clothes that seemed to add ten pounds to your body and face.  Maybe because 10 pounds is close to the amount of make-up they smeared on a client.

Anyways, getting back onto topic, for many years after the fad, I’ve adored texture and wave, and have used curling irons to occasionally fulfill my need for wavy hair drama.  I resorted to using a thicker barrel curling iron, so that the waves would seem more natural.  But the results were still quite done up, and larger curls sometimes meant less defined pretty waves. What I craved was that look you get with hair that is naturally wavy, like you had just gotten out of bed, and it was effortlessly full of texture and drama.  Mermaid waves, as it is called.    This is impossible to get with a hot iron.   The only way I could get mermaid waves was to use sea salt spray (I make my own), then tie my hair into tiny little buns and wait for them to dry.  The problem with this was that it took a lot of time to dry without damaging heat from a dryer.  The solution was to get curls while sleeping, when no one would see me in this altered state of scrunchied strangeness.  By using soft small scrunchies to hold my hair in buns, I was able to sleep after sea salting my hair, and I would wake up with gorgeous flow-y curls that were messy and natural.

How to use scrunchies for natural heatless waves:

1.  Use them to hold your buns!  After spraying sea salt spray evenly in you hair (check out my homemade sea salt spray recipe), twist your hair into a couple of tiny LOOSE buns.  I usually do four buns for more defined curls, but you could also do one big bun…tie down your buns with your scrunchies!

Not a pretty hairstyle at all!  But do at at night when no one is looking!  I made my own scrunchies!
Not a pretty hairstyle at all! But do at at night when no one is looking! I made my own scrunchies!

2.  Go to sleep and let the night do its wonders. Because of a looser bun and soft scrunchies, this curling way is actually comfortable enough to sleep in.

3.  In the morning remove the scrunchies to reveal a natural curly wave, not overly done up and hot-iron looking at all!  I feel this curl looks best after 2 days, when it has had time to relax.  Enjoy the texture and wave, and don’t let anyone know your curls aren’t natural!

After a few days, the curls relax and look uneven and undone.  Like you fell out of bed with wavy hair!
After a few days, the curls relax and look uneven and undone. Like you fell out of bed with wavy hair!