Some basic, but important Tips for Make-up Beginners

First: A Throwback of my Past Make-up How-to’s:

I write a lot of articles about different make-up looks, whether it be a natural or vampy look, or valentines’ day flirty eyes; I have fun expressing unique make-up applications. Here a few of my escapades with make-up and color:
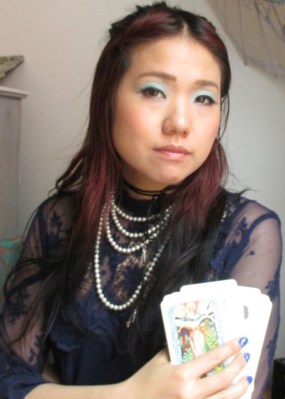

This is from my article on how to do be-witching eye make-up! check it out here.
Very dark lined cat eyes for a fashion forward winter holiday look. Article here:
An 80’s electric eyeshadow look for a bold statement. Article here

What works for New Make-up Wearers?

My make-up looks are certainly fun if you want to change up your daily routine, but what about people who want to start wearing make-up and are intimidated by all the complicated/trendy tutorial out there? I think the best make-up looks enhance your facial features simply, and doesn’t change or hide them. Like making your eyes look brighter with a shiny shadow, or making your skin creamier with a bb cream… In essence, make-up is basically playing up what you have naturally, and it shouldn’t feel odd or awkward. It’s a fun form of self expression, and one of my favorite ways to show off. Here are some basic suggestions I want to give beginners who are starting to wear make-up.

Tip # 1: No substitute for Good skin

Before putting on make-up, one needs to take care of the skin. Cleanse, exfoliate, moisturize, and use an antioxidant nightly on your skin. When you have healthy skin, make-up can actually do it’s job properly. Check out my line of natural skincare to learn more.

Tip # 2: Use an SPF or SPF loaded foundation

The sun is not your friend.  UV rays and ultra violet light from the sun IS what causes premature aging and wrinkling, so wear a sun screen under the make-up. If that is too heavy of a base, find a foundation with higher than 15 SPF to help protect your skin from harmful rays at the same time as giving you coverage.

Step 3: Level of coverage in Foundation:

Be honest about the level of coverage you want.  There are three levels of coverage: Light coverage is a tinted moisturizer, with no powder, medium is a light foundation/bb set with a bit of powder, and full coverage is a heavy foundation and concealer set with powder. I tend to like a medium coverage for day to day, since that often means I can skip concealer for minor uneven tones. But if you want the flawless skin look, you will have to go for full coverage. All options are fine, but choose the one that you want, not the one that you think you should want. Just because you have been make-up shy all your life doesn’t mean you can’t have the flawless full coverage look. Be willing to experiment to find what works for you!

Step 4: Definition of the face:

Using a foundation will mute all your other features. Your eyes will look smaller after foundation application, your mouth will be colorless, your eyebrows non existent. Your cheeks without color. So this is the time to add back definition.The more products you use, the more defined your features become. My minimum staples for definition are eyebrow color, eye lid color, mascara and blush. If you want extra definition, you can add an eyeliner, liquid or pencil, contouring/bronzer, lipstick, false lashes…etc. But again be honest with the level of definition you want!

The Bottom Line:

I feel that when starting to wear make-up for beautifying effects, it’s really important to be honest with yourself and how much coverage/definition you want to present to the world. Take the time to figure out what level of “made-up you really want”. And just like when wearing fashion, you want to have fun while expressing yourself with your make-up looks! Having a positive attitude and a willingness to try new things will get you farther in anything, any day!

My day to day make-up look. Very minimal: Medium coverage foundation with a light powder, eyebrow definition, thin lined top lid and neutral eye shadows…no lipstick, but a bit of blush! My go to natural look…

How to turn any foundation/bb into a lovely sheer coverage…

Nobody likes heavy, cake-y foundation.  Even the current make-up trend of extreme heavy make-up application still needs skill and contouring to make multi tonal. So if you’re not going to learn how to contour the face with different shades of foundation/bronzer, then embrace sheer coverage. If you have clear smooth skin, using a lighter make-up actually gives you the look of naturally luminous skin better than covering up. I recommend making and wearing a sheer coverage foundation/bb for day to day, but not a tinted moisturizer.  Why?

Tinted moisturizers on the market are also boasting light coverage, but the problem with them are that they are also laden with chemicals and preservatives.  Tinted moisturizers are not light at all, but are often gloopy, sticky, smelly, and suffocate the skin. And because store bought tinted moisturizers are so sticky on the face, placing a powder on top would end up in a cake-y mess.  My go to trick for getting a comfy sheer coverage is by modifying my thick foundation/bb into a silky-smooth, light cream, Here’s how:

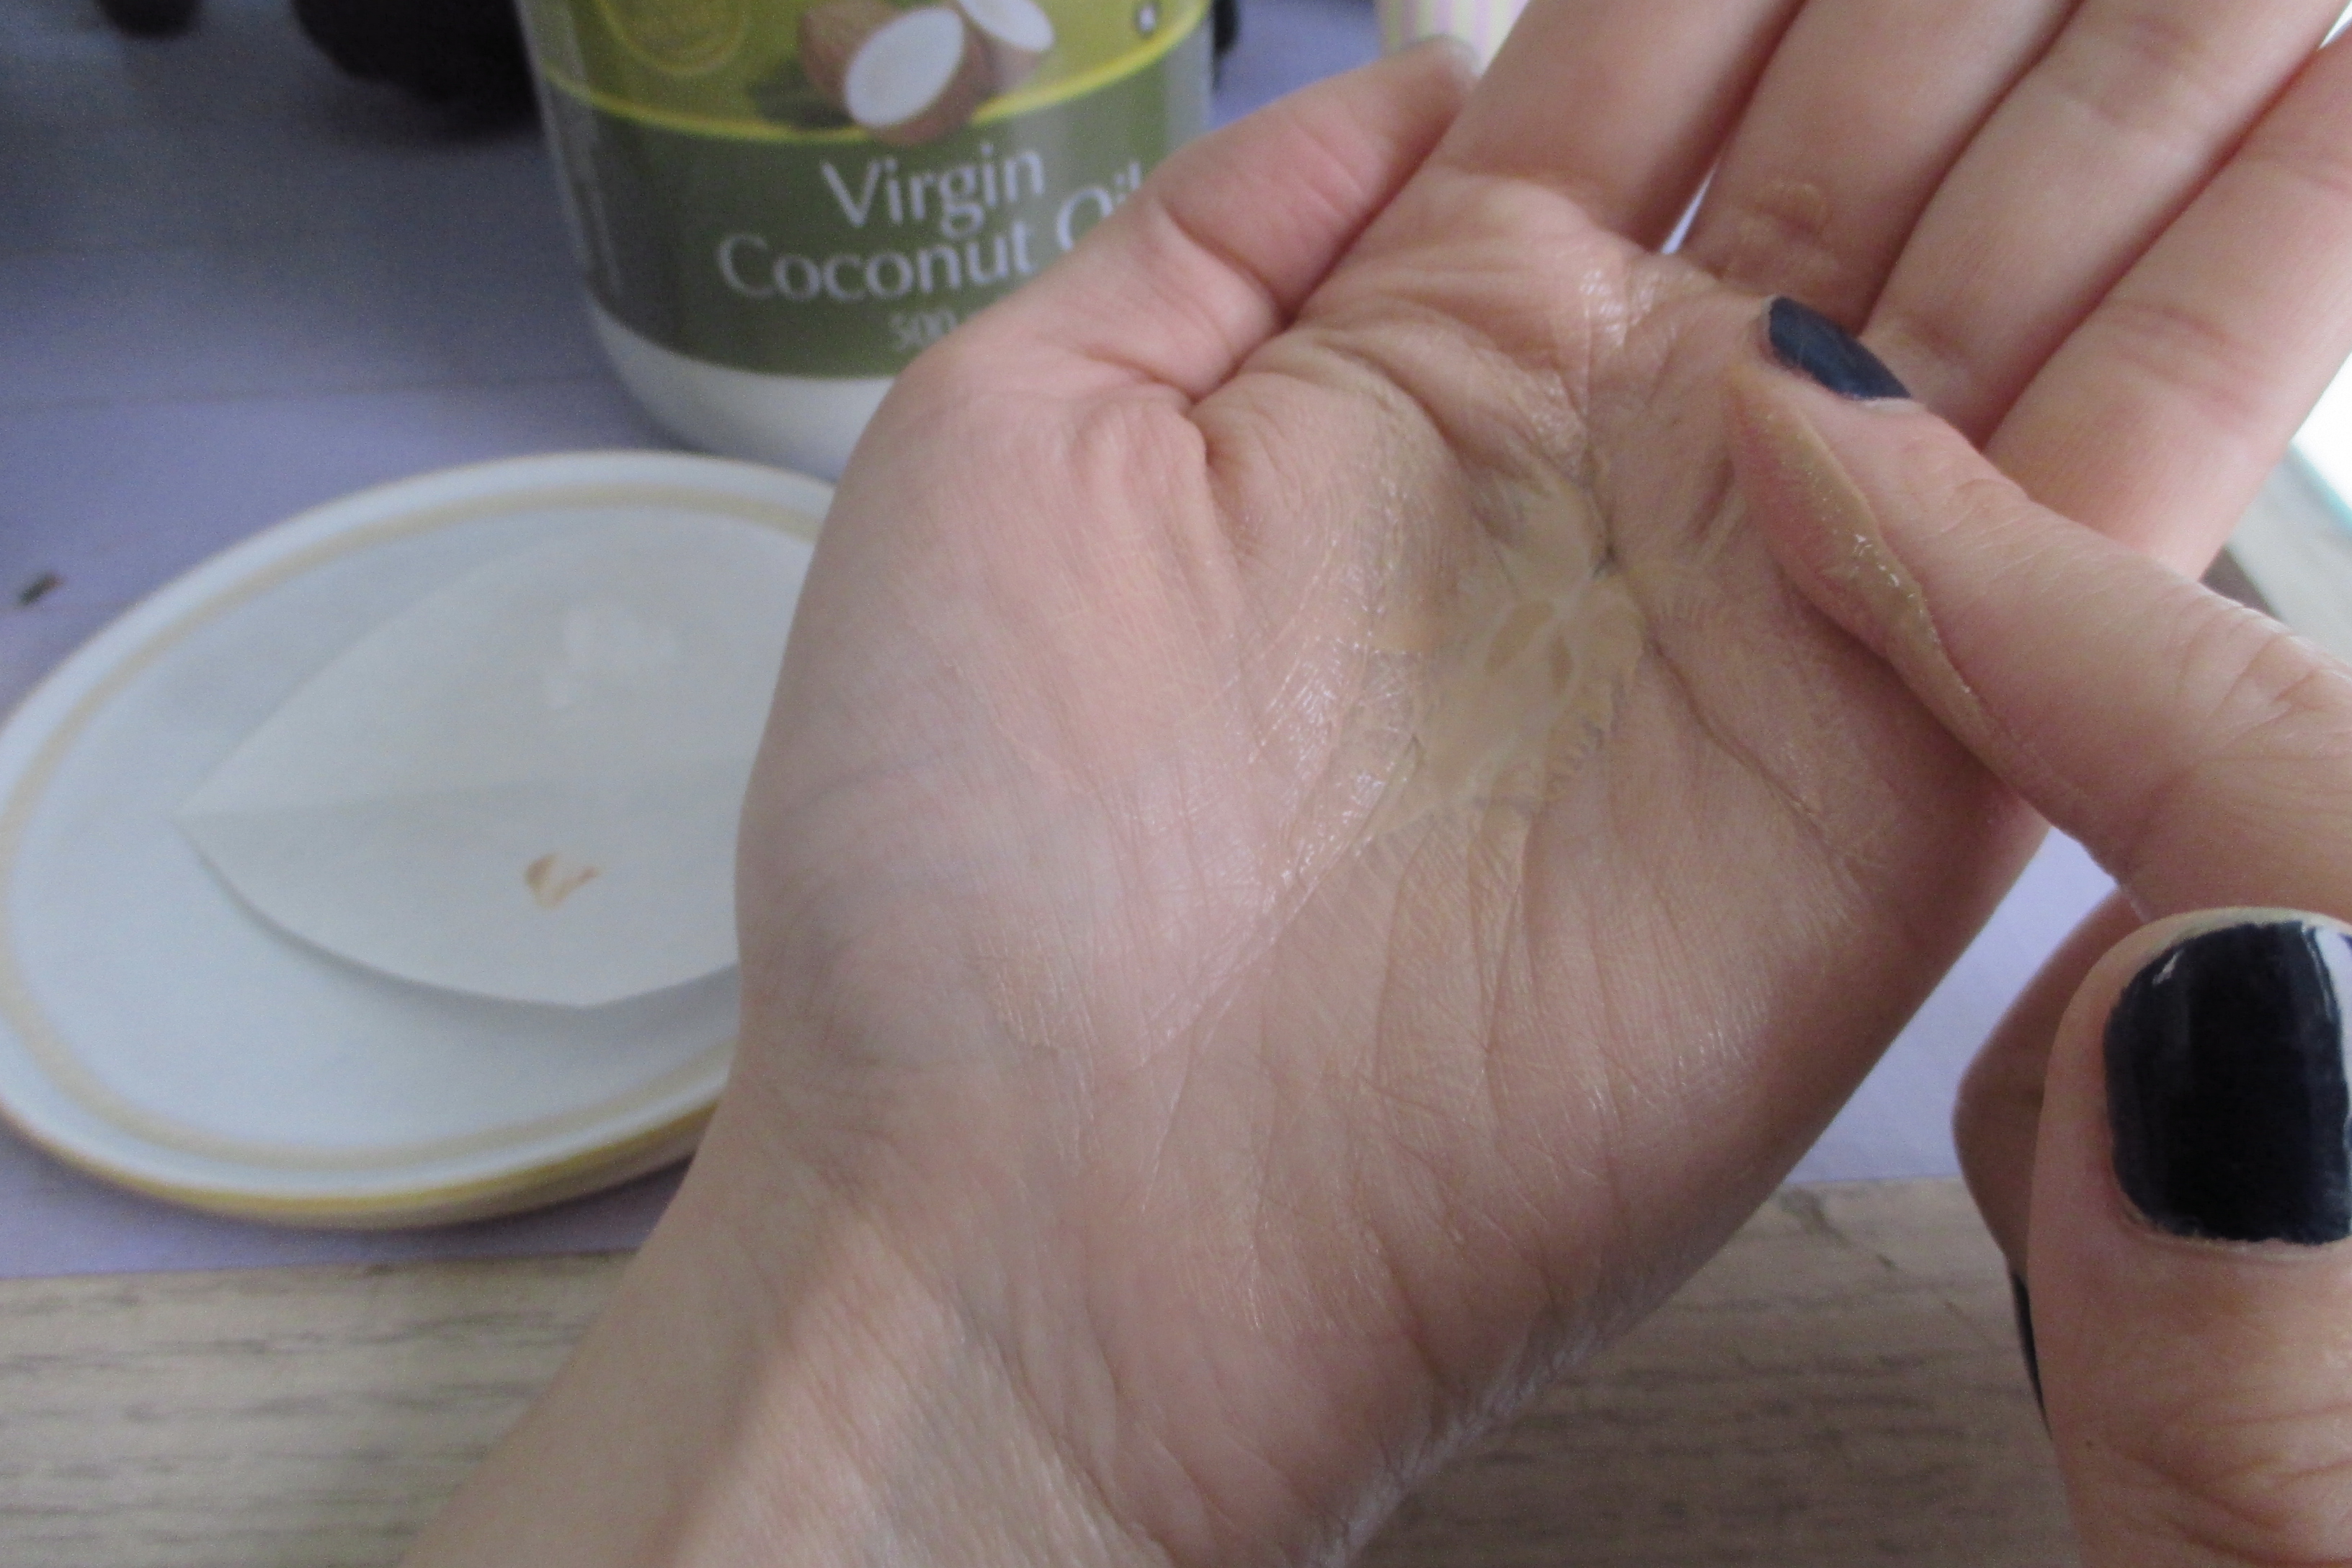
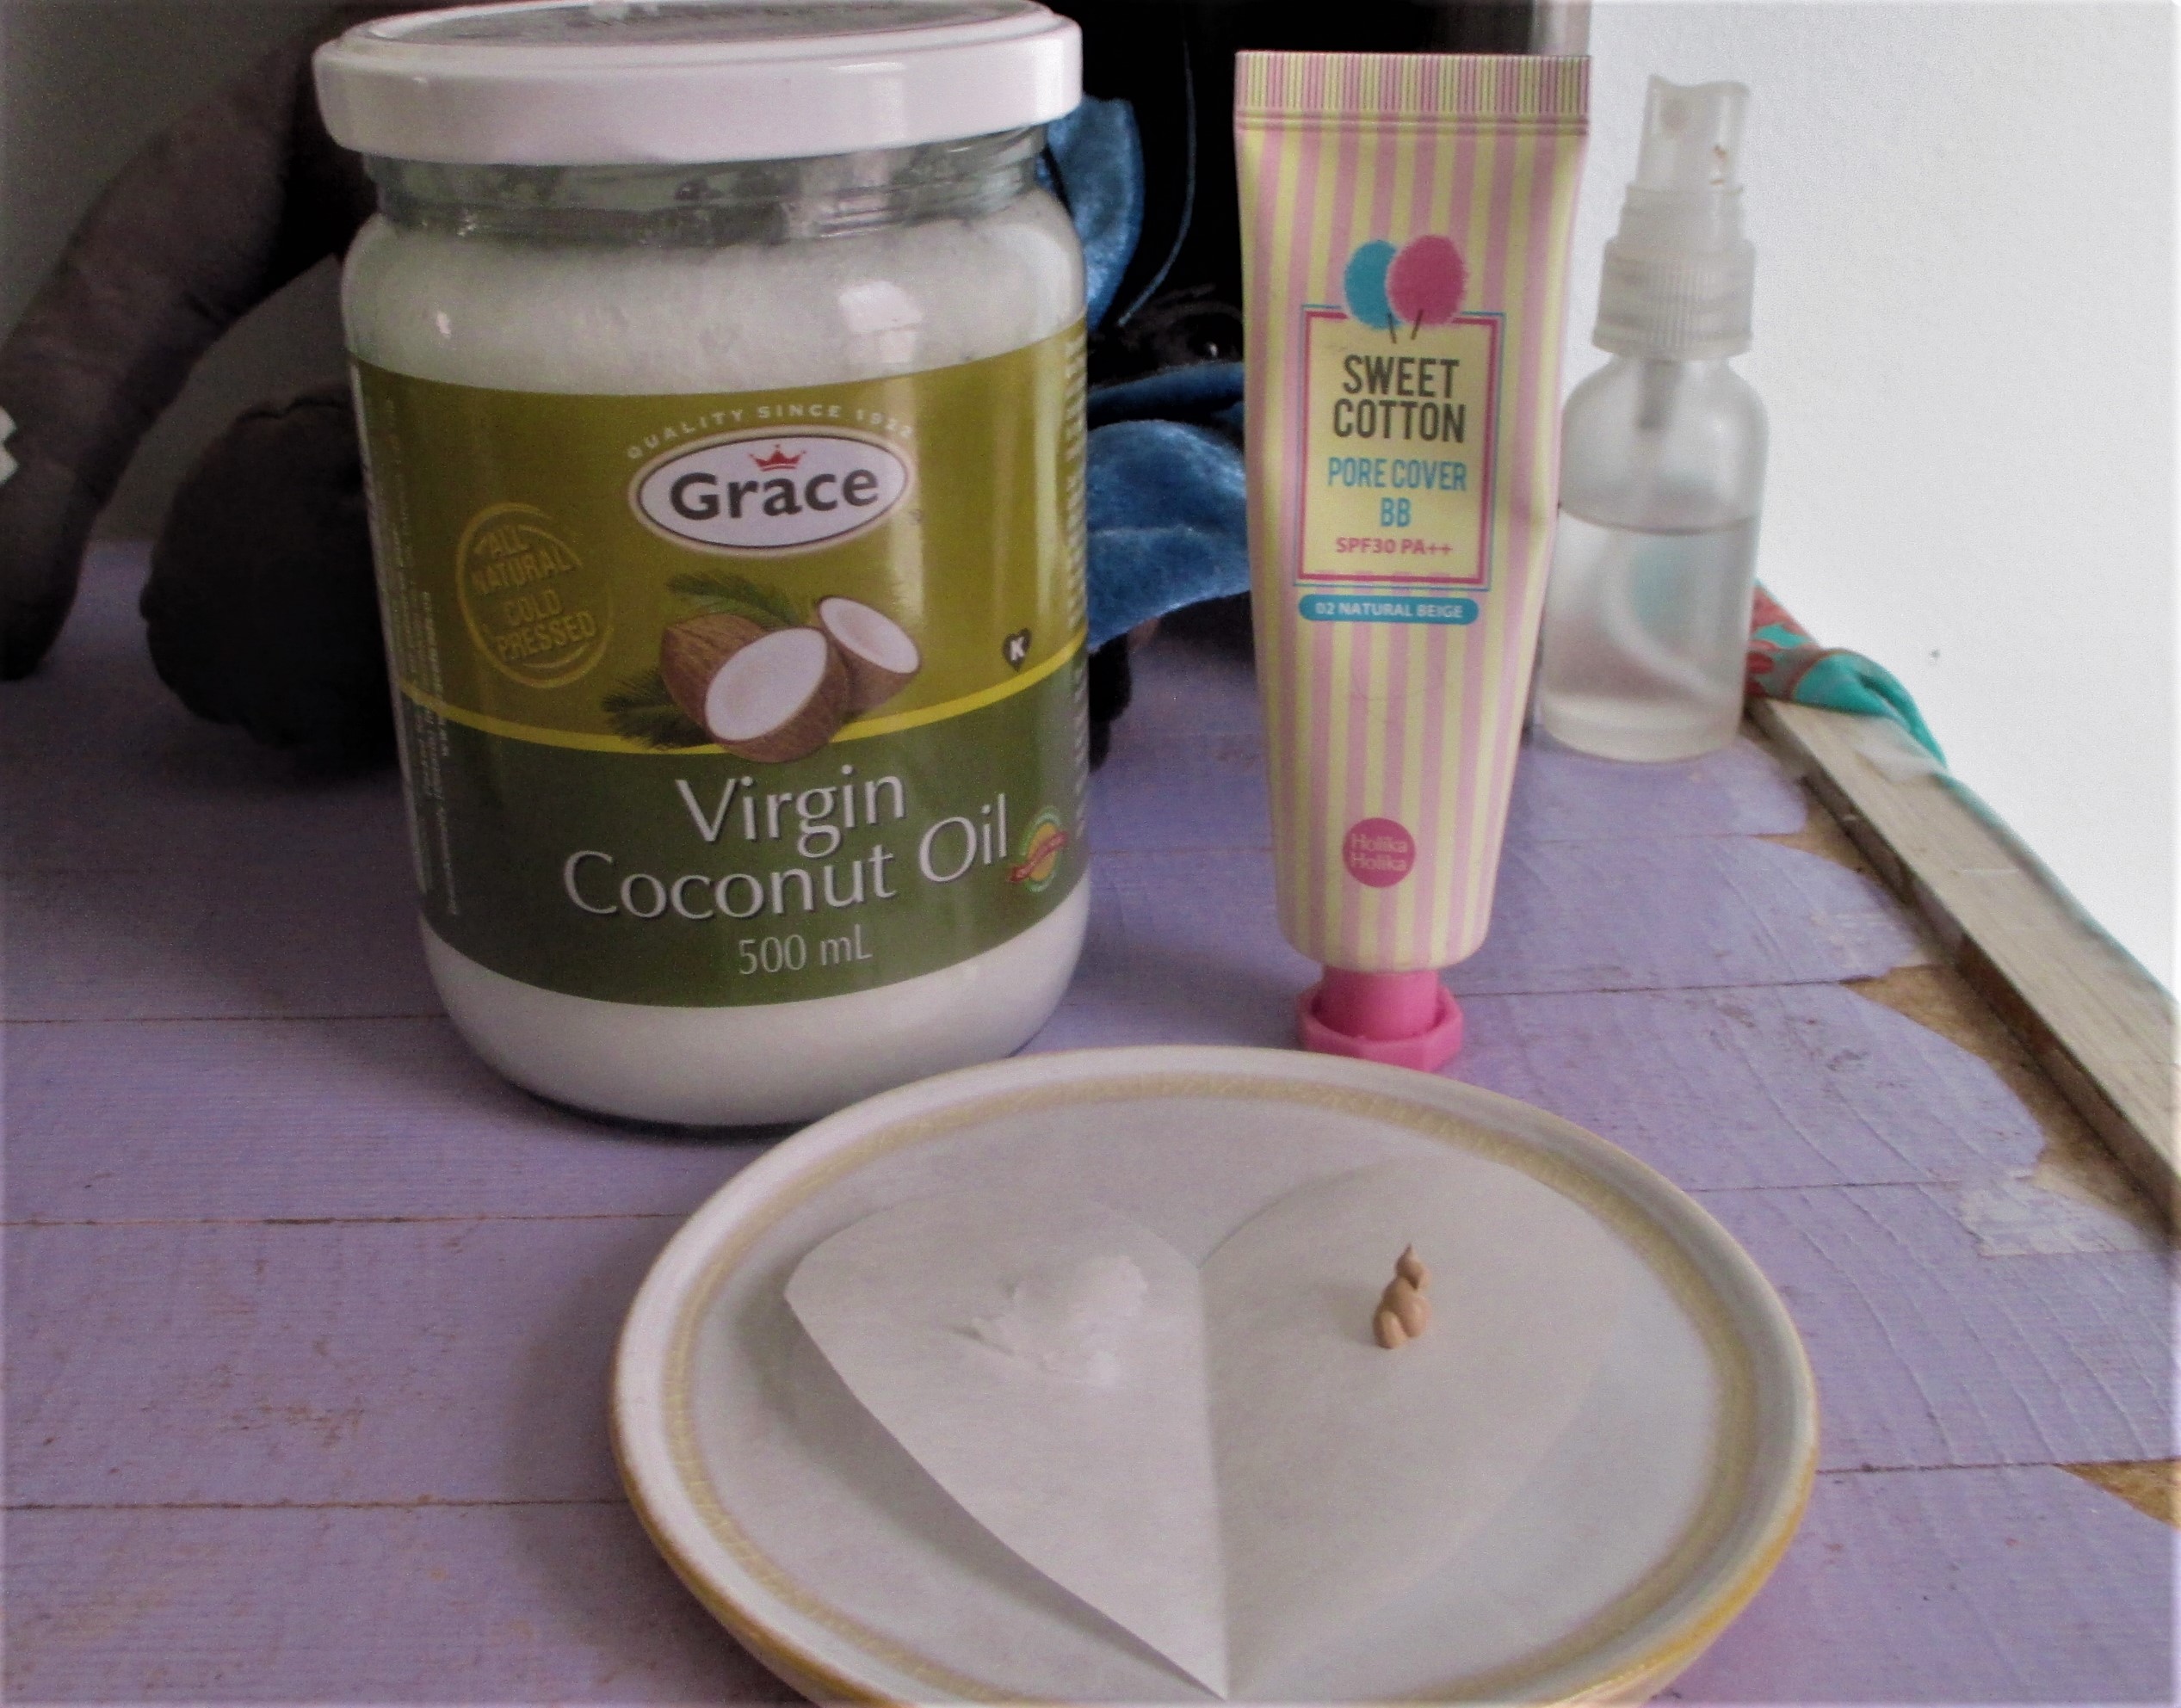
Look at the paper heart. See the dab of foundation/bb, and the drop of solid coconut oil? That's all that's needed to make an amazing sheer coverage. (fyi, coconut oil melts as you mix it in your palm...
Look at the paper heart. See the dab of foundation/bb, and the drop of solid coconut oil? That’s all that’s needed to make an amazing sheer coverage. (fyi, coconut oil melts as you mix it in your palm…

Find a good heavy coverage foundation/bb cream. Place a dab of it in your palm. Then add two to three generous drops of coconut oil (coconut oil is a solid in cooler temperatures, but will melt at body temp into a silky oil, easily mixable into make-up) Mix the coconut oil and foundation/bb well and evenly in the palm of your hand and with your finger and apply to your face, smoothing and massaging it in as you go.  Coconut oil not only stretches the foundation/bb, but also extends the spreading time before it sets on the face, making it a more even application.  On days you want more coverage, use less coconut oil and more foundation/bb.  For just problem areas (discoloration, darkness), treat with an application of full strength foundation/bb on top of the first sheer layer. Powder to set.  Finish with a setting spray such as my DIY Rosewater Glycerin Spray.

Mix into an even consistency. It may appear runny and thin, but it goes onto the skin so smoothly.
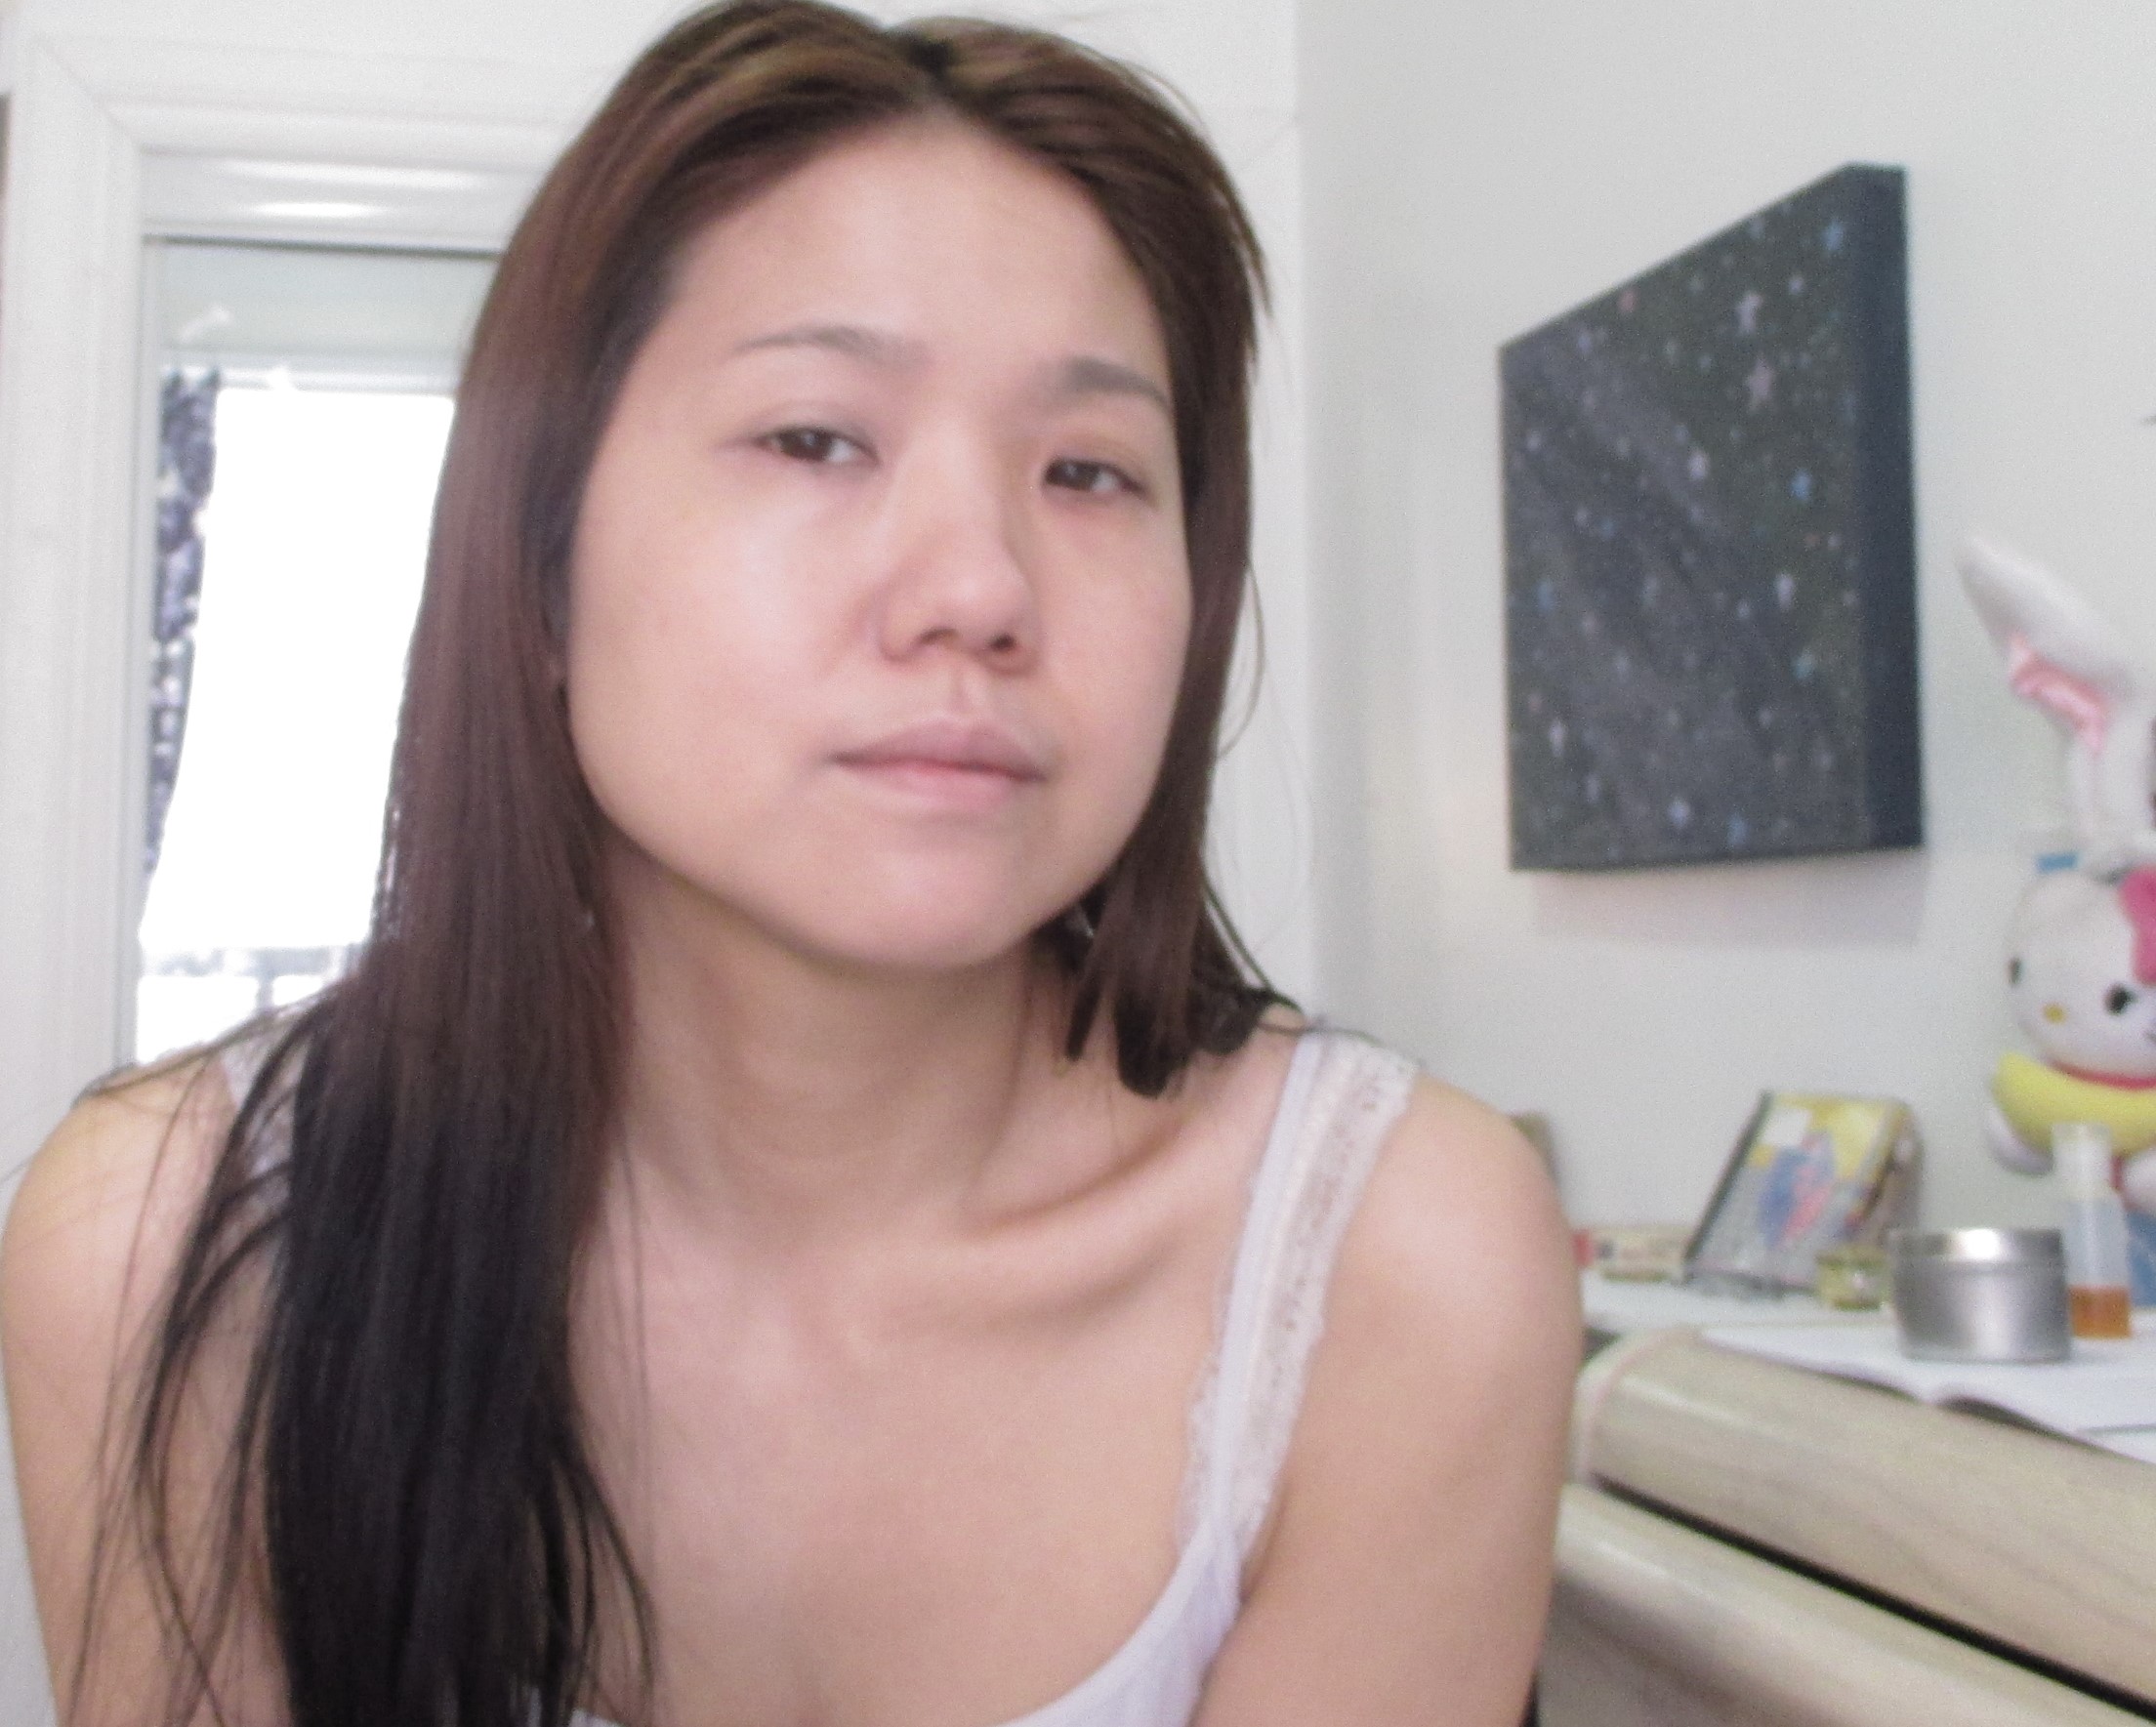
One side of my face is no make-up, and one side is with bb that I turned sheer. Which is which, can you tell? Sheer coverage is on the  right side of my face (left in the photo). Natural looking, but better...
One side of my face is no make-up, and one side is with bb that I turned sheer. Which is which, can you tell? Sheer coverage is on the right side of my face (left in the photo). Natural looking, but better…

Why does this work? Heavy foundations and bb’s have loads of silicones and pigments. Silicones have a lot of different names (cyclomethicone, dimethicone) but they all do the same thing. They act as a smoothing and sealing agent for the pigments/ingredients in foundations/bbs.  Silicones are also a by-product of chemical petroleum, a bit scary to put on the face if you think deeply.  But horrors aside, they can actually do miracles when used sparingly in cosmetic applications, by gently sealing in moisture and smoothing skin. Adding coconut oil to dilute silicone-heavy foundations/bbs are a natural way to promote a healthier skin look, and coconut oil also has tons of skin benefits. Try it today, and let me know what you think! 🙂


Glycerin is your new BFF when it comes to having glowing skin!

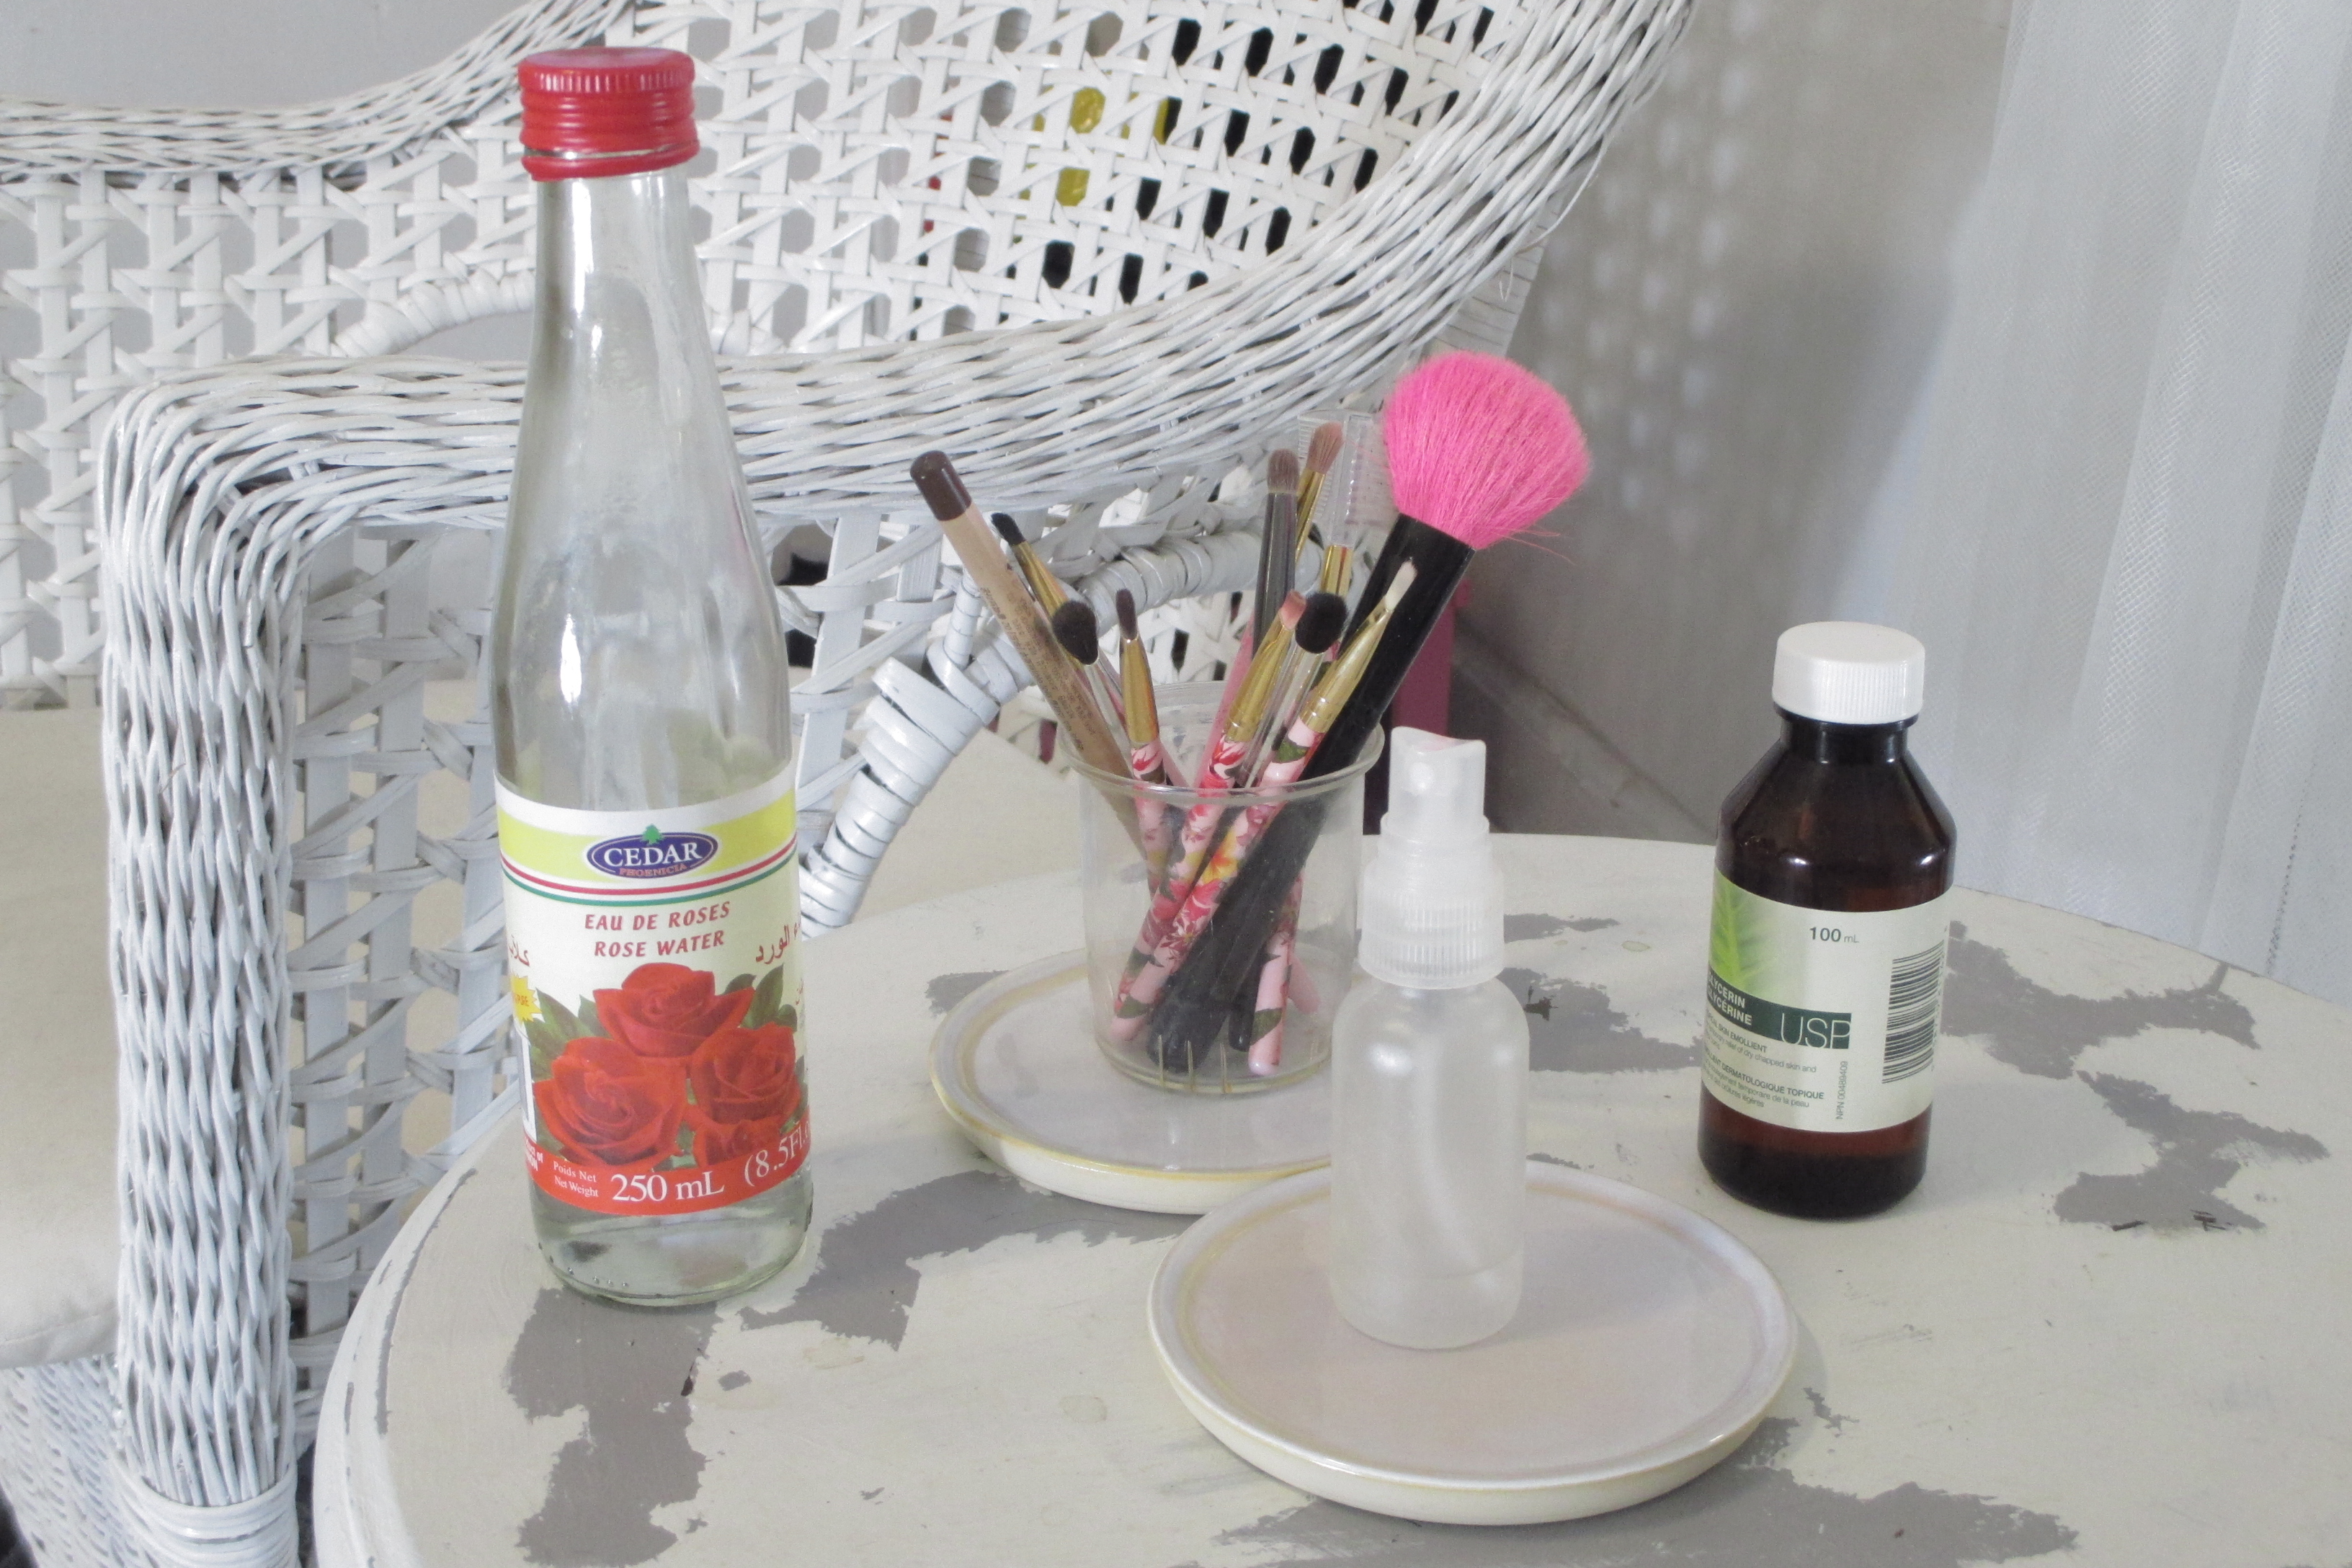
A skin rescuer for powdered make-up users...this setting spray only takes three ingredients; rose water, distilled water and glycerin!
A skin rescuer for powdered make-up users…this setting spray only takes three ingredients; rose water, distilled water and glycerin!

So about a year ago, one of my good friends told me about the skin trend in Asia particularly Korea, where the young girls not only have perfect skin, but they also have shiny, dewy baby skin, like no other in photos.  At first thought, I figured that the look can be achieved by exfoliation, followed with a tinted moisturizer, and no use of face powder, but that didn’t explain the “flawless” glow of the dewy shine trend.  How that look can be achieved, I figured out recently is with the use of a setting spray.  Make-up has a nicer real skin effect when slightly dampened, and the misting of a setting spray (water based) over foundation and powder will make your face look more hydrated, and give you the dewy shine that you crave even after it’s dried.  That’s right, shine can be pretty as long as it is not a greasy slick over your face. Another bonus is it increases the staying power of make-up that is applied.

What’s even more amazing? I found out there is a DIY home recipe for a setting spray that will make you wonder how you could have done without it for all these years! It is super easy to make, hydrating and smells awesome. A homemade spray that is just as good as any $20 spray on the market, but better since it is super affordable and preservative free.  There are different ways to use a setting spray, as in before make-up application (for adhesion and colour intensity) or after (to get rid of the powdery look and build shine)…  I mist the spray all over my face after my foundation and powder but before I do my eye make-up. That way, I get better adhesion and color intensity for my eye shadow, and it prevents my powdered foundation face from looking too powdery by giving it a healthy dewy glow.

A bottle of glycerin from the local pharmacy! Not hard to find and so good for the skin!

Recipe for DIY Rosewater Glycerin Setting Spray:

  • 1 part distilled water
  • 1 part rose water
  • 1/8th part Glycerin** (you could use less if you find it too sticky)

**For those of you who don’t know…glycerin is a thick liquid compound that is a sugar alcohol. It is put in many products in the food industry for keeping things moist and sweet.  Since it is food grade, if you spray any of it on your lips and lick it, it’s totally safe! It’s also known to be great for your skin as it draws water to it and has other benefits too!

Put all ingredients above in a small clean spray bottle.  Shake it to mix it and spritz a fine mist over your make-up or under your make-up depending on the result you want as I mentioned above! I like to use enough that my face feels moistened, and takes about two minutes to dry.  And then start welcoming the pretty shine and dewy glow that using a setting spray imparts!

It's hard to see in photos, but the hydrating and glowing effect of using a setting spray is worth it, even as it covers the back of my hand!
It’s hard to see in photos, but the hydrating and glowing effect of using a setting spray is worth it, even as it covers the back of my hand!