Make your own dry shampoo so you can sleep-in during mornings!

Lazy is good.  It’s great actually.  When it comes to shampooing hair, there is nothing more healthy for your scalp and hair than skipping as many days as you can between shampoos.  The reason is simple.  Shampoos are harsh.  They strip away natural oils, you use a lot of friction to make them lather, and your hair (unlike a pair of distressed jeans), do not look better when they are put through the washer and dryer.  On the other hand, oily strands of hair do not look polished or pretty either.  A solution?  Dry shampoo.  When I use dry shampoo, I can go a up to a week between washing with a regular shampoo.  This is great in two ways:  It is healthier for your hair, and also it saves you plenty of time in the morning because you don’t have to shampoo and condition in the shower, and you don’t have to restyle/shape your hair again. I dust dry shampoo in my hair roots, and it looks as if I had showered and re-curled my hair! A handy and healthy short cut to clean hair.

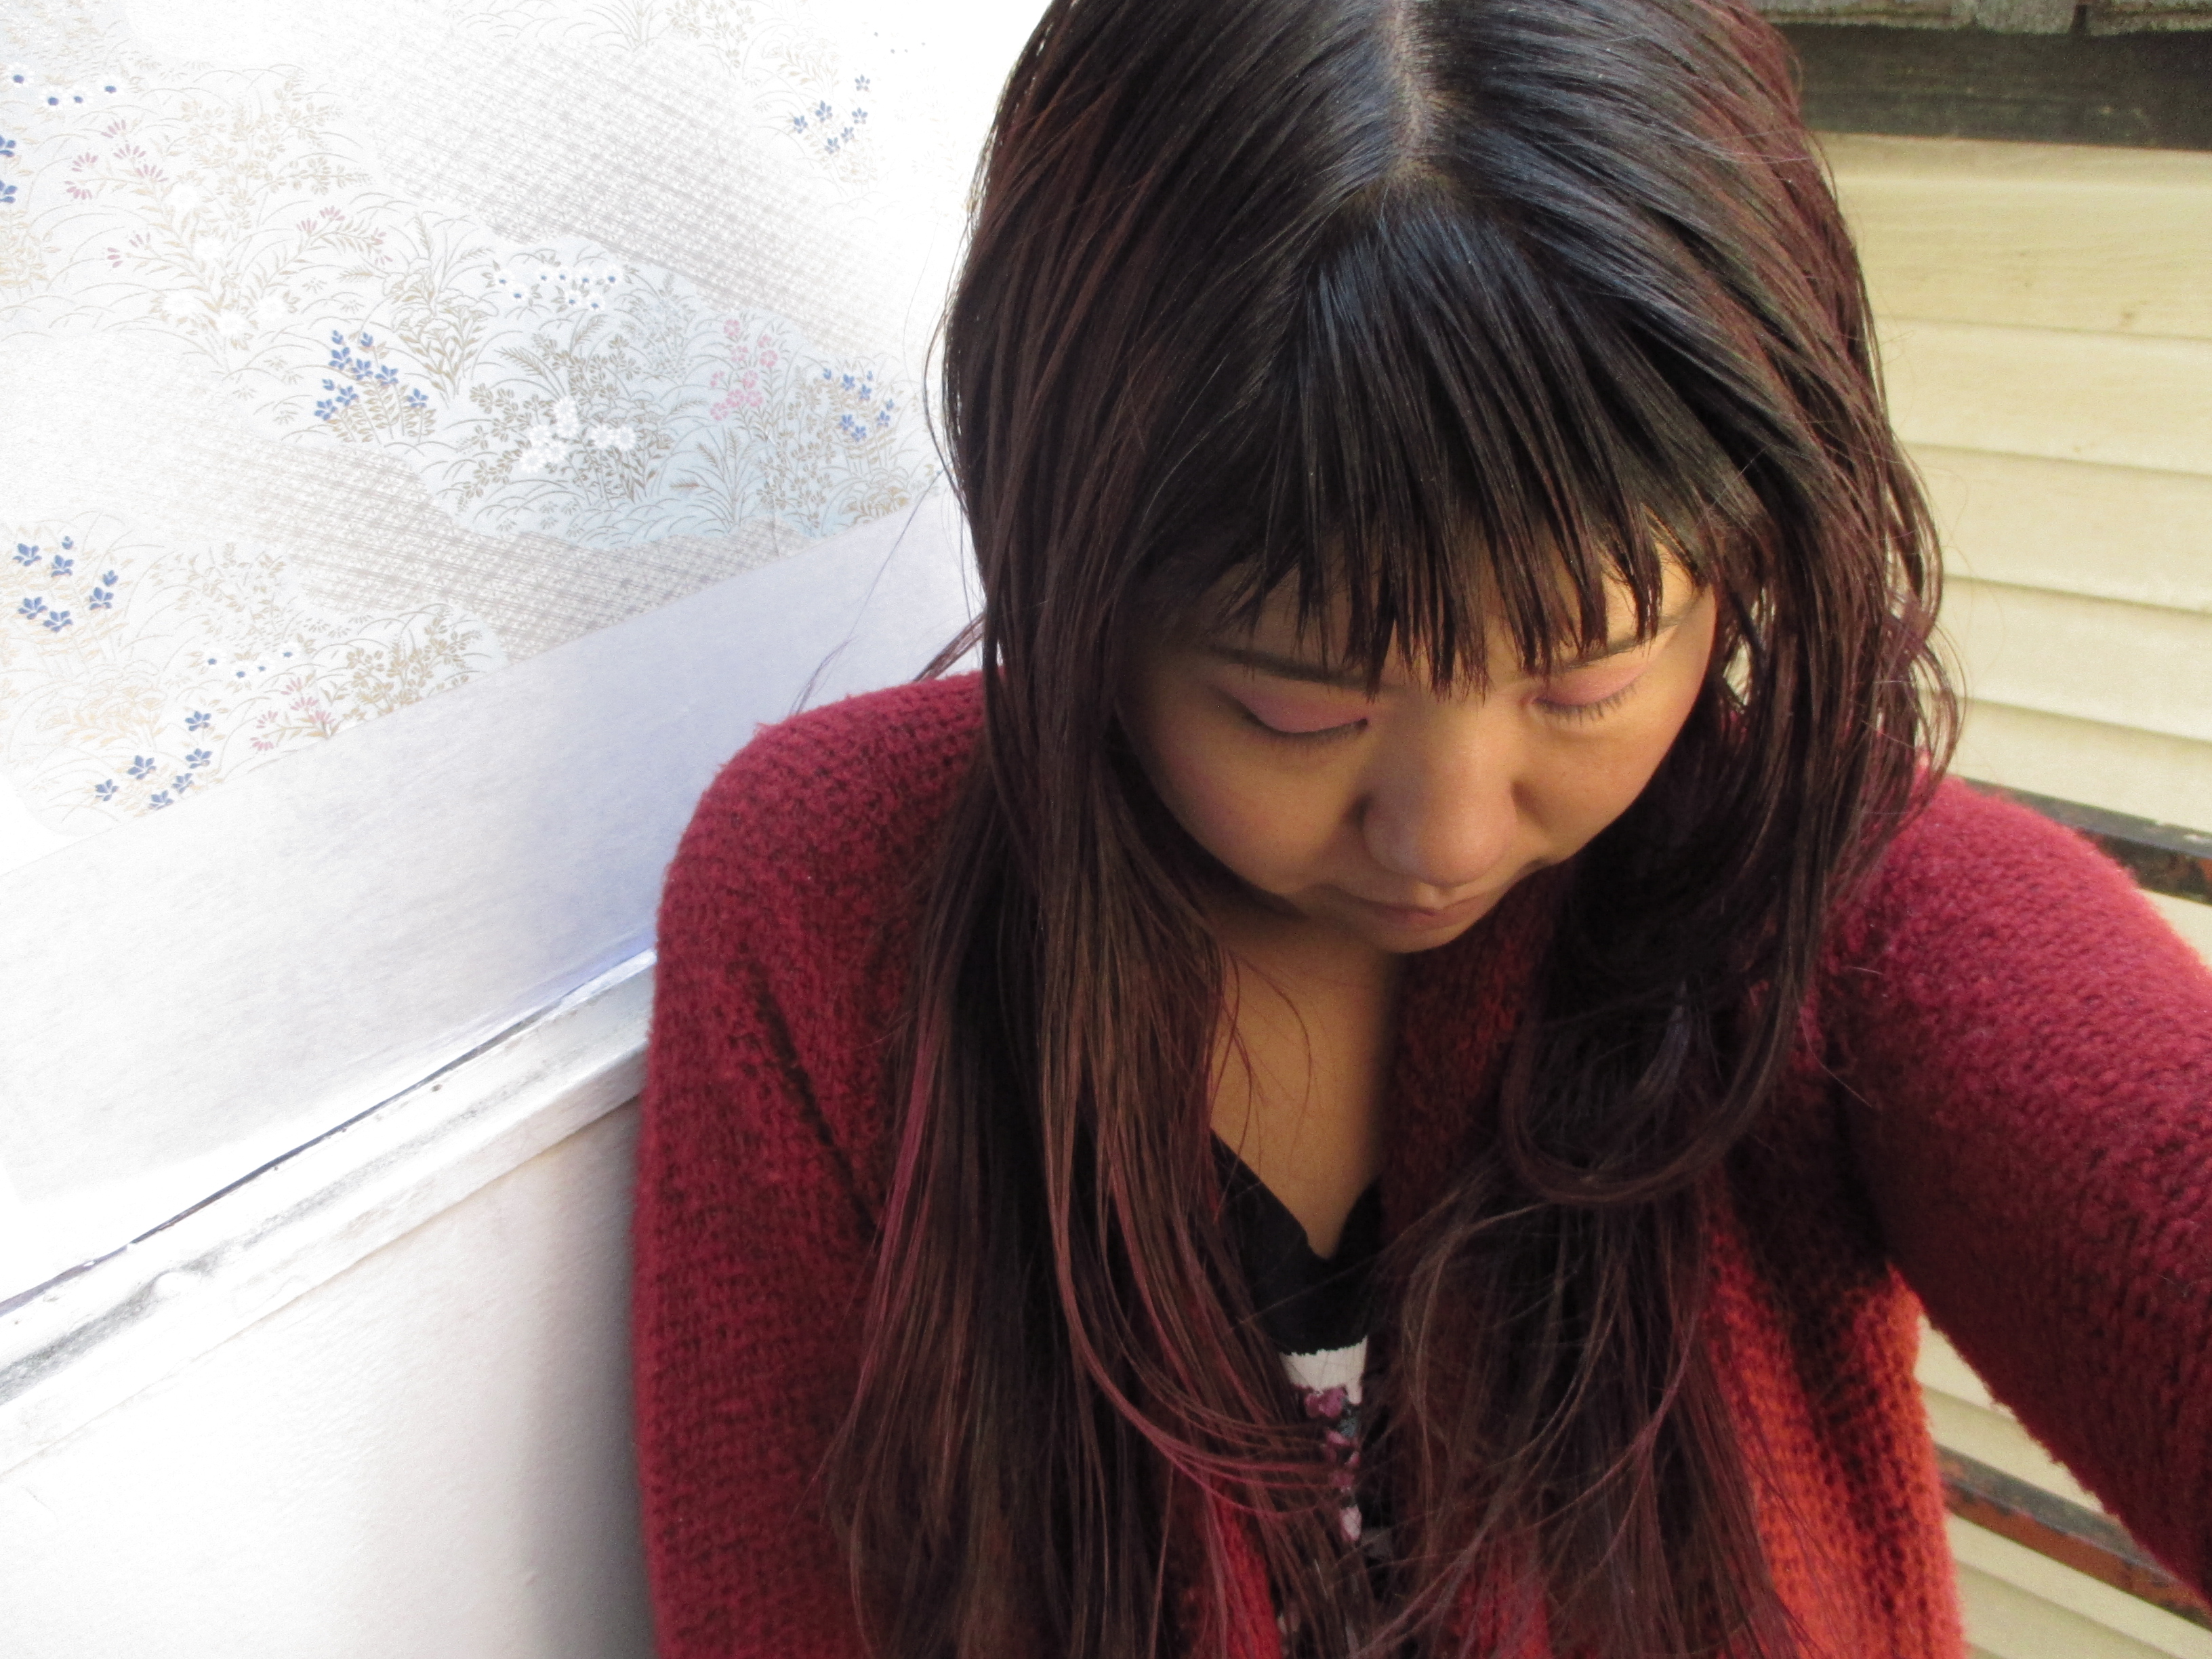
So this is my hair after a few days without washing.  Kinda gross and oily as you can see.
So this is my hair after a few days without washing. Kinda gross and oily as you can see.

The best part is it really isn’t cheating.  Your hair is actually getting cleaner with the use of a dry shampoo.  The reason is is that oily hair is a magnet for dust and dirt.  When your hair is oily, particles of dirt stick to it, making your hair more “dirty” as each day without a wash passes. Dry shampoo works by soaking up the oil, along with any unwanted dirt, then falling out of your hair.   So technically, a dry shampoo really does “shampoo” your hair and clean it.  It is not a cosmetic effect, it  cleans by absorbing grease and oil and it is not as “gross” as some people may think.

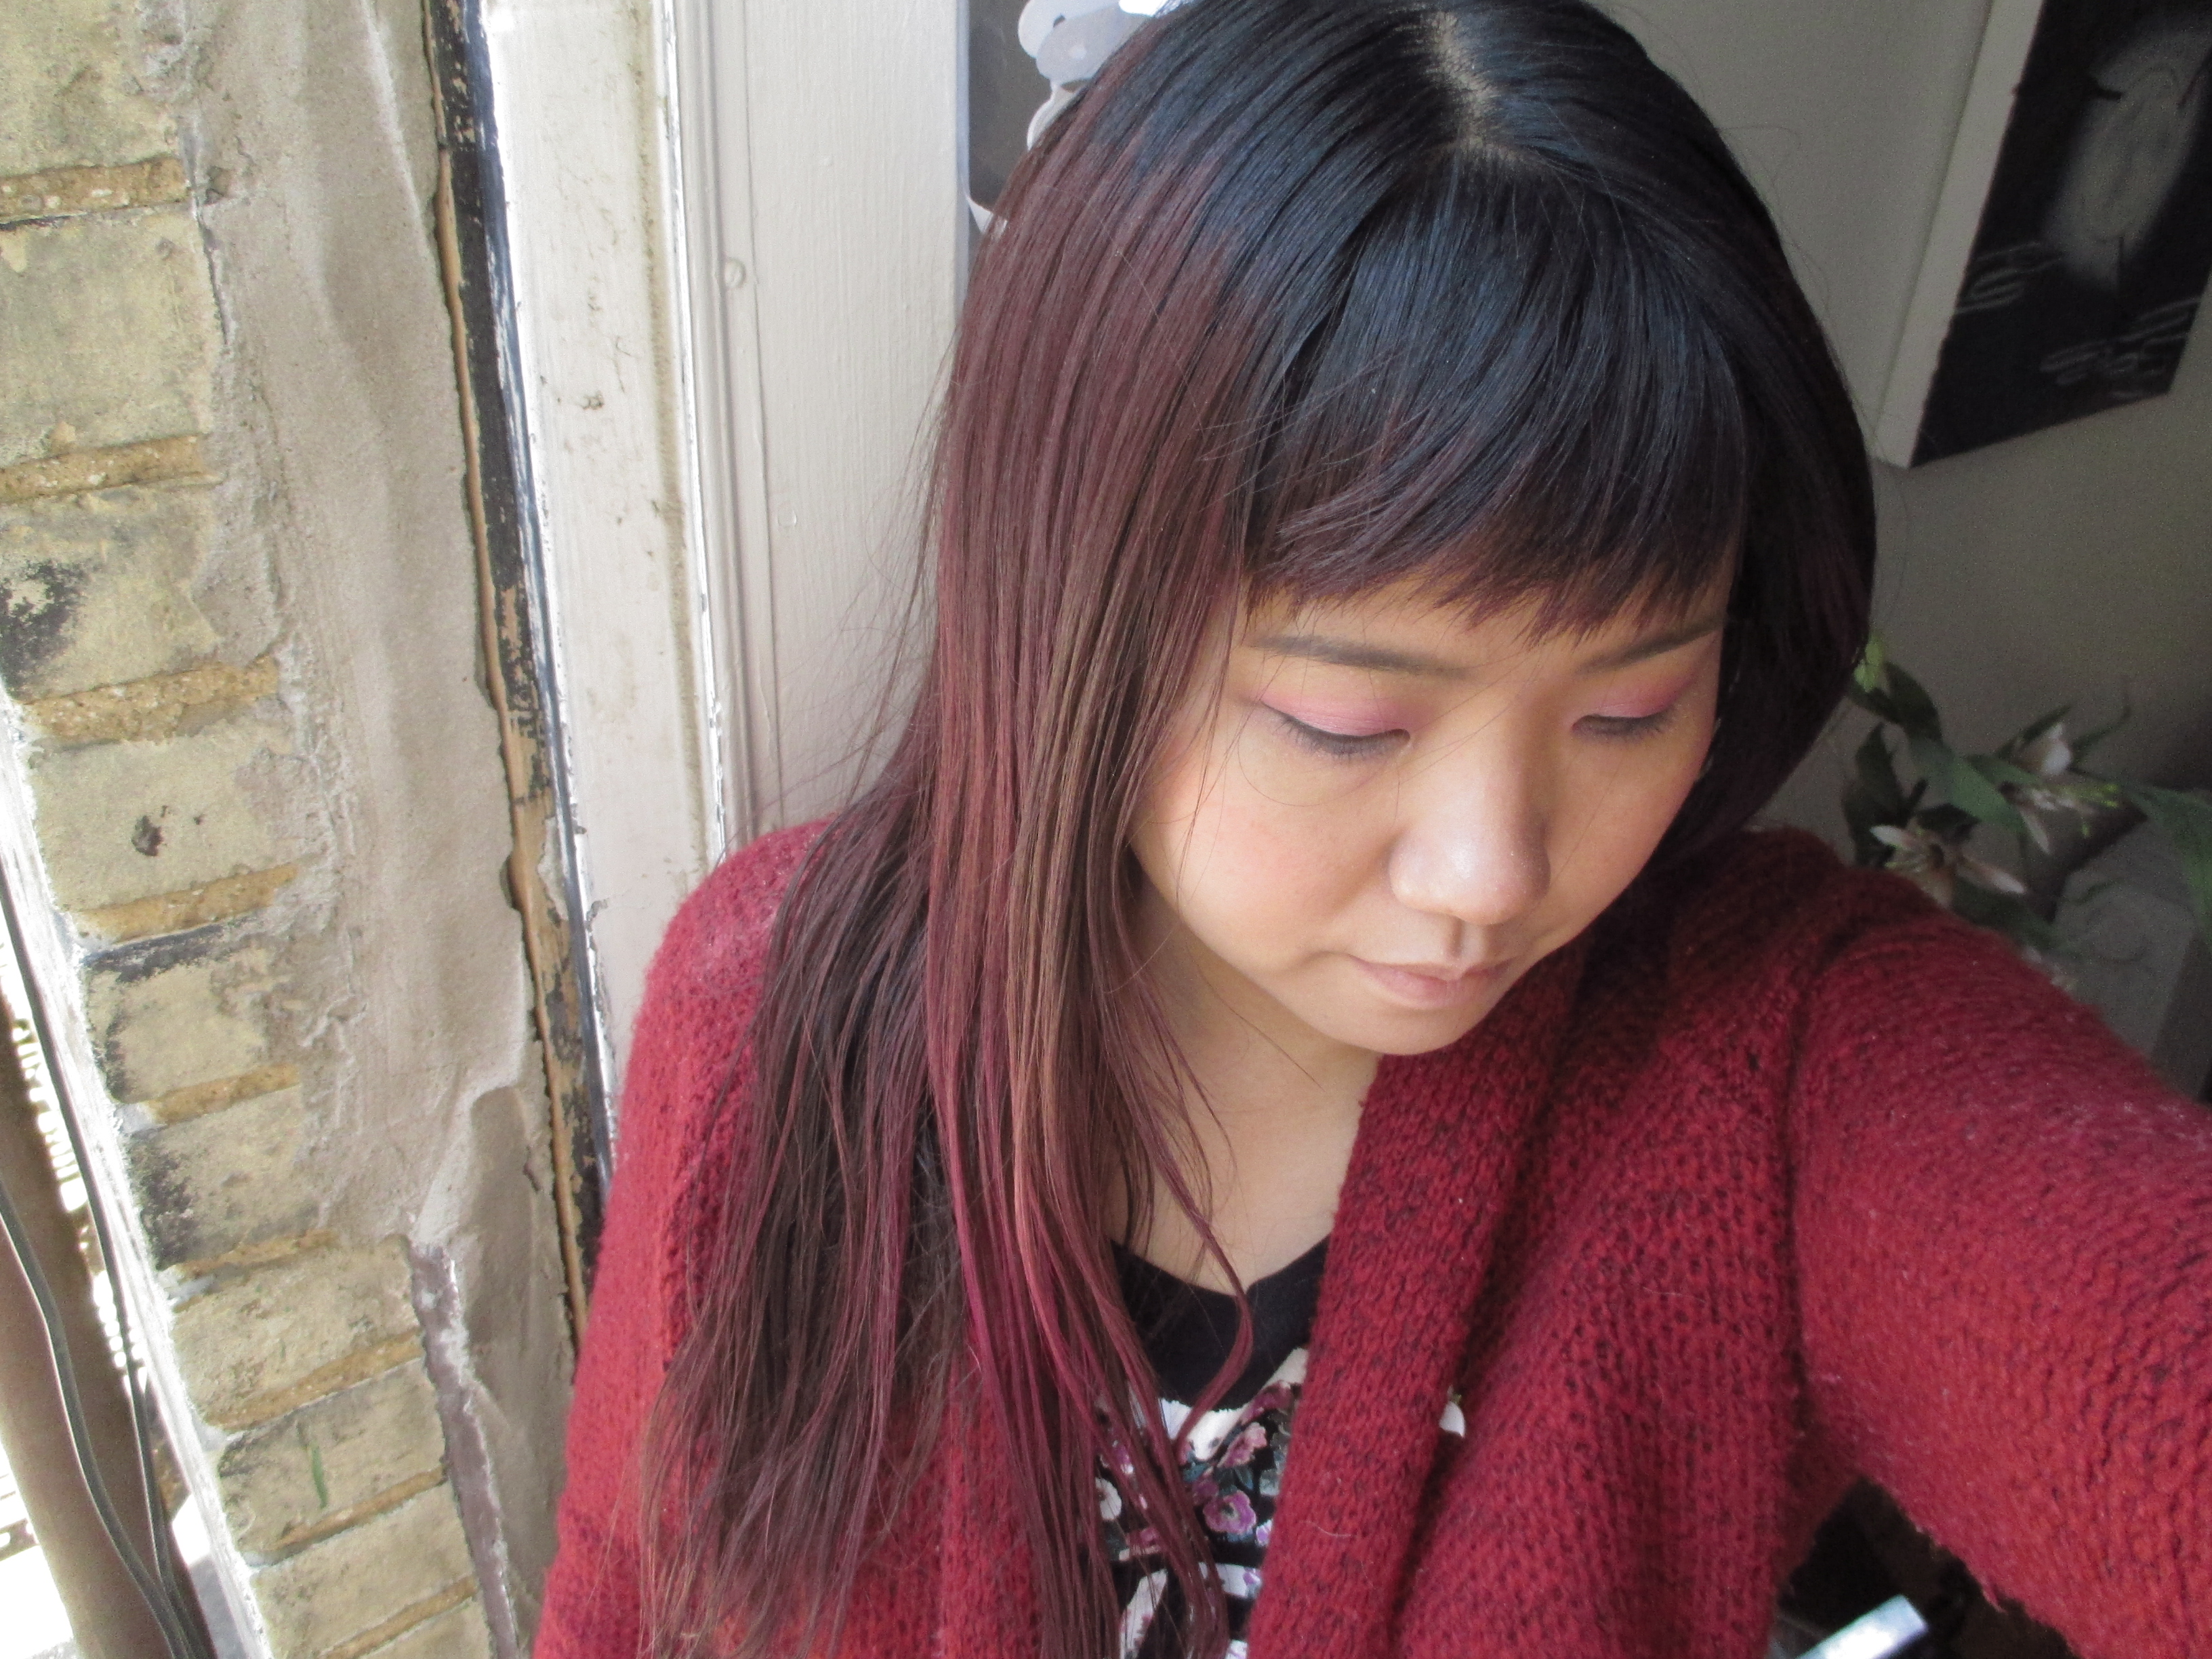
Doesn't my hair look a lot cleaner and better?  It took two minutes with a dusting of dry shampoo.
Doesn’t my hair look a lot cleaner and better? It took two minutes with a dusting of dry shampoo.

How I use my own homemade dry shampoo is simple. On day 3 or 4 I dust in a thin amount of dry powder into the roots to mid shafts of my hair all over.  I actually use a blush brush and dip it into the bowl of dry shampoo and then brush it all over.  I like using a blush brush because there is more control, but you can also use a shaker type container to shake it in.  Then once applied shake and massage your head and hair so it can do it’s magic.   Then simply comb gently.  Thou’st ready to go out now!

Simple recipe for home made dry shampoo:

1 part cornstarch (absorbs oil like crazy)

1 part arrowroot flour (absorbs oil, but is softer in the hair)

1/3 part cocoa powder ( this ingredient is optional for those with darker hair)

Mix and blend all three powders until consistency is smooth and uniform.  I like to add jasmine and rose oil drops to make the shampoo smell amazing!

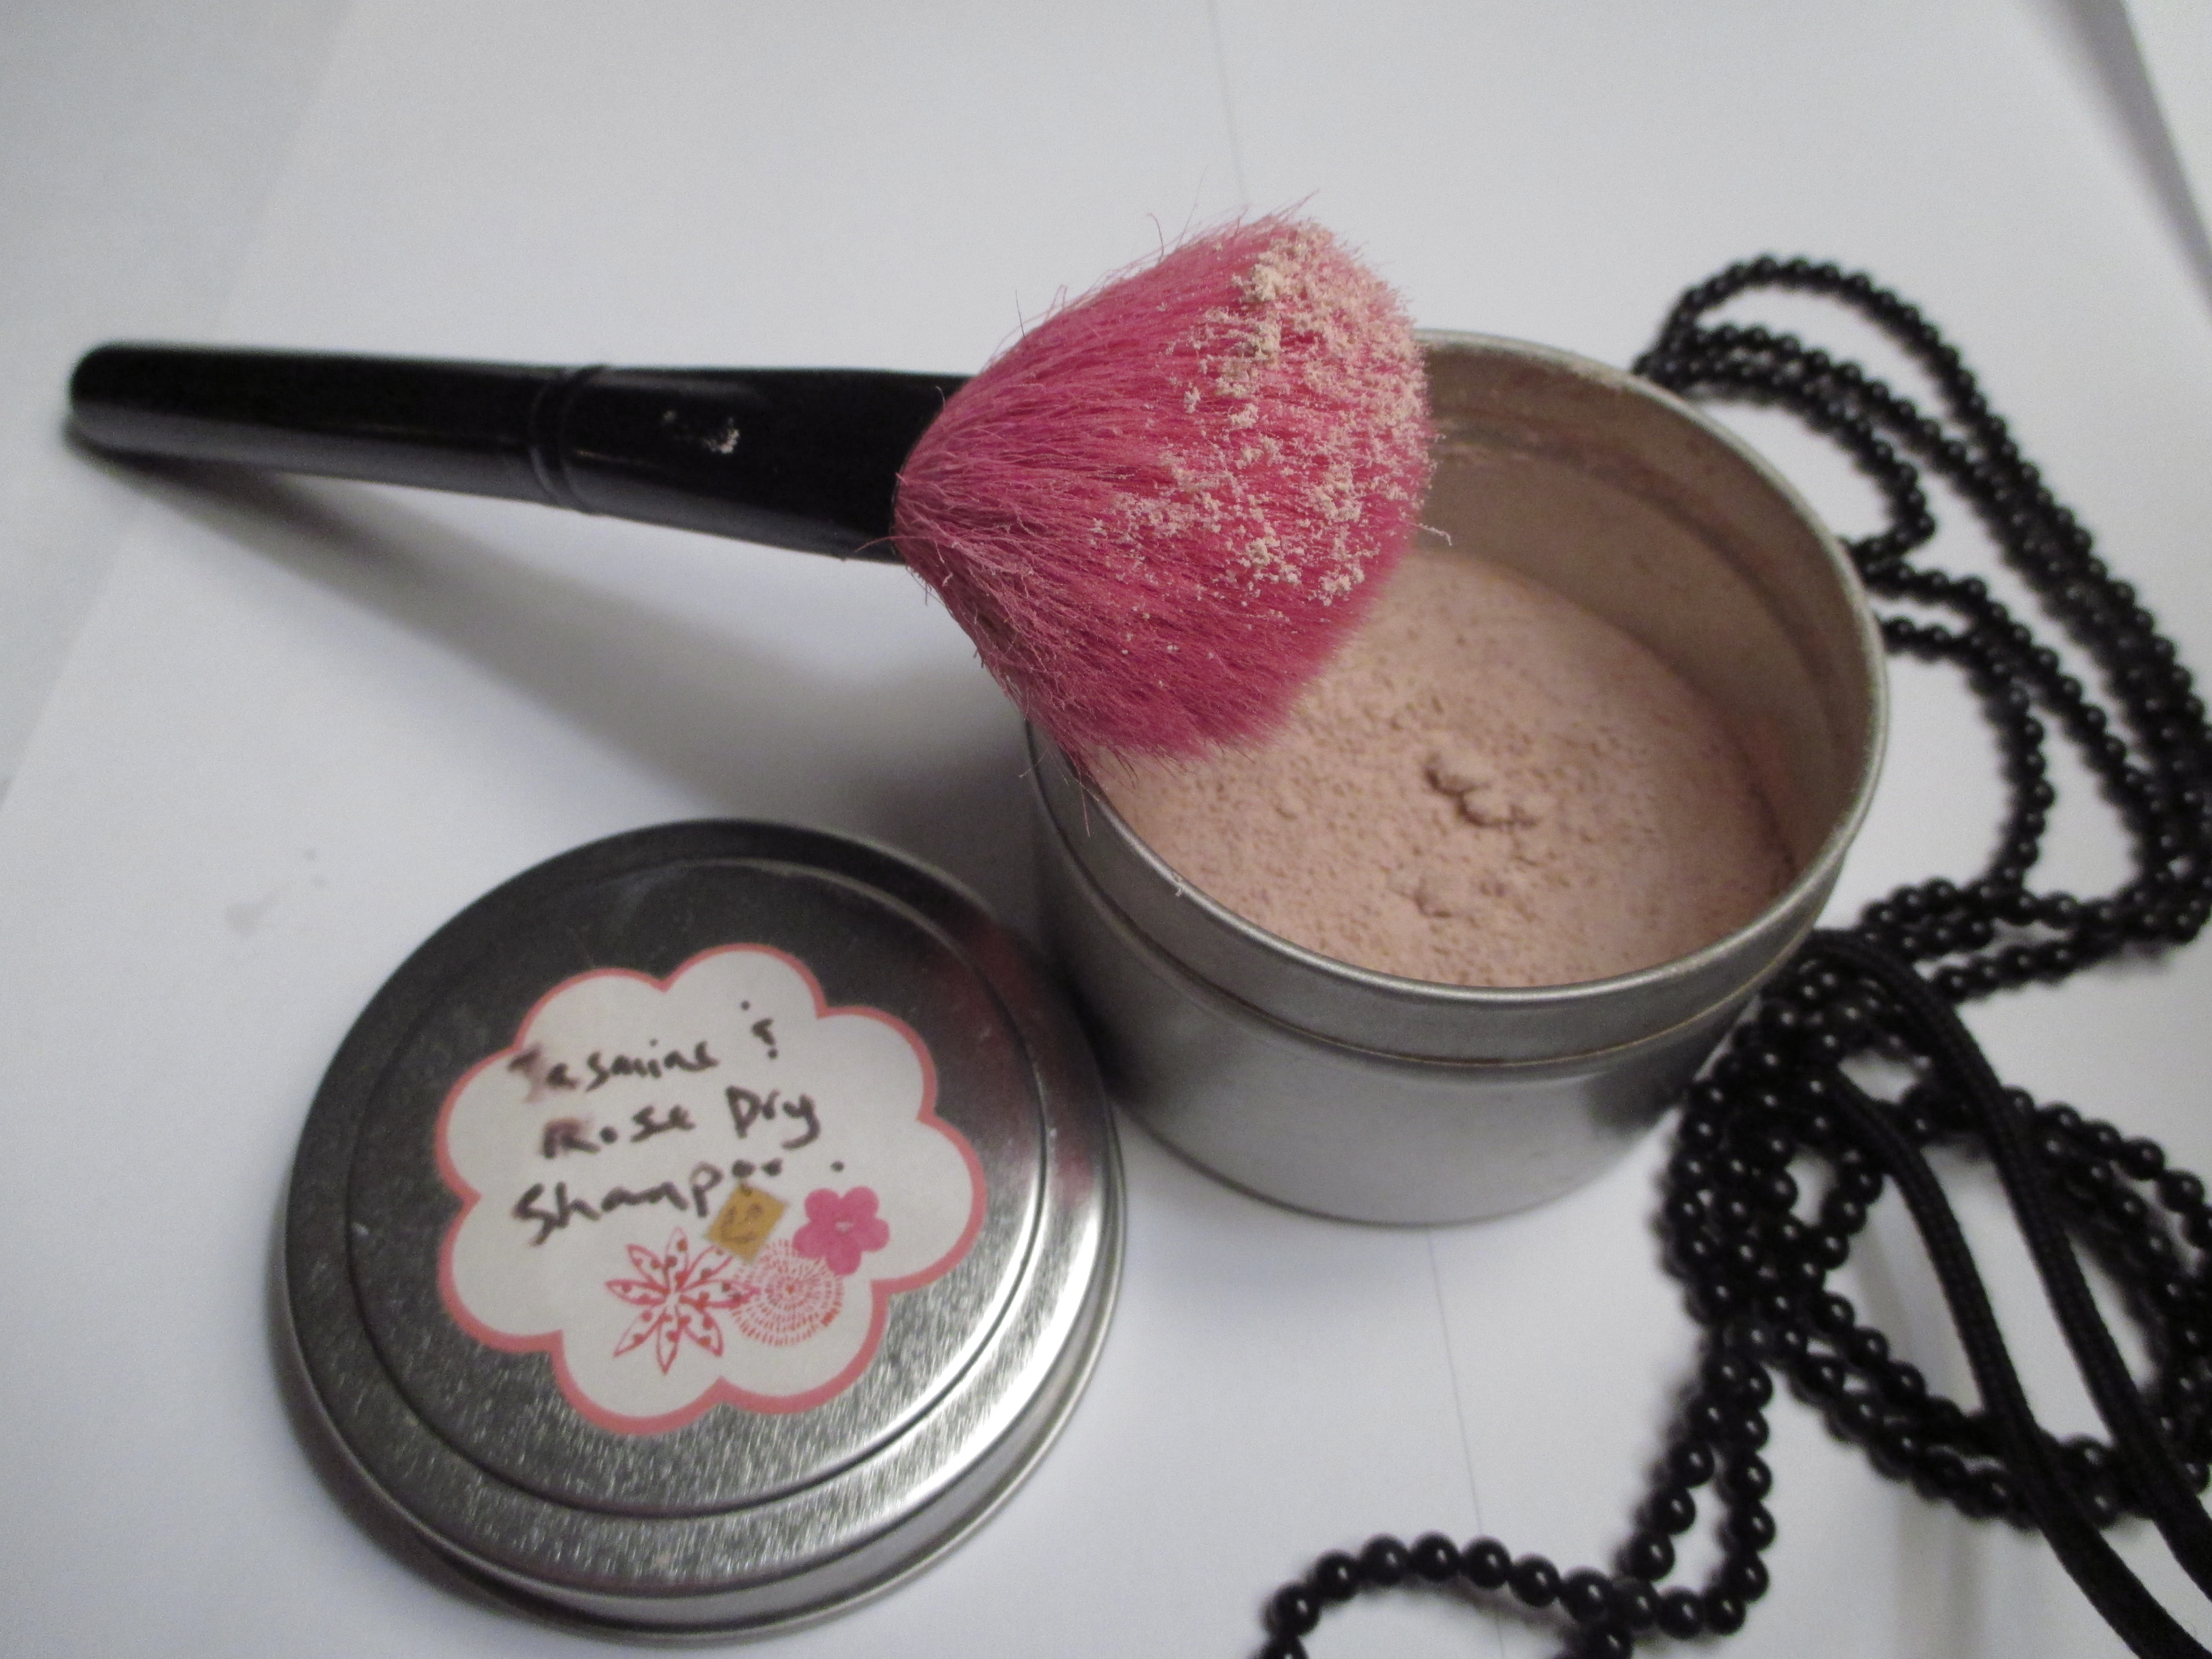
I keep my dry shampoo in a tin and dust it into my hair with a blush brush.  So easy, and fast too!
I keep my dry shampoo in a tin and dust it into my hair with a blush brush. So easy, and fast too!

Spring make-up trends from Vogue and Harper’s Bazaar: Less is more

There is no greater fashion authority than Vogue and Harper’s Bazaar, at least that is what I feel.  These giants are the leaders of the industry and always know what will look high-fashion, and what will look pedestrian. Their knowledge includes hair and make-up.  However, I still get annoyed an any fashion authority because of how trends come in and out at a snap of the finger.  Or seeing trends that seem to mirror the things us girls were doing all along, but all of a sudden, it is accepted as stylish!  Read this spring’s Vogue and Bazaar articles and you will know exactly what I mean.

Trend 1: Bare faced, no make-up, fresh and clean.

This is a really really hard look to pull off!  That is why this trend is annoying.  Most girls are not blessed with perfect, glowy, dewy faces.  Believe it or not, this look actually takes work.  My suggestion to get this?  Use a heavy moisturizer, then thinly sponge on bb cream or foundation. Use face powder sparingly.  This is how I used to do my make-up for errands day or groceries.  Turns out it is now high fashion…who knew?  I think bare faced and no make-up looks best with clean flawless skin, and undone, unruly hair.

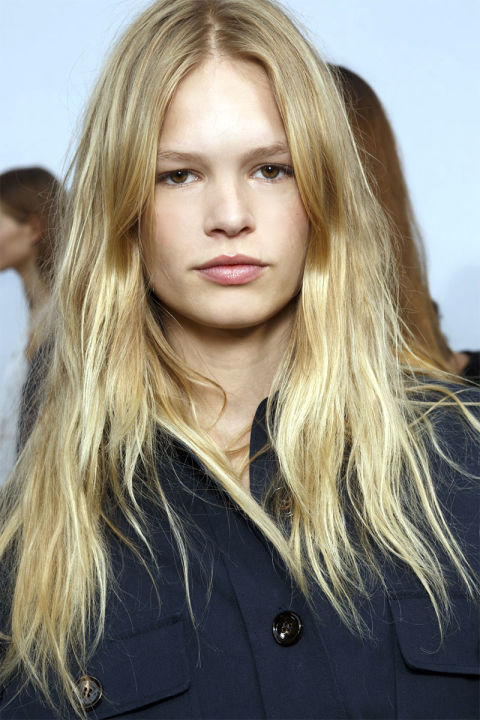
See how this look is done.  It is unpolished in the face, so the hair has to match this to pull off this undone look.
See how this look is done. It is unpolished in the face, so the hair has to match this to pull off this undone look.

Trend 2: Air dried, slightly wavy hair bordering on bedhead…

This is a trend I’ve been rocking all along and feeling quite bad about its lazy look until now, that is.  Apparently, because Vogue and other sources say so, it is stylish now.  This look is one of my favourites in that it is effortless, and celebrates how hair looks naturally (aka kinda weird). No curling irons, hair spray or straighteners necessary.  My tips for getting this look?  After washing and conditioning hair, let it air dry until almost dry.  Then twist it up into one or several buns.  Let it dry some more.  Undo, and then blow dry the rest of the moisture out on low heat.  You should be left with barely there waves.  Finish with a moisturizing pomade on the midshaft and ends of hair.  Effortless and a bit messy.

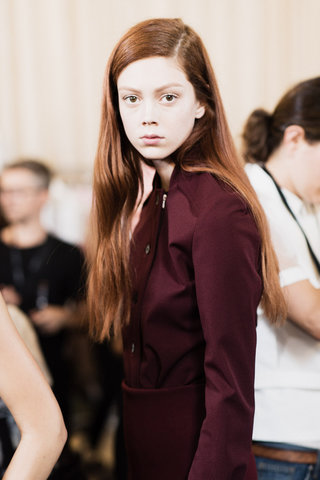
See how the hair is a bit frizzy like it was air dried?  Also there is a barely there wave.  Super cool and effortless is the feeling.
See how the hair is a bit frizzy like it was air dried? Also there is a barely-there wave. Super cool and effortless is the goal.

Trend 3:  Liquid liner, thin and barely there

This one ties into trend 1 of having a minimal make-up look. What will spoil any “no make-up look” fast would be overly thick liquid lined eyes.  Even if you’re a natural beaut, the graphic nature of boldly lined eyes makes a make-up look stylized, planned and over done.  Get away with wearing bold liquid liner while still looking “au naturale” by thinly, and I mean thinly painting on the lines as close to the lashes as possible.  This way your eyes still pop, but it still looks as if you’re wearing little to no make-up.  A nice addition to this would be to skip lining the lower lid liner but to use a light to medium eye shadow to line the bottom lid softly instead!

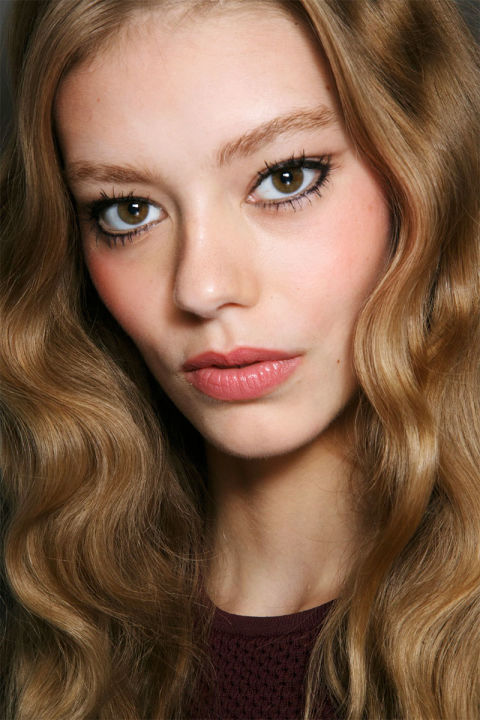
I love the make-up on the top eyelid.  So defined but delicate in the thinness of the black liner.  Bottom liner is a bit harsh, though.  Soften with  barely there shadow.
I love the make-up on the top eyelid. So defined but delicate in the thinness of the black liner. Bottom liner is a bit harsh, though. Soften it by lining it with eye shadow instead.


In Summary:

Clean and fresh faced is in for this spring.  This is a hard look to rock, because too little make-up and a girl can end up looking slovenly, too much and the effect of being effortlessly pretty is gone.  What to do?  Take care of your skin, moisturize, and use your make-up sparingly.  This has been what I have been doing casually for a while now and it seems as if the fashion industry this spring is ironically jumping on this bandwagon of common sense.

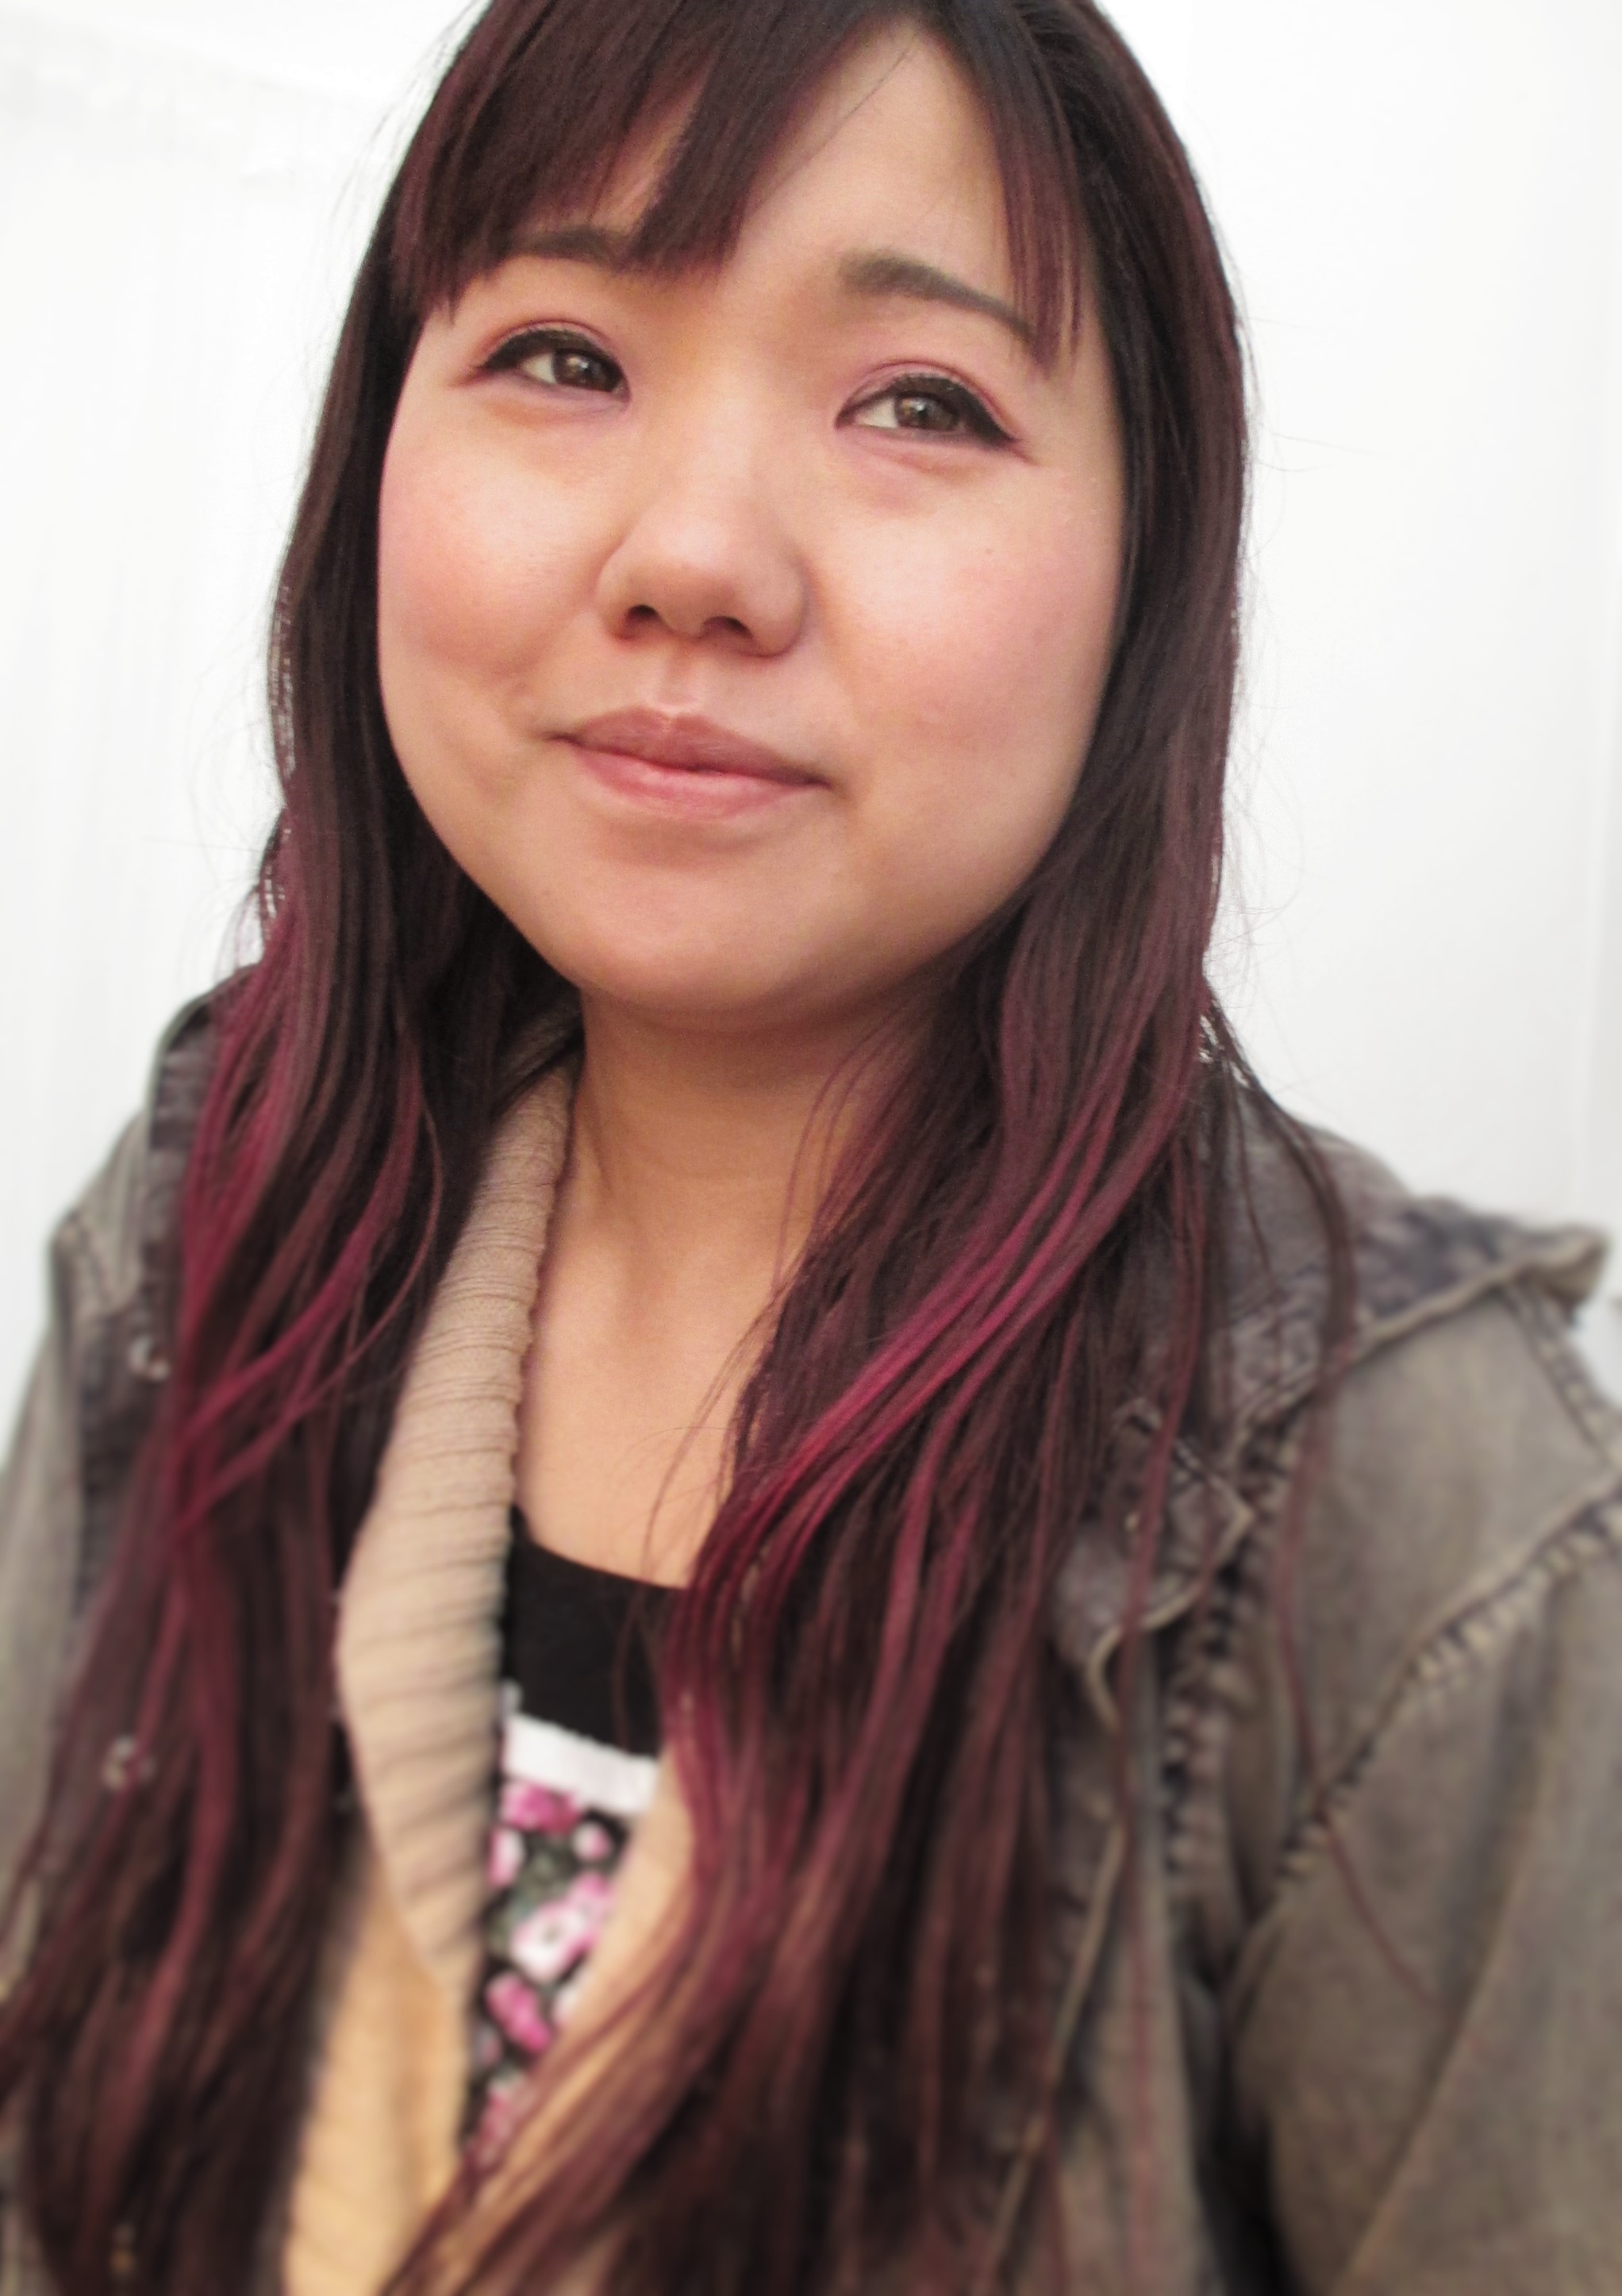
This is my take on the spring trends.  I try to keep it minimal with lighter eye shadows and soft thin eye definition.  A nude lip pulls this all together.
This is my take on the spring trends. I try to keep it minimal with lighter eye shadows and soft thin eye definition. A nude lip pulls this all together.

Curling irons fail at giving effortlessly natural waves!

I read an article a while ago about how to achieve waves in your hair that didn’t look super perfect, and avoided the “glamour shots” look that is so not desirable.  For those of you that didn’t grow up in the subarbs around Toronto, Glamour Shots was this boutique/salon/photo shop that briefly set itself up in malls in Canada I believe during the 90’s, or sometime near there.  This was when looking like a model or actress was a female fantasy, and getting done up at the photo boutique was supposed to be as close as you can get to “looking” like a Hollywood siren. Only the makeovers were very laughable.  Just overdone make-up, and very tight spiral curls, and unflattering bedroom clothes that seemed to add ten pounds to your body and face.  Maybe because 10 pounds is close to the amount of make-up they smeared on a client.

Anyways, getting back onto topic, for many years after the fad, I’ve adored texture and wave, and have used curling irons to occasionally fulfill my need for wavy hair drama.  I resorted to using a thicker barrel curling iron, so that the waves would seem more natural.  But the results were still quite done up, and larger curls sometimes meant less defined pretty waves. What I craved was that look you get with hair that is naturally wavy, like you had just gotten out of bed, and it was effortlessly full of texture and drama.  Mermaid waves, as it is called.    This is impossible to get with a hot iron.   The only way I could get mermaid waves was to use sea salt spray (I make my own), then tie my hair into tiny little buns and wait for them to dry.  The problem with this was that it took a lot of time to dry without damaging heat from a dryer.  The solution was to get curls while sleeping, when no one would see me in this altered state of scrunchied strangeness.  By using soft small scrunchies to hold my hair in buns, I was able to sleep after sea salting my hair, and I would wake up with gorgeous flow-y curls that were messy and natural.

How to use scrunchies for natural heatless waves:

1.  Use them to hold your buns!  After spraying sea salt spray evenly in you hair (check out my homemade sea salt spray recipe), twist your hair into a couple of tiny LOOSE buns.  I usually do four buns for more defined curls, but you could also do one big bun…tie down your buns with your scrunchies!

Not a pretty hairstyle at all!  But do at at night when no one is looking!  I made my own scrunchies!
Not a pretty hairstyle at all! But do at at night when no one is looking! I made my own scrunchies!

2.  Go to sleep and let the night do its wonders. Because of a looser bun and soft scrunchies, this curling way is actually comfortable enough to sleep in.

3.  In the morning remove the scrunchies to reveal a natural curly wave, not overly done up and hot-iron looking at all!  I feel this curl looks best after 2 days, when it has had time to relax.  Enjoy the texture and wave, and don’t let anyone know your curls aren’t natural!

After a few days, the curls relax and look uneven and undone.  Like you fell out of bed with wavy hair!
After a few days, the curls relax and look uneven and undone. Like you fell out of bed with wavy hair!