Nail design: nude nails and a splash of colour

I saw this trend a while ago online in various fashion articles.  But only recently I tried to get it with a few trial and errors!  It is this way of painting each nail with colour polish only partially, so that the nude bare nail still shows up and is part of the look.  I think of it as a variation of french tips, where instead of just painting the tips of the nails, you work with other parts of the nail to create negative space and interest.  I think partially colouring your nails is super fresh looking, because it shows part of the bare nails, and hints at idea of being naked, natural.  It gives the nail a more graphic, designed look as well!

Hello bare clean nails! If you have healthy well-shaped nails, you really can skip polish and rock those! But adding colour never hurts!
Hello bare clean nails! If you have healthy well-shaped nails, you really can skip polish sometimes.  But I always feel I need a bit of polish, which is why the partial colour is great.  You get a bit of both worlds.

Steps to doing a Colour on Nude Nail Manicure

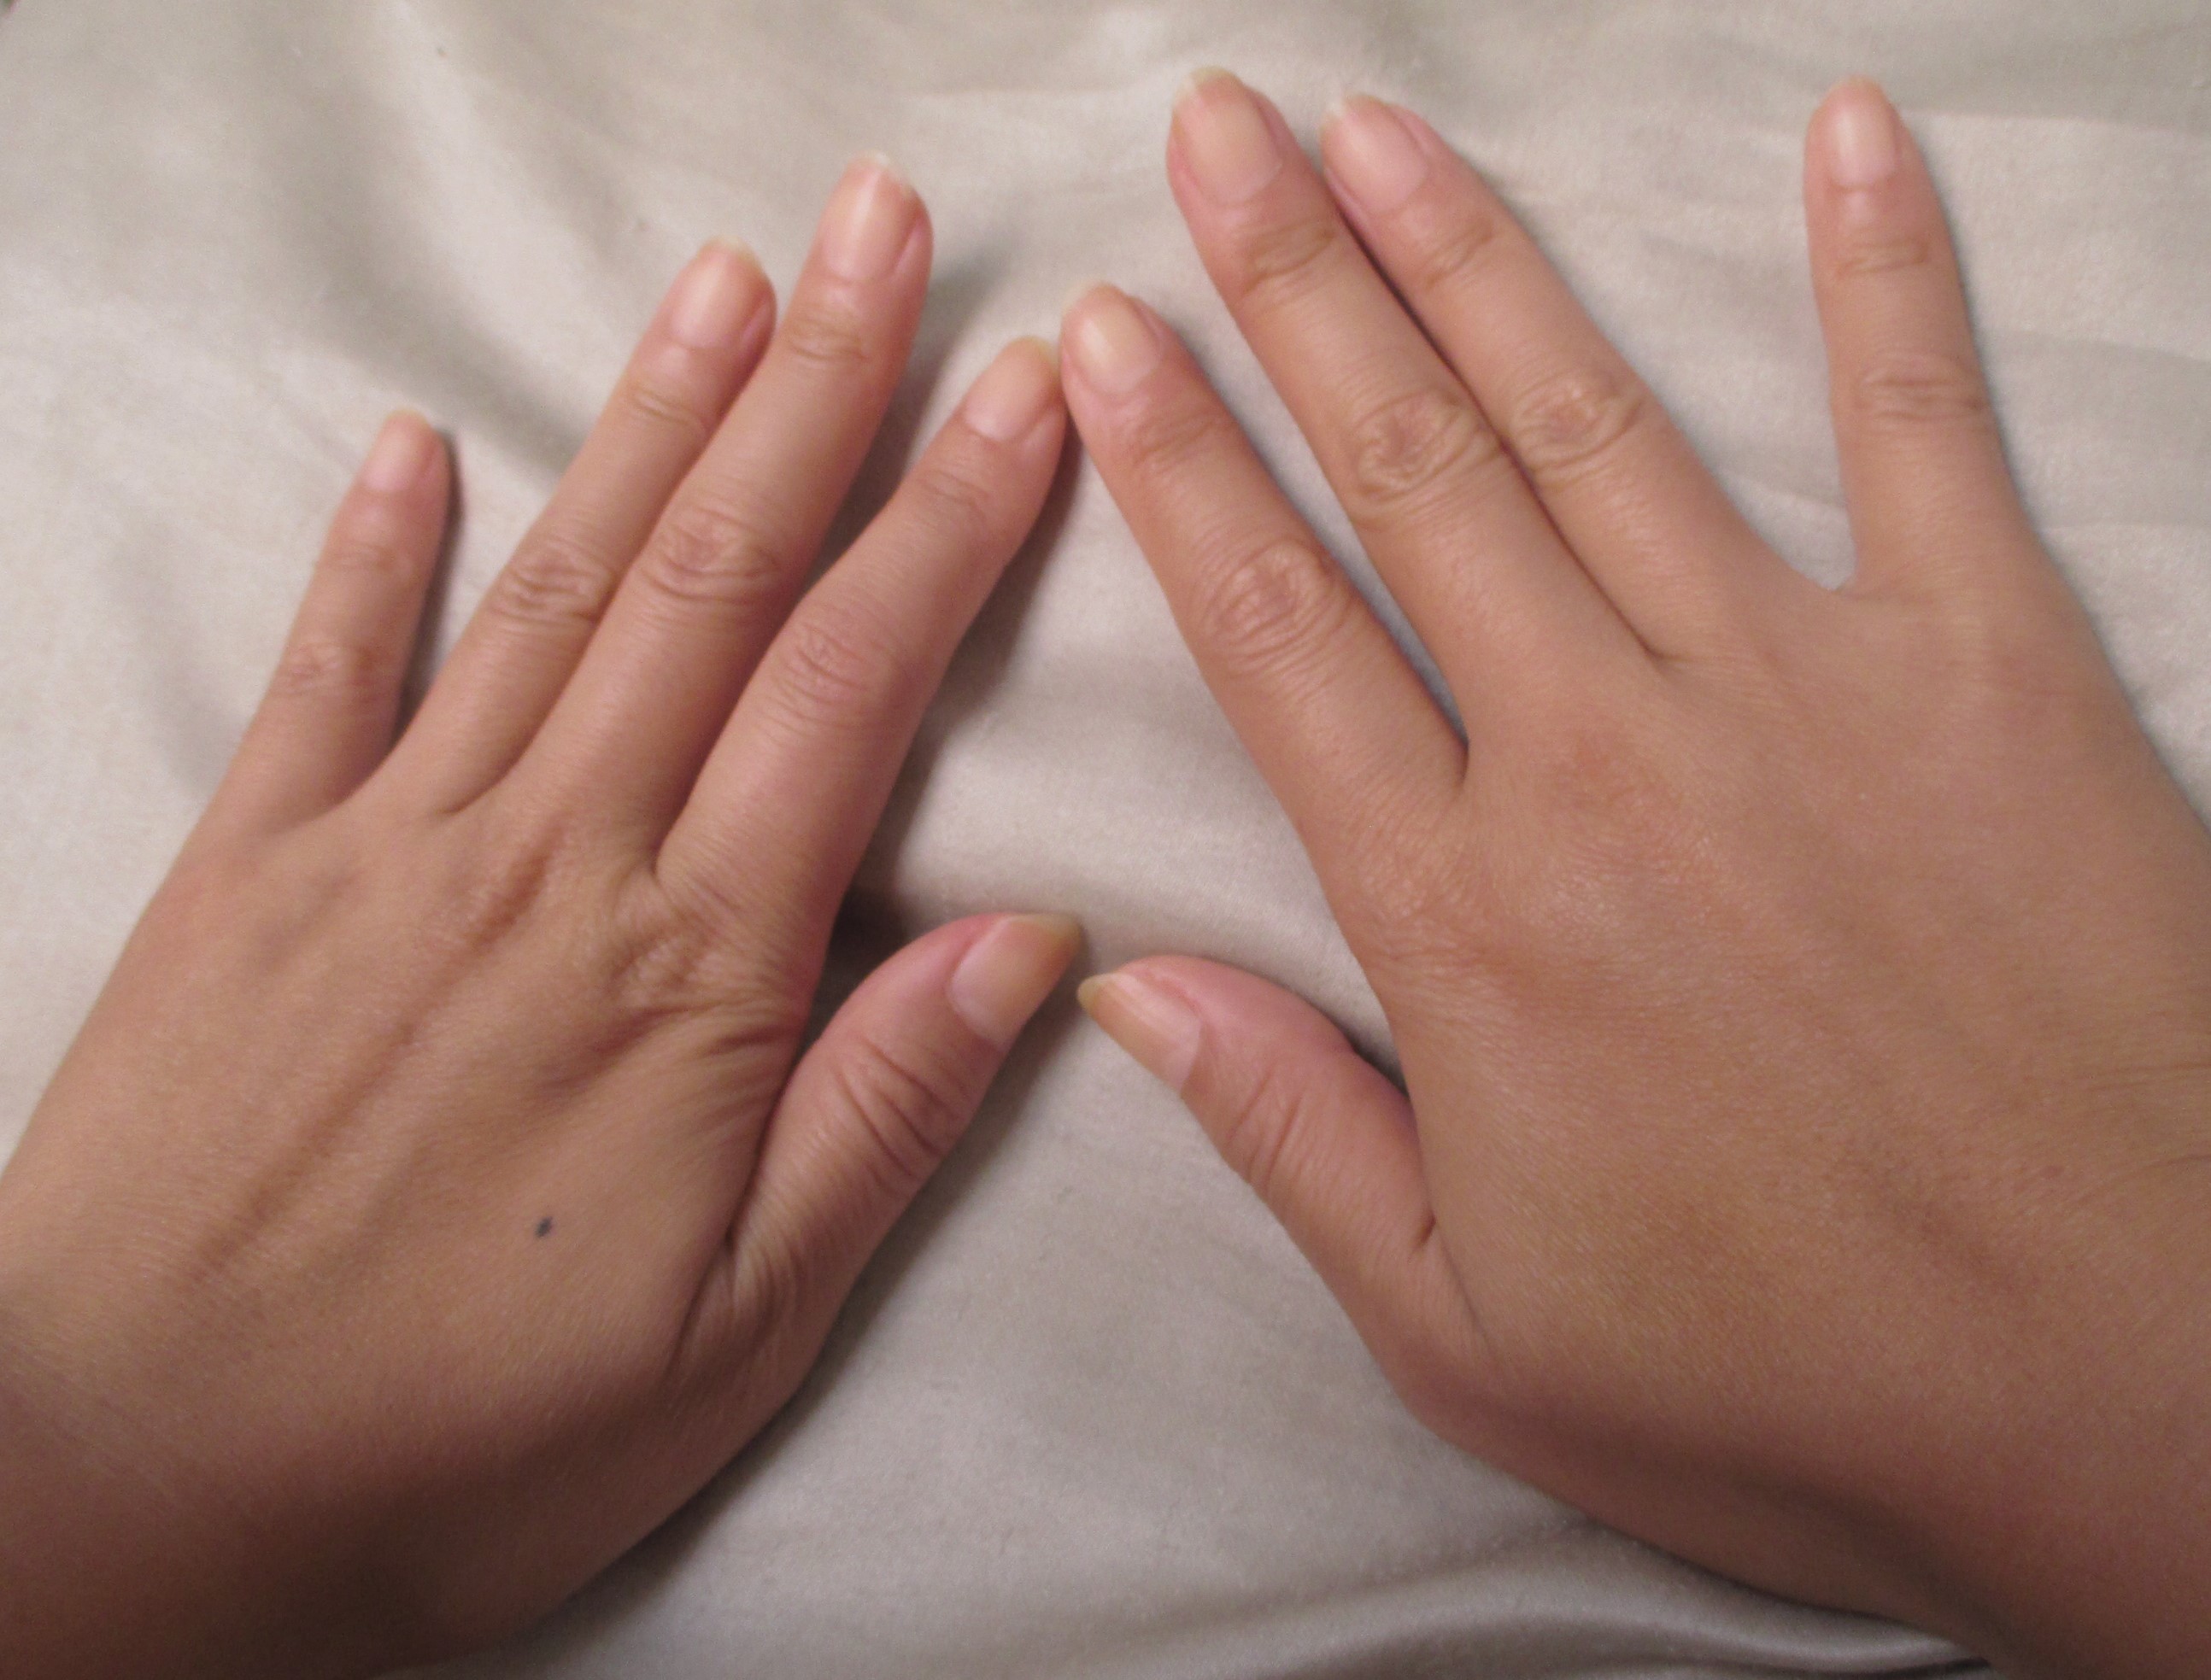
  1. Start with clean, well shaped nails.  This is an obvious must when trying to achieve this half painted look because your nude nails are actually the star of the show!  (I wash and moisturize my nail shaft for a day or two resting them without polish, to let it breathe and grow more healthy)
  2. Just before painting them, wipe your nails with a tissue moistened with water, to remove excess oils that can cause the chipping of polishes.
  3. Let your nails dry from the wiping.
  4. First paint your nails with a transparent base coat all over the nail shaft.  The base coat helps so much because naked nails don’t receive colour evenly, so it is like a foundation.  Base coats also smooth out ridges in the nail, just make sure it is transparent so the nude nail shows.
  5. Carefully paint the design in with the colour of choice.  I like to do the moons of the nail, which is the bottom half closest to the cuticle.  I do an arched shape.  I find middle-toned polishes to work the best with this look: ie. not too dark or not too pastel.
  6. Let the first colour coat dry, then do a second coat of colour, being careful to mirror the shape from before. (This step is optional: intricate designs are not easy to apply a second coat to)
  7. Put on a clear top coat All over the nail shaft to seal it in. I love to use a clear matte polish as a topper just because it looks super natural on an uncoloured nail.
So this is the finished product. A nude nail accented by a burst of colour! There are endless variations of the nude nail with colour! An single coloured stripe would also look cool!

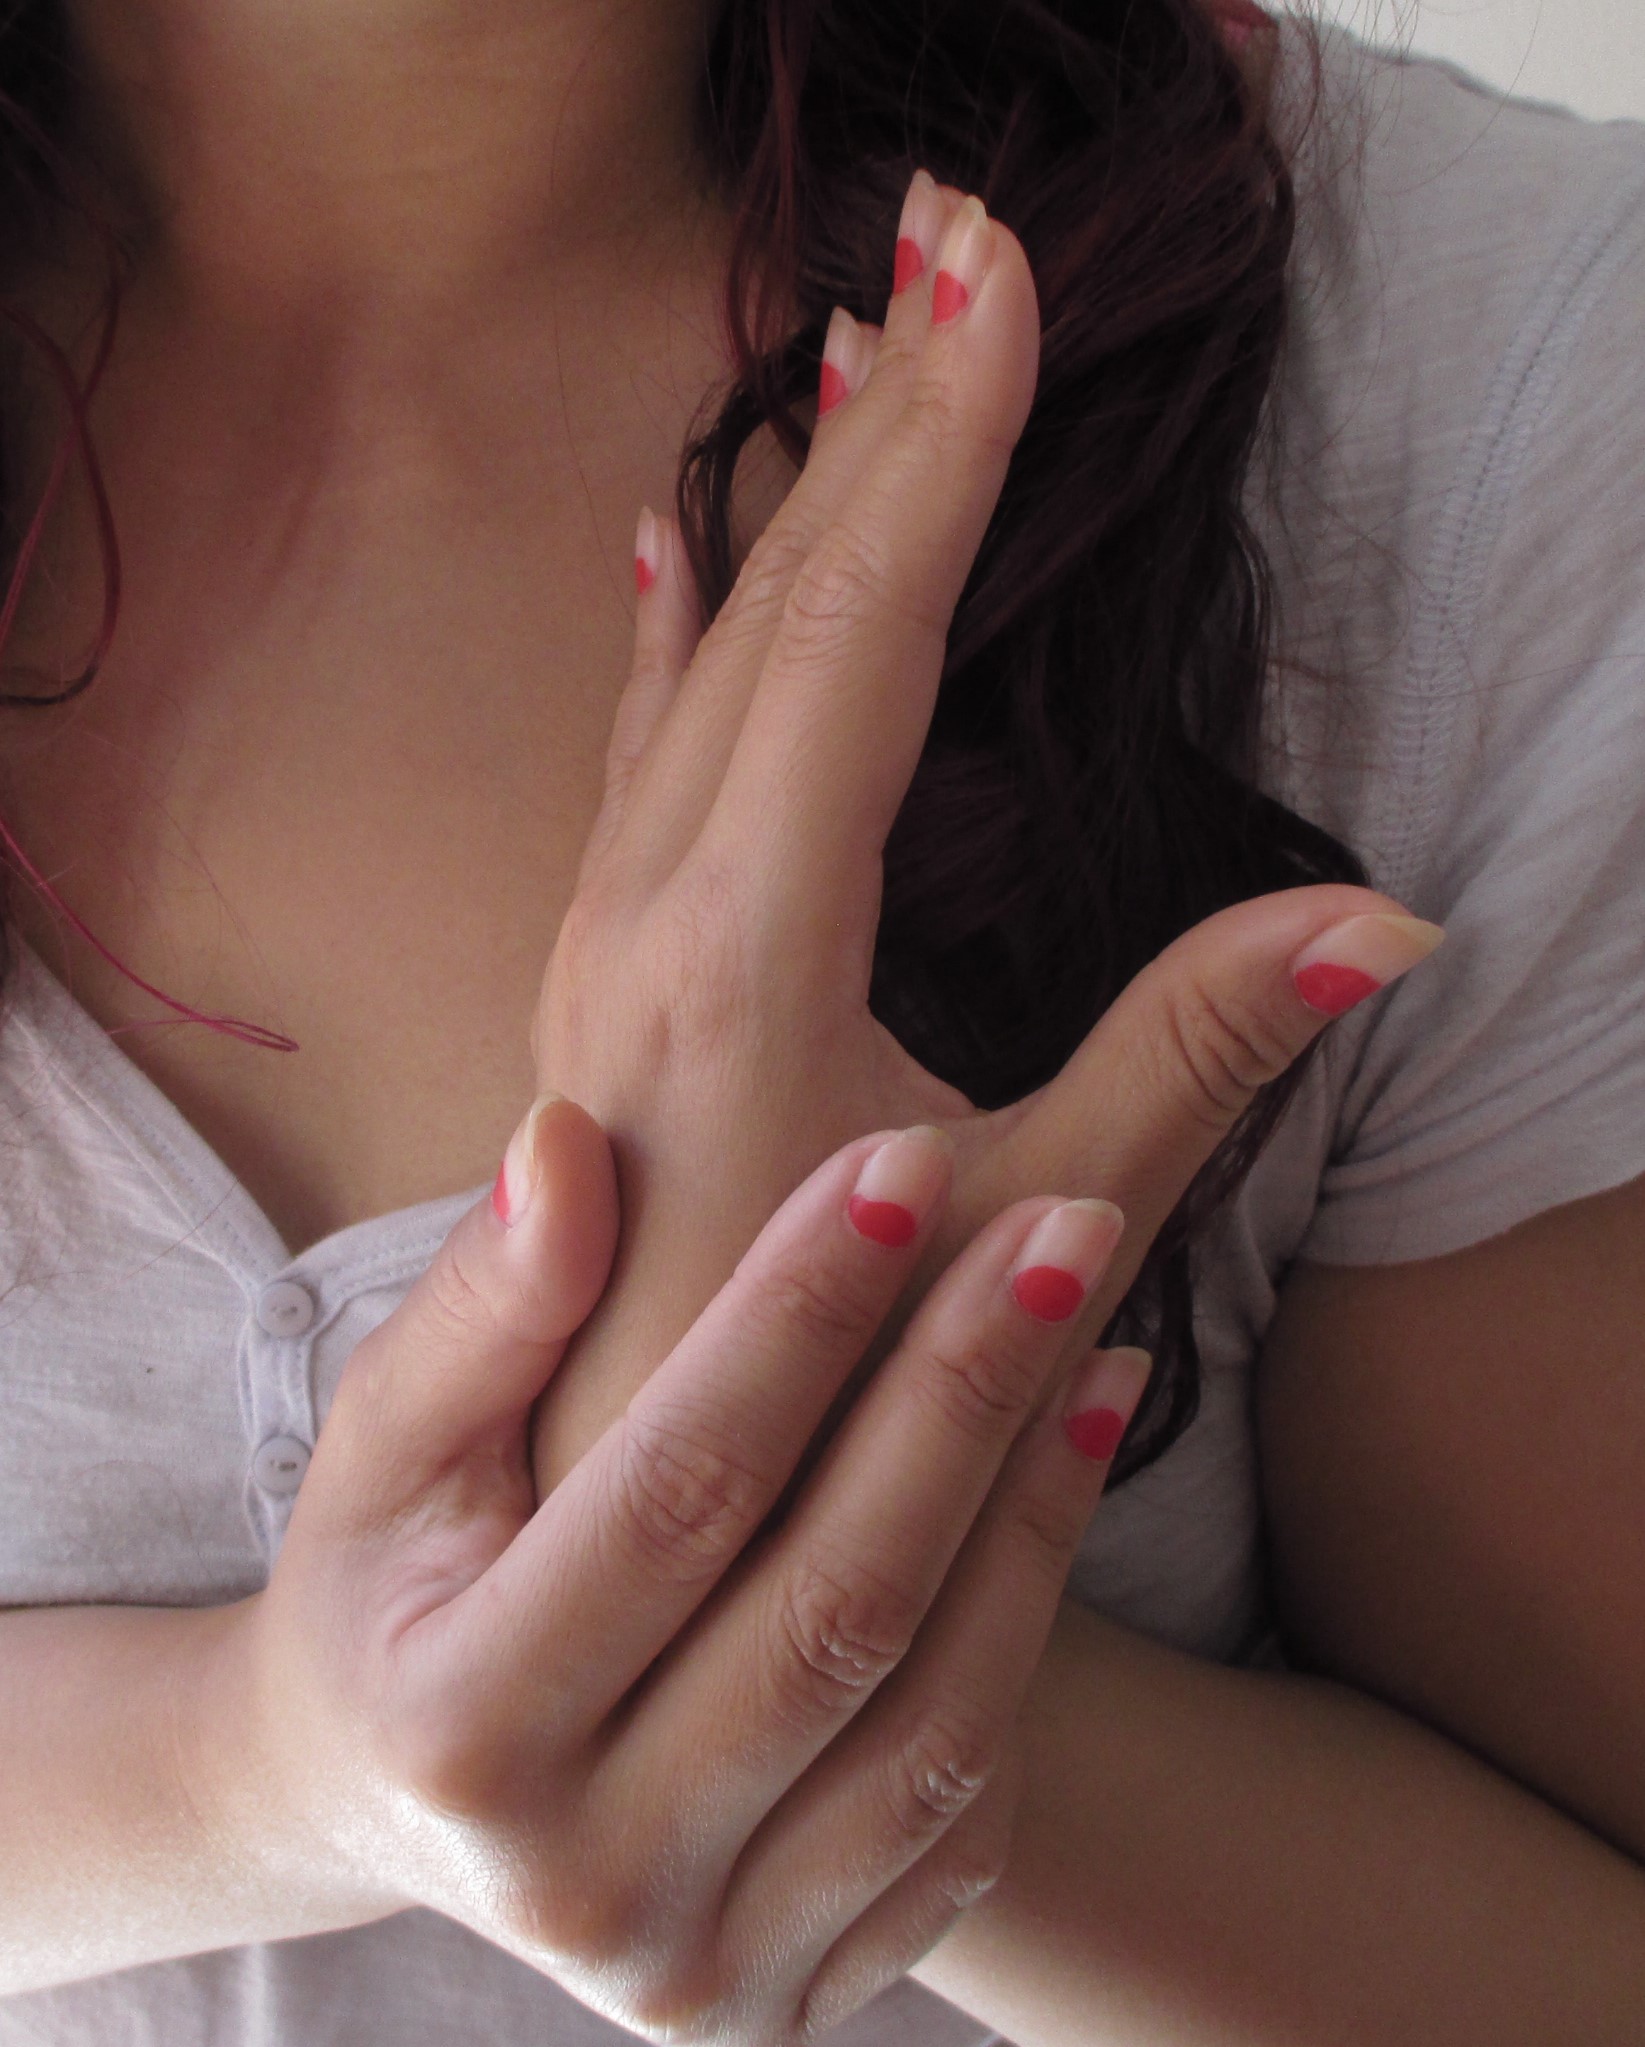
Graphically designed and painted nails that show off the natural gorgeousness of the naked nail!  Try it yourself and let me know how you like it.  I’ve seen different variations, you can do a vertical strip, do a star shape or even dot nude nails with a few jewels.   The possibilities are practically endless.  Main point to do is remember to use a base coat and top coat for best results. 🙂

3 summer fashion hacks I just came up with, and am quite pleased with…

If you’re like me this summer, you don’t have an unlimited budget to spend on updating your wardrobe to follow all of the latest trends in depth.  Even with scoring cool stuff on sale, or by settling for the quality of cheaper stores like H&M or Forever 21, they don’t always suffice in delivering the goods you want fully.  There is always compromising and settling involved when trying to stay current while not breaking the bank!  It is hard, but these are a couple of tricks of modifying clothes that I’ve tried with some success.

My distressed denim hack:

The store I work for part-time, Smartset doesn’t have a jean that is distressed enough to follow this season’s line-up of sporting really wrecked-beyond-hope denim, so I can’t use my staff discount there to save.  My solution?  I had a pair of light greyish blue denim from Smartset last year that was just boring.  They had no distressing, and as a full-length light coloured pant,  they just kept getting gross and dirty at the ankle parts because it was a bit long.  This was not stylish or cool.  So I decided to cut them into crop pants and distress them myself.  I cut off the pant legs past the ankle, hand sewed some cuffs in them and then ripped the heck out of them with different denim distressing techniques I learned online.  I ended up really liking the casual undone look of them, and wrecking them gave me some therapy too!  I saw similar jeans to mine at Urban Outfitters later that week.  I was happy to say I may have saved about $70, doing it myself by recycling unwanted old jeans in my closet.

Feeling like I gave these jeans a face lift by cuffing them into crops and distressing them to fit in with current trends...
Feeling like I gave these jeans a face lift by cuffing them into crops and distressing them to fit in with current trends…

My Strapless Romper Hack:

Such a reasonably priced romper, made with cotton and even had cute pockets.  The only down side was the fact that one pull down and I would be exposed...
Such a reasonably priced romper, made with cotton and even had cute pockets. The only down side was the fact that one pull down and I would be exposed…

Summer isn’t fun without a romper. Why?  Because you can do it all in a romper.  It’s a onesie made for adults!  For those of you that don’t know, a romper is basically a dress at the top, but instead of it turning into a skirt at the bottom, it turns into shorts, all in one piece.  It’s great.  Casual, super cute, and really comfortable.  You get to keep cool this summer, by covering just what you need to cover, and unlike short skirts, you won’t show everything when you move.  Rompers however tend to be expensive.  Don’t know why cuz they seem easy to make and don’t require that much fabric.  I however did find one at Forever 21 that was only $10!  Sometimes you can’t even get a tank top for that.  The one flaw with the romper I found was that it was strapless.  All of a sudden, summer care-free behaviour is restricted in this romper by the fear of it being pulled down by accident.  But it being only $10, I bought it, took it home and sewed on halter straps to keep it from falling down, making it much more functional, for no cost at all!  I even like the look of it with straps more than without!

After sewing on two pieces of drawstrings from another top.  Not my strapless romper is functional as a halter romper. yay!
After sewing on two pieces of drawstrings from another top. Now my flawed strapless romper is a functional halter romper. yay!

Jersey Bodycon dress hack:

Jersey (t-shirt material) bodycon dresses are the best basics.  They fit your body well, can be dressed up or down, great for summer, and they hug your body and show off your feminine curves.  They also are an effortless way to make yourself look put yourself together in two minutes. Add heals and you’re ready for the club, wear with flat sandals and it’s a casual day at the cottage.  The awesome thing too is that because they are simple dresses made out of stretchy jersey material, they don’t cost a lot.  I recently snagged a nice floral bodycon dress from the Smartset were I work.  With my discounts and specials, I got it for only $15!  I was thrilled.  I could possibly match that price at some other discount stores, but the ones at Smartset were so much better quality, and the length was not too short.  The only problem was that the neckline I noticed was not flattering.  It barely scooped in the front.  I noticed it scooped a lot more in the back, so what did I do?  I carefully removed the stitches of the label on the back collar of the dress and then wore it backwards!  The scoop back became the front, and well, now I am liking it more.

This was originally the back of this fitted jersey dress.  Just by carefully removing the stitches on the label in the back, I can now wear this with the flattering scoop neck in the front.
This was originally the back of this fitted jersey dress. Just by carefully removing the stitches on the label in the back, I can now wear the flattering scoop neck in the front.

Remaking clothes that you have or got on sale is great.  It saves you a money in the long run and more importantly, you get what you want for the price that you want it.  🙂  Let me know a hack that you have done to your summer wardrobe to make it your own!

Short bangs look cute in a weird kinda way…

Bangs are really strange things.  Trimming them, and a shaping them and styling them can be a headache.  Which is why a lot of people outgrow their bangs at every opportunity they get.  But the reason I like them is that they actually prevent balding and thinning at that part of the scalp near the forehead where your hair naturally parts.  No bangs for some reason stresses out this point on your head.  Another bonus of bangs is that when you are tired of them, there are ways of concealing that you have bangs with hairspray and bobby pins so you still get to keep your styling options open.  It is much harder to fake bangs than it is to hide them.

Alyssa Milano. She looks the right balance between
Alyssa Milano. She looks the right balance between “polished, fun ‘do”, and “crazy girl who went too far with the scissors”.

I have been cutting my hair now for the past two years.  One of the simplest cuts that I have always found kind of quirky and cute was this really short, a bit chunky or uneven bangs cut that made one look as if you were a 4 year old child that was playing hairdresser with herself with the safety scissors she found in her kindergarten classroom.  It’s fun, unpretentious and youthful in a playful way.  This look is basically a regular bang cut, but what I do is aim to make it a little bit too short, in an awkward way.  If you happen to be like me, and do not work in a corporate office, I think this is something that you can try out.  And if it is too strange and unpolished for you, it’s just hair and it will always grow back.

On my recent bang trim, I was actually going for a bit of a longer, wispy bang length this time, but still ended up with shorter bangs than I wanted! 😦  So now I am still wearing the short bangs cut that I had sported the previous trim/cut.  But really experimenting with different shapes and lengths of bangs is super cool and easy to do.

Here is a video on Youtube that really helped me figure out how to trim/cut bangs.  Mind you this is on how to cut asymmetrical bangs but you can always modify the training of the video into any shape of bang that you may want!

Tips for cutting bangs:

1. Don’t cut them wet.  They will always dry a lot shorter than what you thought they would be.

2. Cut modestly…because it is actually super easy to over cut them in length when you add in the thinning and texturing process.

3. Experiment and try to visualize different bang lengths on your face.  If you see an edgy model with super short bangs, imagine them on your self and think about whether it would suit you.  Having a preset desired length and shape will definitely guarantee more success on achieving the amount of funky shortness or simple longness in your bangs you may want to show off…

This is my freshly cut slightly
This is my freshly cut slightly “too-short” bangs. That’s right Zoey Deschanel, I too can look “a-dork-able”