Glamorous Eye Make-up for the Holidays and Parties

So the holidays have long gone, I am glad.  For some reason, end of the year festivities always make me sad.  Just so much obligation to buy presents, go to church, see family, go on vacation, eat, drink, party…etc. It’s just too overwhelming for me for some reason.  At least during this time, I was able to host two parties…and try out a glamorous make-up look that is dramatic, and formal, but still fun and pretty.  I like it because the use of colour is minimal, it relies more on the shape and boldness of the eyeliner.

I was inspired by these photos I found on tumbler:
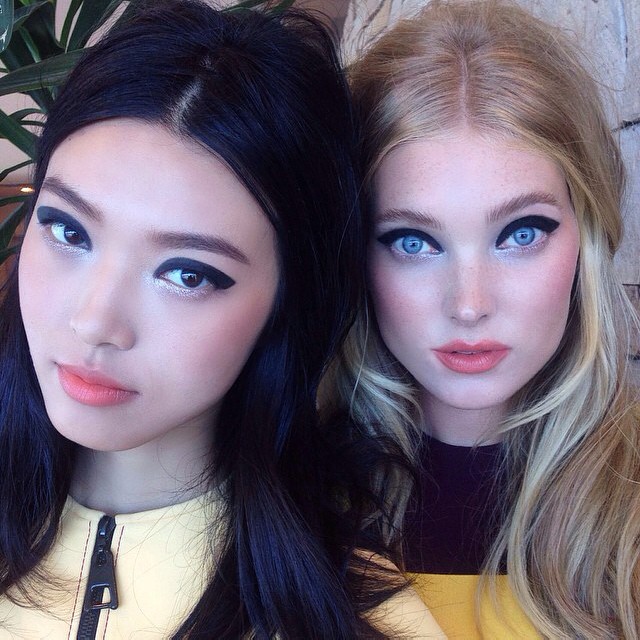
Tian Yi! she is the Asian model in this pic. I think the fashion world needs more diversity in it. :)
Elsa Hosk and Tian Yi! She is the Asian model in this pic. I think the fashion world needs more diversity in it. 🙂
Ana de Armas, channeling all kinds of pretty!

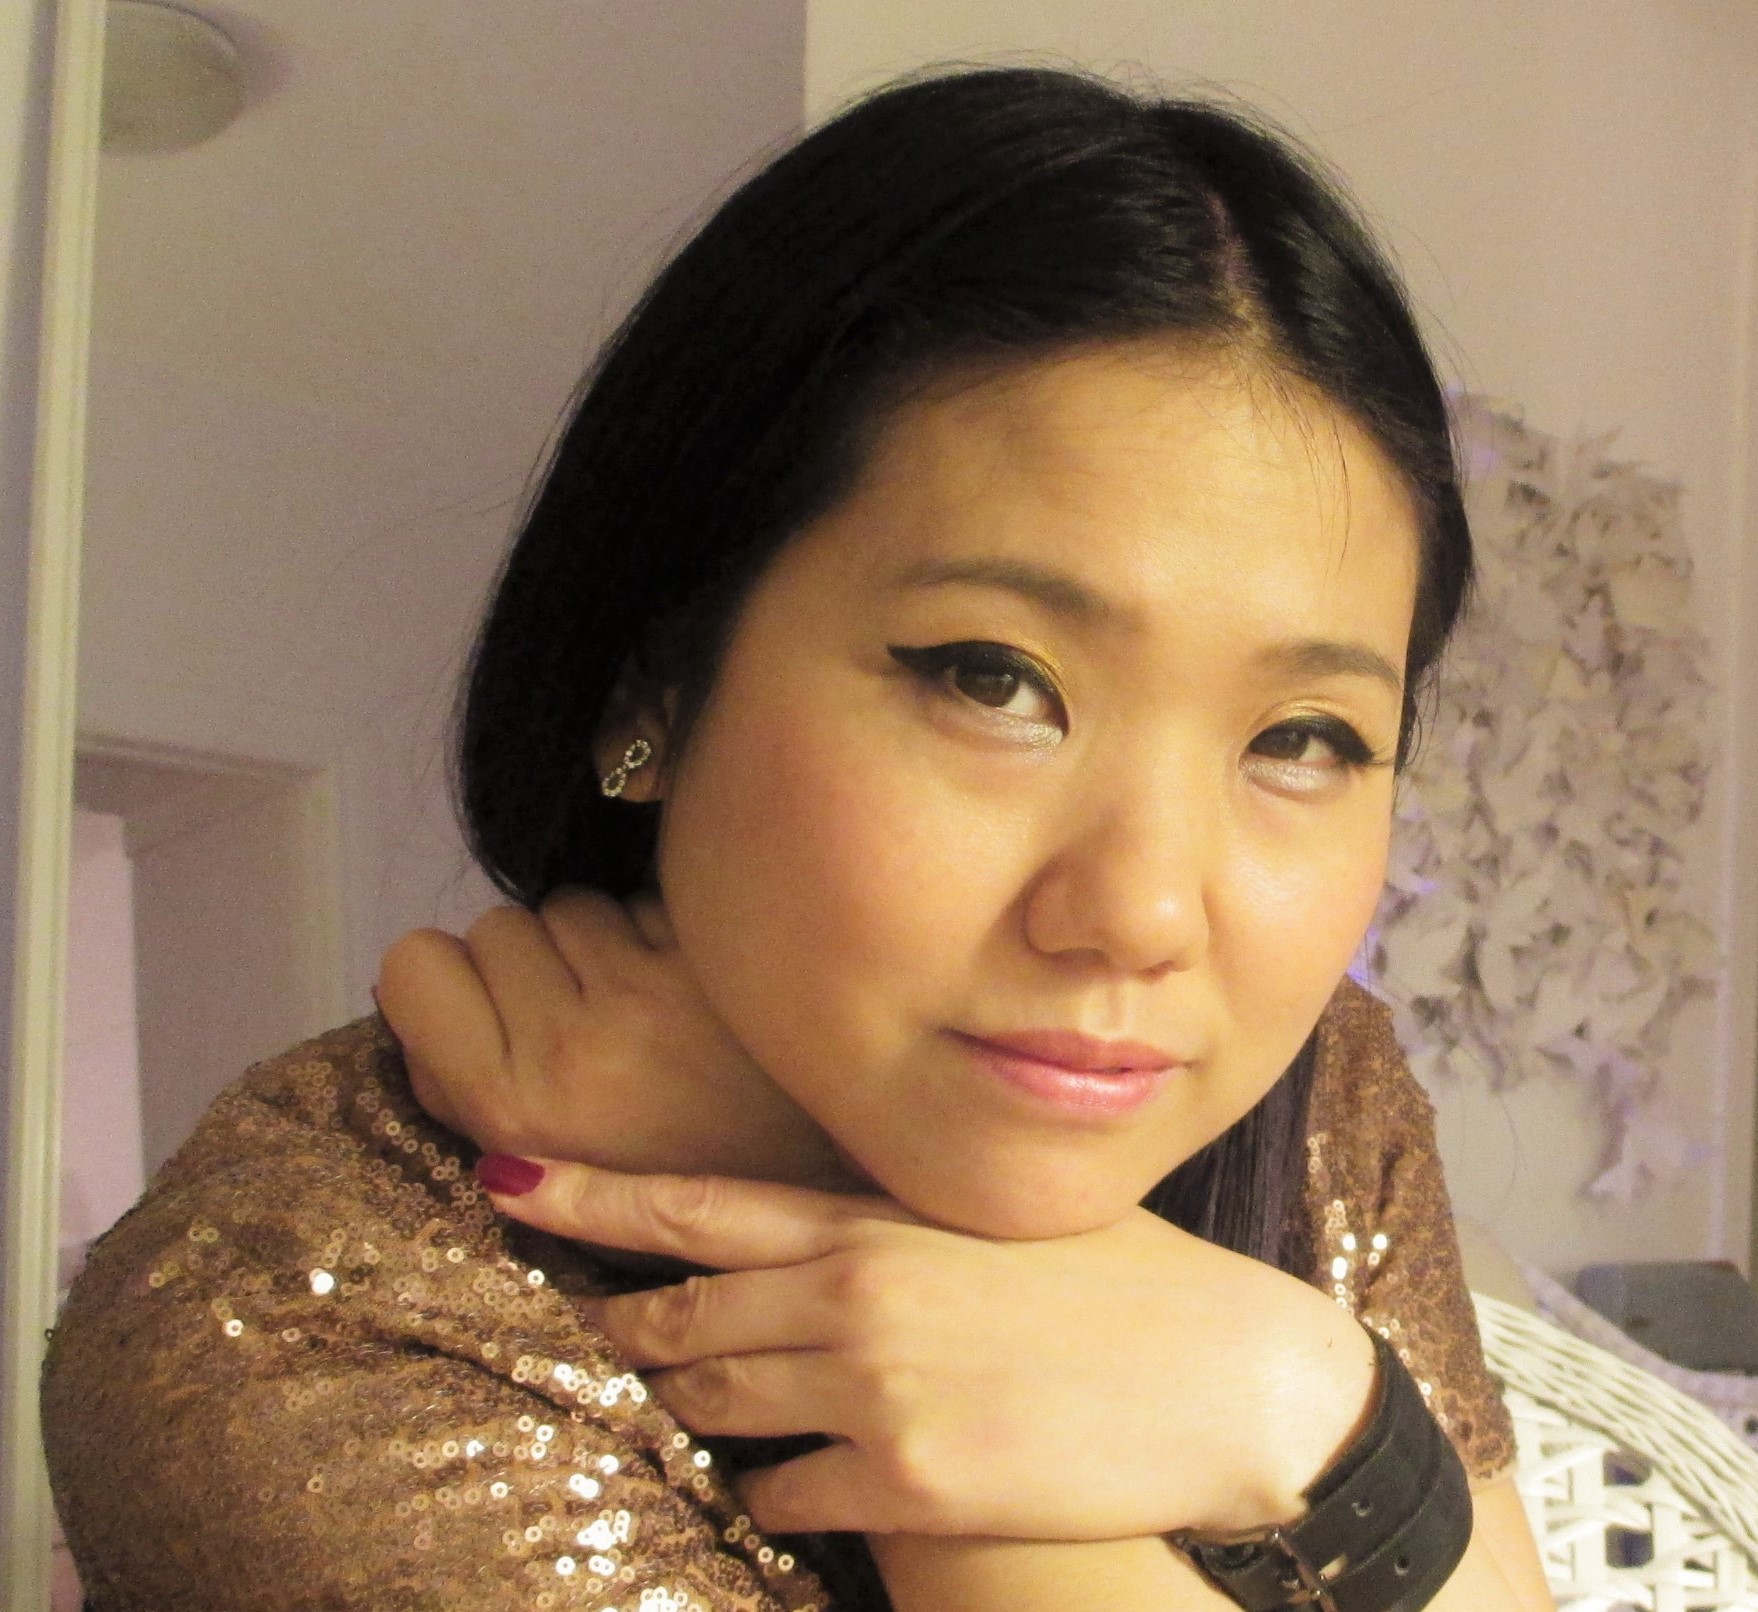
Notice how these two photos have bold black liner on top lid as the main focus?  For my holiday party look I combined the looks above…the heavily retro, overly dramatic eyes of the models and meshed it with the classic gorgeousness of the simple cat eye of Ana’s make up.  And this is what I got:

IMG_3515 (2)
I wanted something bold, but still soft…
I did this one with more of a point flicked up...but still bold...
I did this one with more of a point flicked up…but still bold…

How I got my Dreamy Party Look:

  1. Do your make-up foundation as usual.  If it is a fancy party, you can put on more foundation or concealer where you need it. Line your brows.
  2. Pick a neutral eye shadow.  I find the more bold the liner, the more neutral the colour should be.  That keeps things elegant and not garish.  I used a gold pearly colour on my lids, but a nude with shimmer, or sparkle shadow would also work if you want a bit more glam.
  3. THIS IS THE SECRET: line your top lid with black eye shadow with an angle brush.  Get the general shape you want.  At first you will see how the eye shadow doesn’t give you the graphic look you desire.  It gives you softness, a soft thick even line.  Now part two: get out your liquid liner/pen and trace along the edges of where you put your shadow for bold edges, kind of outlining the shape.  You will not be able to see where the black shadow line ends and where the liquid liner begins, I promise.
  4. Add blush and fake lashes for extra oomph!

Notes: Why do two kinds of liner?  That is a good question. Liquid liner is a devil to wear on the lid.  It can be thick, crusty and just cakey and crackly if you wear it in large quantities.  As a little swipe on your lid to do a cat eye, just liquid is fine, but for thicker lines, the coverage is not as smooth as pencil or shadow lining.  So to get the best of both worlds: smooth colour and graphic edges, a lot of girls do this trick of just outlining the edges of shadow/pencil lines with liquid liner to give it shape and definition.  Give it a try today and see how it helps keep graphic eye make-up from being too heavy or harsh.

Tip:  I like to use a pen liner.  I get one with a pointy tip that makes nice fine lines and is dark and intense in colour.  Pen liners resemble markers, so it is like drawing on your skin and eyes.  But the control you get from the pen is so much more than what you get from liquid brushes…



Holiday travel: Do you need a special skincare regimen?

We always get these kinds of travel tips.  But the actual useful ones?  Read on! (image from
We always get these kinds of travel tips. But the actual useful ones? Read on! (image from theguytravel.com)

I haven’t been travelling much lately since I’ve been busy with a lot of side projects.  But when I look back at my travels all over the world, one thing links them:  How do you arrive at your destination looking fresh, happy, and rejuvenated?  When I was twenty, I really could enter a plane and leave with perfect skin having done nothing.  Now that I am a bit older (just a bit), if I do nothing, I will have puffy eyes and dull skin after a trip.  It is a mystery why traveling on a moving vehicle brings out the worst in skin: namely bloating, dehydrated skin, eye bags, and water retention.  There is something about riding on a bus/plane/train that does this.  And every gal needs a plan to combat this.  Arriving at your destination looking well rested and fresh is important.  I want whoever is picking me up to be impressed.  Here are my tried and true tips for minimizing the damages of travel.

Do these steps during your trip on a plane/bus/train:

  1. Hydration: drink water, drink water, and then drink water.  It keeps your body fresh by flushing out toxins, and discourages water retention.  Water retention is your enemy because it makes you look super puffy.  Avoid salt, since it can make you bloat.
  2. Tea does something: A hot cup of tea steams up your face, gives your body antioxidants and soothes stomach and digestion.  It also help calm the nerves and provides hydration.  All things you need while on a plane/bus.
  3. Tone your skin:  Toxins and dirt stick to your skin while travelling.  Car and bus exhaust, recycled airplane air.  They all suffocate your skin.  Spritz a mister of spring water on your face, or do what I do and pack a bit of rose water.  Put the toner on a cotton swab and dab your way to refreshment.
  4. Moisturize.  After toning your face, put a good weigh moisturizer on your face.  I find creams to be a bit greasy for day wear, so cocoa butter and coconut oil are my go to’s.
  5. Sleep.  I can’t say this enough.  Arriving at a destination sleep deprived affects your spirit, personality and appearance.  You can’t think straight if you are tired.  I like to use a sleeping pill if travelling over night to ensure I sleep on those bumpy travel routes.
  6. Make-up: you need a bit.  Travelling while wearing too much make-up feels gross, so don’t over do it.  Just before you arrive at your destination, touch up with essentials such as bb cream, mascara and lipstick/tinted lip balm.  This makes all the difference and boost the effects of all the hard work you did during the trip for your skin.  Put in some hair salve to moisturize your hair ends.

Voila!  Arrive at your destination looking effortlessly gorgeous and enjoy the holidays!  You only live once so have fun looking and feeling your best.

Happy Holidays and Happy New Year! 🙂

Gradient Lips Trend: All the rage in Korea!

I first heard about this trend two years ago when I was working retail with this girl who had taught English in South Korea for a year.  This is a common thing people with a undergrad degree in the Arts do, but then most of them come back to North America somewhat jaded with job prospects and life in general.  Anyways, so we worked together and she often complained about how ridiculous the make-up trends were there.  The “gradient lip” trend was her favourite one to dis-credit.  She said she hated the look of it, but I think she just hated cute ideas in general!  But I digress.  Basically, the trend involves painting your whole lips nude, then, just in the center, placing red so it looks as if you ate some ripe red fruit, and it had stained just the inner part of the lips.  The motivation behind this trend is that it is supposed to look cuter and younger.  So let’s put this to the test on me!

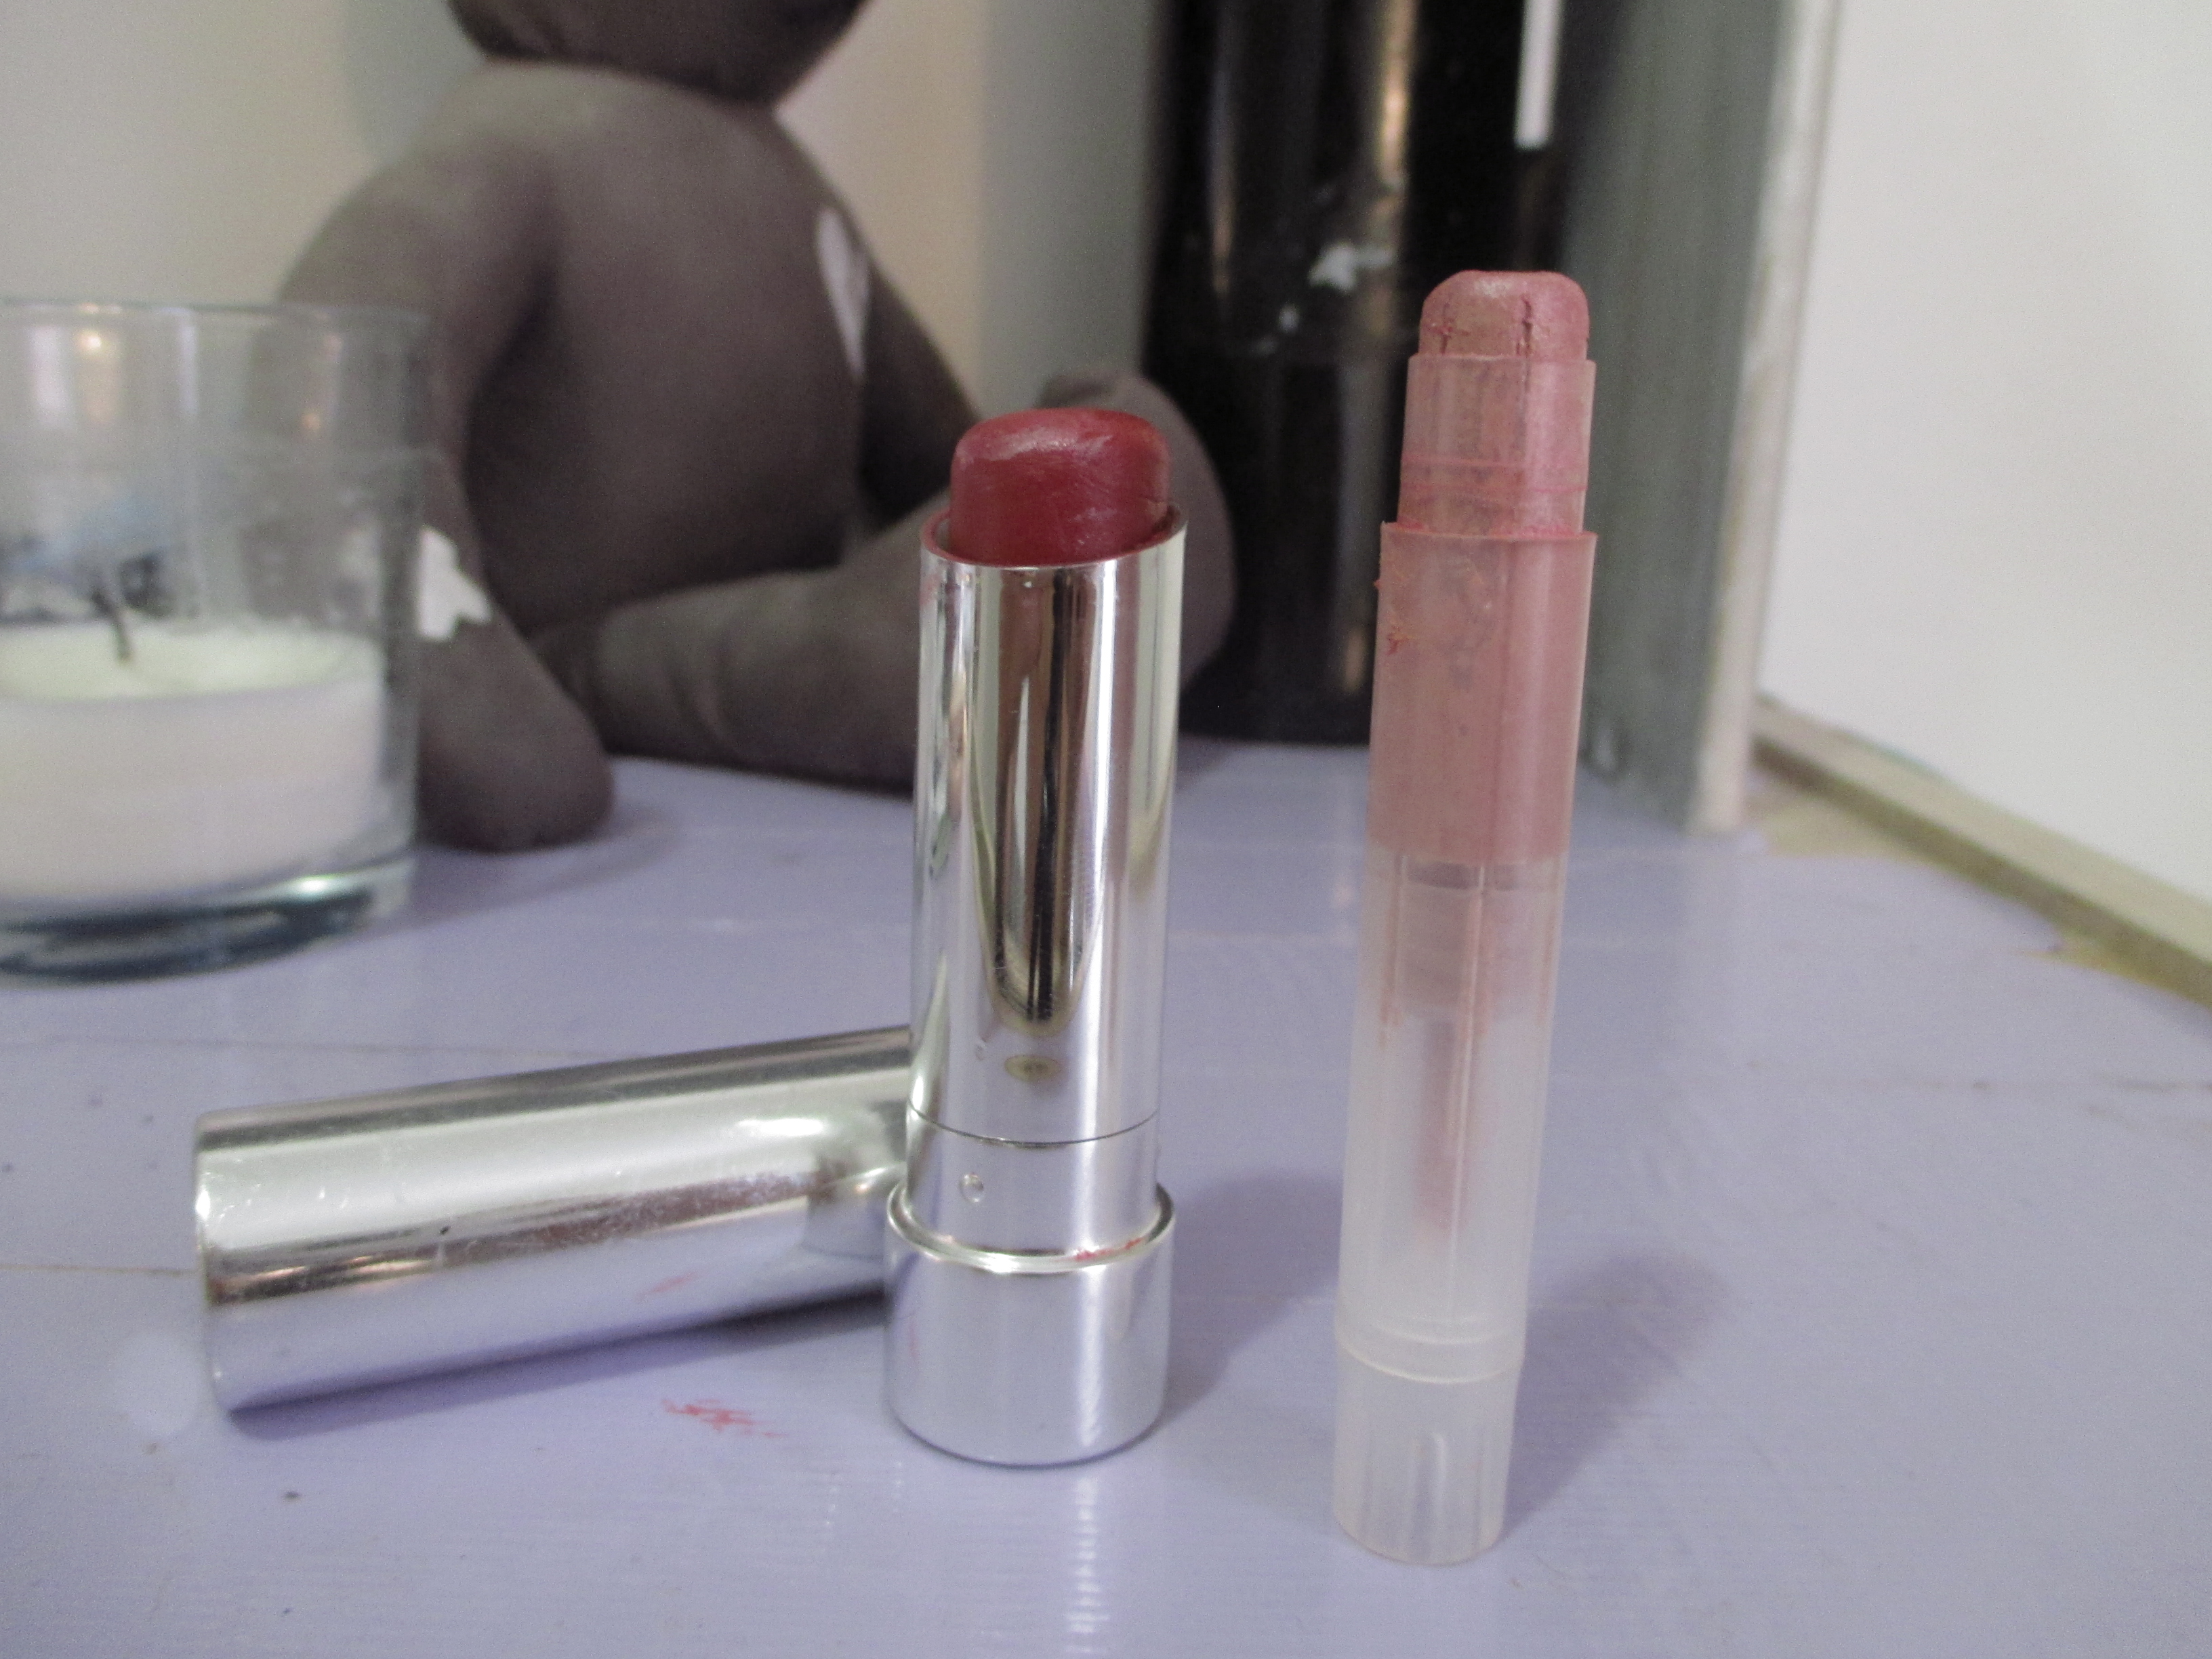
You need two lip colours to do this. Make sure they contrast eachother enough. The main point of this trend is nude coloured lips, with a gradient dab of bright colour in the center.
You need two lip colours to do this. Make sure they contrast each other enough. The main point of this trend is nude coloured lips, with a gradient dab of bright colour in the center.
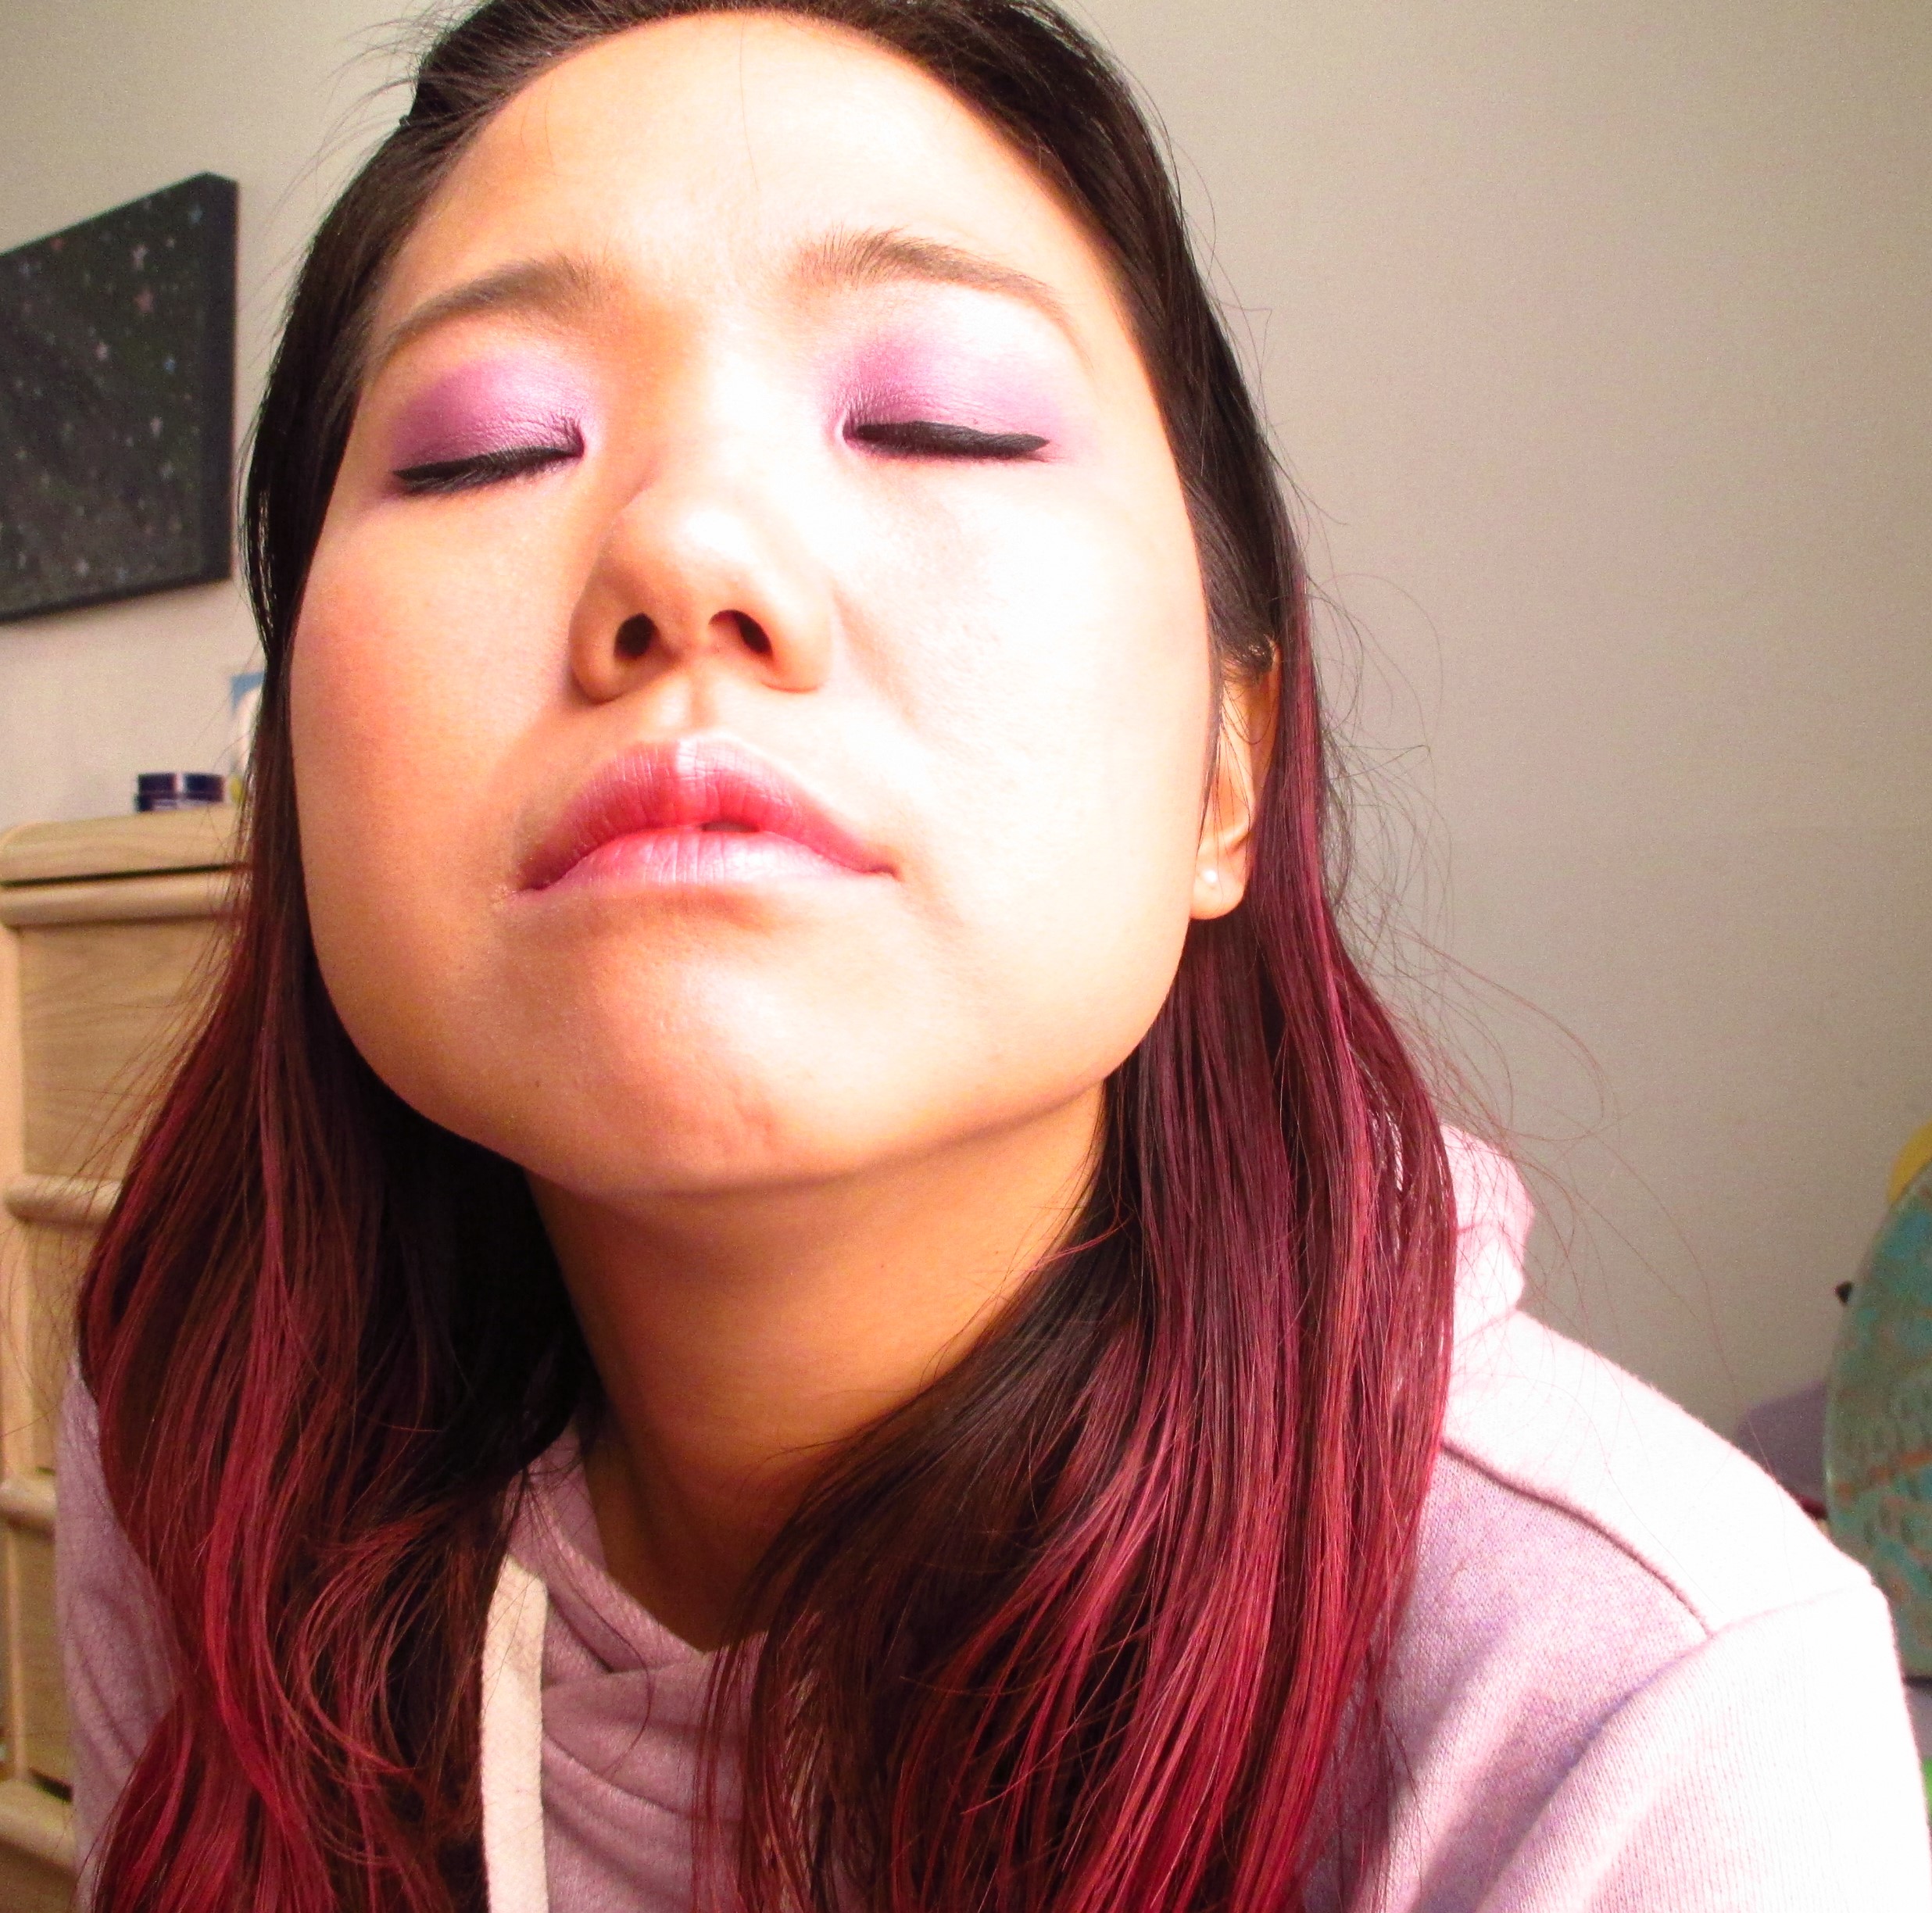
Come close for a kiss! ha ha. This is how it should look. I don't know if you can see it. But it is indeed two toned, with the red in the center, fading out to nudey pink on the edges. Like?
Come close for a kiss! ha ha. This is how it looked on me. I don’t know if you can see it. But it is indeed two toned, with the red in the center, fading out to nudey pink on the edges. Like?

How I find this look:

I can see why it might be a trend in Korea.  There is something very natural about this red in the center lip…because that is where lips tend to be redder anyhow.  When I showed this lip trend to my kid, he couldn’t tell I was wearing lipcolour!  Another thing I like about this trend is that it’s an easy way to wear a bright red lip colour without looking like you’re screaming “look at my lips”!  It is more subtle.  And that’s why I like it. 🙂  My tips for getting a more defined gradient is to do the center part bright red first, then outline it with the nude lip colour to blend and smudge it.  What do you think about it?