I work in the financial district, but I’m still dying my hair purple!

*disclaimer*: This is how I lift and colour my black hair…but everyone’s hair is different and reactions vary.  Before attempting to colour process your own hair, please use precautions like gloves, or sample test hair.  Also, my instructions are for the brands that I use.  Be sure to read the label of your own products for instruction and always consult a professional if in doubt!

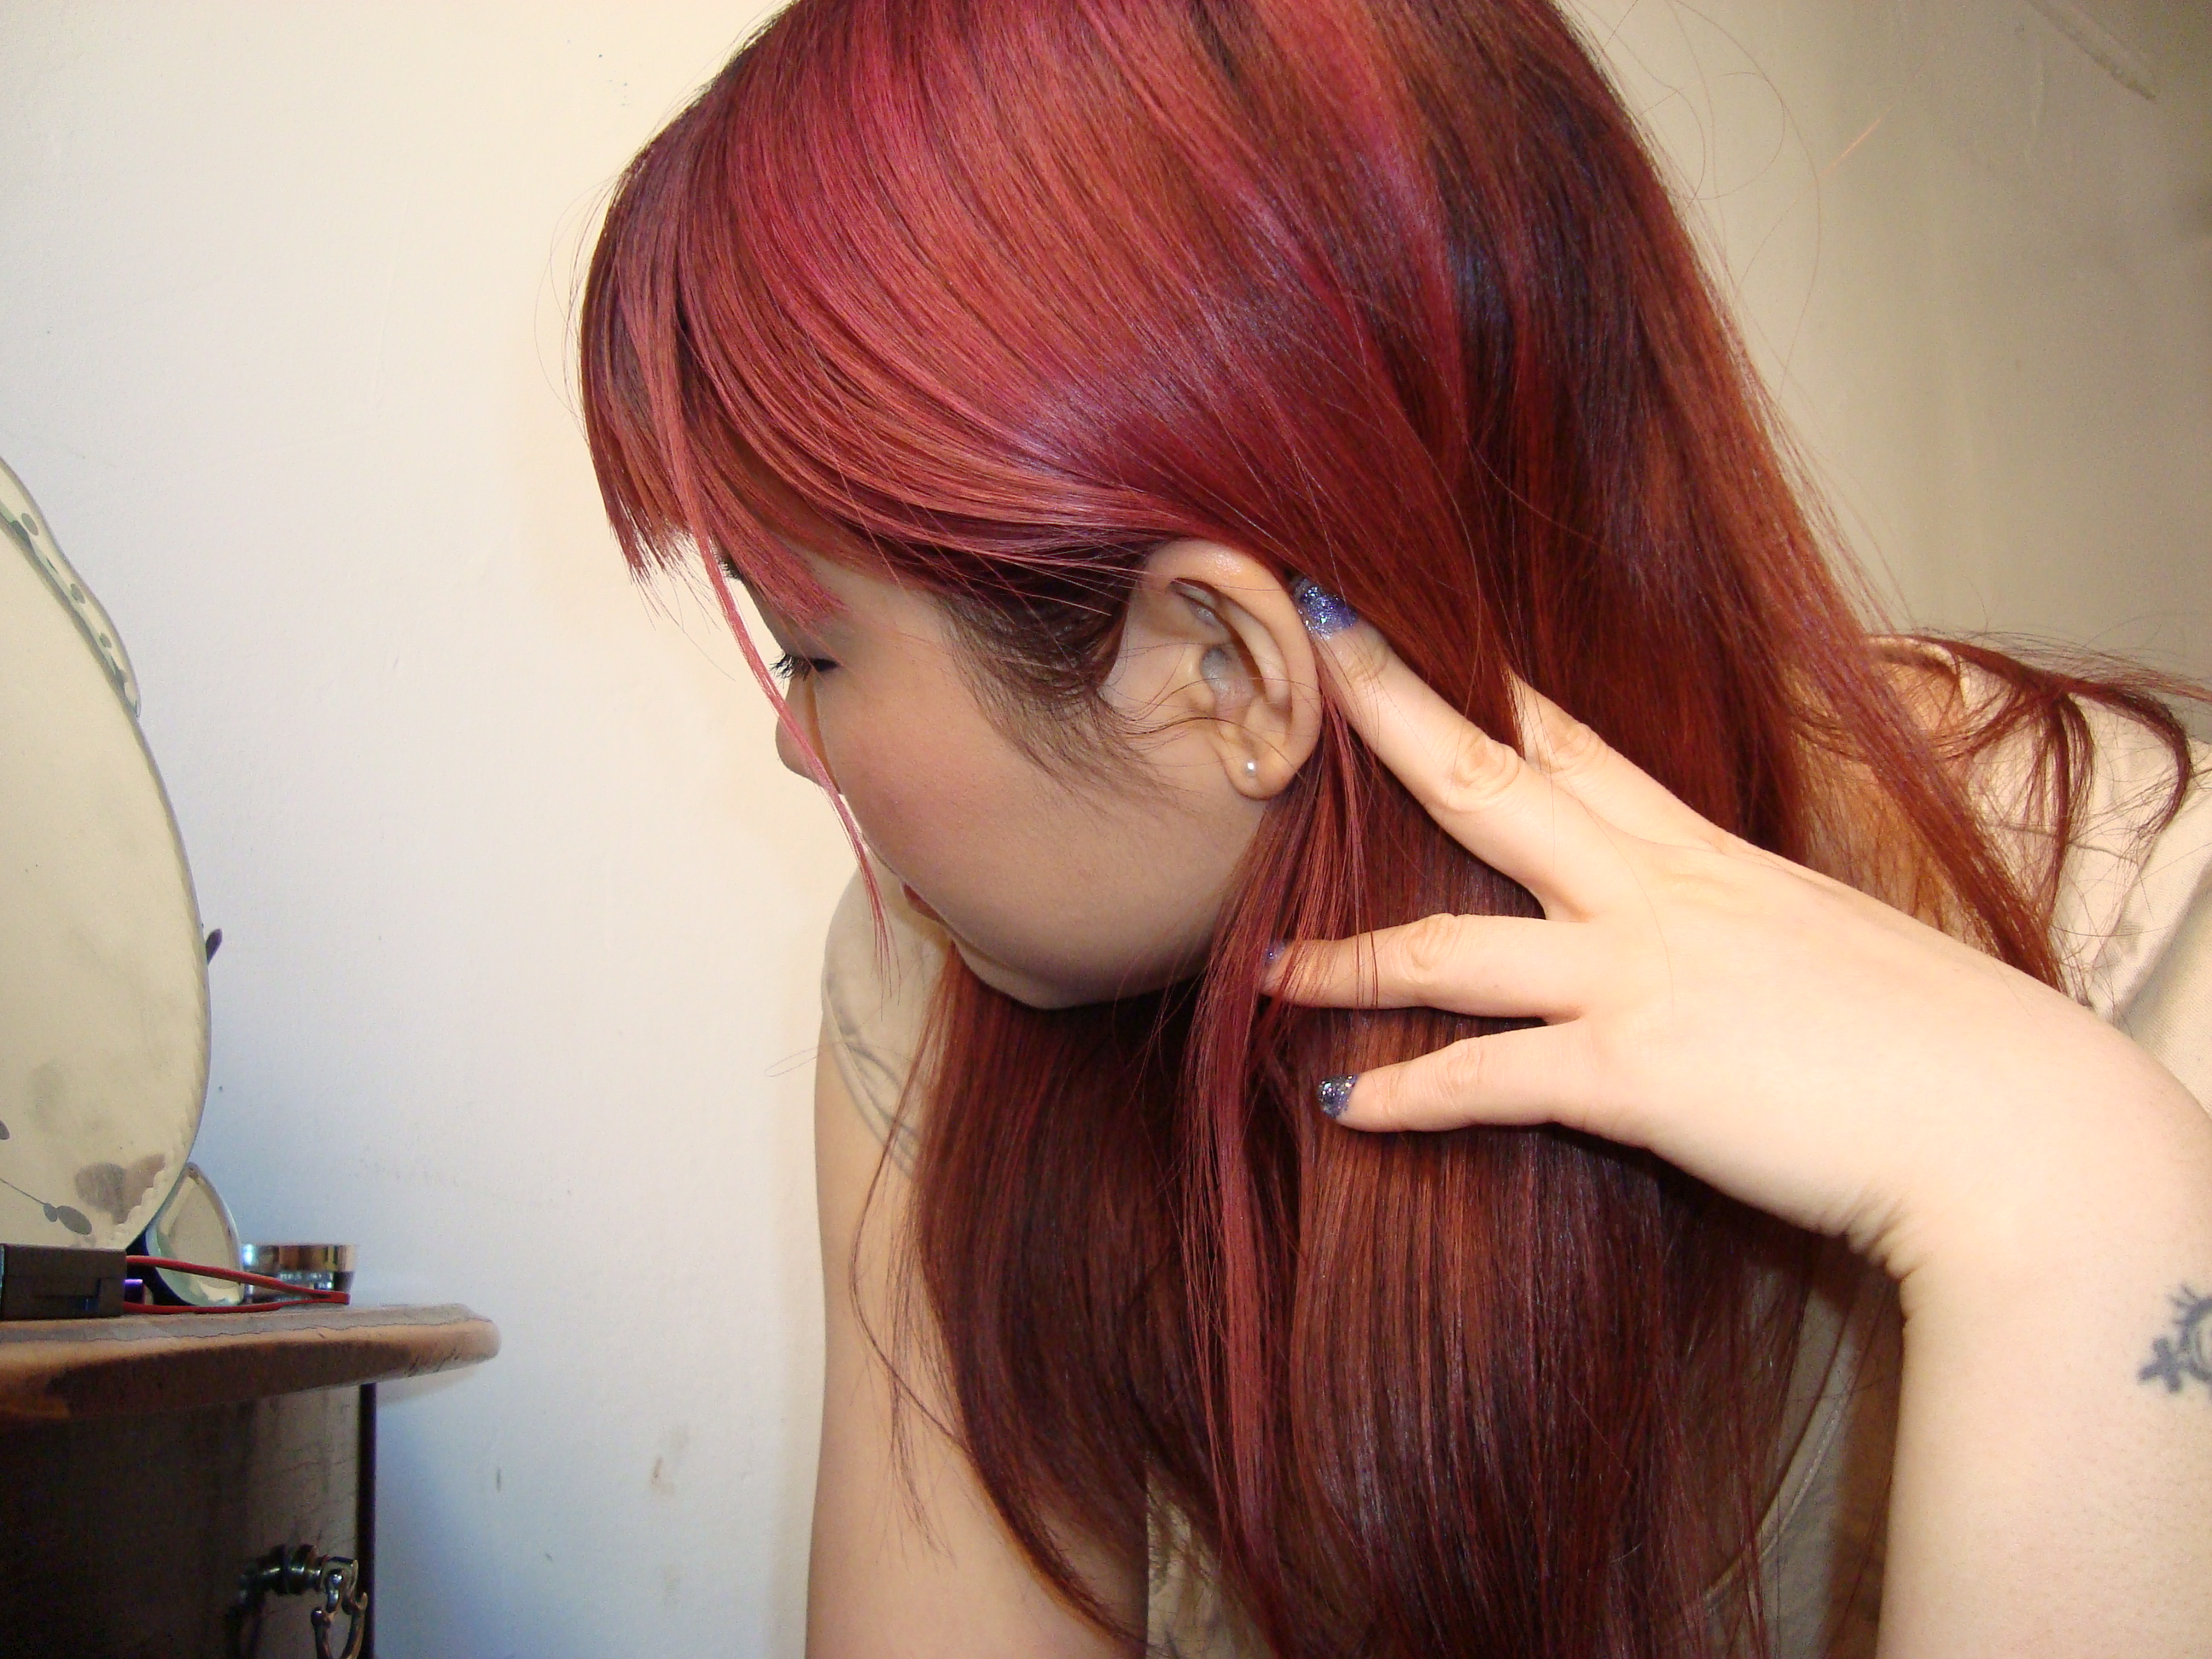
I always get people asking me about how I colour my hair to be a such a vibrant colour, (ie. punchy red) without bleaching out my naturally black hair. Most vibrant colour dye such as manic panic, adore…etc will not show up in black hair, not without bleaching out the natural colour first.

I, however, don’t need to bleach because I am not trying to get the bright, or pastel punk colours that “alternative” girls are sporting.  Bleaching is unhealthy for the hair, and because I am modest,  I don’t want all that attention over my hair colour.   Also at my age, it is harder to wear neon bright hair colours because I want a job that is not at a goth store or at piercing/tattoo parlour, no offense to those that have those jobs.  But still, I want to be different. So what I settle for is lightening my hair 2-3 shades to a honey brown colour, and then adding the vibrant colour to that.  That way, I get to stay a brunette, that shines a vibrant colour when my hair hits the light.  This process does not need bleach, but uses high volume peroxide mixed with an ash colour toner that lifts and tones in the same step!  Toning is the KEY.  Toning neutralizes the red/orange tones in dark hair that are in over abundance when one starts lightening hair.  If you’ve ever tried lifting dark hair, you’ve probably been horrified to see that it turns an ugly rusty orange colour when in mid process.  Not pretty at all.  Not only is this orange/red pigment ugly, it interrupts the way we perceive any colour you put on top.  Toner helps mute this effect. I went to art school, so this is how colour works.  Vibrant tones are cancelled out by rusty colours.

This is what you will need to lighten and tone.  Don't forget gloves!
This is what you will need to lighten and tone. Don’t forget gloves!

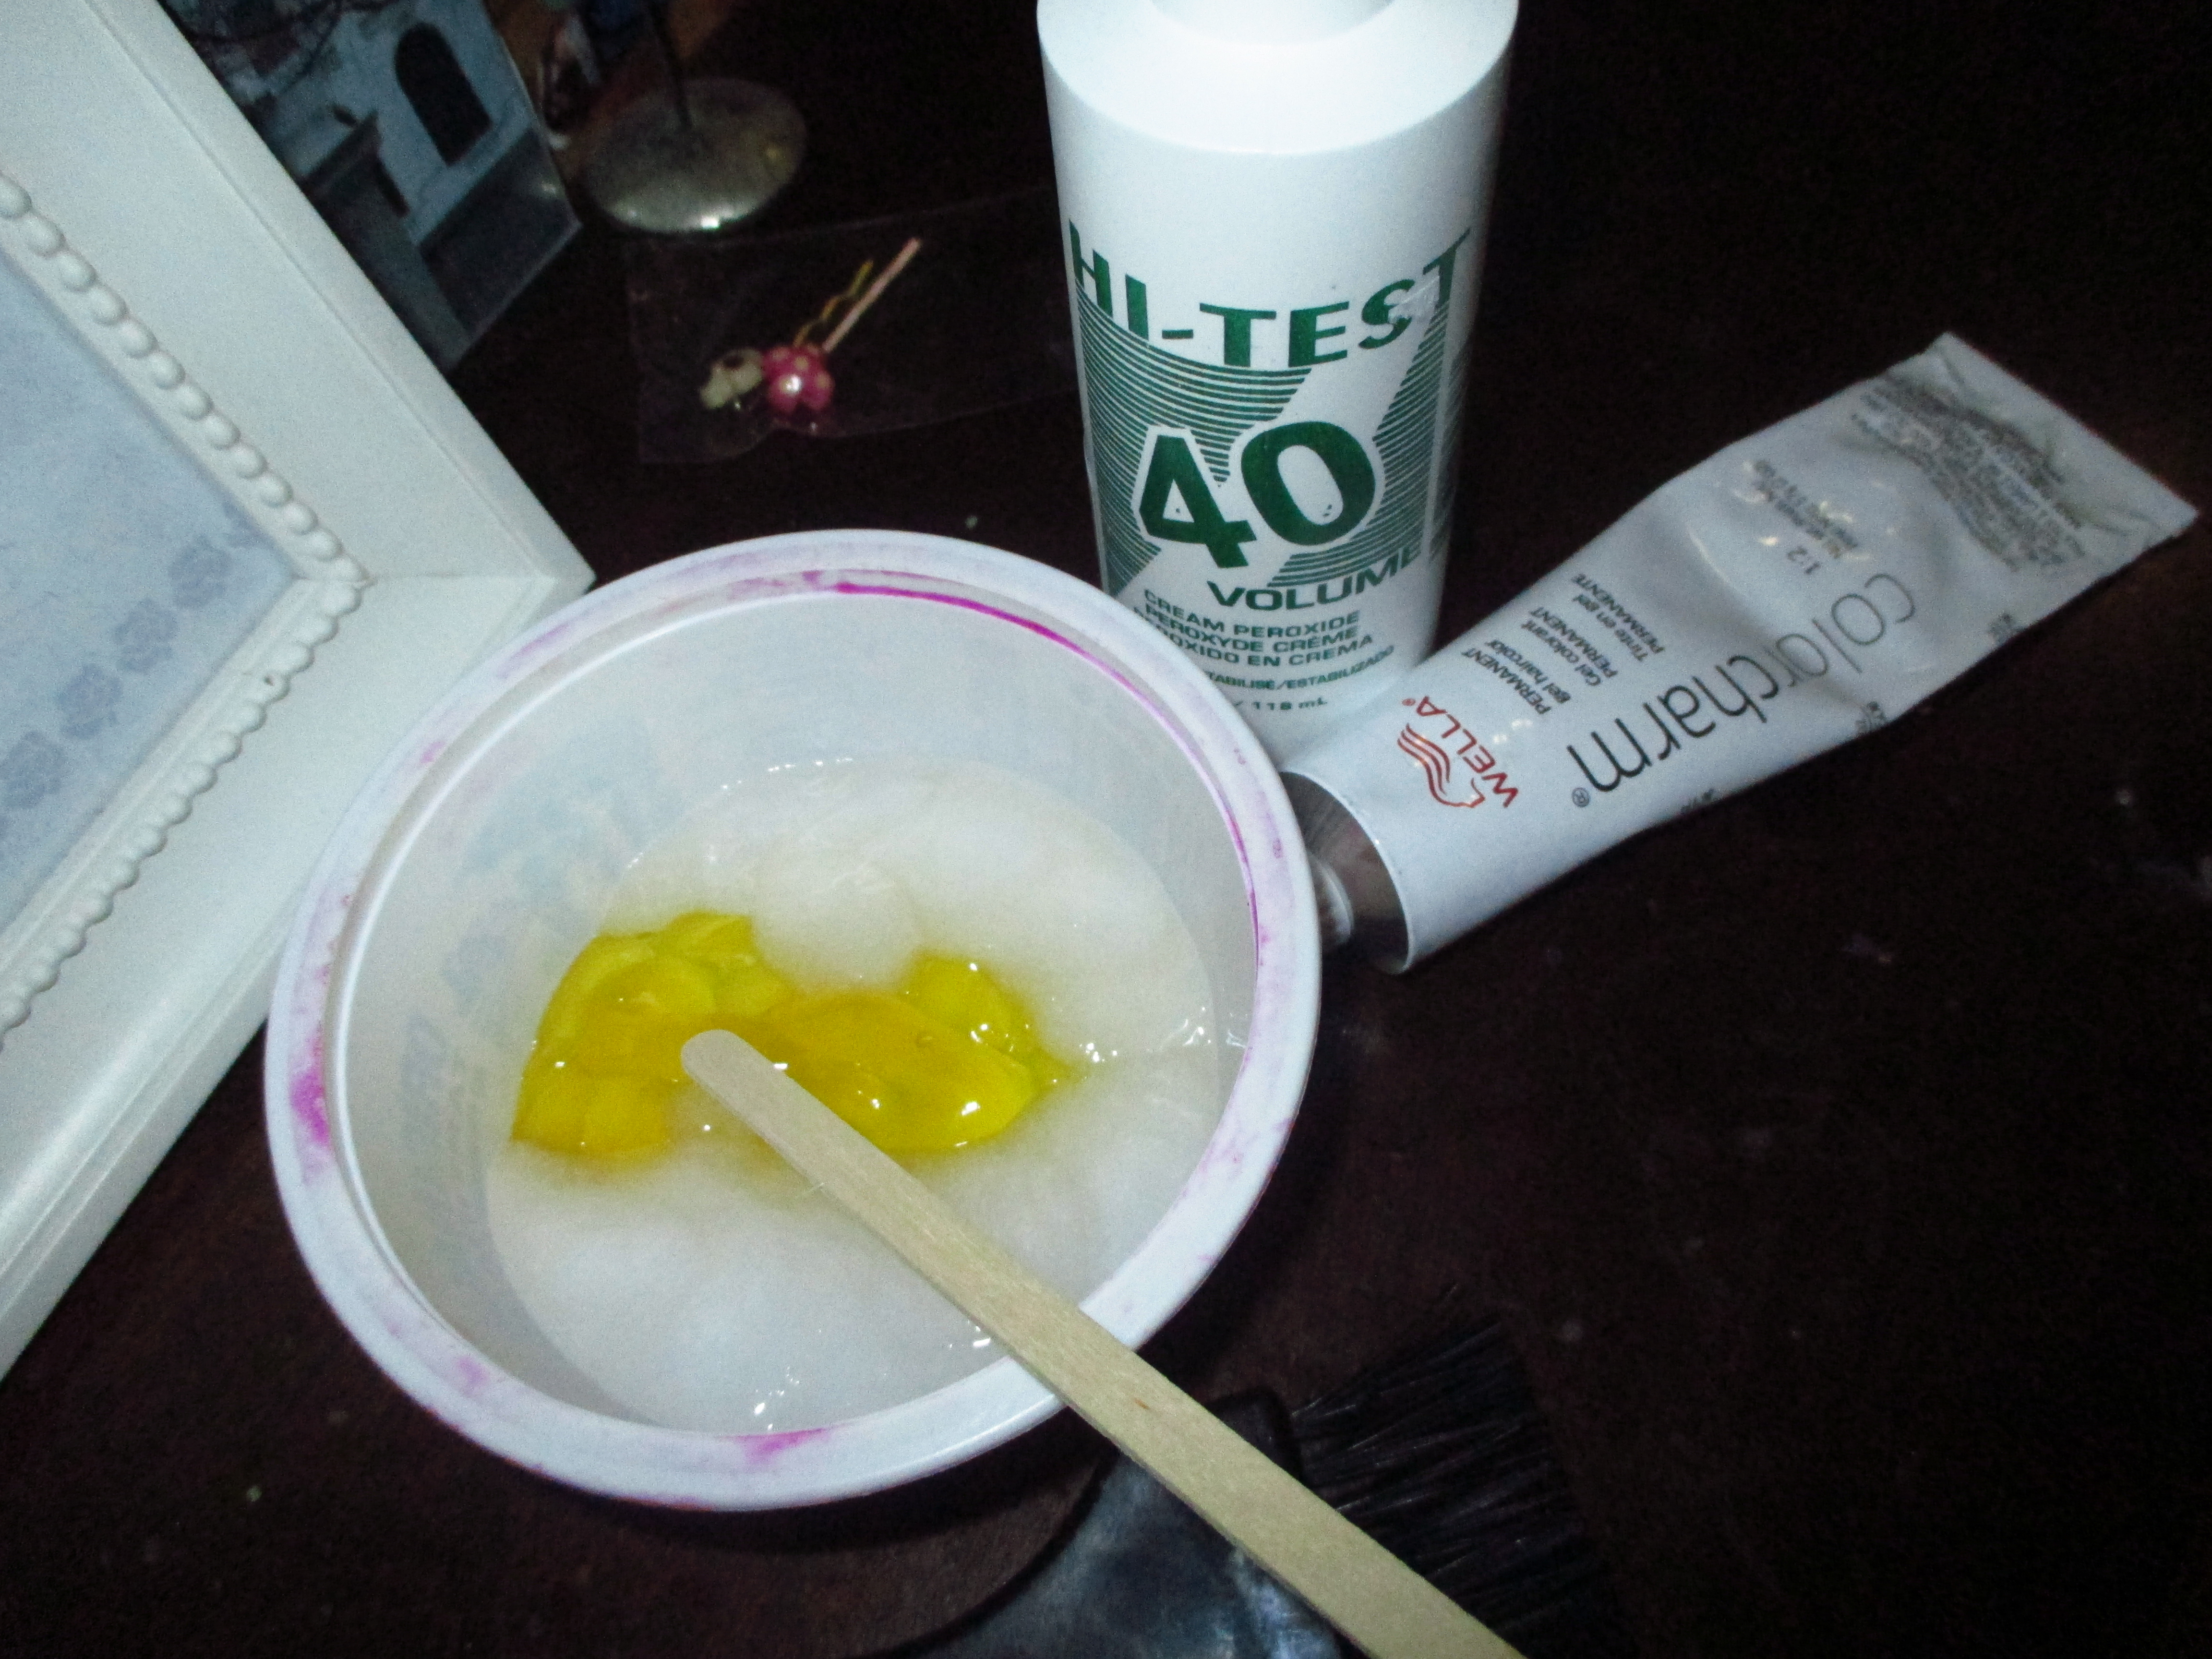
I do my roots with 40 volume peroxide, which is the strongest I’d recommend, mixed with Wella Colour Charm gel in Ash Blonde.  The ratio is 2:1.  (This combination of gel colourant mixed with peroxide is similar to what you find in the pharmacies prepackaged.  But getting them separately at a barber/beauty supply gives you more control over the performance and quality of the product.  So try not to get those “boxed colours” if possible.  And you save money too.) Then I applied it to my roots.  The dye turned dark blue, which seems odd, but trust me, that is the toning process happening.  In half an hour, I’ll wash off the toner to reveal a beautiful honey brown, almost blonde colour.  Yay, no roots!

Section out hair and apply to those untimely roots!

After shampooing the toner and peroxide out, I skip conditioning and lightly towel dry my hair.  It is important to skip conditioning, because most vibrant colours don’t use peroxide to penetrate the hair, but instead use conditioners to.  Leaving your hair clean and thirsty for conditioning makes vibrant colouring stick better.  The brand that I use is Adore.  I’ve been using a bright pinky red the last few times, so this time I changed it up with a redish purple colour called Violet Gem.  I mix the dye with conditioner to get the right consistency and to stretch it out.  Then I apply it all over my hair.  Since there is no peroxide in the colouring, it actually feels nice going on.  And it smells pretty good too!

IMG_0444
Purple mess! but after you wash it out, it’s worth it!

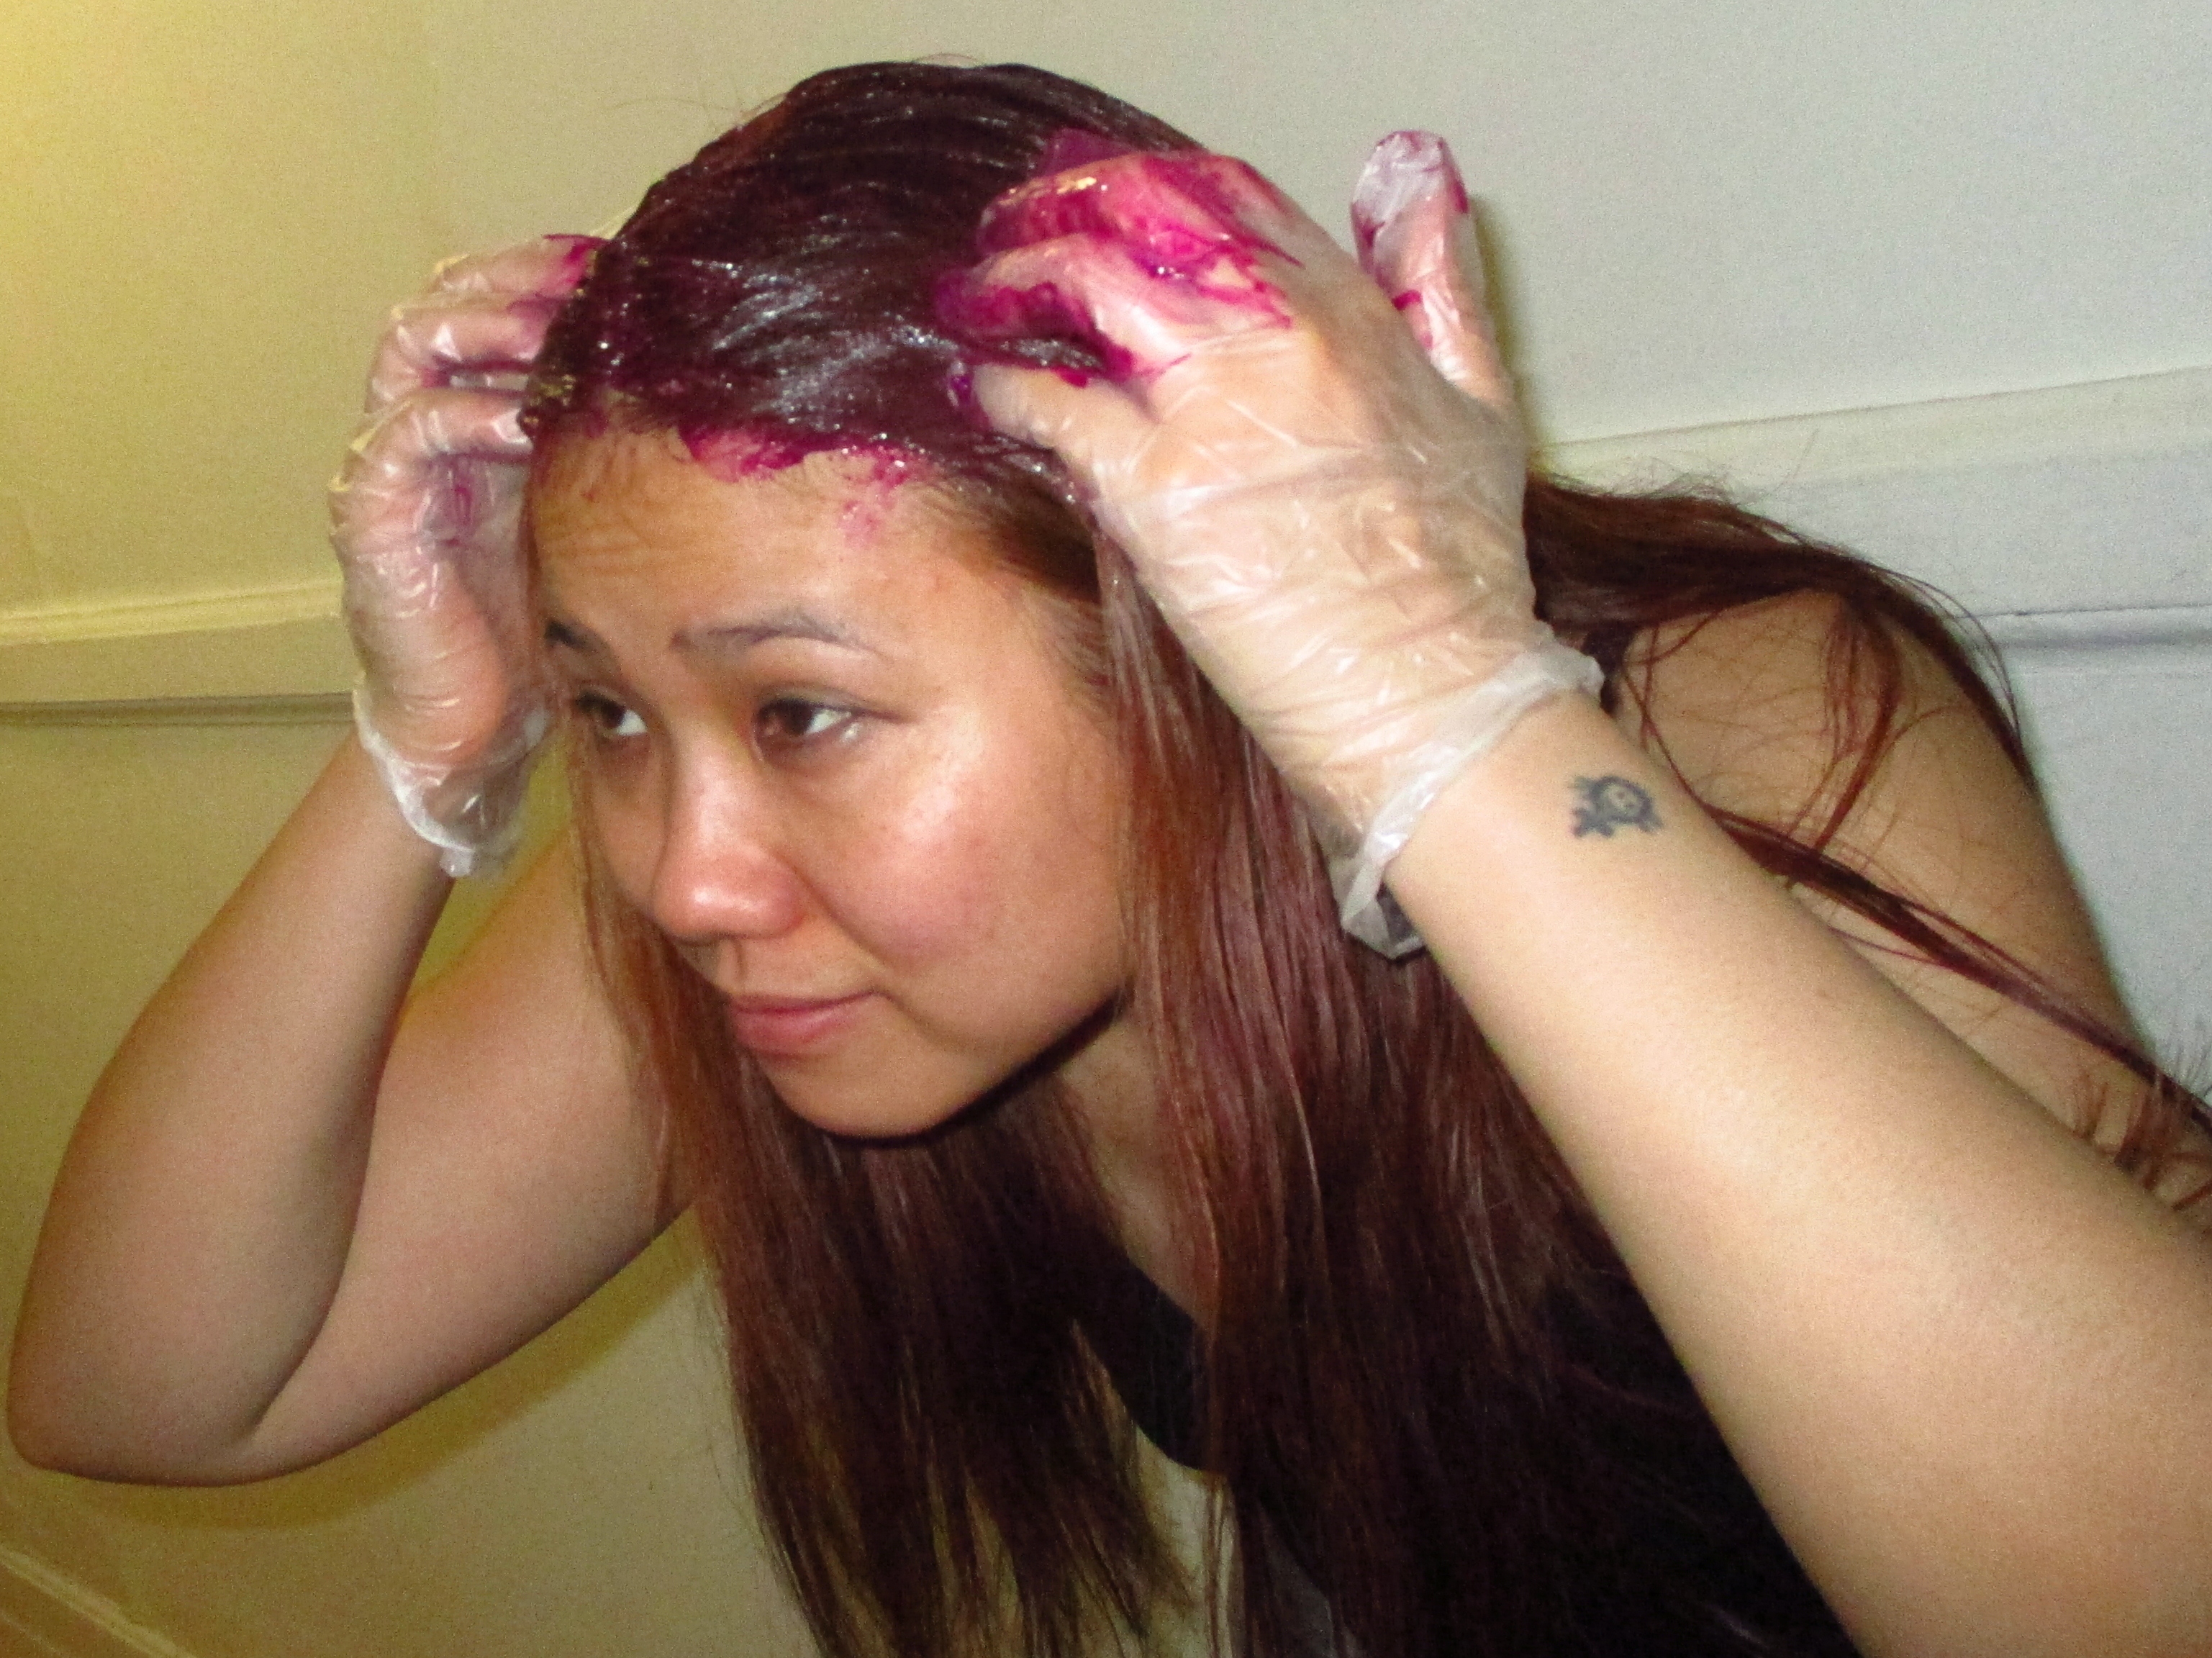
I leave it in a plastic cap for about an hour, treating it with heat from a hair dryer occasionally to help it set and absorb into the hair.  After an hour or more, I rinse out the Adore colour and am left with a rich burgundy purple colour!

The thing to remember when colouring hair is that your hair dictates how the results will end up.  Adore’s violet gem colour is actually a very mid toned purple colour.  But I noticed that my hair has a lot of trouble absorbing blues and purples into the strand, even after processing with toner.  Sometimes, to get the results you want, you may have to experiment…and some colours turn out better than others.  My first trial of using Violet Gem disappointed me because it was not as intense as I wanted and washed out quickly…so I repeated the step of using Violet Gem colourant on shampooed hair again the next day with a less diluted, more concentrated colour and got better results!  Always be willing to experiment when trying things at home…and redo if nessesary!

yay, I'm a purple haired goddess now!
yay, I’m a purple haired goddess now!

How I amp up my conditioner for extra shiny hair!

New Year, it means, “new hair”, right?  There is nothing more attractive for hair than shine.  My hair when I was younger, had the most amazing sheen.  It was because I didn’t chemically process it.  However, now a days, everyone does something to their hair, whether it is a perm, or a colour, it affects it’s shine.  So how do I put in a bit of newness and shine to processed hair?  I boost up my everyday conditioner with a few natural ingredients!

A while ago, the dullness really bothered me.  I tried adding leave-in hair products to help increase shine.  The drawback was was that it weighed my hair down, and coated each strand with build up making the problem worse.  Then I tried natural oils like grapeseed oil, as a finishing touch to dry styled hair, but that made my hair too greasy.  That’s when I gave up with after shower shine products and focused on deep conditioning, which I now believe is key.

First of all, start off with a good everyday conditioner.  Then add into the picture: a conditioning hair mask, olive oil, and honey.   Regular conditioner acts as a base.  The conditioning hair mask adds extra softness, the honey attracts moisture and help the hair absorb it, and olive oil gives extra gloss. Mix all four ingredients in a dish, and then get in the shower.  Shampoo well, then spread your hybrid mixture of conditioners into your stressed out strands.  Leave in for 5 minutes.  Rinse well. 

And the results are perfect.  My hair is adequately hydrated, and without build up, the natural oils in my hair can evenly coat each strand to boost shine.  So here is my simple recipe that I mix in a small bowl, each time before showering, so that it is ready to use as soon as I am done my shampooing:

1 part hair conditioner

1 part hair conditioning mask

1/2 part olive oil

1/2 part honey

Mix and blend every ingredient together until uniform in colour and texture.  This stuff will smell amazing as most conditioners already smell great but add in the honey and olive oil and you almost want to eat it!  It is now ready to use.

DSC05124
Doesn’t look the greatest, but it works!
DSC05126
Mix well, and you too, can have this one phase result!
DSC05131
Shiny, and babelicious, no?

After showering, I towel dry hair, and then allow my hair to air dry half way, then finish with low blow dryer heat for 5 mins.  My results when I do this is weightless clean shine, with no need for extra leave-in products!  My hair is super soft, and it has a natural shiny halo to it on the crown of the head or anywhere else it catches the light.  For me it’s like having virgin hair again, while not having virgin styled hair!

I’m 20 again and I’m also a mermaid!

mp07a
Beautiful mermaid artwork from Charles Santore, for The Little Mermaid

Every girl wants wavy mermaid hair!  Or I would assume.  One way I hear to get it is with sea salt spray.  I am late coming onto this trend, but I wanted to investigate it for myself.  Is all this hype about “texturizing” your hair with the spray true? Or is it the cosmetic industry’s newest gimmick, making millions off of  this hair product when hairspray, gel, or mousse and a curling iron can do the same?  So I started reading about it.  What does it do to hair when you spritz it in?  Does it automatically give you waves worthy of  the beach?  Does it make you feel like you just came back from one?  How does beach hair look like anyways?  So after reading many internet articles about it, I found out two really important things about the “beach wave” look, and how it is achieved with sea salt sprays, aka surf sprays.

1) “Beach hair” is another way of saying loose, bohemian  waves, with the gritty, messy texture one might get from dunking your head in the sea and letting it air dry.  Basically a dirtier, messier surfer chick wave!  Photos of people that used it had hair just like that which I described.  Some may like it some may not, but you can decide.  But don’t let the trends pressure you into thinking you love it it you don’t!  Respect your own opinion on style.  But if you do, read on!

2) Now the second thing I learned was that sea salt sprays were exactly that.  Water mixed with salt.  Why was the make-up industry charging so much for bottled salt water?  I had no clue.  Sure, they put a nice fragrance in it, but so could I with little to no effort.  So what was the deal?  I even read countless articles on how homemade sprays yielded same if not better beach hair results.  So I decided that if I wanted to try these sprays, I was gonna make my own.  After  experimenting a bit, as well as having a botched attempt, I feel I’ve settled on a great recipe and I’ll share it with you all.  I added rosewater, which makes it smell more like anEnglish Garden, in contrast to the athletic, tropical image of a surfer babe, but I think it makes it more moisturizing and it smells so fresh and healthy.

Roses in the Sea Beach Spray Recipe

2/3 cup warm water (for the salt to disolve)

1 teaspoon salt (more than that doesn’t seem necessary to be visible in hair, but if using dead sea salt, double the amount!)

1/3 cup of rosewater (find it at your local grocery store, or make it if you know how!)

2 teaspoons of grape seed oil (gives your hair more moisture, can also use coconut oil, or something else)

1 teaspoon of alcohol (for preservation)

DSC04950
my basic, easy to find everyday ingredients, minus the water of course!

Add all the above ingredients into a clean bottle with a spray nozzle.  Shake it up, and then spritz all over your hair!  The more you put in, the more hold you can get.  I like more waves, since my hair doesn’t seem to be that wavy unless I help it out. So I twirl them in them into four little buns and let it air dry for a few hours.  Then I release it while it’s still a bit damp.  The curls are too severe, so I soften them by blowing them out with a hair dryer until they are dry and set.  I get loose waves with texture, while not looking too done up.  It’s seems effortlessly pretty, which is trendy these days!  Surprisingly my hair feels really soft.  I think it’s the rose water.  Give it a try and let me know if you love it too.

My results.  It was nice and soft, even the day after! yay.
My results. It was nice and soft, even the day after! yay.