You’ve mastered the “cat eye” make-up, now let’s do the “mouse eye”

I am not really that into Theme Parks.  They are tourist traps that suck up all your money on junk food, cheap souvenirs, and just temporary thrills.  But there is still something about being young at heart and liking Disney World.  There is definitely something magic in the Disney Parks, something they did well, something that can generate memories, just by walking down it’s whimsical streets to having your photo with Ariel, or with Mickey, himself.  That’s why this year, I took my kid to Disney World in Florida.

To celebrate this occasion, I’ve been thinking about different make-up looks to create and try on this trip.  How about a make-up that incorporates mouse ears somehow?  Hmm, I am getting a feeling that this would not be pretty.  What about Minnie Mouse…how can she inspire me?  She’s got some long lashes.  Three to be exact…

75519

Then I thought of the time that I caught a mouse in my house.  Well, actually, my cat caught it and almost ripped it to pieces.  I saved it, from my cat, but it still ended up dying.  I was sad.  It had the cutest little beady eyes, surrounded by what seemed to be bushy eye lashes.  So now, combining Minnie Mouse’s eyelashes and that of a real house mouse, I’ve created “mouse eyes”!

Similar to the famous “cat eye” make-up of an angled slanty-eyed look with black liquid liner on the top eyelid, I decided to get a bit more playful and curly with my “mouse eye” look.  Here’s how to do it:

This is me without makeup.  Not too shabby I hope!
This is me without makeup. Not too shabby I hope!

Start with a clean face.  I apply my bb cream/foundation, and set with a dusting of powder.  Next up, my brows…fill in with a pencil or with a powder filler.  Then start with the eyes.  First of all, trace a thin black line around your eyes, making an almond shape.
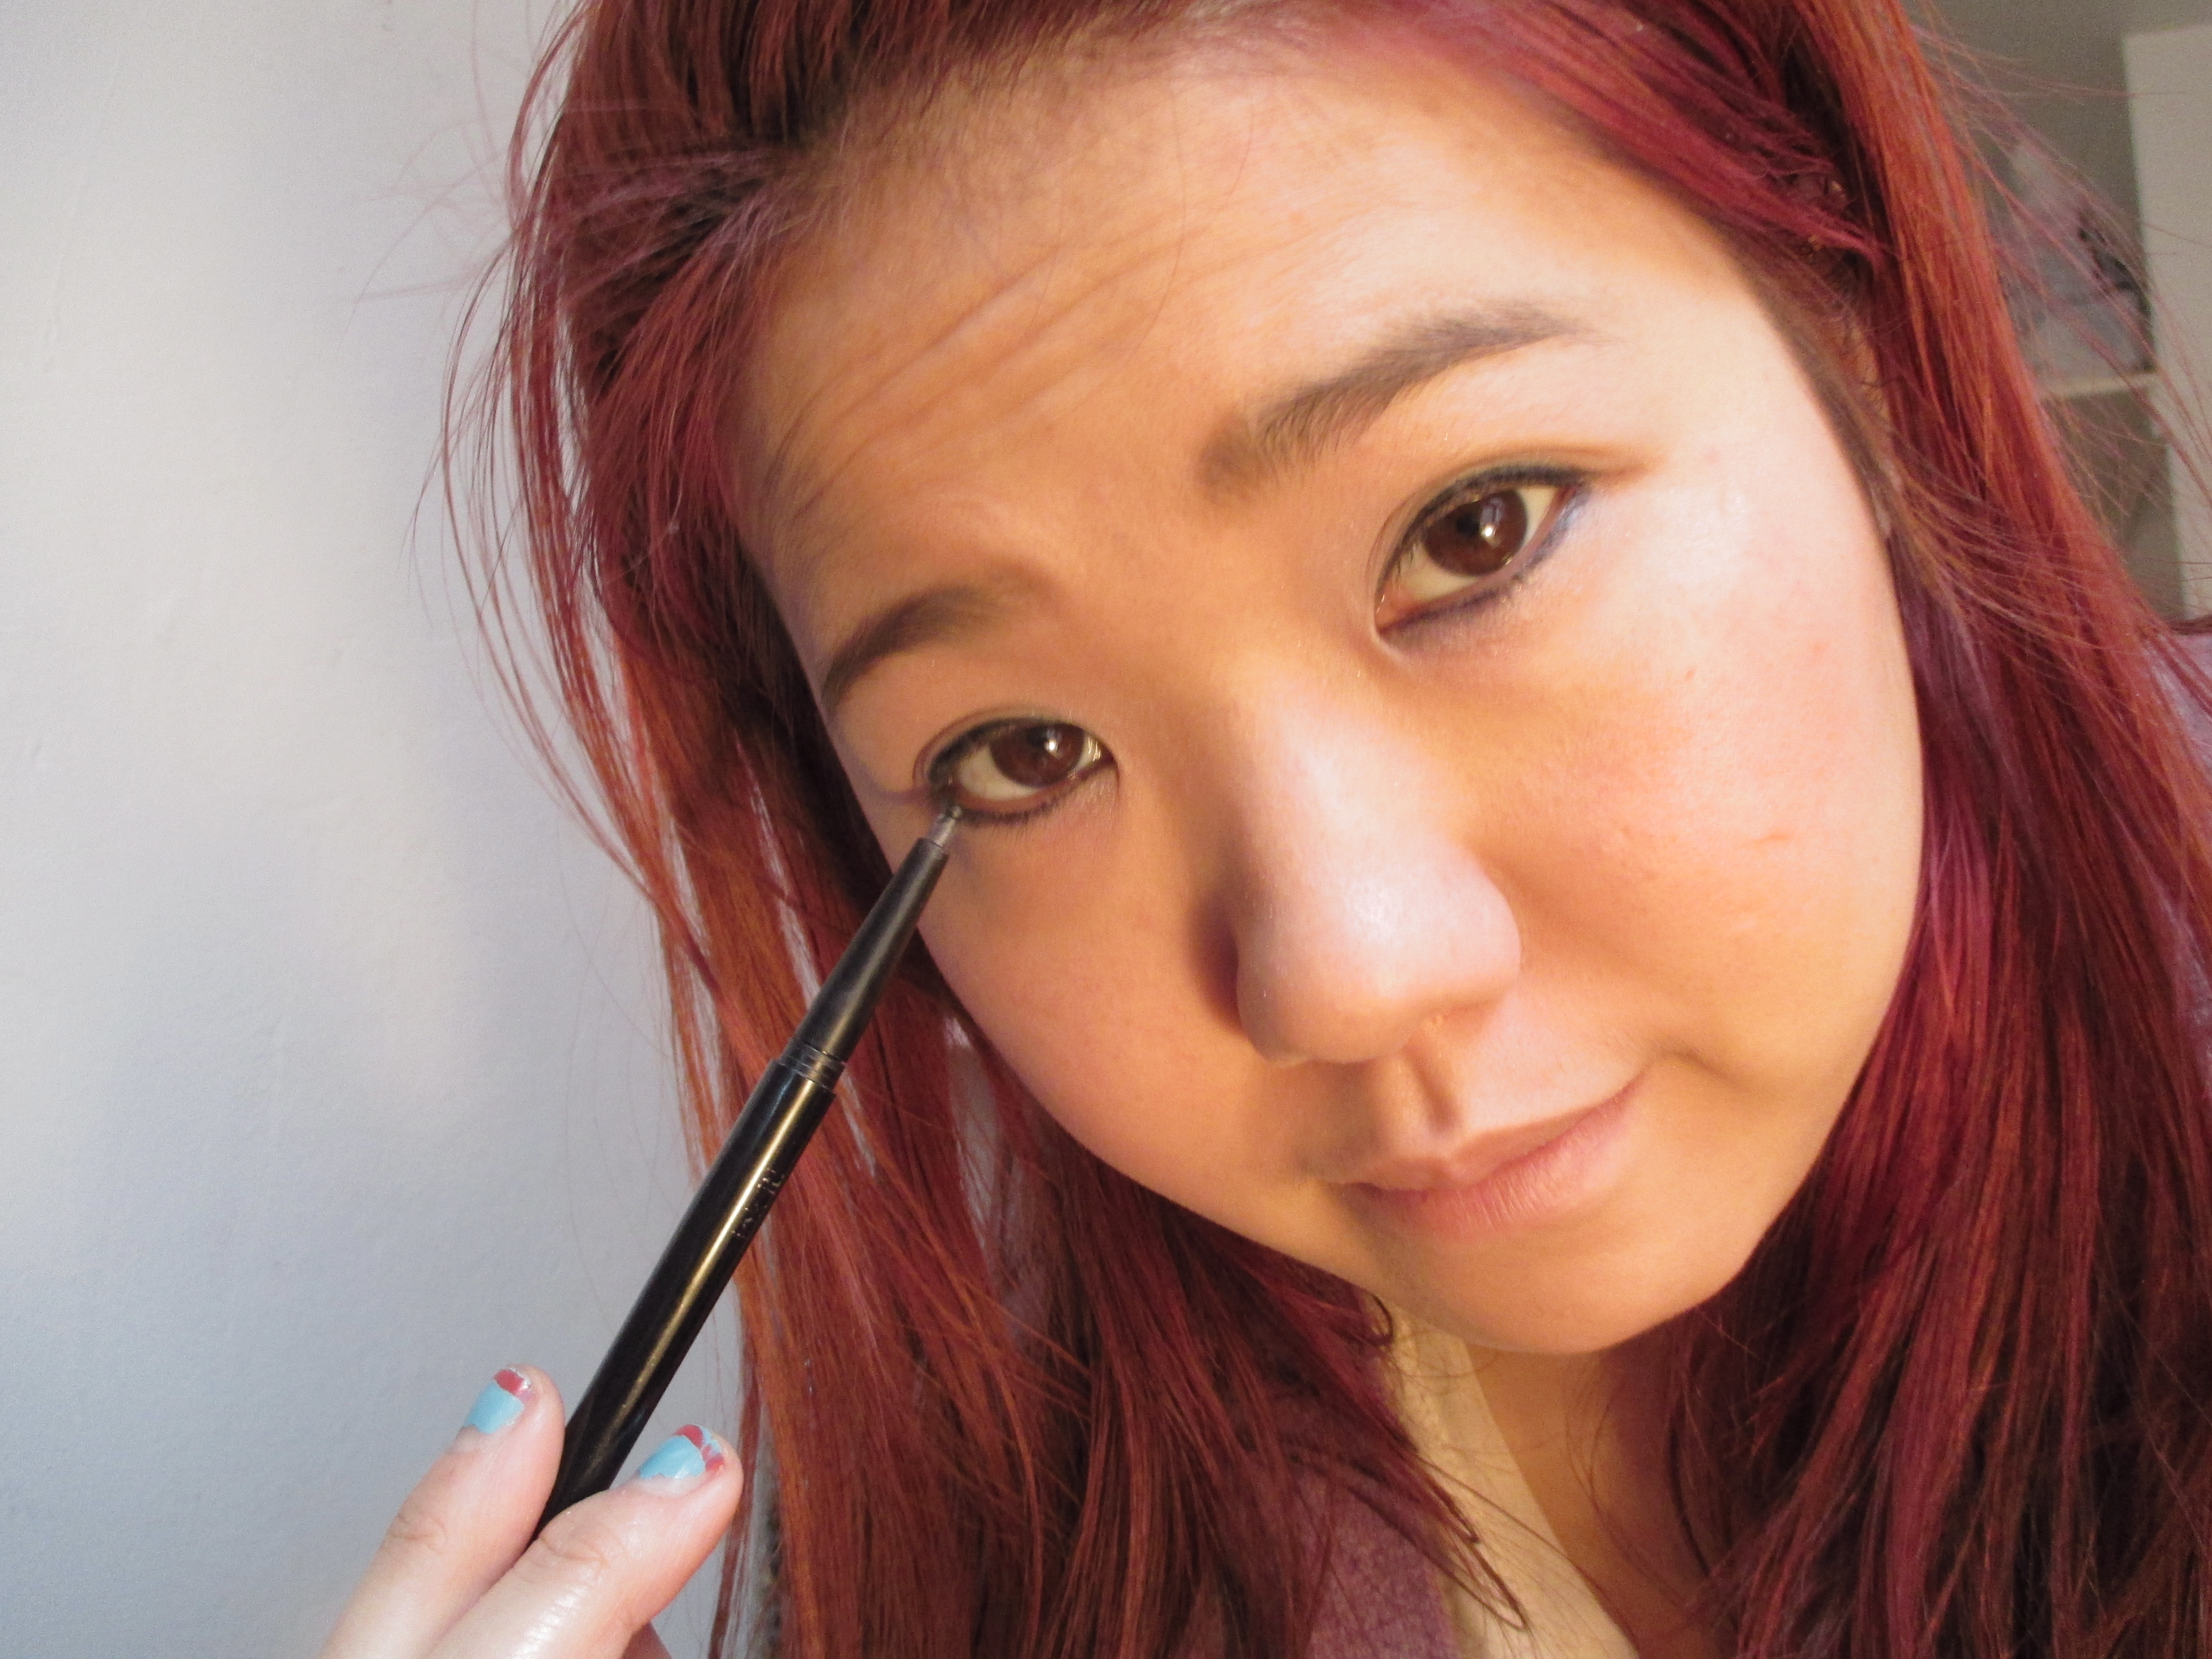
perfectly pencil lined eyes

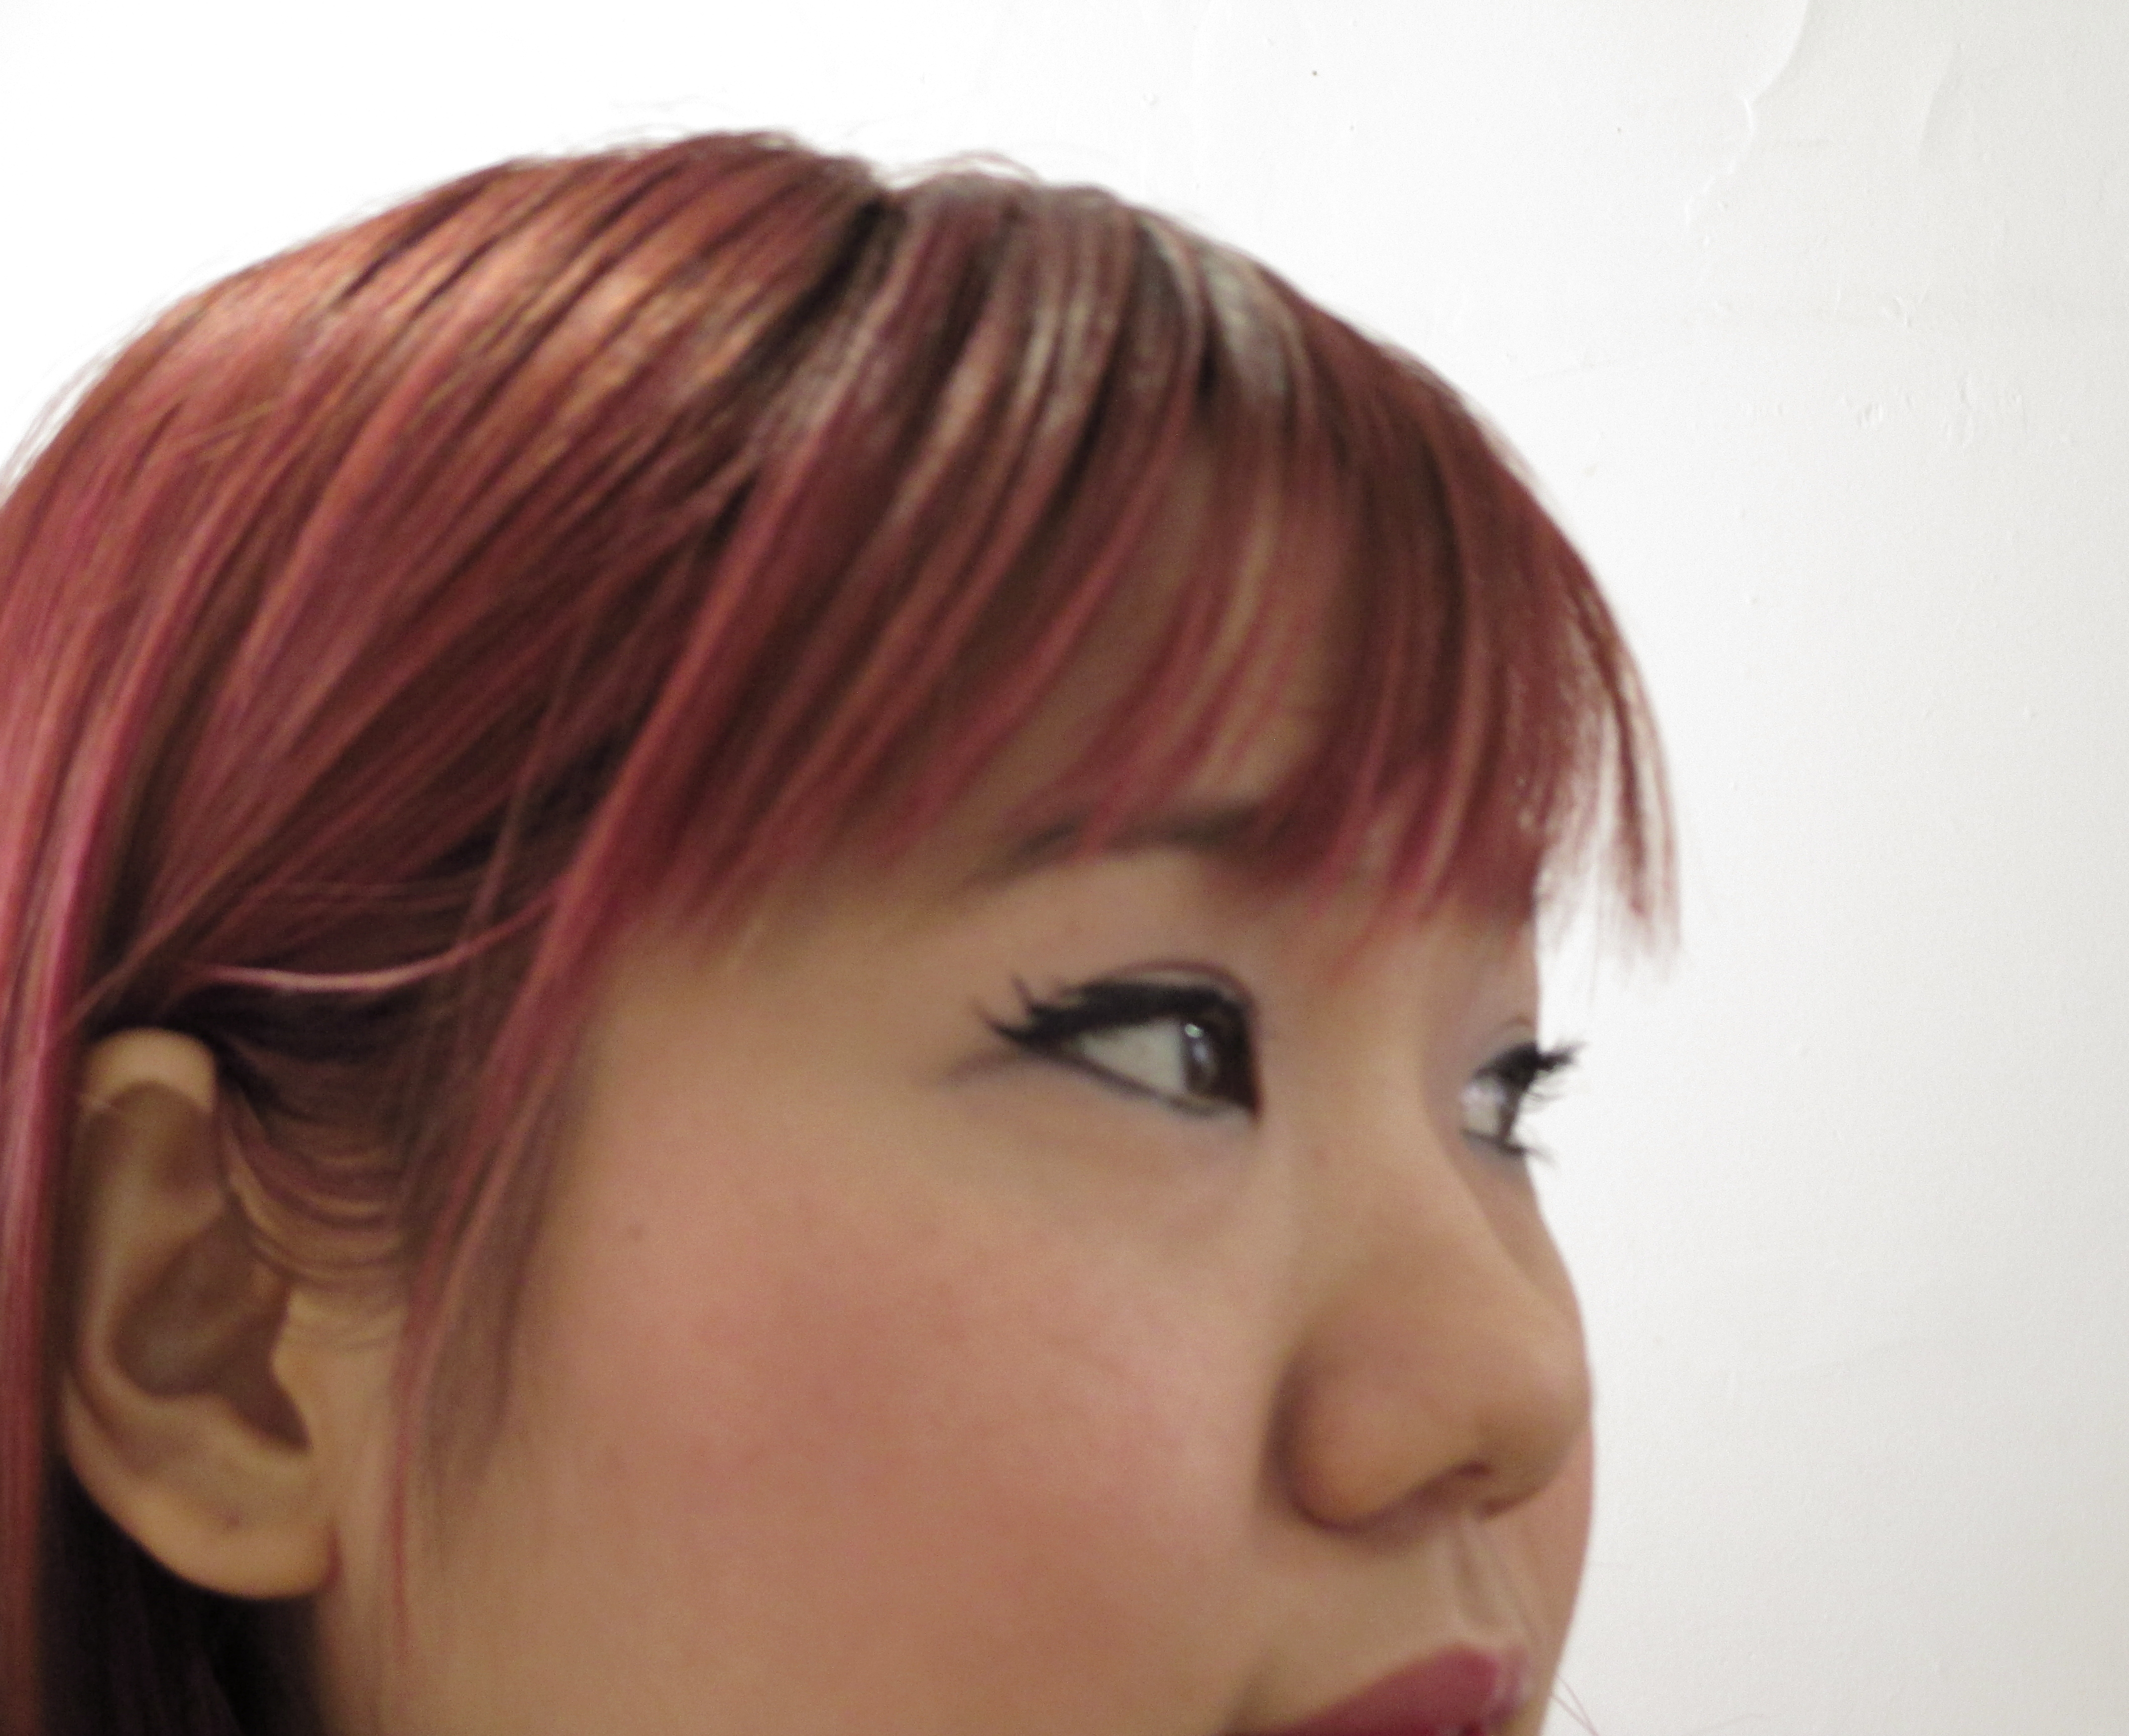
I don’t usually do tight lining (which is lining the bottom lid as close to the eyeball as possible), but I get as close as I can, without hitting the wet lid.  Then, this is where the artistry and steady hands come in.  Using gel liner in black, I draw in some bushy curly lashes, that extend from my outer eye, and curl two more times to form three pointy peaks.
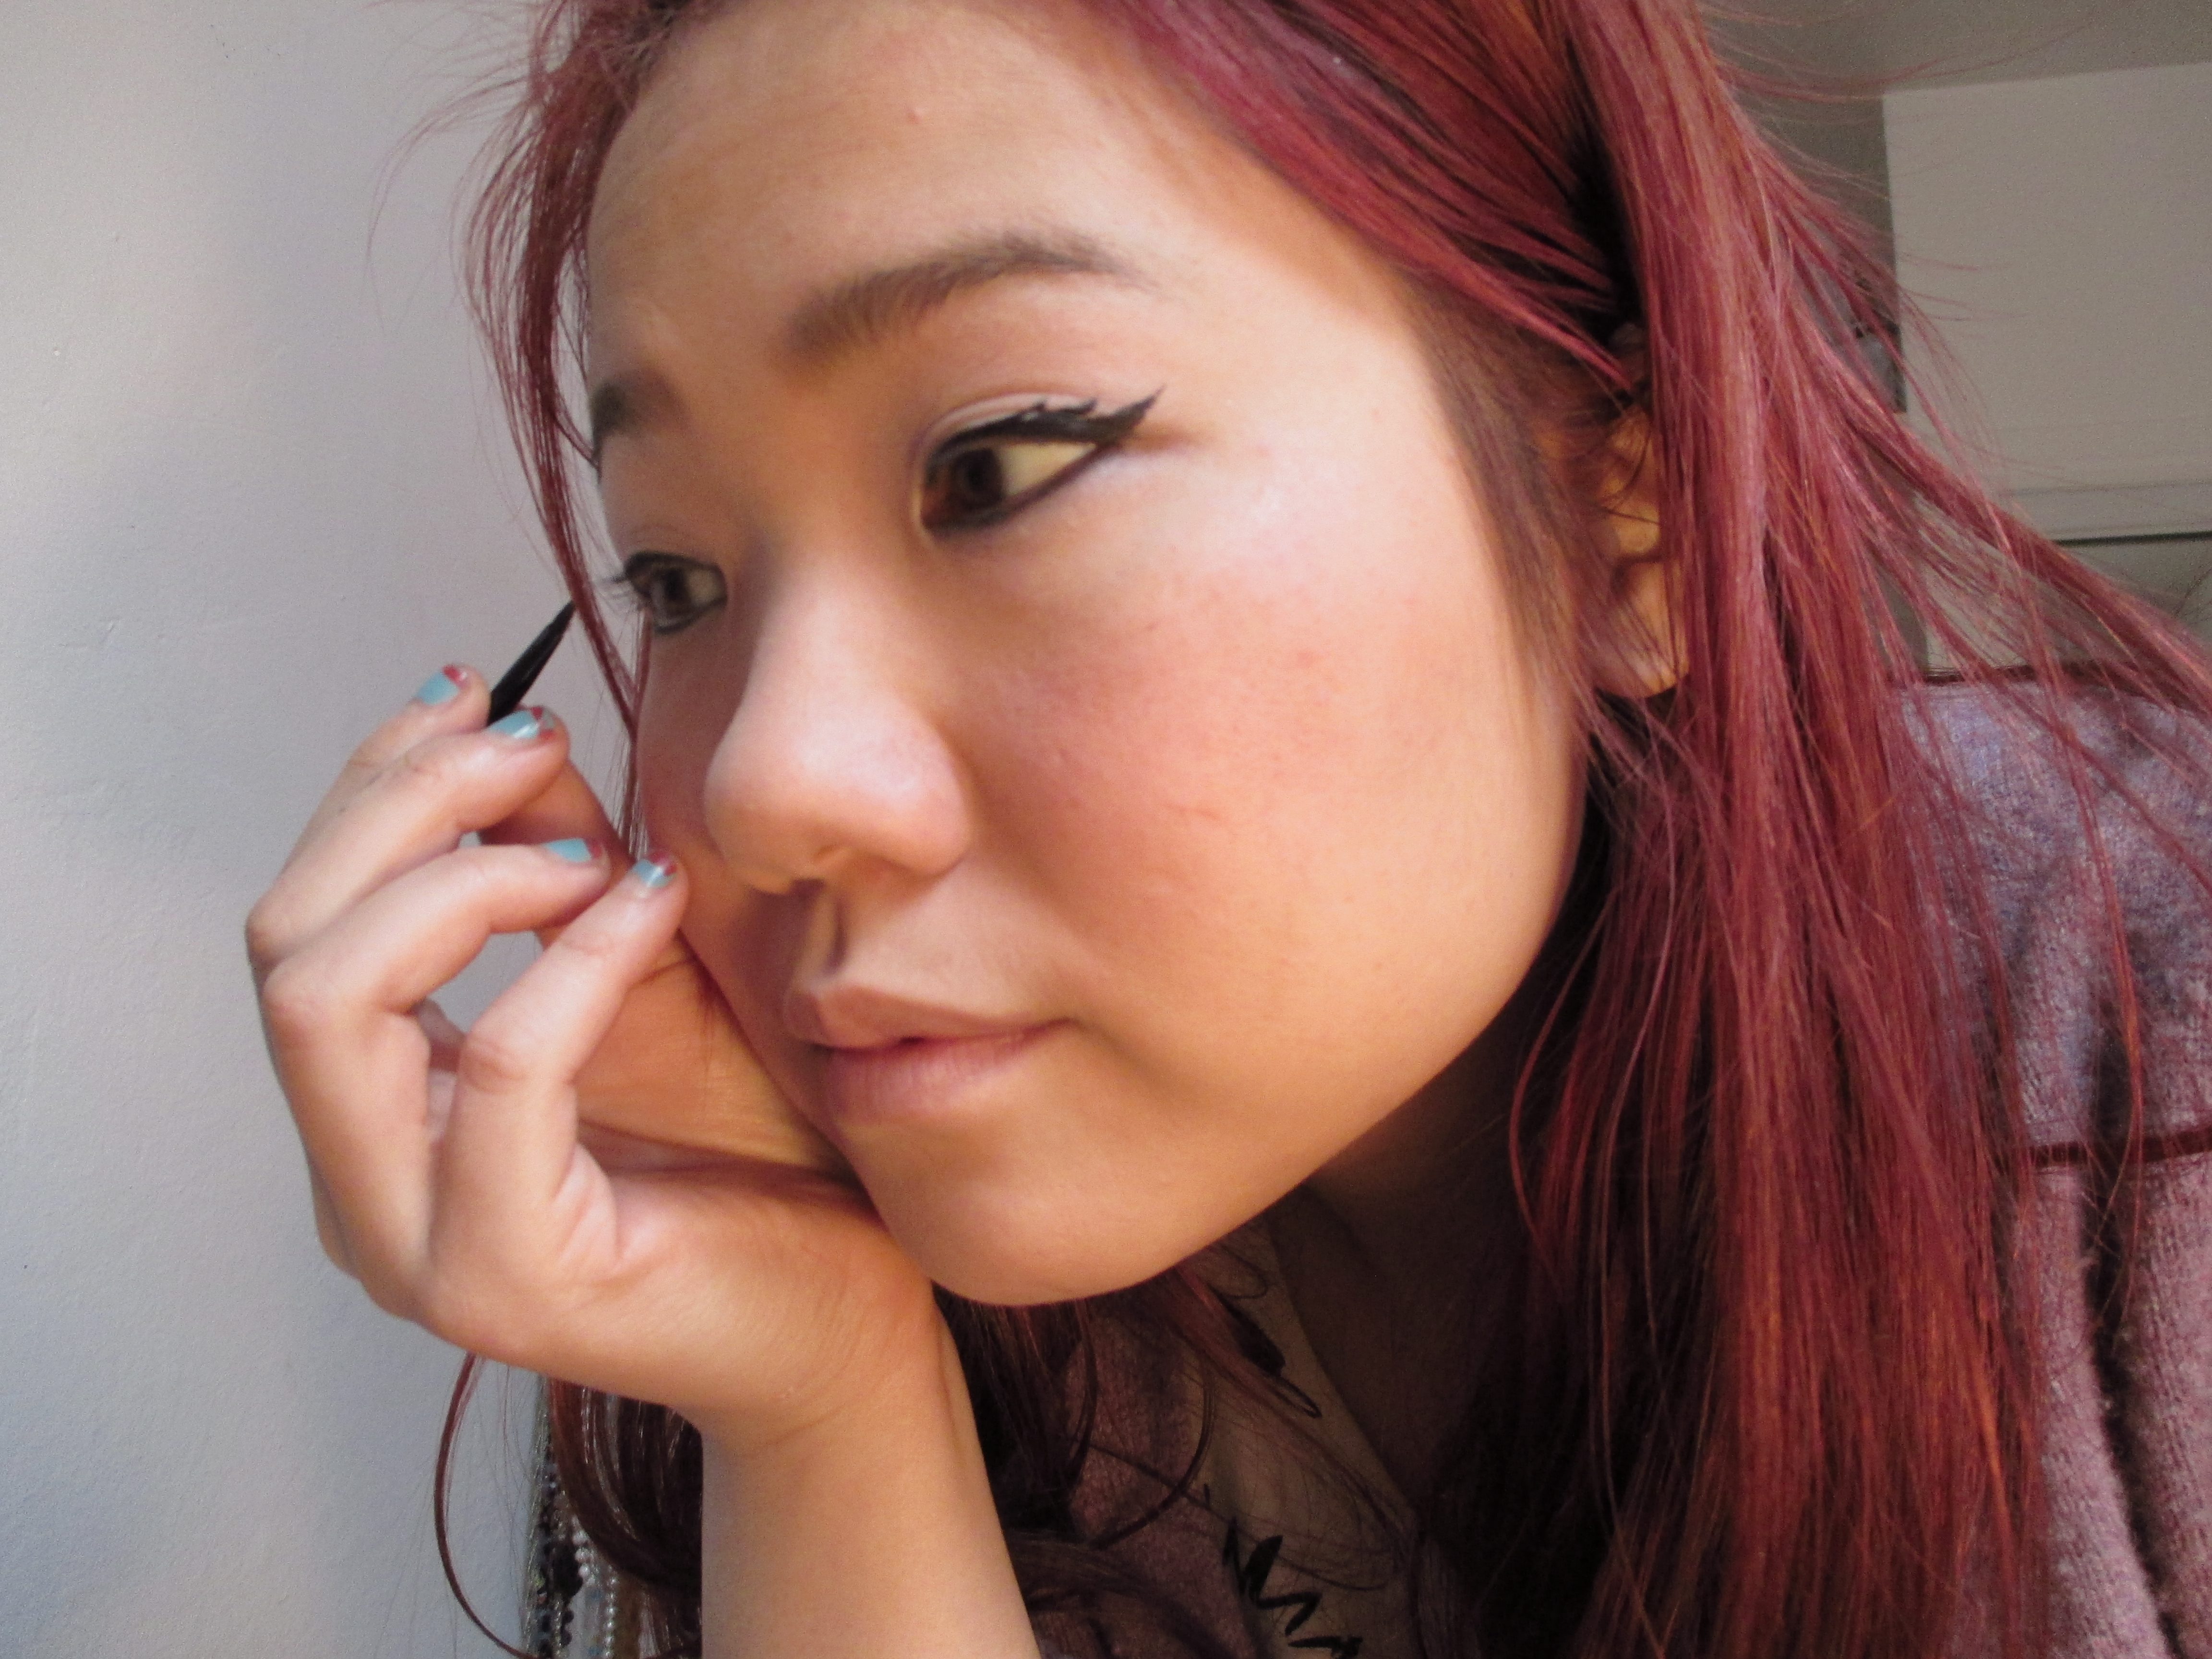
IMG_0041

The result is  the illusion of incredibly thick lashes, that resemble that of a mouses lashes.  What do yo think of it?  “Mouse eyes”.  I’m going to be wearing this during my trip to Disney World…and hopefully some of the magic that is in the air there, will be reflected in me!  Don’t forget to add a smidgen of blush and a bit of lip gloss.  Th oust ready to go theme parking at Disney now!
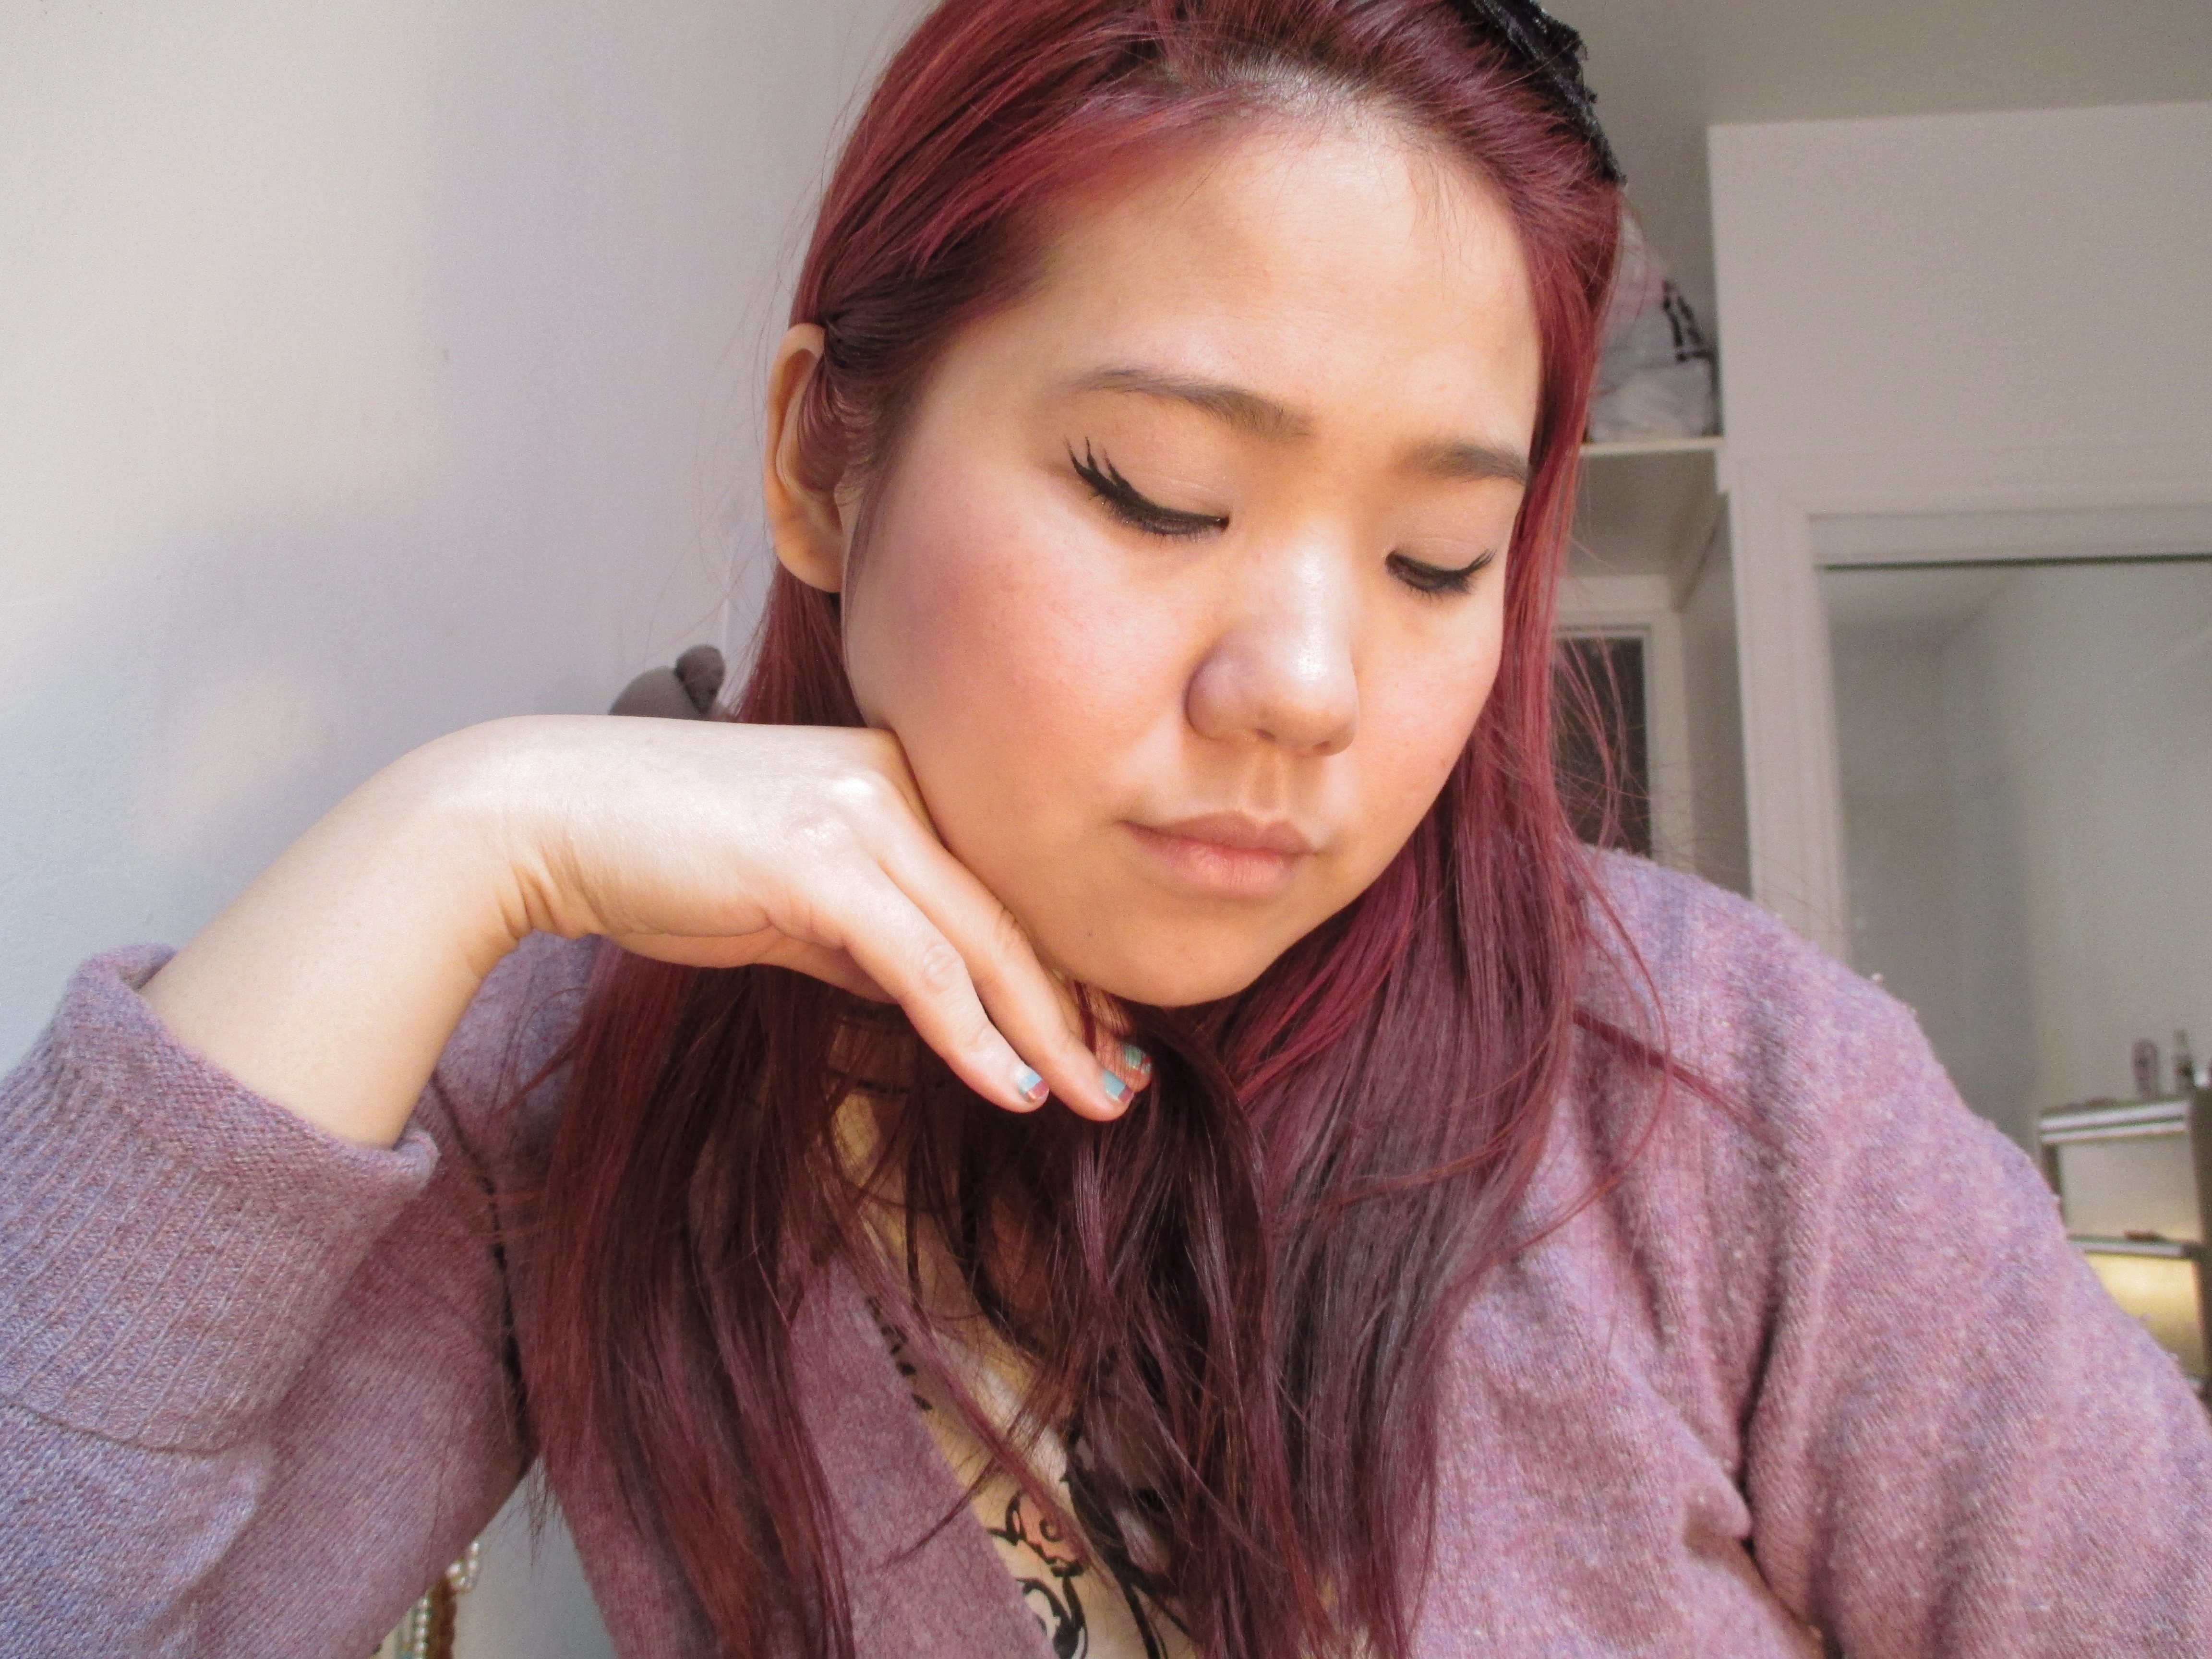
IMG_0043

IMG_0056

The “I look great with no effort” Make-Up

I’ve noticed there are a lot of make-up tutorials out there for all kinds of make-up looks.  Day looks, night looks, Halloween looks, work look, and wedding looks, but I was thinking, what is a girl supposed to do when she is having an errand day, such as doing groceries, or going to coin laundry?  There is no look for this that is appropriate.  Work make-up looks too formal, and fun flirty make-up looks too dolly for something mundane like dropping off library books. But not wearing make-up at all is dowdy and sloppy. There is a lot of pressure on women to constantly look put together, even when going to the post office.  But we don’t live in the past era where put together house wives in pearls dominated the general image of women in public.  Now, a heavily made up face on a woman in a supermarket looks slightly out of place to me.  Also there is judgement on busy mothers with young children, from on lookers who think to themseves: where does she find the time to powder her nose and coat her lashes, when she has two screaming children she should be attending to?  (This is not a fair judgement, but something we want to avoid, none-the-less)  So what to do?  I present to you, a formula for the everyday look.  It’s about balance.  Wearing enough make-up to not look sloppy, and yet not looking like a glamour addict, make-up addicted bimbo.  The “I didn’t just roll out of bed” look, also known as the “I am put together in an effortless way” look.

1.  Tinted moisturizer.  I have dry skin, so in the morning my skin is begging for moisture anyways.  I make my own tinted moisturizer with my bb cream/foundation base mixed with a dab of face cream.  This thins out foundation and gives it a more sheer coverage, helping to minimize imperfections, but not to cover-up the subtle textures of a natural skin face. Then follow with a light dusting of face powder.  I stress a light dusting because if you heavily put on powder, then it defeats the whole effortless look.  It will be over done.

2.  Groom your brows with a brow brush and a bit of brow liner.  Just a bit.

3. Then apply eye shadow, but no liner.  Get a semi-fine shadow brush, and use any colour shadow to smoothly line the contours of your eyes. I say any colour is fine because once a shadow is applied, its edges are diffused naturally, and doesn’t cause any bold stark lines.  It gives your eyes a pop, without being too noticeable.  Also it acts as base powder for your mascara to not smudge against the base lids of your eyes.

4.  Mascara is the key to looking done up, but not over done.  Without mascara, girls really do look like they just rolled out of bed and slapped on some make-up.  But mascara makes you look awake, without looking too dolled up.

5.  Tinted lip balm!  I love this stuff.  It doesn’t cover up your lips, or add sticky gloss.  Just a bit of transparent colour, making your lips look naked, but just better.

6. And optional, if you have time, a sweep or two of blush.

And then you’re done.  Now you can rush off to meet up with your friend, not look like you just plopped out of bed. But miraculously, you still look awesome.  🙂

I'm on the go, and ready for my errands!
I’m on the go, and ready for my errands!

Sugar Skull make-up for Day of the Dead and Halloween

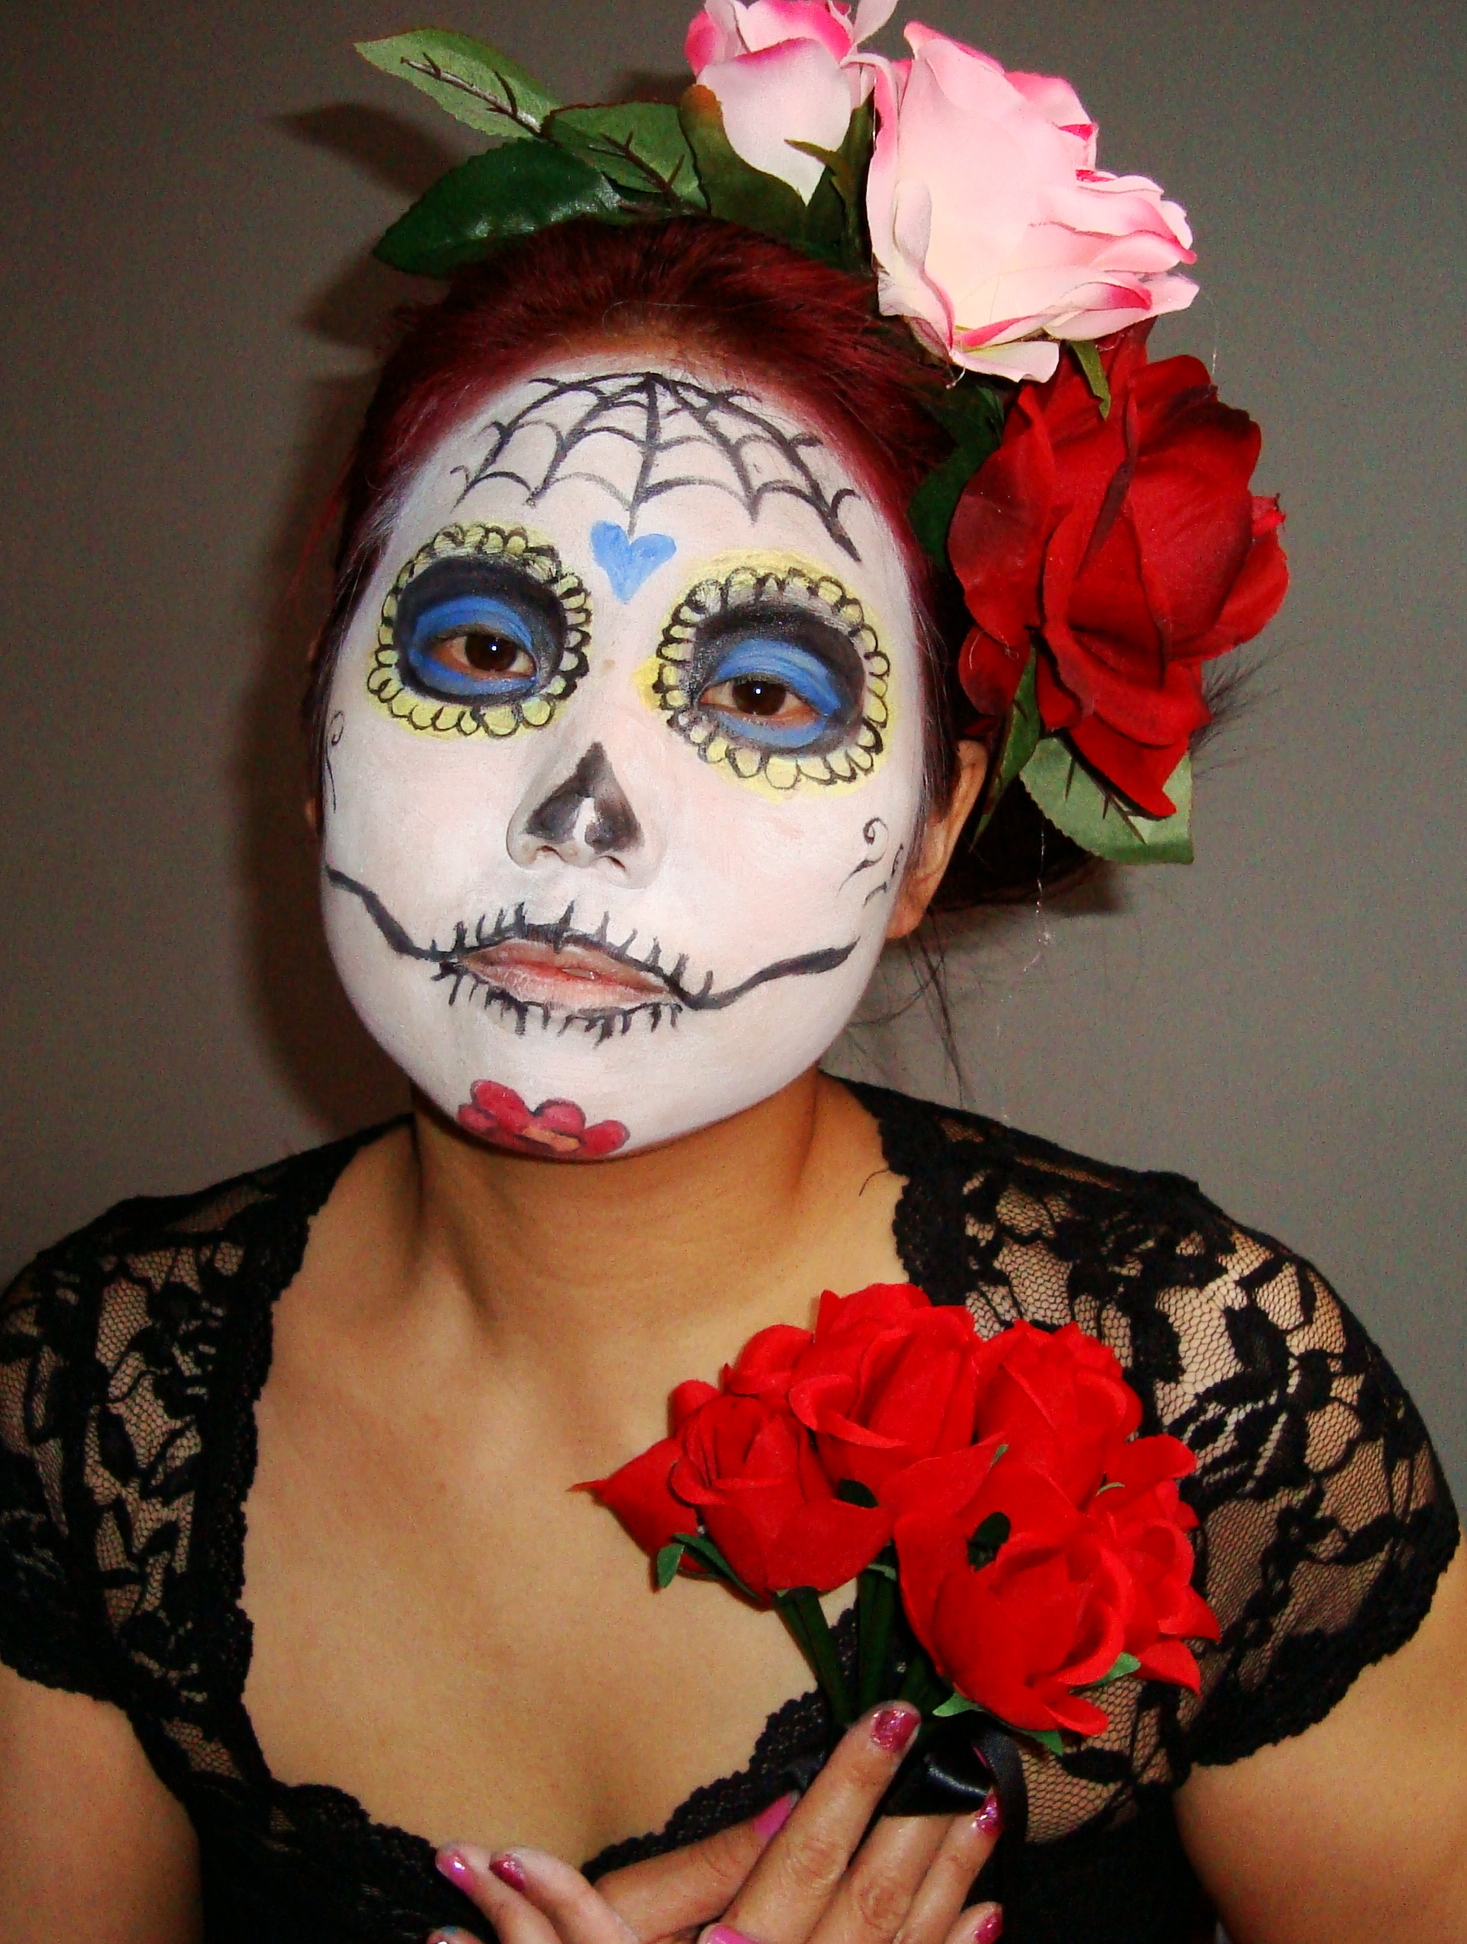
I am fascinated by the Mexican holiday Day of the Dead…I mean who wouldn’t be?  During this festival which falls on Nov. 1st and 2nd, everyone seems to wholly welcome the concept of death intimately into their lives.  It is not feared, like here in North America where death wears a hockey mask and wields a machete, but in Mexico it is whimsical, cheerful and respectful of the other world.  Day of the Dead actually aims to relatives that have passed away, and invites them to join the living at beautiful handmade alters of specialty food, hot chocolate, and pretty, pretty flowers.  How symbolic, and meaningful.  The images of skulls and skeletons are everywhere during this festival, so I wanted to pay homage to this tradition, by painting my face in the same way sugar skulls are decorated.

Here are some tips for great Halloween make-up!

Halloween Make-ups, 101

1. No matter what your budget is for the costume, give a generous amount for quality make-up.  When I say quality, I mean theatrical quality.  I can’t stress this enough.  While wardrobe really is a big part, the face is key too.  Cheap Halloween make-up products do not go on well, their colours are off, and they will end up wasting your money in the end.  For best results, you gotta go to the professionals.  The ones that I use tend to punch a hole in my wallet, so if you want to save money, try not to buy too many colours of the good stuff, instead of buying all cheap stuff.

2.  Build up slowly in layers.  Use sparingly.  Make-up effects look most real when worn thin.  It gives the illusion that that is really how your skin looks like!  Ever see someone over do it with their zombie make-up? You can see the texture of the slapped on make-up, and that ruins all the artistry they put into it!

3.  Keep it simple. Even the most seasoned artist, or makeup artist can over do it and it becomes less real.  Keeping it simple not only makes it easier for the beginner, it frees you to execute one or two aspects of the make-up really well, instead of trying to do fifty.  If you do one thing really well, trust me, that is enough to impress onlookers.

So here is a photo of my Halloween make-up this year!  I made the headband out of silk roses and leaves, aiming for a lush, garden effect!

DSC04874