Staying pretty while on vaca is harder than it seems…

There are so many obstacles to a regular make-up/face care routine while on vacation.  An inspired routine is even more difficult on the go.  At first I thought all I had to do was pack my toiletries into small bottles and choose carefully which make-ups to bring.  I didn’t factor in weather (rain, wind, sun) and I also didn’t factor in the time.  Travel and vacation trips are often about doing the most with the amount of time you have, making powdering your nose, while in the bathroom something you can justify skipping.  At the end of the day, my make-up was all smudged and barely there, my skin was tired and aching for hydration, and my body was drained.  I’m sure I didn’t look that bad, but I was hoping to get some great photos with me looking all cute riding various rides at Disney, or having a fun, while having a smokin’ hair day at Universal, but…well, I think I was only semi-successful.  I’ll post up some photos and allow you guys to judge. (but be nice!)

IMG_0306
This was the second or third ride that day! It’s a small world after all! And my make-up is giving good coverage so far!
IMG_0354
Monsters Inc. too cute! I can’t believe this photo turned out well. This is the end of the day when my make-up was literally gone. I can see some smudging on the top liner…but otherwise, it’s not too bad.
IMG_0149
The only day of good weather while we were there! My makeup is ALL smudged in this photo because of a water ride.

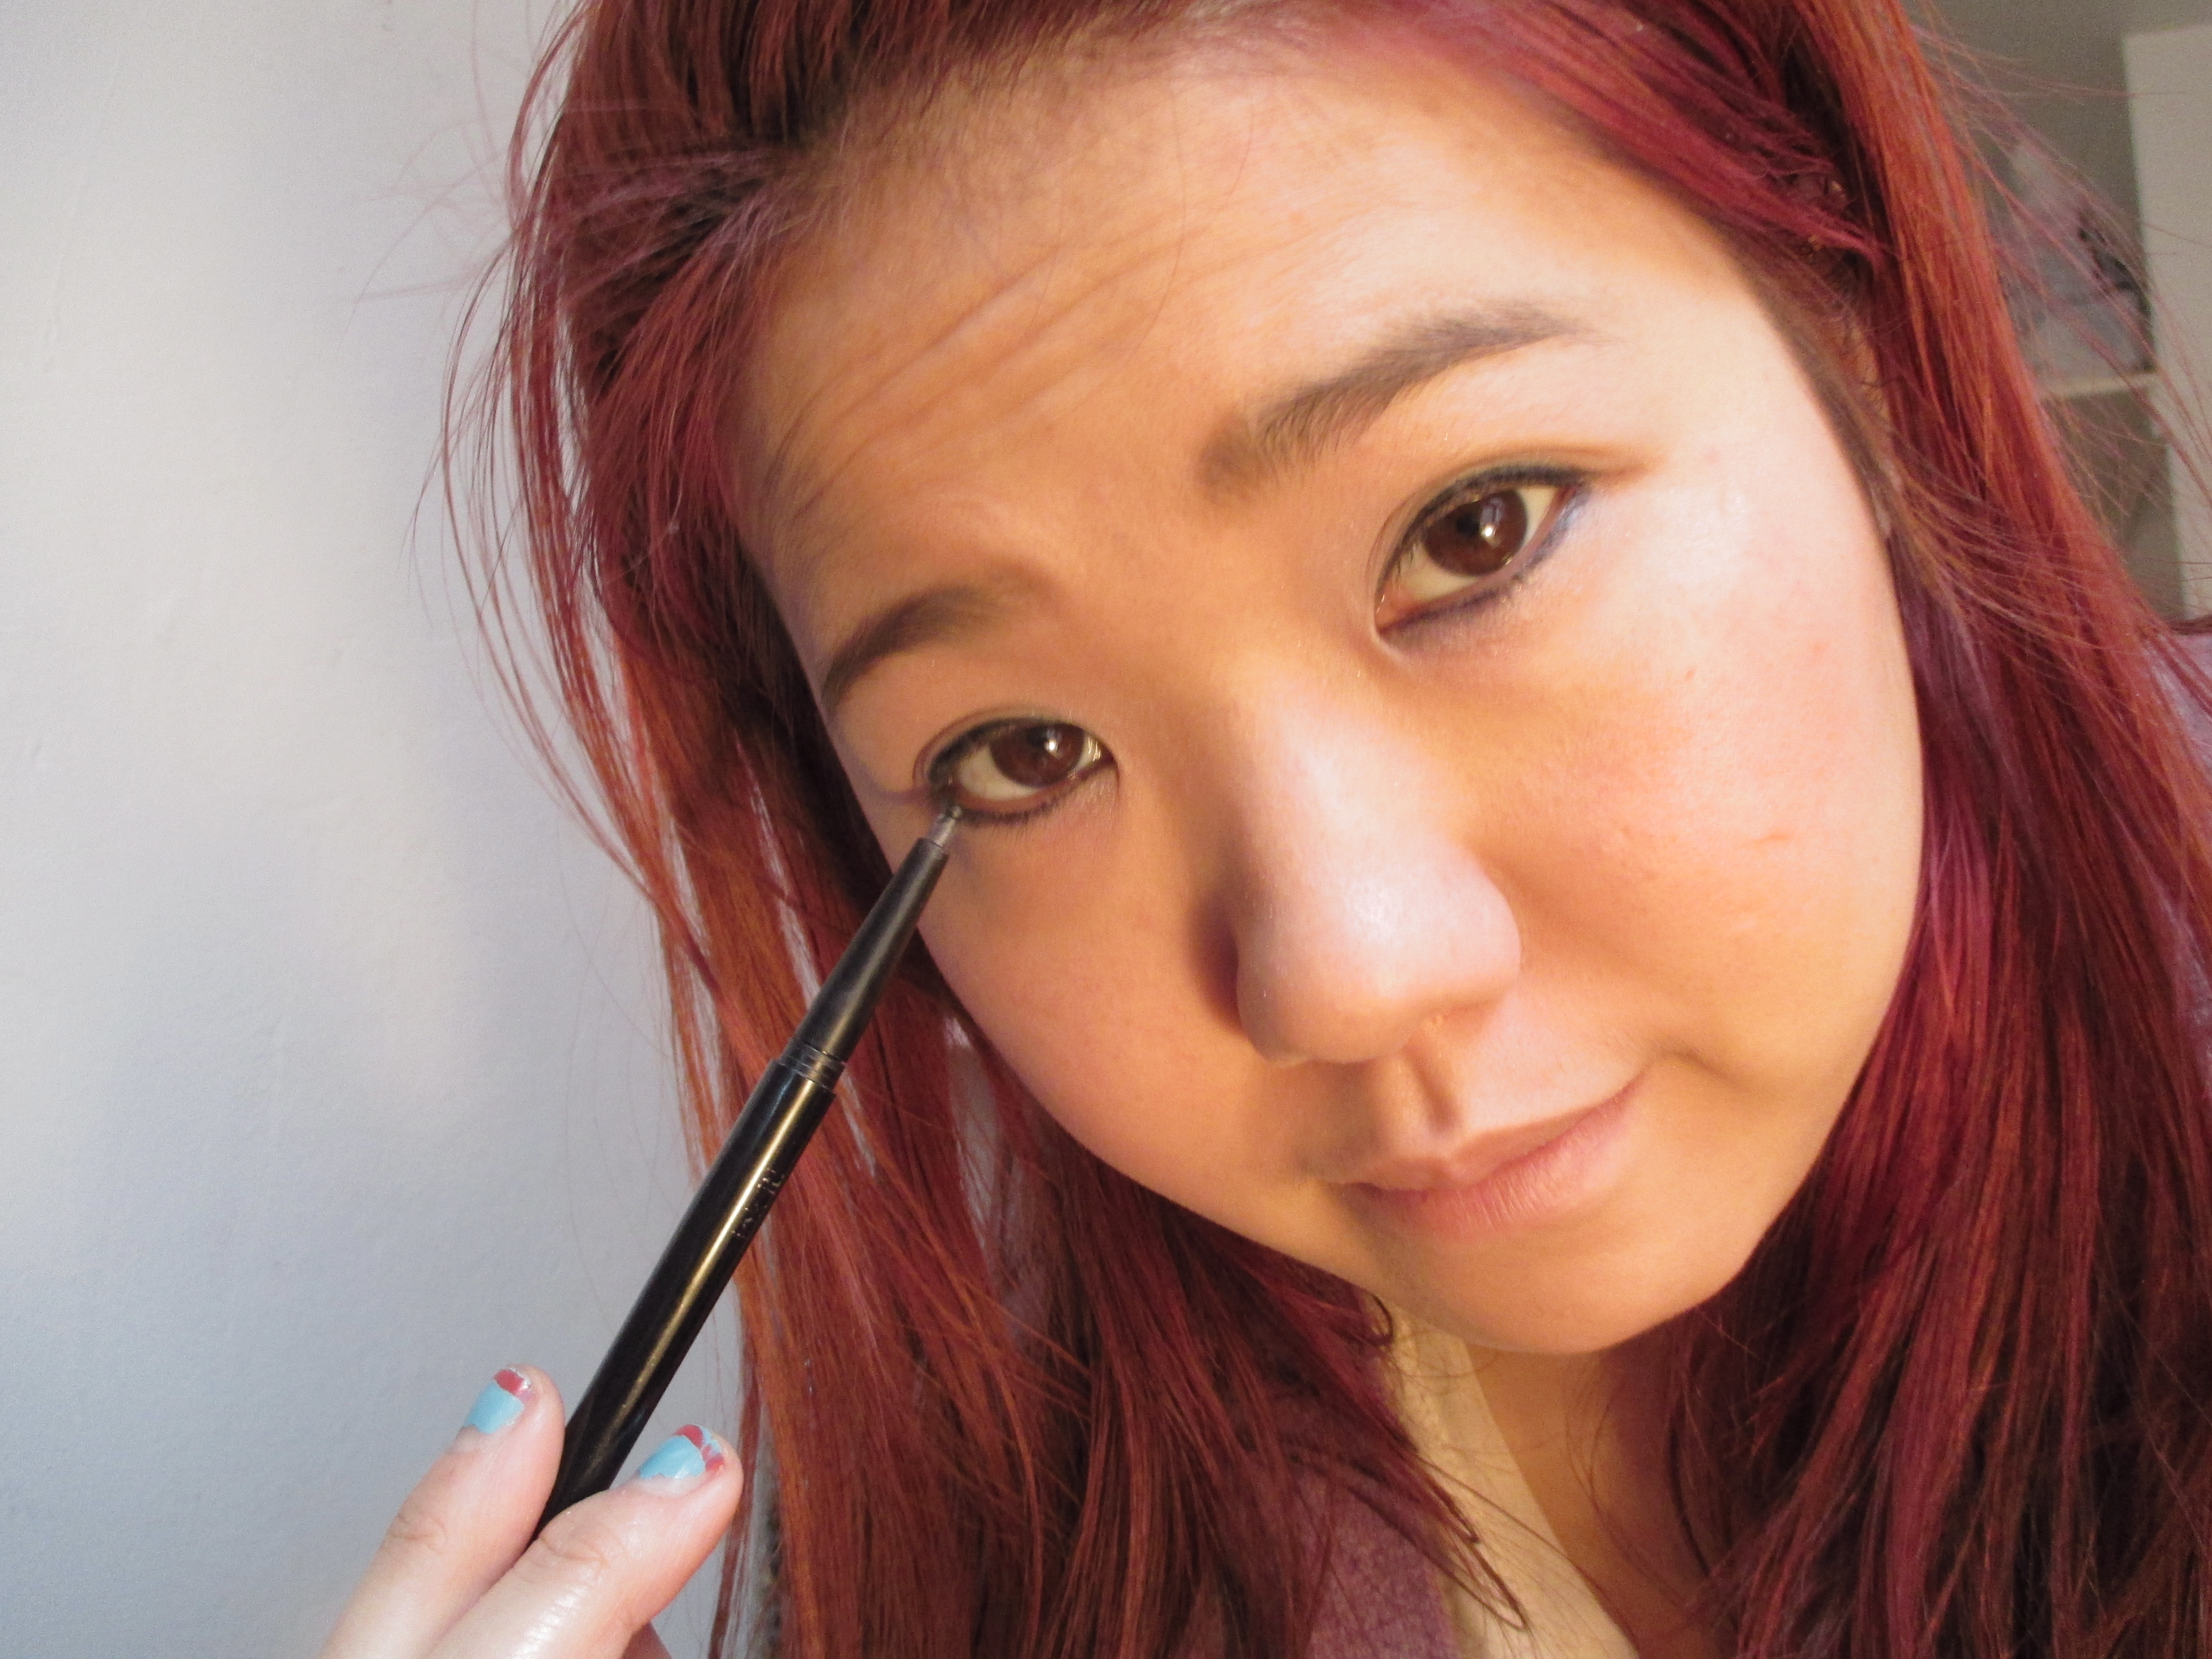
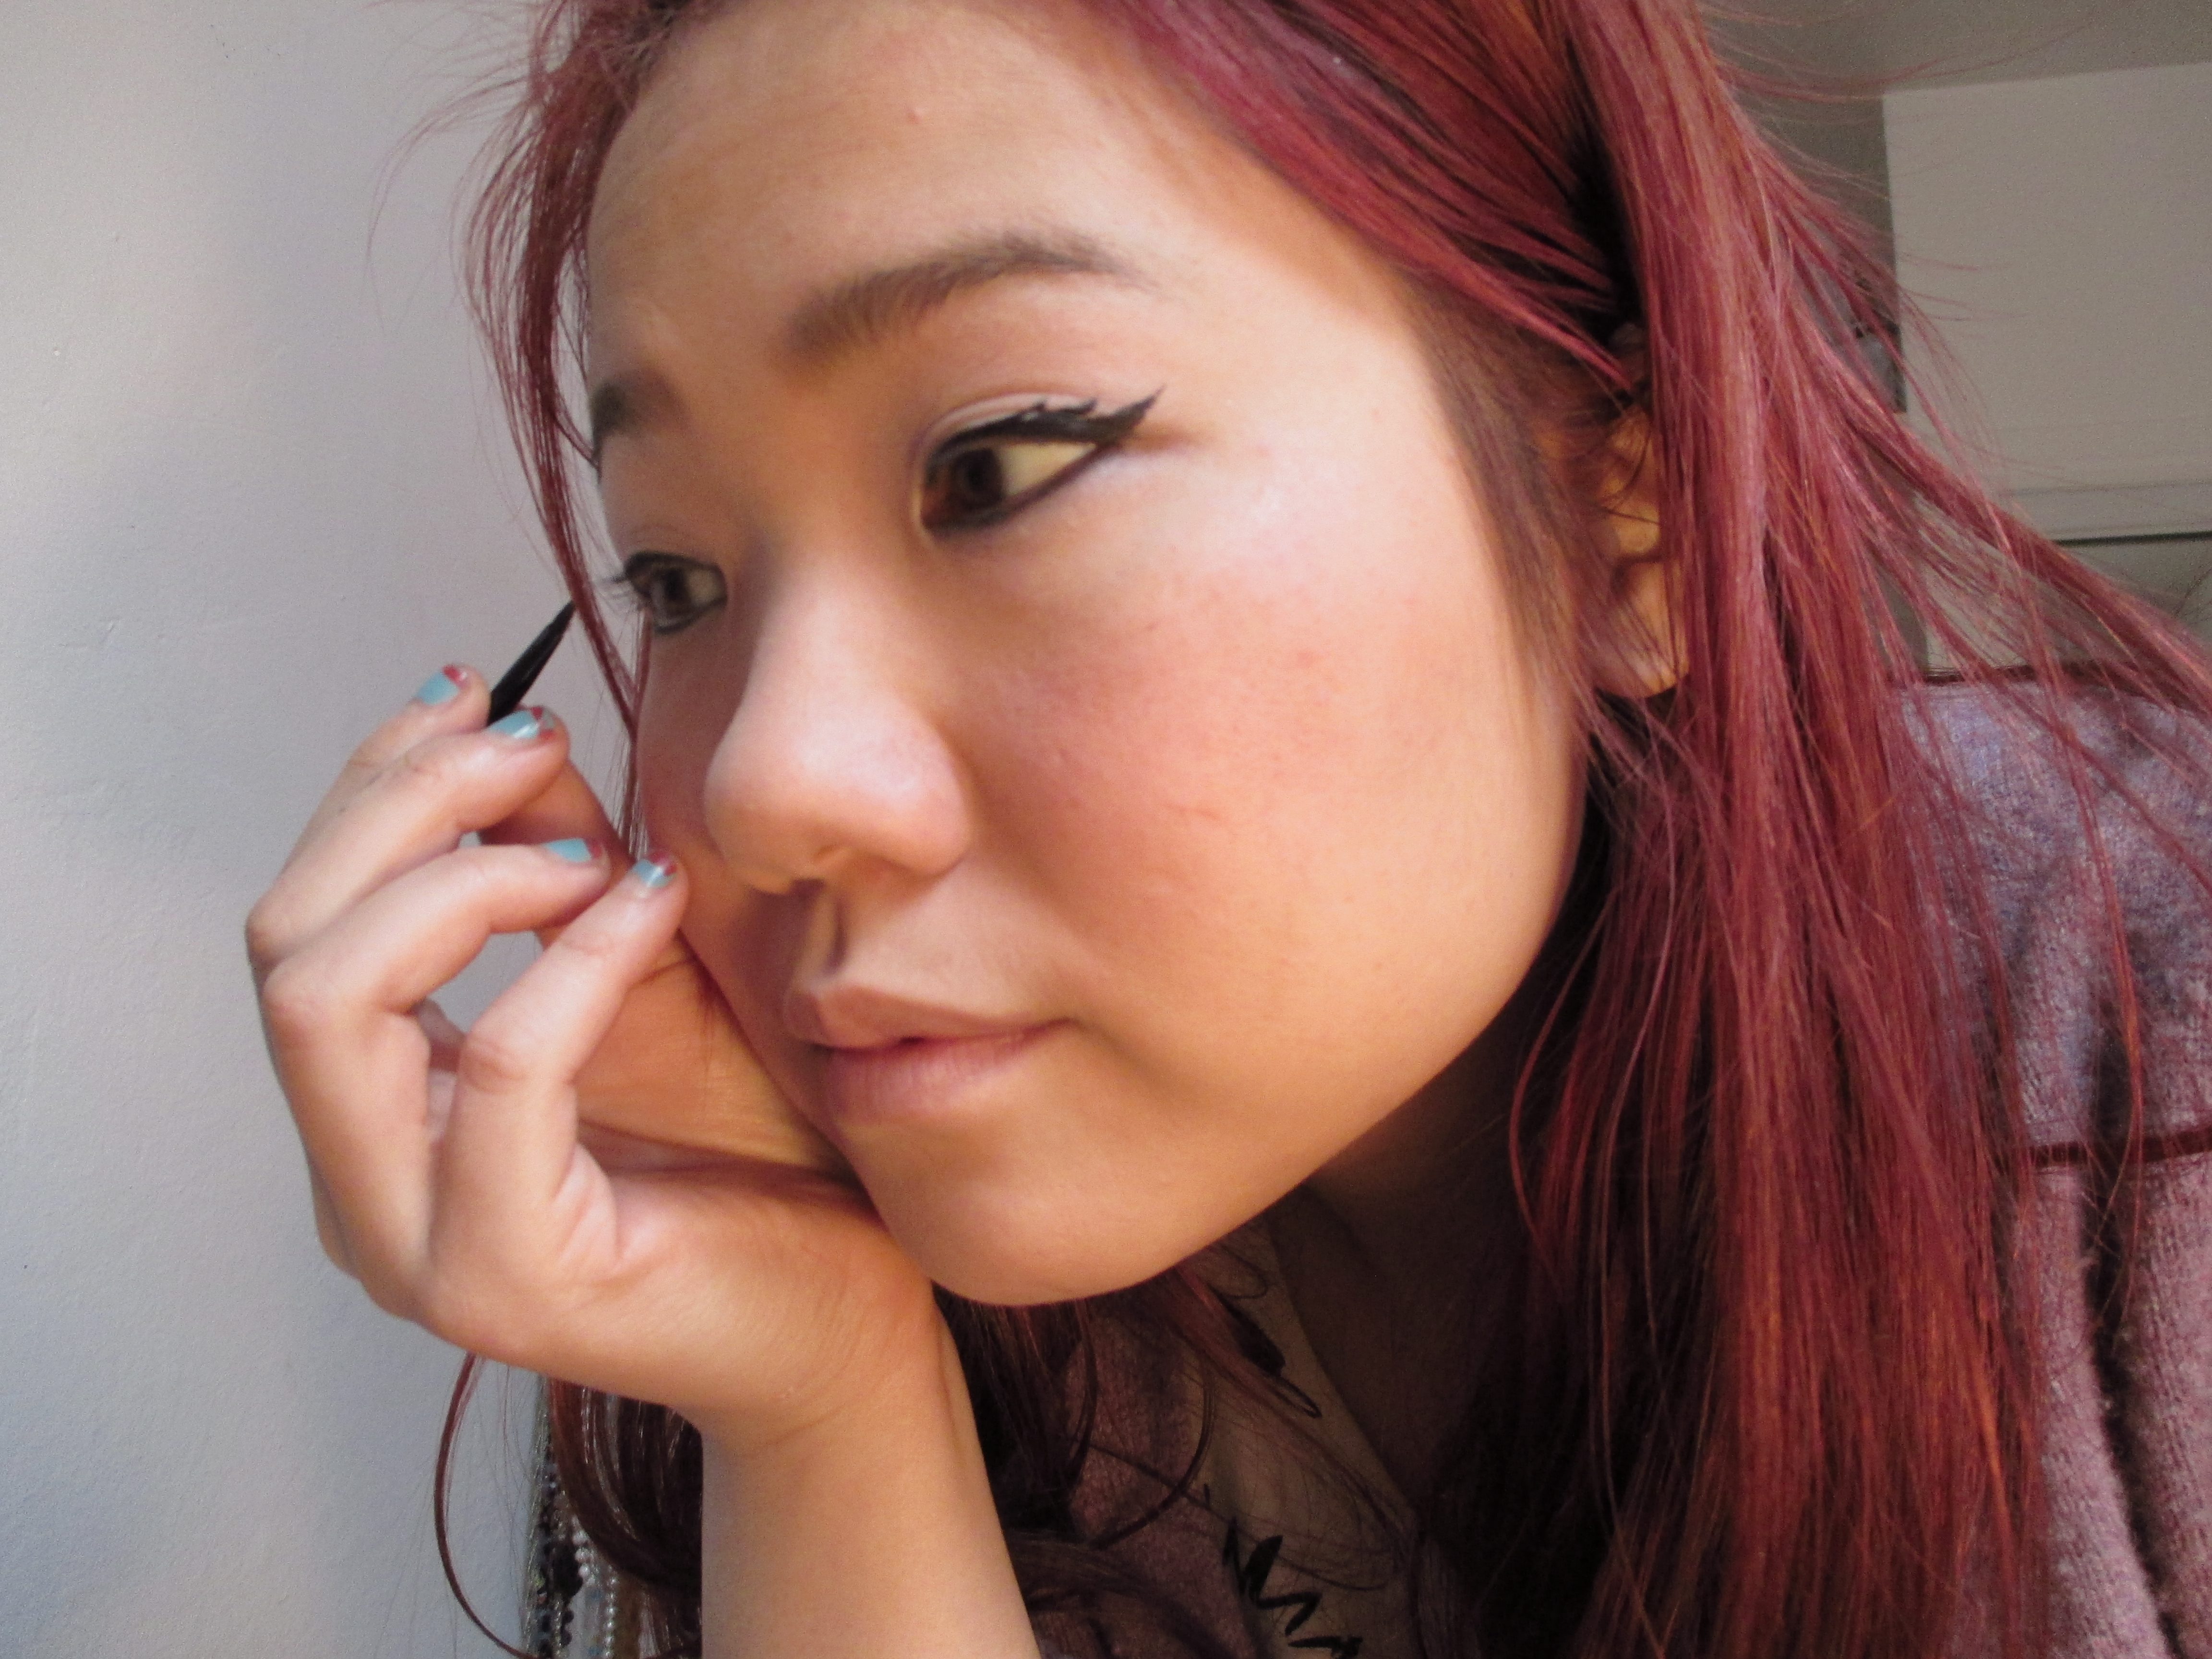
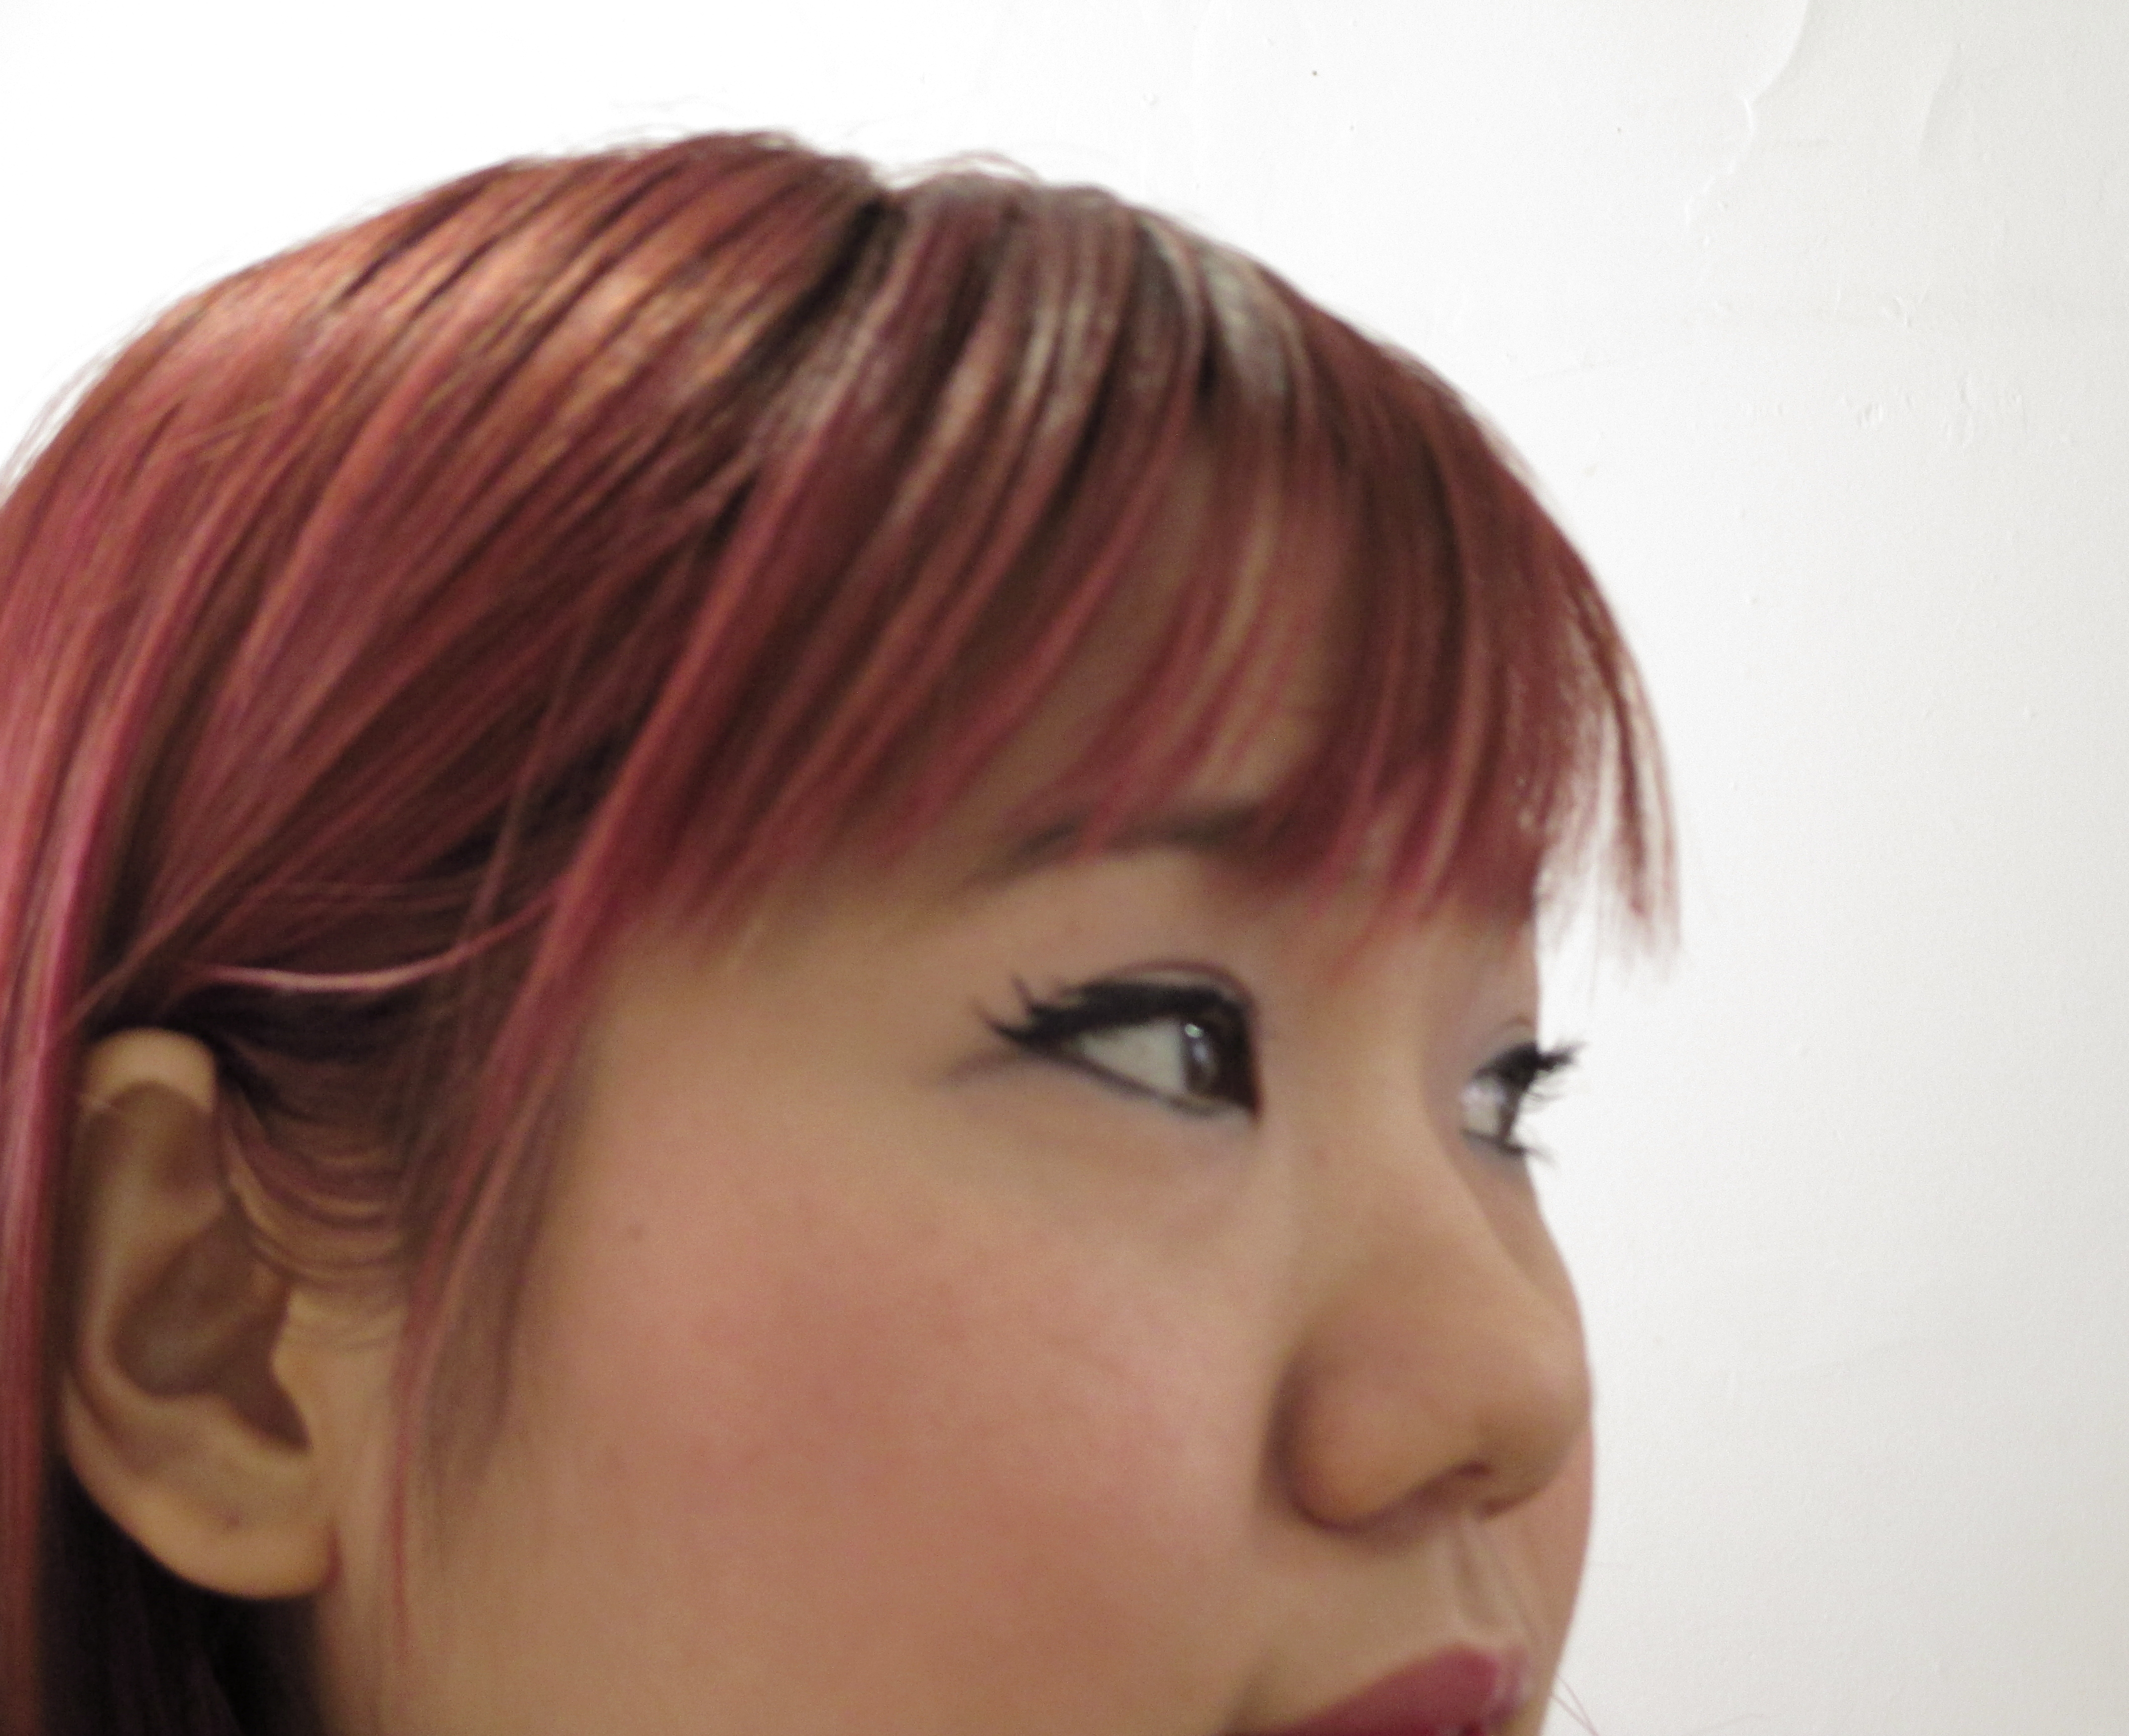
What I think I did right was my choice of makeups.  I went simple. Foudation/powerder to set. I pared down colours, opting for a lavender pink shadow, and a light white shimmer–if I felt like getting fancy.  Then it was black eyeliner and black shadow for smudging it.  Mascara, brow definer, and blush.  I know this seems like a lot but it actually isn’t.  It fit in a small pouch that looked like a pencil bag.  And top it off with a bit of home made lip gloss!

What were my mistakes?  I needed to carry make-up remover, or some lotion, to wipe away smudges.  I had a lot of them sometimes at the end of a rainy adventure filled day, and smudged liner at the base of your eyes makes one look tired, and it makes bags more noticeable.  Another mistake was I carried no powder.  This is because on a regular day, I am not as active as on a vaca day.  I was in and out of rides at them parks, and the wind blew off everything that I had on.  At the end of the day, I’m sure I had a bare face, which is not bad, but considering I wear gentle make-up that is not made to last, I needed to reapply some form of face make-up to take the last days photos while still looking perky and revitalized.

All in all, I know vacations are not about looking your most fashionable, but then again, the photos you keep are what help you remember the trip. I know I would prefer to look my best in them.  In a way vacation grooming and present-ability is important because even if it was one disaster of a trip, your photos you keep and show to your friends can say otherwise.  They can say, “damn, my hair looked awesome that day!”

You’ve mastered the “cat eye” make-up, now let’s do the “mouse eye”

I am not really that into Theme Parks.  They are tourist traps that suck up all your money on junk food, cheap souvenirs, and just temporary thrills.  But there is still something about being young at heart and liking Disney World.  There is definitely something magic in the Disney Parks, something they did well, something that can generate memories, just by walking down it’s whimsical streets to having your photo with Ariel, or with Mickey, himself.  That’s why this year, I took my kid to Disney World in Florida.

To celebrate this occasion, I’ve been thinking about different make-up looks to create and try on this trip.  How about a make-up that incorporates mouse ears somehow?  Hmm, I am getting a feeling that this would not be pretty.  What about Minnie Mouse…how can she inspire me?  She’s got some long lashes.  Three to be exact…

75519

Then I thought of the time that I caught a mouse in my house.  Well, actually, my cat caught it and almost ripped it to pieces.  I saved it, from my cat, but it still ended up dying.  I was sad.  It had the cutest little beady eyes, surrounded by what seemed to be bushy eye lashes.  So now, combining Minnie Mouse’s eyelashes and that of a real house mouse, I’ve created “mouse eyes”!

Similar to the famous “cat eye” make-up of an angled slanty-eyed look with black liquid liner on the top eyelid, I decided to get a bit more playful and curly with my “mouse eye” look.  Here’s how to do it:

This is me without makeup.  Not too shabby I hope!
This is me without makeup. Not too shabby I hope!

Start with a clean face.  I apply my bb cream/foundation, and set with a dusting of powder.  Next up, my brows…fill in with a pencil or with a powder filler.  Then start with the eyes.  First of all, trace a thin black line around your eyes, making an almond shape.

perfectly pencil lined eyes

I don’t usually do tight lining (which is lining the bottom lid as close to the eyeball as possible), but I get as close as I can, without hitting the wet lid.  Then, this is where the artistry and steady hands come in.  Using gel liner in black, I draw in some bushy curly lashes, that extend from my outer eye, and curl two more times to form three pointy peaks.

IMG_0041

The result is  the illusion of incredibly thick lashes, that resemble that of a mouses lashes.  What do yo think of it?  “Mouse eyes”.  I’m going to be wearing this during my trip to Disney World…and hopefully some of the magic that is in the air there, will be reflected in me!  Don’t forget to add a smidgen of blush and a bit of lip gloss.  Th oust ready to go theme parking at Disney now!

IMG_0043

IMG_0056